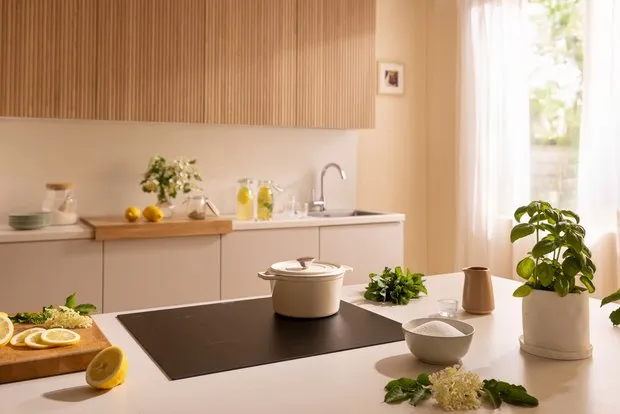
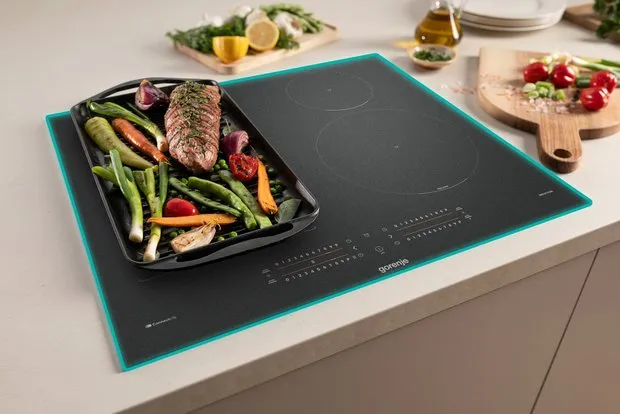
Tip: If you need to prepare both a main dish and a side dish for dinner at the same time, consider panels with combined burners. In the Gorenje GI6433SRWF and Gorenje GI6432MSCWF, the two left zones can be combined into one. This allows you to use a long roasting pan, a fish baking dish, or a large skillet that doesn’t fit on a standard burner.
Both models have a 23-centimeter diameter burner on the front. You won’t need to place a large pot or skillet against the far wall and reach for it over other utensils. The sensors in both models detect the utensil in 0.2 seconds, so the panel quickly determines which burner it should be placed on.
If the pot needs to be moved, the selected power level and cooking time are transferred to the new burner along with it. Both models allow you to pause cooking so you can open the door for guests, wipe down the surface, or clear space for serving. After an accidental shutdown, you can restore the timer, power level, and active burners without having to reconfigure them.
Plan the path from the refrigerator to the table
A convenient kitchen starts with a sequence of actions: ingredients are taken out of the refrigerator, washed, chopped, placed on the stove or in the oven, and then the finished dish is set on the table. If these steps are far apart from each other, the cook will spend the entire evening walking around the room with pots, packages, and wet vegetables.
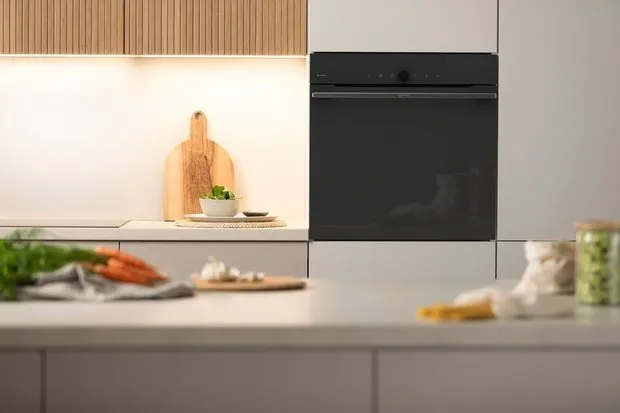
It is better to place the refrigerator near the entrance to the kitchen area so that you can reach drinks and snacks without interfering with the person at the stove. Leave a main section of the countertop between the sink and the cooking surface — this is convenient for preparing ingredients and assembling dishes before cooking. Next to the oven, you need space for a hot pan or baking sheet; using the dining table for this is inconvenient and unsafe. If the kitchen is corner-shaped, check that the open doors of the refrigerator, oven, and dishwasher do not collide with each other.
Decide where to place the cooking surface
A island stove allows cooking while facing the living room, enabling conversation and keeping an eye on what’s happening at the table. However, this layout needs to be planned before renovation: electricity must be connected to the island, and a range hood needs to be installed above it. As a result, dishes, ingredients, and splashes remain constantly visible.
A more harmonious option is to place the stove against the wall and use the island for preparing ingredients and setting the table. This way, the host can cut snacks while facing the guests, while boiling pots stay in the back of the kitchen.
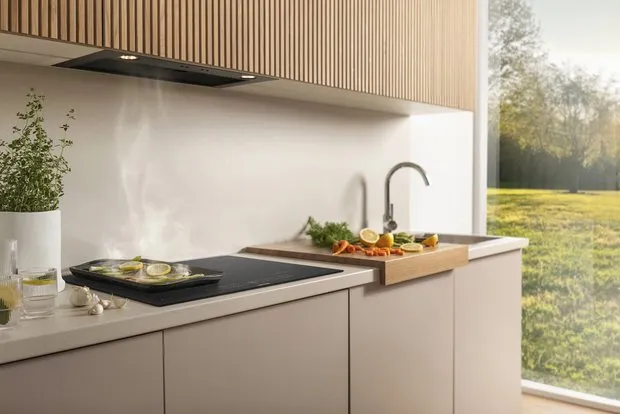
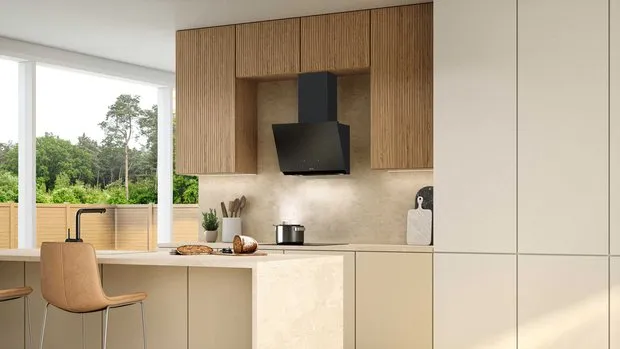
Tip: For an open kitchen, it’s useful to have appliances that don’t require separate control. The Gorenje GI6432MSCWF and GI6433SRWF panels can sync with compatible range hoods. When cooking starts, the hood turns on and adjusts its intensity according to the panel settings — allowing the host to focus on the dish and conversation without distraction.
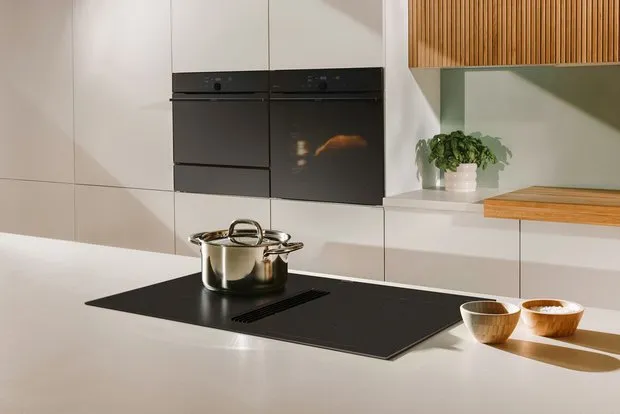
The matte glass-ceramic “Infinity” is useful if the appliance is located on an island and is easily visible from the living room. Marks from touch are less noticeable on it, and its resistance to scratches is several times higher than that of regular panels. The built-in sealant helps to install the model quickly without extra effort and ensures a tight fit between the panel and the countertop.
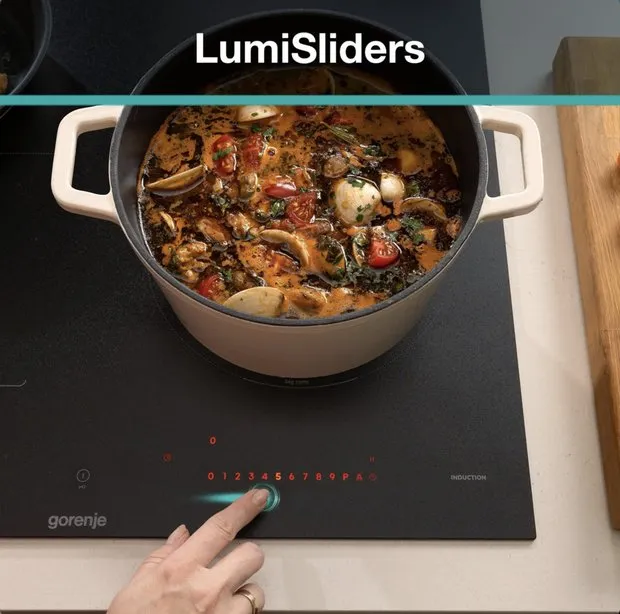
The Gorenje GI6433SRWF has controls that become active only after it is turned on. Once cooking is complete, the lighting on the sliders turns off, and the indicators blend in with the black surface. This model is suitable for kitchens where the appliance is intended to blend into a dark countertop or serve as a backdrop for striking fronts and lighting fixtures.
Divide the island into a cooking area and a guest area
The island is often tried to use for everything at once, resulting in utensils ending up next to guests' elbows with almost no free countertop space left. It’s better to determine in advance which function will be primary: if cooking is planned on the island, ensure there is enough space for bowls of prepared ingredients and finished dishes. Seating arrangements should be moved to the side or placed on the opposite side.
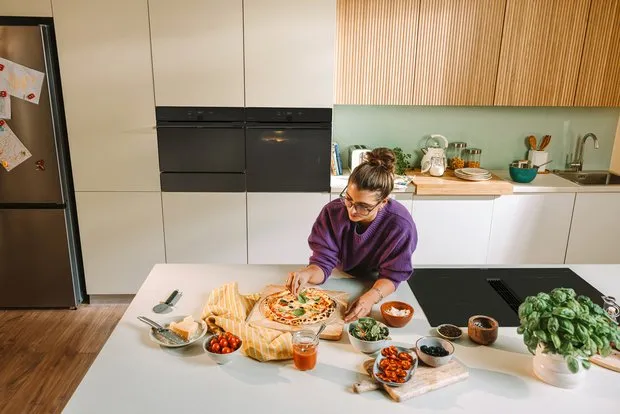
The peninsula is suitable for smaller kitchens: it separates the cooking area from the living room, provides an additional countertop, and can replace a bar counter. It’s advisable to plan for outlets in advance, as they will be needed for a blender, coffee grinder, and charging a phone with an open recipe.
Choose an oven based on how your gatherings proceed
For a family dinner, usually more than one dish needs to be prepared. If cooking everything one after another, the host starts preparing long before guests arrive, and still has to wait for the last dish. In this case, a large cooking capacity and the ability to place multiple trays at once are very useful.
A softer light is needed in the dining area: it’s convenient to connect task lighting, pendant lights, and general ceiling lighting to different switches. After cooking, the bright light above the countertop can be turned off, leaving only the lamp above the table or a table lamp or floor lamp in the living room.
Plan how to clear the kitchen quickly after dinner
A narrow pull-out tray near the sink is useful for storing towels and dishwashing supplies. Oils and spices are better kept near the cooking area but not right next to the stove panel, as constant heat speeds up spoilage and causes splatters to settle on the containers. Cutting boards can be placed vertically in the lower drawer instead of leaning against the apron.
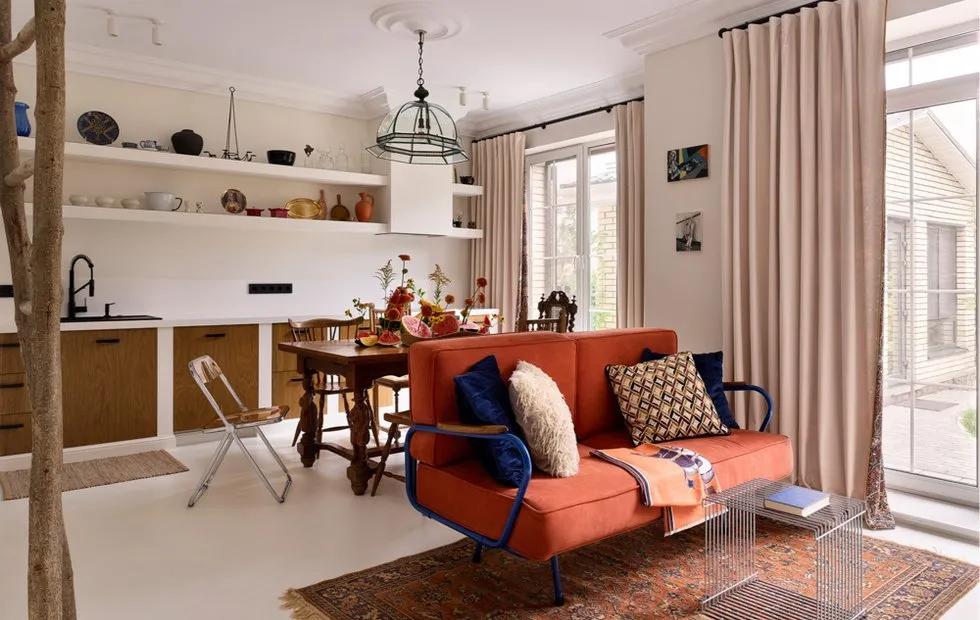
In a kitchen-living room, there’s no need to hide food from guests; it’s more important to arrange furniture and appliances so the host doesn’t have to choose between dinner and socializing. A free countertop, multiple lighting sources, and well-planned spots for dishes help keep you engaged with the group even when the food is still in the oven.