Roof Downspouts Made by Hand
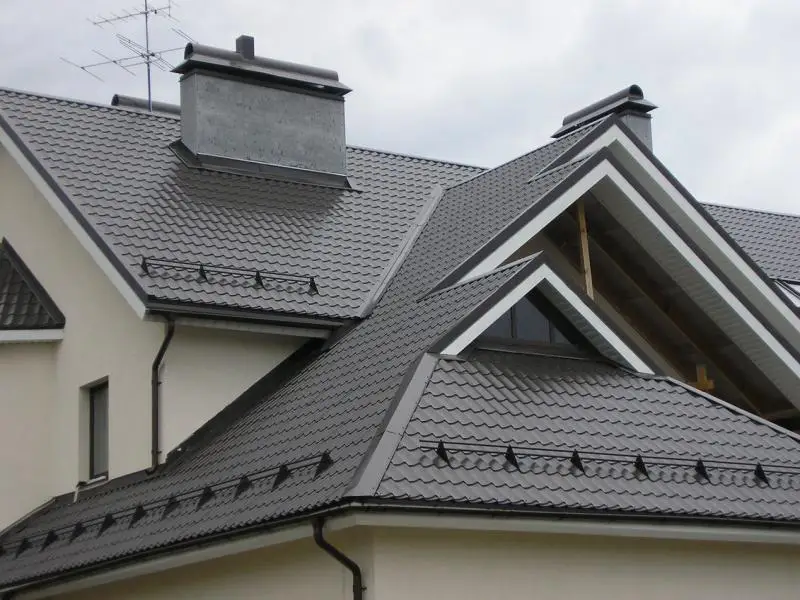
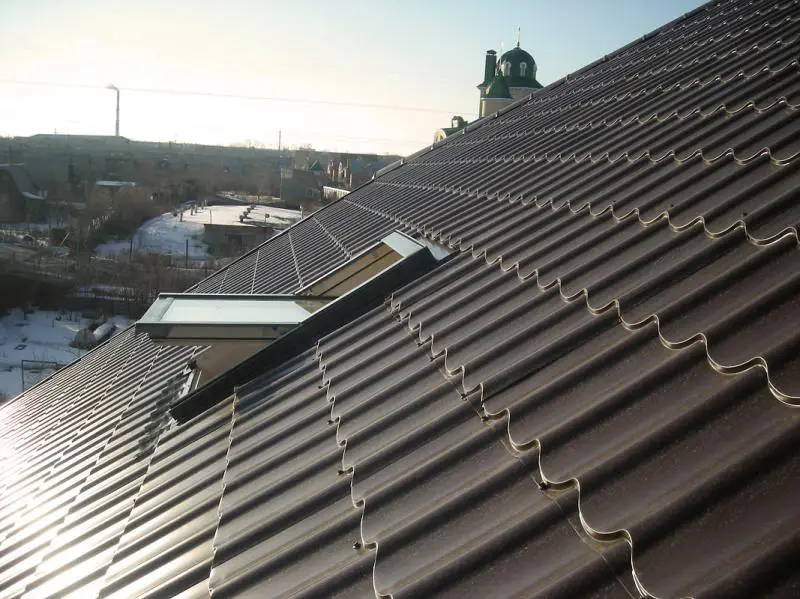
The importance of downspouts and other architectural elements in a pitched roof structure is hard to overestimate. In addition to their primary function of collecting and diverting water from atmospheric precipitation or snowmelt, downspouts also serve a decorative role. Without what is known as a 'gutter system' (also referred to as downspouts and drainage gutters), the roof looks unfinished and incomplete.

How and from what materials to make roof downspouts — read below.
Materials for Making Downspouts
The most popular material for downspouts is galvanized metal. It is affordable, readily available at any hardware store, and easy to shape into the desired profile.
Alternatives include aluminum, plastic, and even stone or ceramics! Downspouts made from the first two materials offer undeniable advantages in corrosion resistance, but are more complex to fabricate at home. Stone and ceramic downspouts are manufactured only on specialized production lines in factory conditions and supplied as accessories to ceramic roofing tile kits.
Steps for Making a Downspout
The fastest and simplest method to create a downspout is to cut a pipe (used or new) in half, using one with a diameter of 160 mm or larger. The pipe is painted and coated with a corrosion-resistant compound such as polyester or polyurethane.
If you want to create a downspout with a more complex shape, such as a rectangular cross-section, a pipe is not suitable. First, purchase sheet metal with a thickness of at least 0.7 mm and rent or buy a manual sheet metal bending machine. Fortunately, these tools are widely available in modern home improvement retail chains. Machines are not expensive, but if you're only making downspouts for your own house, it’s better not to buy one — check with friends or rent one instead.

After purchasing the metal, cut it into strips. The width of each strip should equal the perimeter (or circumference) of the final downspout, with a 10–15% allowance for easier feeding into the machine. You can cut the metal using a grinder or a circular metal saw.
After cutting, strips up to 3 meters long (depending on the metal’s length) are placed into a sheet metal bending machine. Special rollers shape the profile of the final product. The metal strip is then rolled into a finished downspout.
The inner surface of the downspout must be coated with paint and a corrosion-resistant agent, such as plastisol. The outer surface only needs to be painted to match the roof or building facade color.

Mounting brackets for the gutter system under the roof overhang are made similarly, using one bracket per 50–60 linear centimeters of downspout length. When installing under the roof, brackets must be aligned to ensure a slope toward both sides from the center of each wall. The slope should be at least 0.3 cm per linear meter. Failure to follow this rule may cause incomplete drainage and, as a result, ice buildup in autumn and spring.
To prevent damage to the exterior paint on the gutter due to contact with metal brackets, a thin rubber layer (1–2 mm thick) can be glued to the inner side of the bracket.
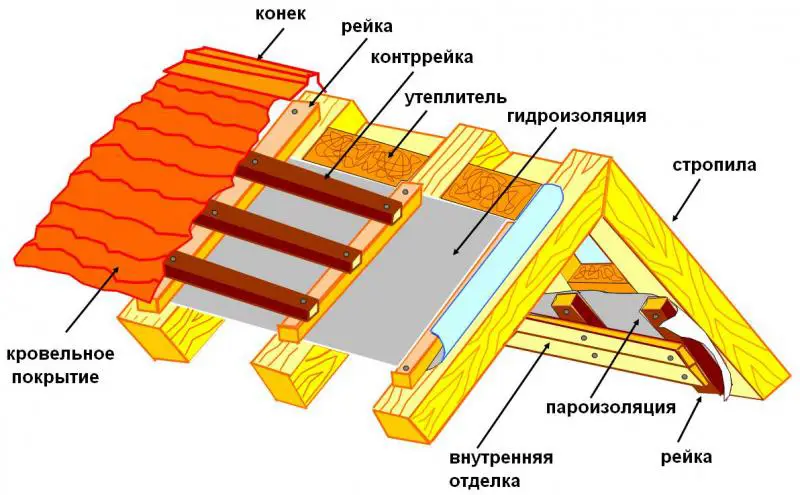
The gutter system should be installed before the final waterproofing layer of the pitched roof, since brackets are typically attached to the wall plate (mauerlat), which becomes inaccessible after waterproofing. After installing brackets and gutters, check the slope accuracy by running water over the new downspouts and observing how it flows downward. A properly installed gutter system can handle a significant volume of incoming water.
Need a renovation specialist?
Find verified professionals for any repair or construction job. Post your request and get offers from local experts.