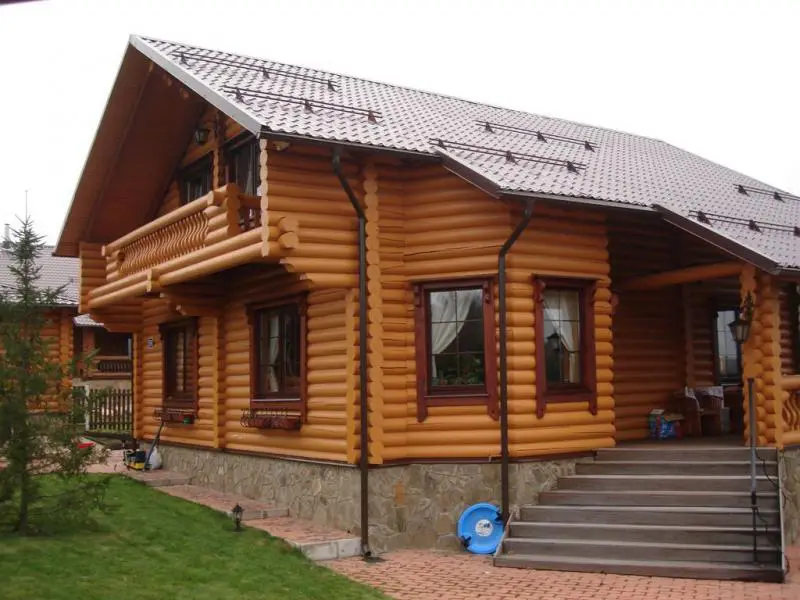
Installation of Bitumen Roofing Tiles
Bitumen (flexible, soft) roofing tiles are a beautiful and practical roofing material with numerous advantages, one of which is ease of installation. Installing bitumen roofing tiles is not complicated and can be done independently without hiring professionals.
It is important to review the instructions and strictly follow the installation technology.
Basic Rules for Installing Bitumen Roofing Tiles
Installation of soft roofing tiles must be performed on roofs with a slope exceeding 11.3°. The optimal weather conditions for installing such a roof are warm, dry weather with air temperatures between +5 °C and +25 °C. If ambient temperature is below this range, the tiles should be stored indoors at room temperature for at least 24 hours prior to installation.

Key Stages of Soft Roof Installation
Installation of the roof truss system
A solid roof truss system is essential for a reliable and durable roof. Lumber treated with protective agents is used for the construction of the roof structure.
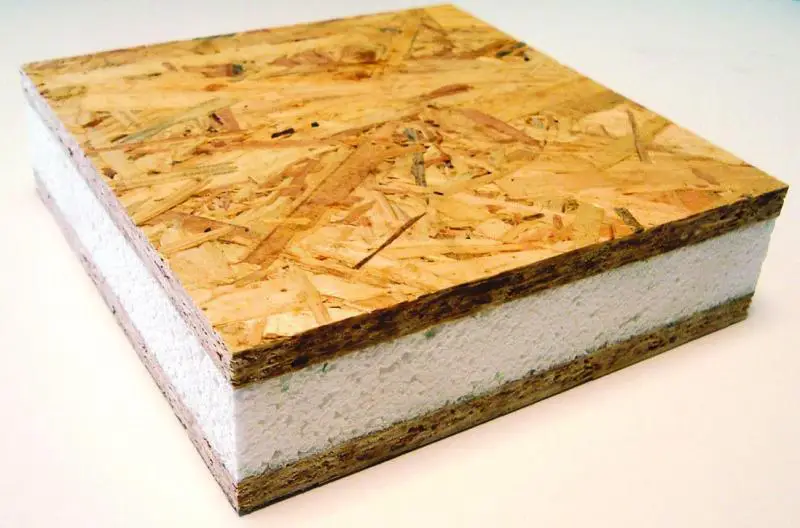
Installation of the roof base
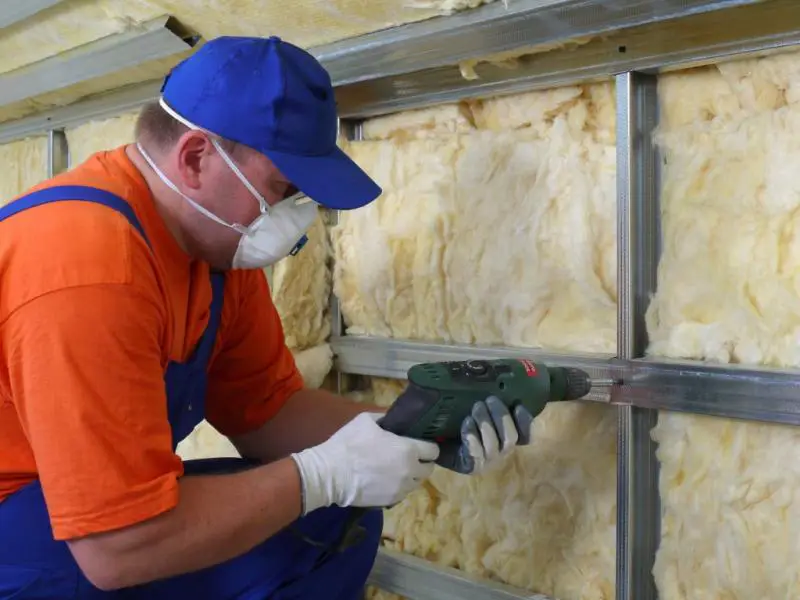
The base must be rigid, flat, dry, and strong enough to securely fasten tiles using nails or screws. Materials suitable for the base include wooden boards, plywood, or OSB (oriented strand board). The moisture content of the material must not exceed 20% of its dry weight.
The thickness of base panels depends on the distance between rafters. Panels are attached to the truss system using nails, ensuring a gap of at least 3–4 mm between them. Failure to maintain this gap may result in warping due to thermal and humidity expansion.
Installation of ventilation space
The quality of ventilation significantly affects the durability of the roof sheathing, insulation, and even bitumen. Therefore, a minimum ventilation gap of 75 mm is required to ensure proper airflow.
Exhaust vents should be located near the roof ridge, while intake vents must be positioned at the eaves.
Installation of underlayment layer
For soft roofing, a self-adhesive roll membrane is used as underlayment. This layer helps level the base and significantly extends the roof’s service life.
Underlayment is installed from bottom to top, parallel to the eaves, with a 10 mm overlap. The edges are secured with nails, and all joints are sealed with adhesive.
Installation of fascia and soffit trim
Fascia boards protect the edges of the roof sheathing on the gables from weather exposure. They are fastened with a 2 mm overlap using nails.
Soffit boards are designed to protect the edges of the sheathing from moisture and rain. They are installed on the eaves over the underlayment with a 2 mm overlap and secured with nails or screws.
Installation of the roof valley
To enhance waterproofing in valleys, a valley membrane is installed over the underlayment and secured with roofing nails. The color of the valley membrane must match the bitumen roofing tiles.
Installation of roofing tiles
Begin with the eaves course. After removing the protective film, tiles are laid edge-to-edge, starting 20 mm above the eaves edge. Additional fastening with nails or roofing clips is recommended.
Next, install the main course tiles. To avoid color variation, mix tiles from four to five packages before installation.
Install main course tiles from the center of the eaves toward the gables. The bottom edge of each tile in the first row must not exceed 10 mm above the eaves tile.
Each tile is fastened with four or six nails, depending on roof slope. Each subsequent row must cover the joints of the previous row.
On gable ends, tiles are cut along the edges and sealed with adhesive over a 10 cm width. In valleys, tiles are cut so that a 150 mm wide strip of roofing membrane remains exposed at the bottom. Edges along the cut line are sealed with adhesive.
Installation of the ridge tile
Ridge tiles are made by dividing eaves tiles along perforation lines. The protective film is removed, and the tiles are placed on the ridge and secured with four nails.
Each subsequent tile must cover the fastening points of the previous one. The final tile is sealed with adhesive.
Installation of roof penetrations
Antennas and other small-diameter penetrations are sealed using rubber gaskets.
Chimneys must be isolated. The exposed part of the chimney is covered with a metal flashing, and a gap of at least 50 cm must be maintained between the chimney and adjacent structures.
When installing main course tiles, gaps are closed with triangular battens. A base membrane is installed around the chimney, and tiles are laid so that the lower part lies on the roof slope and the upper part on the chimney.
Then, the chimney is wrapped with a valley membrane so that the top covers at least 300 mm and the slope side covers 200 mm. The joint is sealed with a metal flashing and silicone sealant.
Similar methods are used for roof-to-wall junctions.
Need a renovation specialist?
Find verified professionals for any repair or construction job. Post your request and get offers from local experts.