Sequence of Apartment Renovation
To avoid situations where different contractors interfere with each other, working simultaneously in close proximity, overloading the space with equipment and materials, it’s crucial to plan the sequence of renovation and finishing work.
The sequence must be strictly followed in order and timing. It’s best to create a work schedule by type of task and place it in a visible location within the apartment, so that every worker can see and orient themselves to the set deadlines.
Although each room’s renovation is a unique process with its own nuances and details, key milestones in the renovation and finishing process can still be identified.
Planning the Renovation
The type of finishing and the full scope of renovation activities will depend on the purpose of the room. A well-prepared design project can highlight the advantages of an apartment, house, or office, while minimizing any flaws.
If the renovation takes place in a multi-story apartment building, remember the golden rule of neighbor communication: all noisy work must be completed by 8:00 PM.
Next, decide on the finishing materials for walls, floors, and ceilings to be used during the renovation, and possibly arrange the purchase and delivery of the first batch of materials. Avoid buying all finishing materials at once to prevent cluttering the apartment and hindering workers.
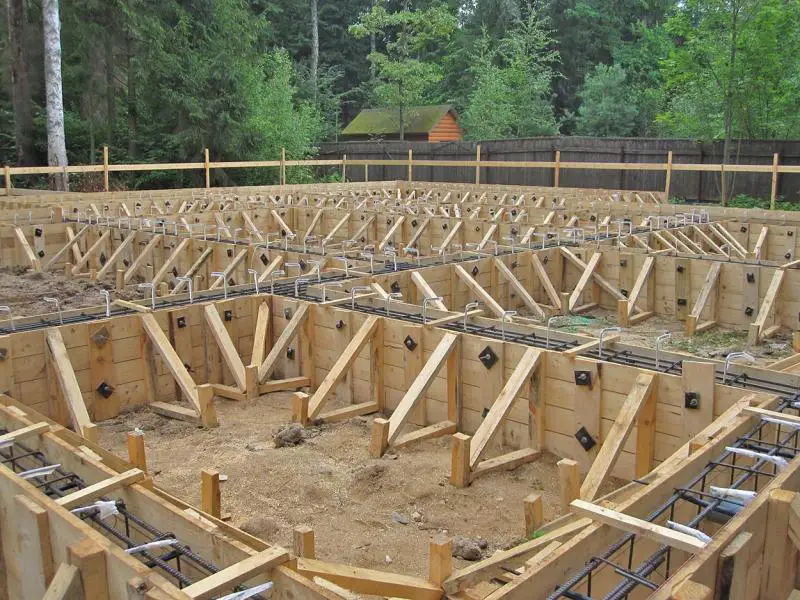
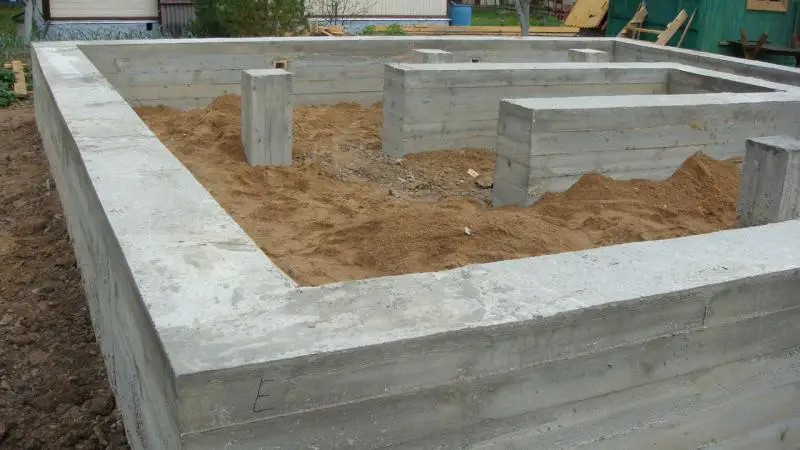
Demolition: Regrettable, but Necessary
The next step in renovation is removing old finishes. This may involve only removing old wallpaper, or it could go as far as dismantling partitions or changing the location of doorways. Many materials removed during demolition can be reused — don’t rush to throw them away.
Before demolition, secure temporary housing and remove expensive, bulky items such as furniture or interior elements. If you can’t move them, wrap them in stretch film and pack them as compactly as possible into one room.
During demolition, take the opportunity to inspect the condition of structural elements hidden beneath finishes and renovations, such as floor joists under the floor.
Installing Utilities and Finishing
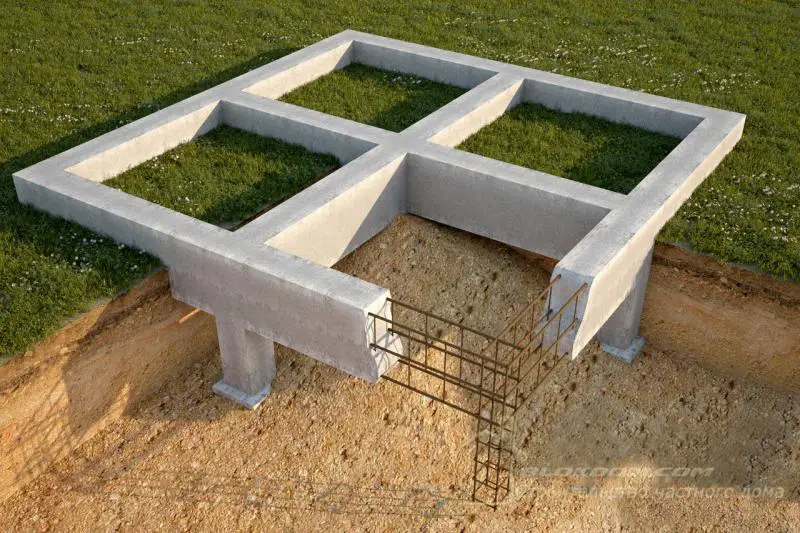
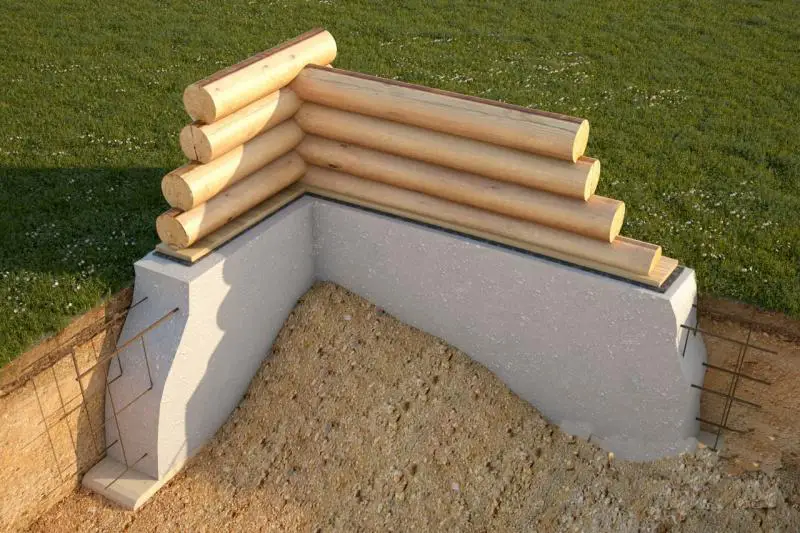
Next, you may need to replace electrical wiring or plumbing pipes for water supply or heating. It’s best to do this before new finishes are applied, to prevent accidental damage and avoid redoing work later.
Electrical wires are typically routed in grooves if the structure is solid, or within a frame if the structure is hollow. The same principle applies to pipes — ideally, they should be embedded in walls if possible.
After that, replace windows, doors, and other large elements. Do all the most dusty tasks early in the renovation process, so that cleaning from dust and debris can begin in parallel with final work.
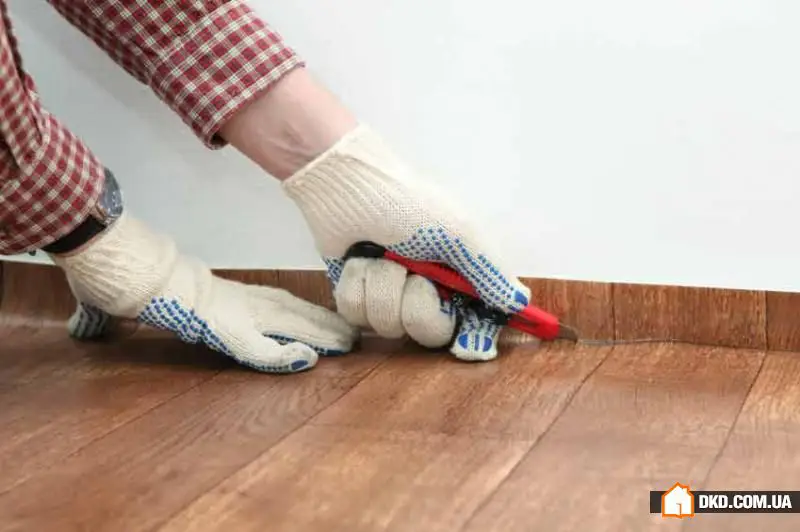
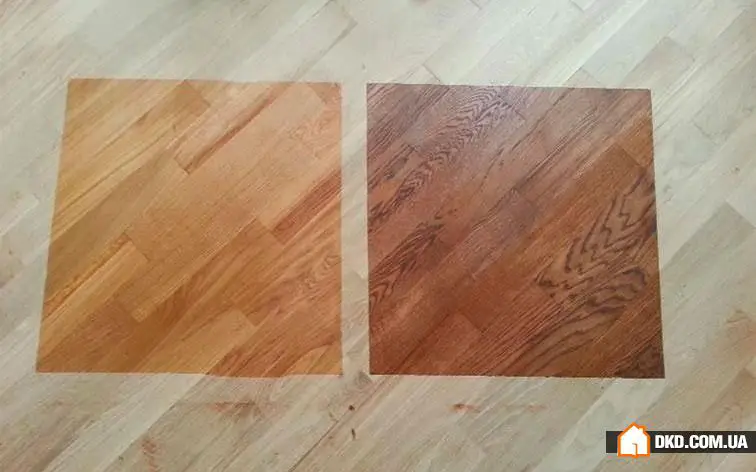
Finishing should follow this order: ceiling → walls → floors. Do not deviate from this sequence, as a common rule is that the most easily soiled element should be installed last, and the hardest-to-damage one first (in this case, the ceiling).
Apply a leveling layer of plaster to all wall areas with marks from utility entries or exits, to prepare a solid base before final finishing. A good primer is essential for successful painting or plastering. The primer layer determines how well the plaster and paint adhere to the prepared surface.
By following these recommended steps in the renovation process, any apartment owner planning a renovation can save significant time, money, and stress.
Need a renovation specialist?
Find verified professionals for any repair or construction job. Post your request and get offers from local experts.