Artist Nazym Rahimbayeva Shares Tips on Mastering Oil Painting Technique
Popular artist Nazym Rahimbayeva offers several tips for beginner artists and drawing enthusiasts on how to master the oil painting technique.
Nazym Rahimbayeva is a member of the Union of Artists of Kazakhstan. Her works have been exhibited in individual and group exhibitions and are part of private collections in Russia, Kazakhstan, France, USA, Ukraine, and the UK.

The artist was born into an artistic family: her father is a choreographer, and her mother is a musician. It's no wonder that their daughter showed artistic talents early on. According to her parents' recollections, Nazym started walking and drawing at the same time.

Over time, her childhood hobby became her profession. Nazym graduated from the College of Applied Arts U. Tansykbaev in her hometown Almaty, and then university in Kuala Lumpur, Malaysia. There she studied painting and design intensively.
But the more Nazym became absorbed in new knowledge, the stronger her longing for her homeland grew. Listening to herself, the artist decided to express all her feelings on canvas and dedicate her paintings to her homeland.
A key element of Nazym Rahimbayeva's works is the history and culture of her homeland. The artist created a series of paintings dedicated to the worldview of Kazakhs, naming it tengriism. Artist's website: https://www.nazym.kz/.
Studying visual arts, the most challenging aspect is working with oil paints. There are several stages that deserve special attention from students, and if you successfully implement them, you can master the technique.
The first stage: special attention is paid to compositional organization of the artistic plane and correct creation of a preliminary sketch. The compositional placement on canvas should fully and correctly convey the essence of complex forms and a series of their features, such as anatomical accuracy, space drawing, primary color relationships.
It's reasonable here to create a preliminary compositional sketch or make life sketches, paying attention to the horizontal line and considering format proportions.
Now we move on to a preliminary sketch of the artistic plane size.
The best approach is to draw the contour or sketch on paper, then transfer it onto canvas. Drawing a preliminary contour allows an artist to try different viewpoints, think about composition, and detail proportions. Any artwork begins with a sketch or preliminary contour, possibly more than one. From all preliminary projects, the most successful should be chosen and transferred to canvas. Even if you're drawing directly on canvas, it's better to make a preliminary contour with charcoal and use a clean cloth to wipe the charcoal. There is another method: outline the main lines of the drawing with ink or a specific paint color.
Thus, it is especially important for an artist to solve the following tasks: draw a composition and define color characteristics, considering specific lighting. Let's clarify this. You need to determine the primary color relationships in terms of lightness and tone, and roughly mark them by creating a so-called underpainting, emphasizing the lightest and darkest tones using thin diluted paints for this. When creating an underpainting, an artist should work with shadows and mid-tones, choosing the right colors for them. Solving these tasks allows one to proceed with lighting. The difficulty lies in comparing each color to the surrounding colors, but the canvas should remain white at this stage. The artist can use a special palette: a white brick, the surface of which is rubbed with onion or garlic. Then cover the surface with a brush using watercolors of the desired colors and combinations with rich strokes.
Mixing watercolors together creates a certain decorative combination. Let the watercolors dry. Rub the surface with oil and proceed to work with a ready palette, choosing appropriate color combinations corresponding to objects in life. Apply the suitable color onto canvas. However, paint itself is not a color.
Let's focus on the most important in this stage.
You shouldn't draw a sketch in parts. Working with a sketch requires an holistic and broad approach, avoiding finishing any area, leaving the canvas painted or with marked shades. Also, you shouldn't leave the canvas empty.
It's better to draw a still life with thin diluted paint, which helps determine the approximate color of objects and lightness combination. Then proceed to hard painting.
Simple still lifes, no more than three objects, are best for first attempts.
There are many oil painting techniques, and the choice of paint application method remains with the artist. We cannot cover all types, especially since they are based on two techniques: single-layer and multi-layer paint application.
The first one is the alla prima method, or single-layer technique. Here a painting must be completed in a short time because while applying strokes, the artist mixes paints to create new tones directly on canvas. This method is often used when working outdoors or sketching small preliminary works. The artist uses stiff brushes or a palette knife, which gives the painting texture. Paint can be applied generously; the artist can move and mix it. Differences in paint density also enhance texture. The main thing is to finish the work before the paint dries. Color variety will only be achieved through tones obtained by mixing paints on a palette and showing them through layers.
The second method is the multi-layer technique, which allows an artist to use all resources of oil painting. This technique requires applying more than one layer of paint. The first layer is underpainting, where you draw a sketch on canvas and a layer with major color areas. Then comes the detail layer. Each layer must dry, as paints will fade by absorbing oil from fresh layers.
Usually artists use two methods, alternating paint layers to achieve brightness and depth of color. Using paste for texture, the artist practically creates texture by emphasizing objects in the foreground on canvas. Brushes and palette knife help convey texture, roughness of surface in the drawing and add color layers fully completing the artistic design.
There are several rules of oil painting that should be remembered. Do not apply thick layers of oil paint, especially those containing a lot of oil. It's better to use a layer that moderately absorbs oil and, generally speaking, it is preferable to oil-process the lower layers of a painting if that's not enough.
It should be remembered that oil paints, including heavy and white-lead paints, lose their covering ability over time and become transparent because the paint layer becomes thinner when drying. Therefore, it is not recommended to repaint or alter oil paintings because all these strokes will still be visible even after a long time.
The quality of the layer is important for oil paints, and if it's good, then the paint changes easily, can be tinted, allows obtaining subtle diverse colors, and prolonged drying will not affect the original color.
Corrections with oil paints should not be made in a thin layer, on the contrary, you must again apply dense paint layers. This is the only way to hide unwanted areas. The best method for doing this is to clean them with special tools and then repaint with a layer.
We have focused only on the most general, initial information about oil painting technique that every artist should know. However, oil painting technique includes more than just these tips. An artist independently develops basic knowledge through practice. He or she will practice various oil painting methods such as underpainting, forming body shapes, glazing, the method of moving from simple to complex in practical work.
Need a renovation specialist?
Find verified professionals for any repair or construction job. Post your request and get offers from local experts.
You may also like
More articles:
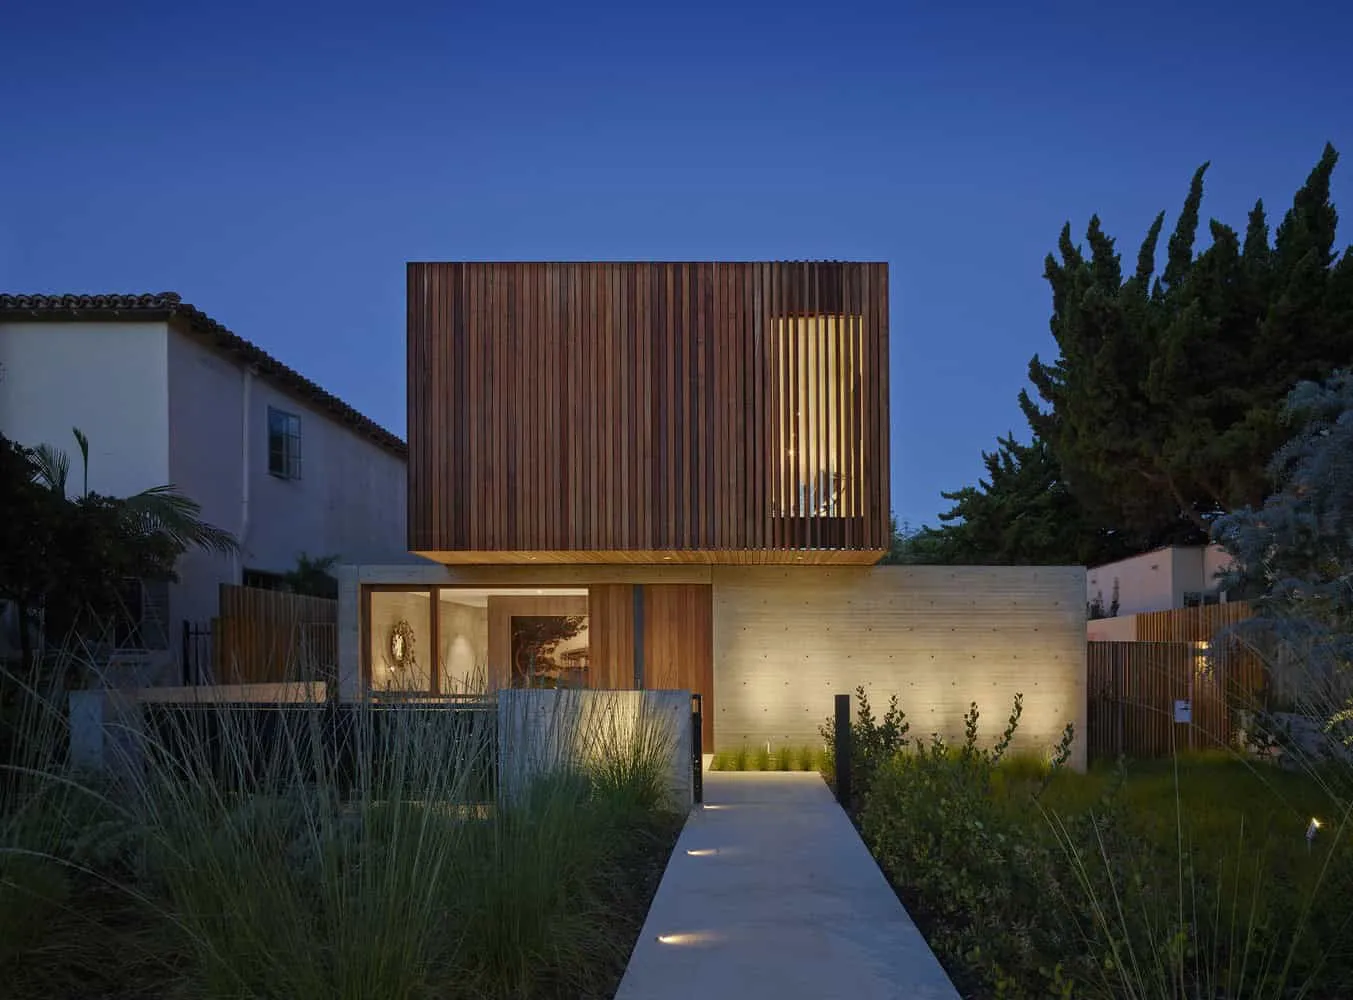 Residential House Taslimi by Fleetwood Fernandez Architects in Santa Monica, California
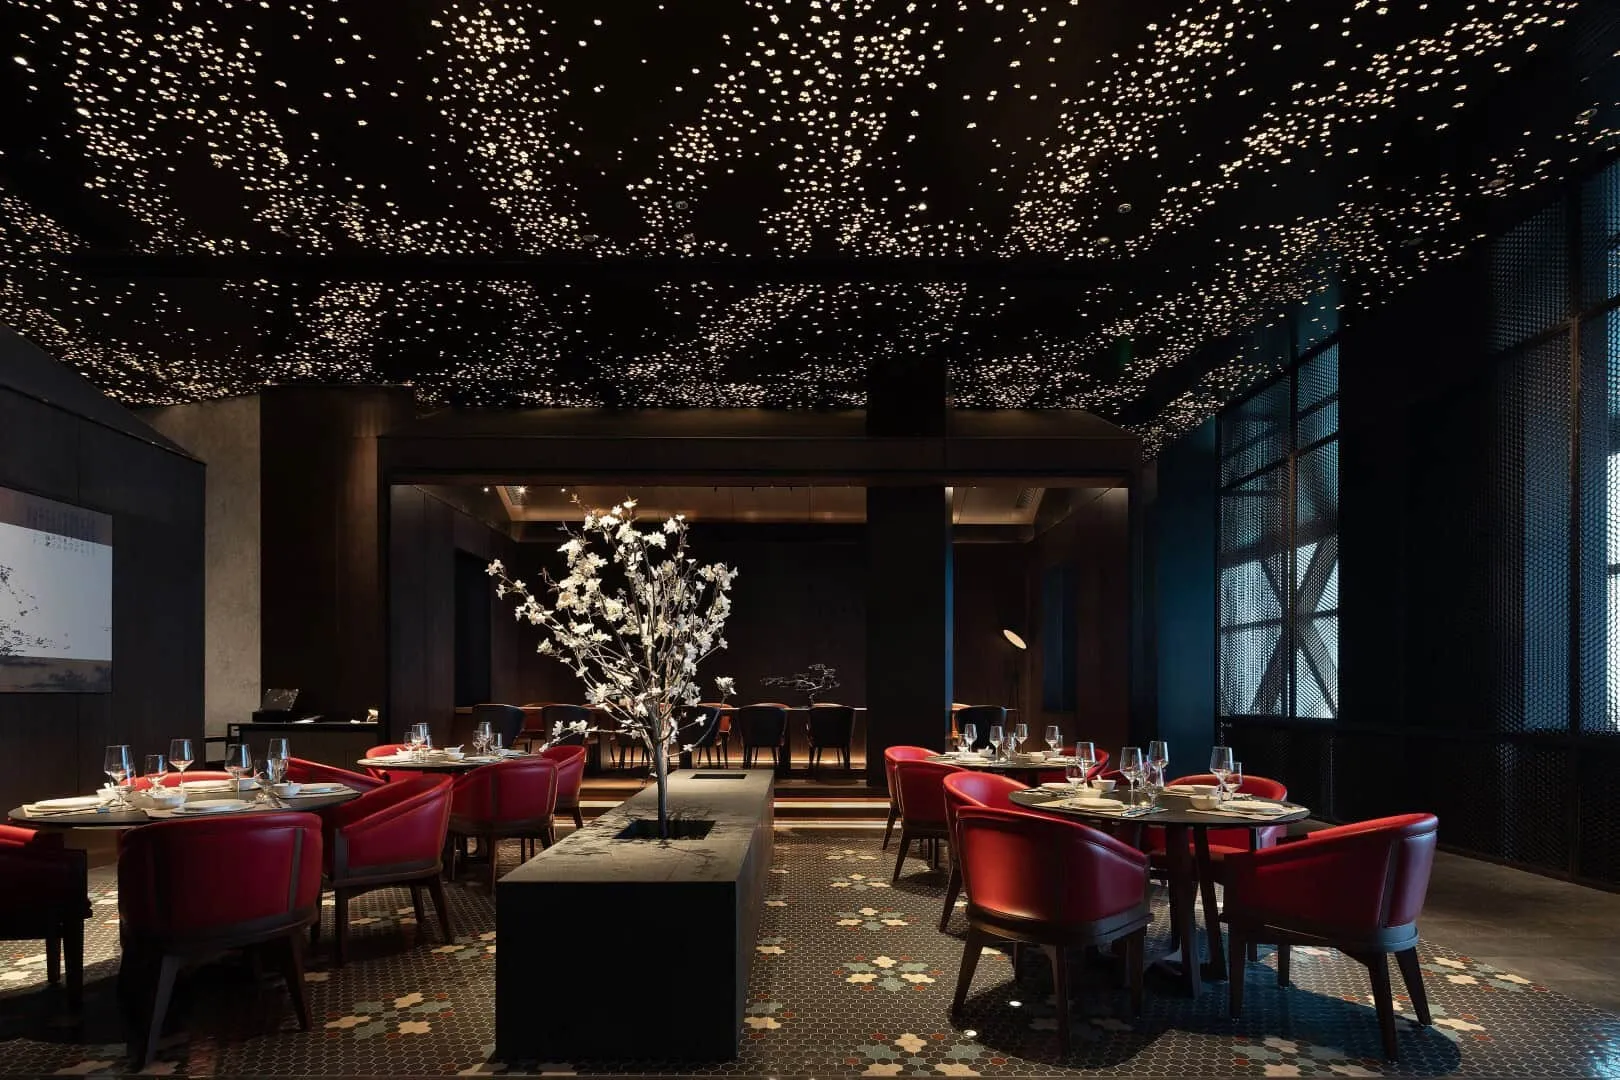 Flavor of Jiangnan - Restaurant by LDH Architectural Design in Nanjing, China
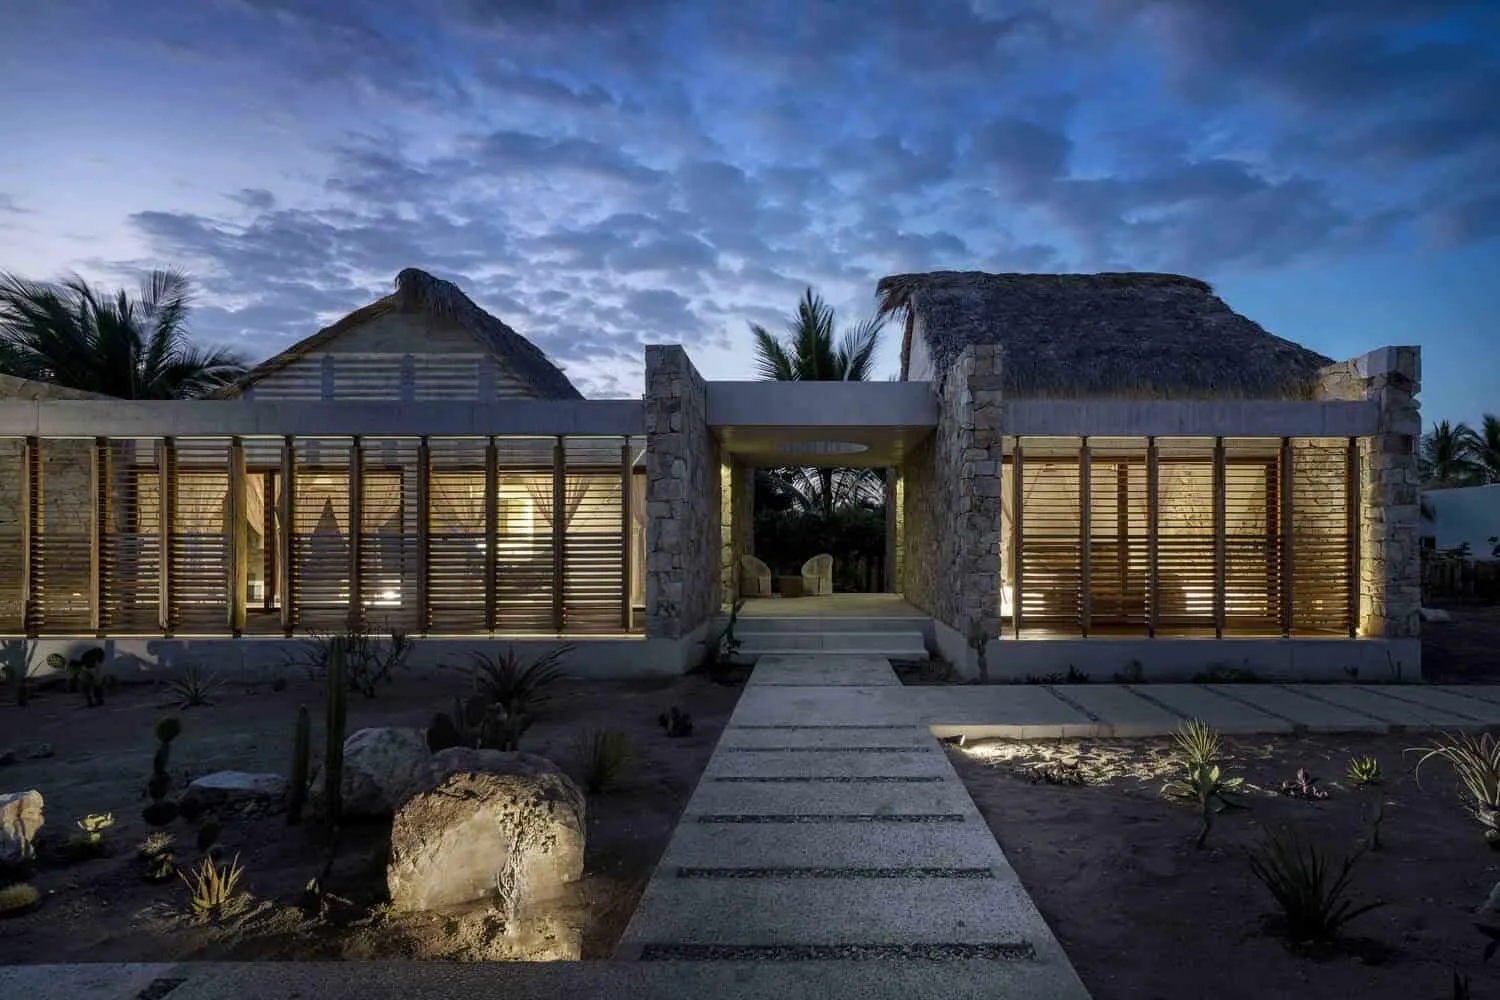 Tate House | MATERIA | Puerto Escondido, Mexico
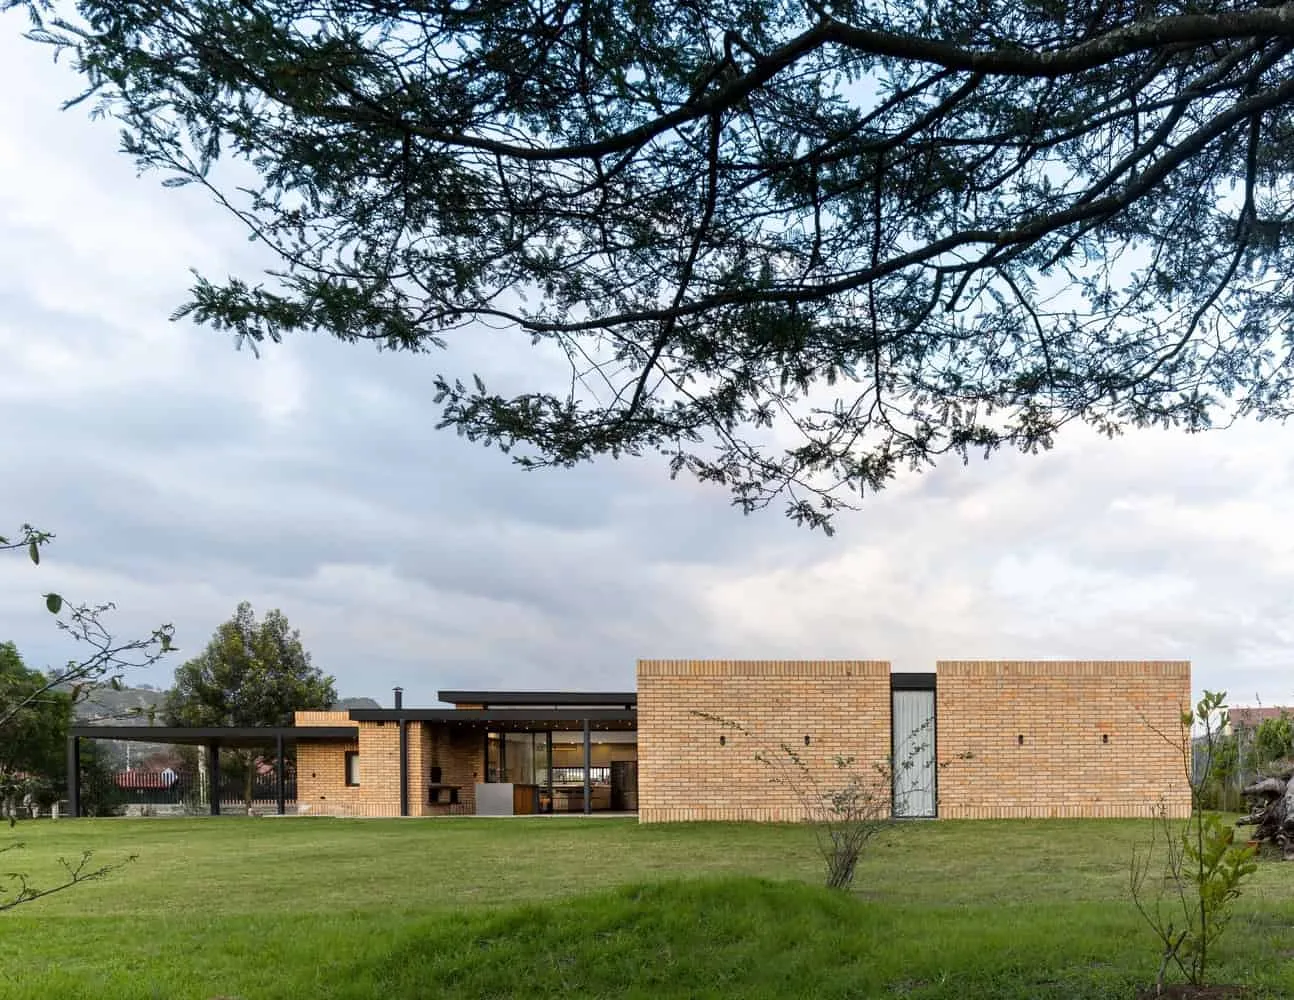 TC House in Cuenca by Arqcor — Modern Brick Residence
 House TD in Sintra by ESQUISSOS – Monolithic White House
 Small TEKITEKI-AN House from 6lines Studio: Sustainable 9m² Retreat in Satoyama, Japan
 Tell us about your bedroom and we'll tell you which bedside rail you need
 Four Signs That Your Garage Doors Need Repair