11 Important Details of Khrushchyovka Renovation
Tips for reconfiguration, rough work, and finishing of the room
When renovating apartments in Khrushchyovka-style buildings, the main goal is to address worn-out utilities, expand small spaces, and save money. This last point is particularly relevant for Moscow residents due to the implemented housing renovation program. It's obviously not desirable to invest money in renovating an apartment in a building scheduled for demolition. But what to do if the relocation schedule is unknown or the move is planned not in the current or even next year, but rather in five or even ten years?
1. Don't be afraid of reconfiguration
In many Khrushchyovka series, internal walls are non-load-bearing, which gives opportunities for reconfiguration by combining or enlarging rooms. For example, a bathroom can be expanded at the cost of a corridor, and a kitchen can be partially merged with an adjacent room, provided that doors are installed in the newly formed opening if there is a gas stove and a gas water heater in the apartment.
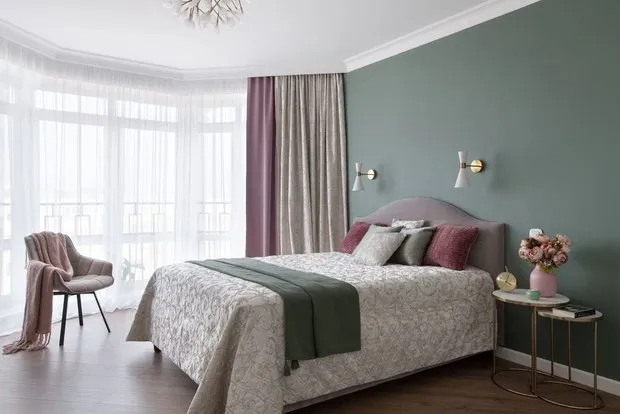
One of the typical features of Khrushchyovka is the heating pipes inside the inter-room walls. To form an opening, it's necessary to move away from the outer wall sufficiently to avoid damaging the heated part of the inter-room partition. Alternatively, after dismantling the wall as much as possible, weld pipes to the riser and place a new wall-mounted radiator.
 Design: Alexandra Kryuchkova
2. Don't rush to change utilities
Before making a decision about replacing your part of the cast-iron riser, make sure that this step is justified. Inspect its condition, check for leaks and corrosion. If there are no such or other damages — it's better not to take responsibility and wait for the communal replacement of sewer risers. Otherwise, always coordinate the replacement of the riser with the management company.
When replacing the horizontal sewer section with polypropylene pipes, pay special attention to their joints with the cast-iron riser.
 Design: Alexandra Kryuchkova
3. Don't overload the floor slabs
The floor level in different rooms of Khrushchyovka apartments often varies, and leveling during renovation is an essential step. Be careful when calculating the screed thickness — floor slabs are not designed for heavy loads. Also, approach the reconstruction of floors in rooms with screed (kitchen and bathroom) and wooden floors on joists (usually in living rooms) differently.
For the same reason, use only lightweight materials for new partitions — for example, gypsum board.
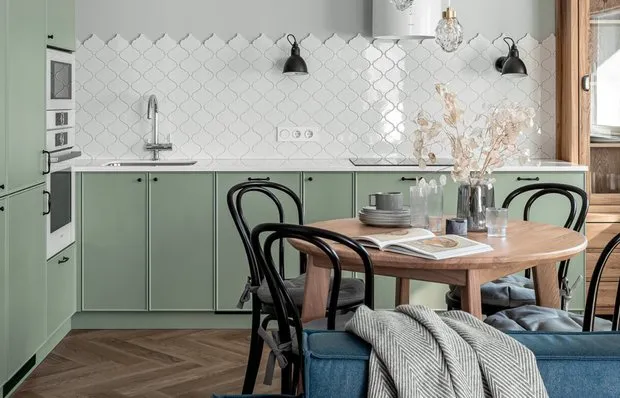
 Design: Anastasia Khmelievskaya
4. Replace the wiring
Plan the technical setup of your apartment according to the power assigned to it. In Khrushchyovkas, this is usually no more than 3 kW, which forces you to think carefully about choosing specific appliances and the overall set, preferring Class A.
To minimize risks, replace aluminum wiring with copper and install a separate circuit breaker for each live line.
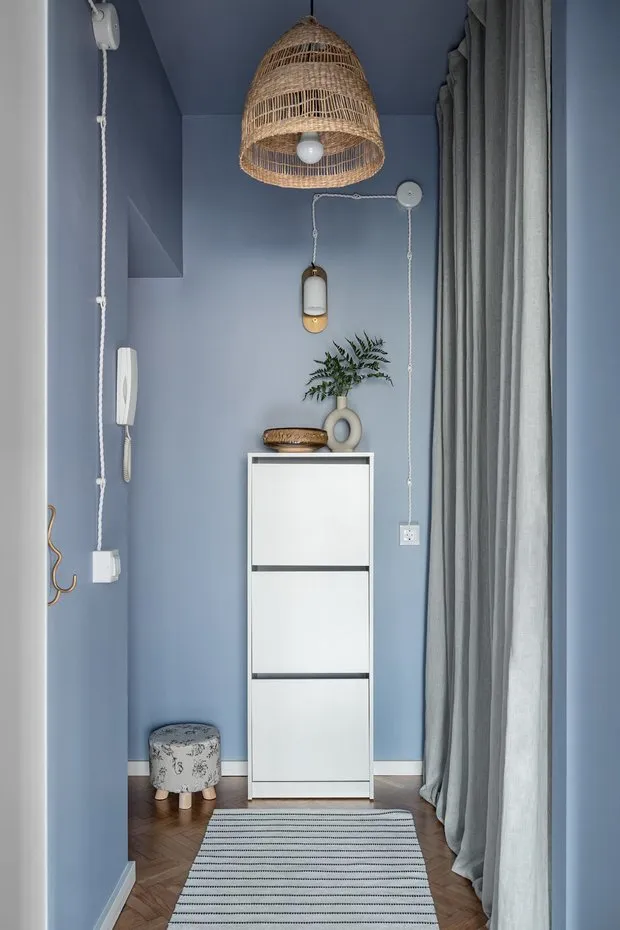
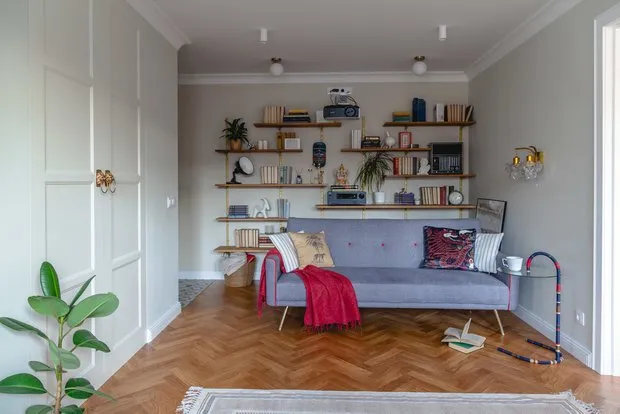
6. Leave open wiring
The thickness of internal and even inter-apartment partitions in Khrushchyovkas is so small that creating concealed electrical installations and installing sockets and switches can be problematic.
If reconfiguring partitions is not part of your plans, open wiring can be a good solution, fitting into completely different interior styles depending on the design of the selected switches and sockets.
 Design: Evgenia Rakhval'ska
5. Insulate the apartment
The thickness of external walls in Khrushchyovkas built from reinforced concrete panels is only 30-40 cm, which provides insufficient thermal insulation. Insulating the walls should be done not from inside but from outside the building, which is a rather complex task if done within one apartment and also violates the appearance of the building facade.
When replacing radiators, add one or more sections to each room. But don't overdo it — significantly increasing the number of radiators or sections in an apartment can disrupt the thermal balance of the entire building.
 Design: Huge Studio
7. Avoid suspended ceilings
After renovation, the joy of preserving ceiling height will likely be outweighed by the frustration of visible panel joints — so plaster and paint the ceiling instead of 'eating' valuable centimeters with a suspended one.
8. Improve ventilation
Don't install a fixed window between the bathroom and kitchen. On the contrary, make it hinged. This will improve the quality of ventilation in the bathroom and help prevent mold growth without needing to keep the door open all the time.
 Design: Anastasia Khmelievskaya
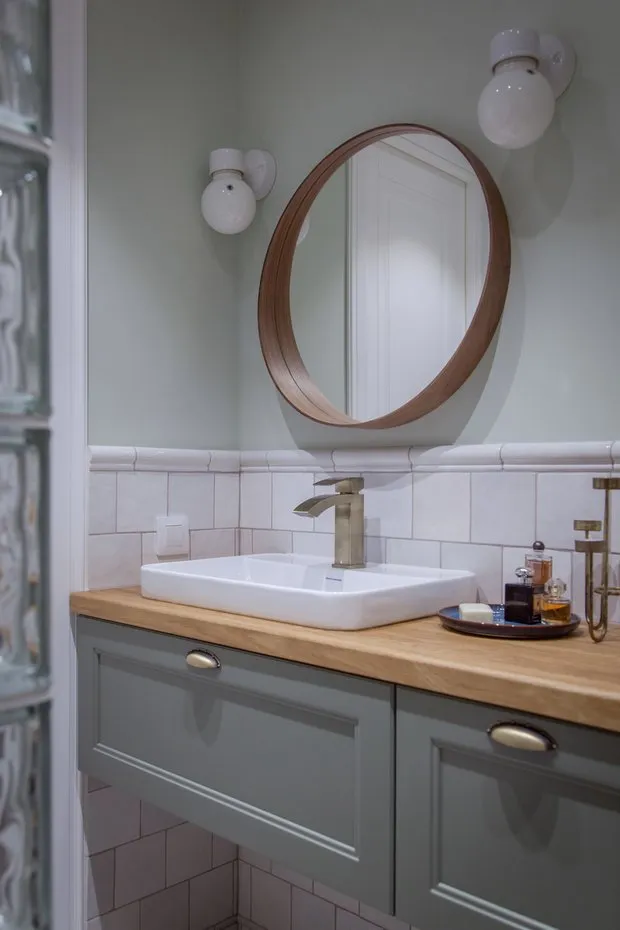
9. Save cubic meters
In small apartments, it's important to minimize the thickness of finishing layers to avoid 'eating' precious space. For example, by choosing paint over tiles in the bathroom, you can save 1-2 cm on each wall.
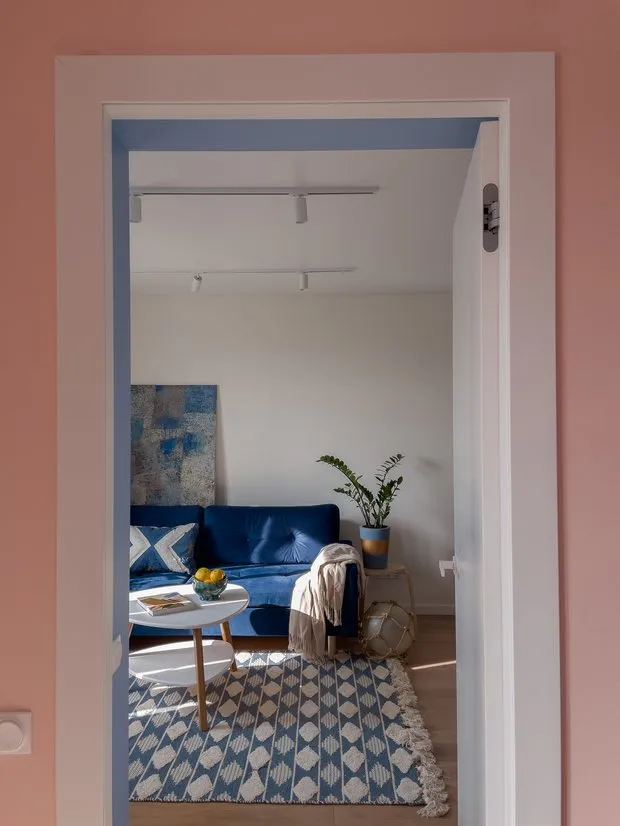
10. Don't worsen the flaws
Avoid high baseboards that visually shorten the ceiling height or at least paint them in the wall color. Choose cornices that extend deeper into the ceiling with their longer side.
Another way to fight for height is tall inter-room doors that visually lift the ceiling. However, being non-standard in terms of manufacturers' specifications, they always lead to increased project costs. A more affordable alternative can be a false door extension upwards — for example, installing a window or painting the wall section above the opening in the door color.
 Design: Alexandra Kryuchkova
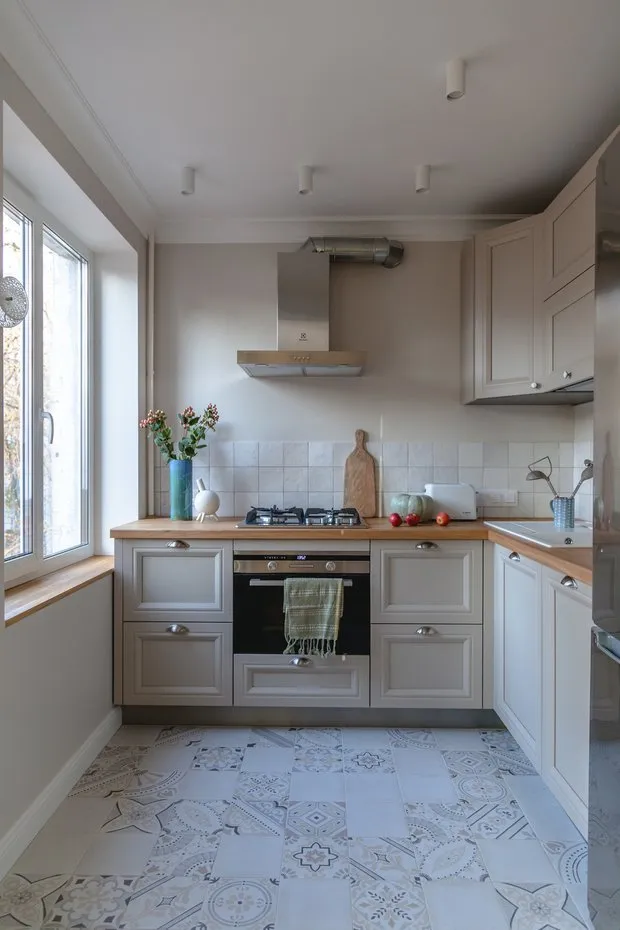
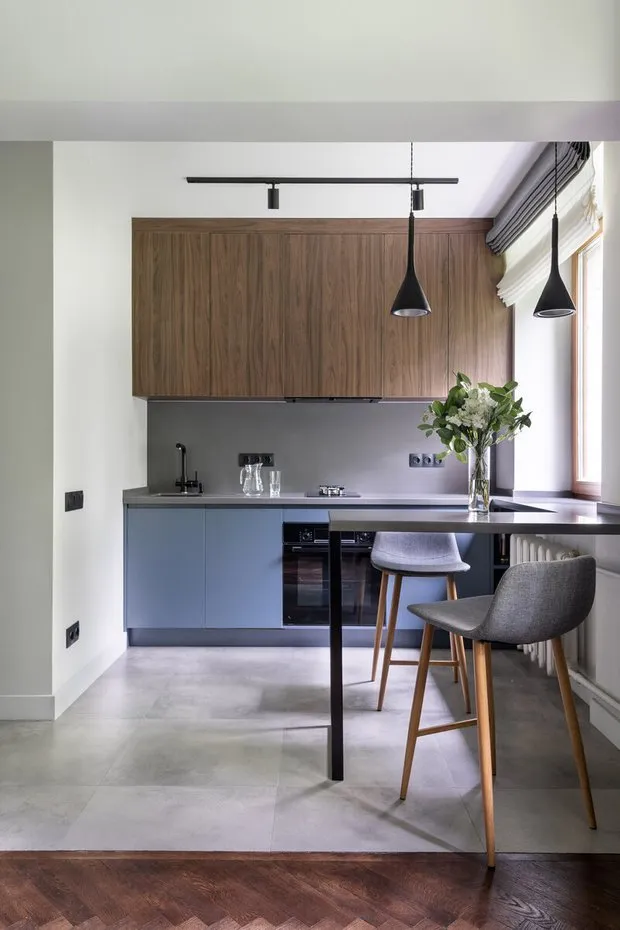
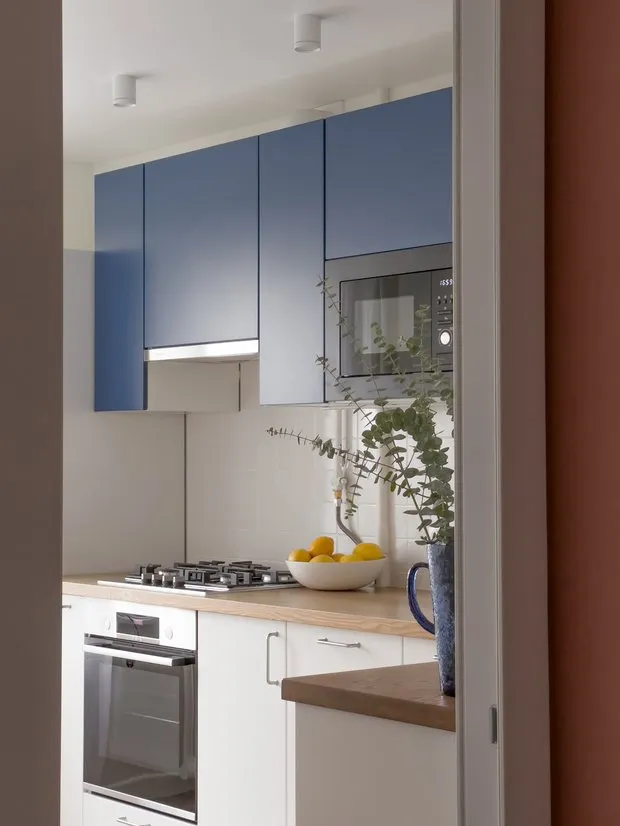
11. Utilize all available space
To make 5.5 square meters of kitchen functional, install wall-mounted cabinets up to the ceiling and use the wall with a window. When installing kitchen cabinets along it, the only limitation is the height of the windowsill — lower than the standard working surface. The solution needs to be made individually — sometimes it is acceptable for cabinets to be higher than the windowsill if there's still room to wash windows with partial opening.
In other cases, a variable (lowered) height of the cabinet unit is acceptable in this part. Or an extension of the windowsill can be a narrow dining table, whose required height precisely matches that of the windowsill. A quite radical variant sometimes seen in design projects is partial window opening from below to the desired countertop level.
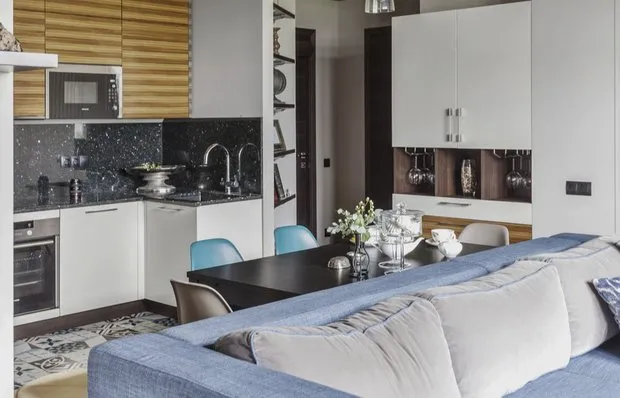
When organizing a U-shaped kitchen, remember that ergonomic requirements demand at least 120 cm of passage between two rows of cabinets. Sometimes to comply with this parameter, lower cabinets without household appliances need to be made non-standard, shallower in depth.
Need a renovation specialist?
Find verified professionals for any repair or construction job. Post your request and get offers from local experts.
You may also like
How They Transformed the Look of a Classic Moscow Stalin-era Apartment (Before and After Photos)

How to Create Coziness on a Budget: A Couple Remodeled Their Rental Apartment and Shared Tips
Design tricks to keep your renovation stylish for years

Home Repair from the 1940s Without Designers and Preparation (Before and After Photos)
More articles:
- How They Transformed the Look of a Classic Moscow Stalin-era Apartment (Before and After Photos)
- How to Create Coziness on a Budget: A Couple Remodeled Their Rental Apartment and Shared Tips
- Design tricks to keep your renovation stylish for years
- Home Repair from the 1940s Without Designers and Preparation (Before and After Photos)
 8 Mistakes in Kitchen Design You Can Avoid Now
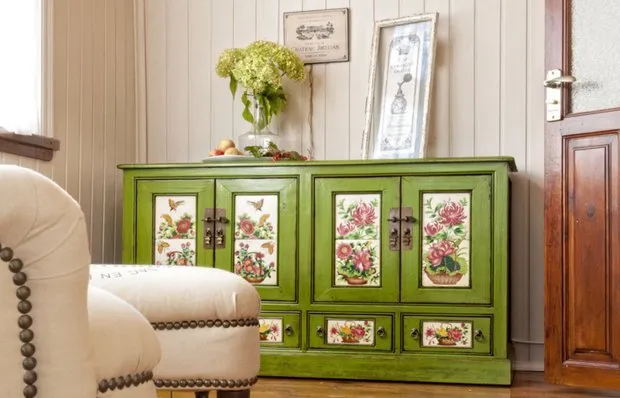 9 Tips to Transform Old Furniture
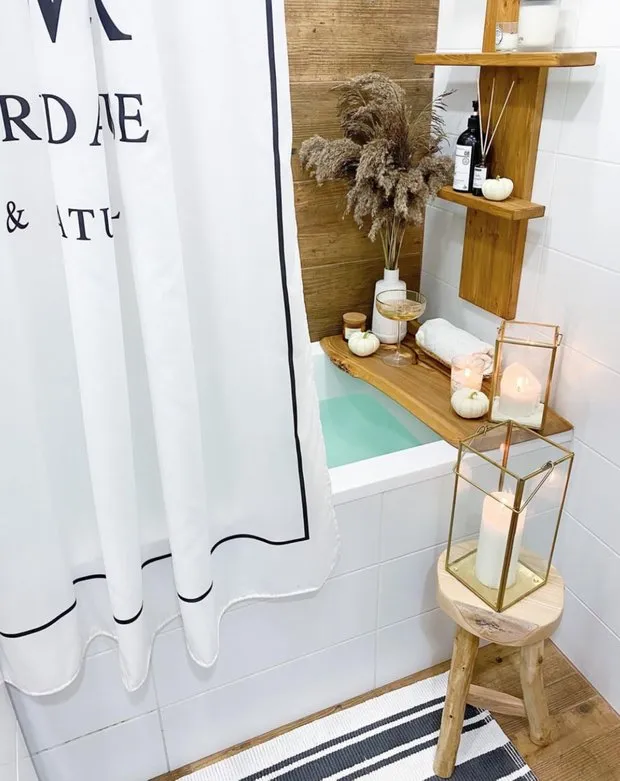 Homeowner Shares 11 Solutions She Will Definitely Replicate in Her Next Renovation
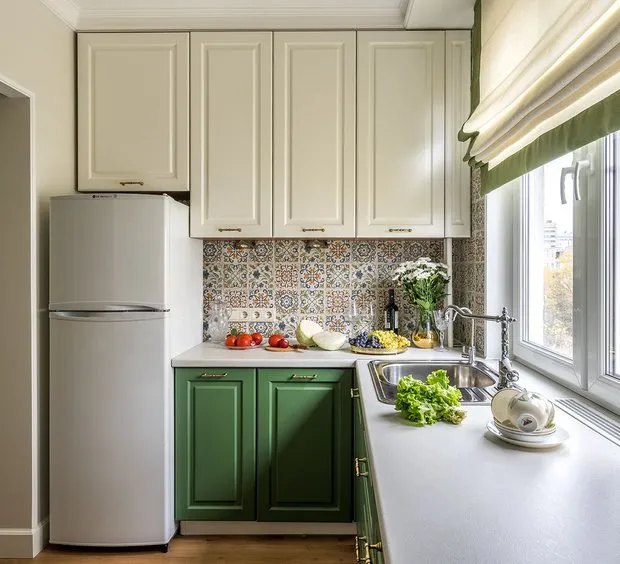 Redesigning a Studio for Mom: 38 m² of Beauty and Comfort