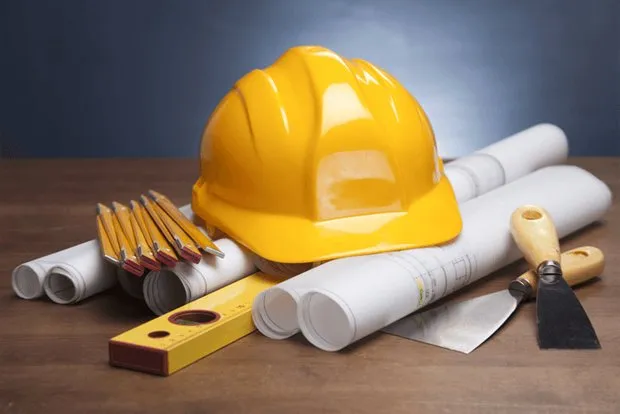
How to Control Renovation at Different Stages: Tips from Professionals
They say two renovations equal one fire. To avoid burning down, professionals recommend controlling the process from start to finish.
By involving various subcontractors for the renovation, the client is not left idle. Their main task is to learn how to skillfully manage the team. How to lead effectively without hindering professionals but still protecting their own interests, what not to miss and what to pay attention to, is explained by the General Director of the online repair ordering service Rewedo, Andrey Lyamin-Borodin.
Andrey Lyamin-Borodin, Expert, General Director of the online repair ordering service Rewedo.
1. Design Project
With a designer, like with a doctor – maximum openness leads to the best results. Tell him everything about your lifestyle, habits, and movement patterns so he can design a space tailored to you. If this is not your second (fifth, tenth) project with this designer, align for collaborative work.
How to control the designer: Check that the project complies with existing building codes (SNiP), electrical rules (PUE), gas equipment placement rules, and renovation regulations. Yes, a responsible designer won't propose anything that violates legislation, but it's better to double-check on the shore: the owner is responsible for any violations.
What to pay attention to: Do the distances from sockets to sink, stove, gas pipes, and the distance from gas pipes to stove and oven comply with norms?
 2. Choosing a Repair Crew
Look at completed or ongoing projects of the crew. Not always possible to follow this advice, but if you can – there's no better source of information about builders.
What to pay attention to: Ensure (ideally together with the designer) that the repair crew is capable and ready to work with information from your design project: plans of demolished and new partitions, structures, niches, wall layouts, light fixture, switch, socket plans, plumbing plans, door openings and door swing plans, floor and ceiling construction plans, tile layout and other flooring schemes.
Important! Do not agree on payment by volume, but rather X rubles per square meter. Ideally, a detailed estimate should be prepared. Sign a contract with a warranty on work (minimum – one year) and liability for substandard execution, including material damage.
 3. Beginning of Renovation Work
The contractors are selected and provided with working documentation, and now the most… for some people – uninteresting. But it is precisely from this process of implementing the plan that the result depends. If the designer provides author's supervision, it usually means they are responsible for ensuring work matches the project, but not for the quality of the work itself – that needs to be controlled separately. If there is no author's supervision, the control is entirely yours.
Ask builders in detail how they plan to carry out the work and cross-check the information with other sources.Ensure that you and the builders understand the correct sequence of work, which includes more than just common rules like “from top to bottom” and “from far to near.” There are nuances too: for example, when to run electrical wiring – before or after plastering.
For instance, if it's critical that outlets and pipe outlets align with the wall surface, run the wiring after plastering. Ask builders in detail how they plan to carry out the work and cross-check the information with other sources.
 4. Plumbing and Electrical Work
Check that the purchased plumbing fixtures and mixers match planned technical outputs. All plumbing should be available by the start of rough work. In a worst-case scenario, print technical schematics for each item and present them to plumbers.
Conduct the same check for electrical equipment. If, by default (misunderstanding, inattention), round boxes are installed when square ones are required for the planned switches, you may have to either change the switches or re-cut the grooves.
After installing plumbing, fill the bathtub and sink with water, open the shower taps, and monitor the drainage system.
Control (measure yourself, ask again, ask once more) that the slope of pipes is correct. When removing the bathtub, shower, and sink from the stack, the slope should increase by 2.5–3 cm per meter at a pipe diameter of 40–50 mm. When removing the toilet, the slope should be 1.2–2 cm per meter at a pipe diameter of 100 mm.
If the slope is not maintained, water won't flow into the sewer or will flow too slowly. But an excessively steep slope is also harmful.
What to pay attention to: Ensure that builders compile as-built drawings showing the paths of all cables and pipes. This is essential for future drilling or emergency/regular repairs.
Don’t skimp on the inspection access hole. Its size should not be too small – for easy access to pipes and taps in case of repair work.
 5. Walls
If the agreement with builders includes leveling angles and walls to 90 degrees, ensure this condition is met. If not, perfect leveling should still be achieved at least in areas where baseboards and door frames are installed – to prevent gaps between the wall and door frames, or in areas where built-in or corner furniture is installed.
What to pay attention to: Check the dimensions of all niches and door openings where built-in furniture is planned. Especially if it’s already ordered or the niche is made for specific dimensions – even a few millimeters deviation from the plan can become a big problem.
Check door opening sizes and compare them to manufacturers' requirements to avoid having to make non-standard work, which costs at least 20–25% more.
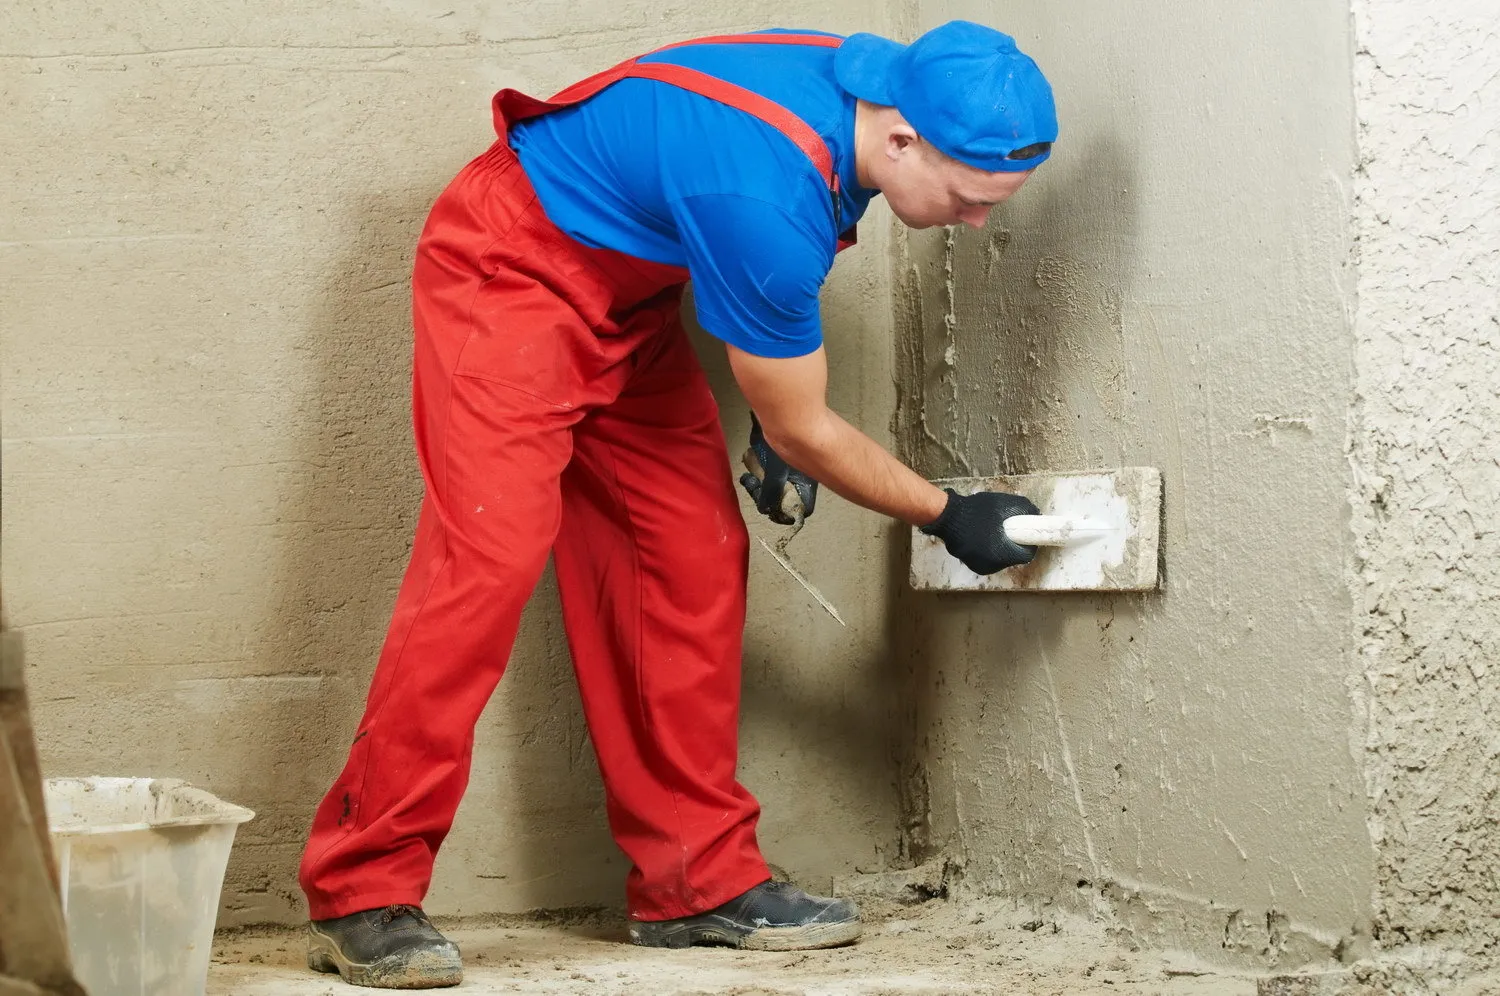 6. Tile Work
Introduce builders to the materials. With so many finishing materials on the market, it’s acceptable not to know everything. The habit of verifying and double-checking is more often a sign of professionalism than the opposite. For example, many tiles have been ruined by not knowing which side of mosaic to apply and whether it matters depending on whether the mosaic is applied to mesh or paper.
Don’t wait until the entire tile volume is ruined (this is a last resort), but rather get visualizations and layout schemes and discuss with builders where, how many, and what to cut – where, how many, and how. If there are external corners in the room and you want 45-degree cuts, first check the quality of these cuts made by your builders.
Introduce builders to the materials. With so many finishing materials on the market, it’s acceptable not to know everything.
Pay attention to the correct direction of tile laying. It’s not always obvious, and builders may have their own vision of the layout or pattern that differs from yours.
Check the waterproofing of all joints between walls and plumbing fixtures. Use epoxy grout that is resistant to moisture and contamination.
 7. Floors
Before preparing the rough floor, check the thickness of all flooring materials – to calculate the thickness of the rough floor for each material and achieve a unified level. This allows for a beautiful transition between flooring materials – without thresholds, using sealant, liquid plug, or cork compensator.
Allow proper drying time for the screed. Don’t rush the builders or let them rush themselves. The same applies to wall plastering – only full drying guarantees proper adhesion of materials.
Inspect baseboards – there should be no visible joints between their sections, all gaps should be spackled and painted.
Inspect the finished screed. This is an important stage because it affects floor quality and the long-term durability of the finish. The screed should be level (checked with a level), not crumbling or flaking, and free of voids or bumps. In addition to visual inspection, you can tap it with a hammer – the sound should be dull and quiet.
Inspect baseboards – there should be no visible joints between their sections, all gaps should be spackled and painted. The same applies to wall moldings and ceiling cornices.

Need a renovation specialist?
Find verified professionals for any repair or construction job. Post your request and get offers from local experts.
You may also like
More articles:
 Scandinavian apartment with fireplace in the kitchen
 How to Decorate a Townhouse: 10 Ideas from Designers
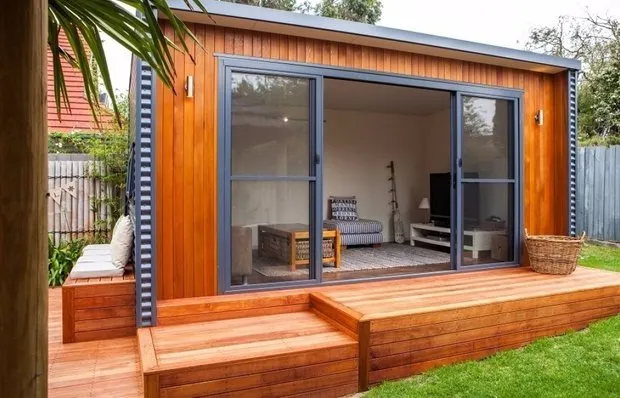 Garden House of 30 Square Meters: Modular Cabin from Cedar
 Contract with a Designer: Important Points and Mutual Obligations
 How to Set Up a Home Library: 8 Great Ideas
 8 Trendy Ideas for Wall Decoration
 How to Make a Gray Interior Interesting: Apartment in Sweden
 How to Plan a Small Bathroom: Pro Checklist