Installation Instructions for Shower Cabin by Yourself
Photo 1 — Shower cabin
Preparing the tools
If installing a shower cabin by yourself is a long-term planned event, it is necessary to start with checking the tools without which installation and connection are simply impossible. In addition to a tape measure, ruler, and square, you will need: a saw, drill, mounting brackets, screws, anchors, a construction gun, and various finishing materials if necessary.
Installing a Shower Cabin
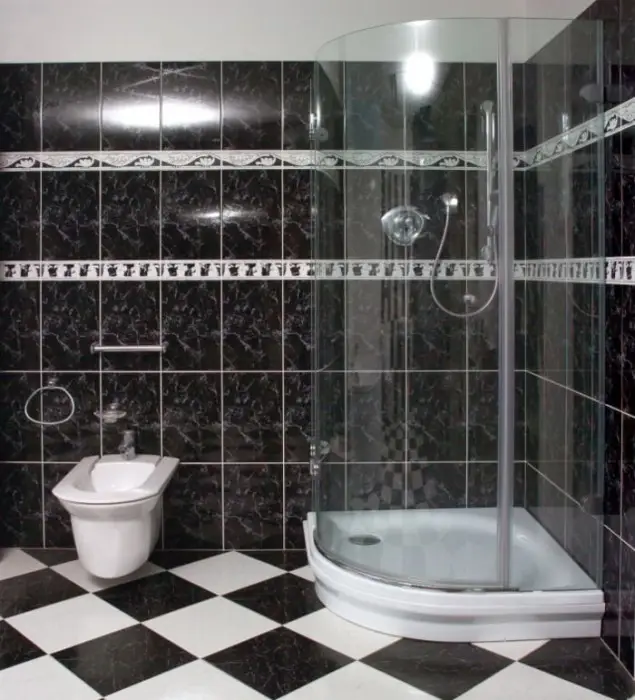
Photo 1 — Shower Cabin
Preparing the toolsIf installing a shower cabin by yourself is a long-term planned event, it is necessary to start with checking the tools without which installation and connection are simply impossible. In addition to a tape measure, ruler, and square, you will need: a saw, drill, mounting brackets, screws, anchors, a construction gun, and various finishing materials if necessary.
Naturally, many shower cabins (e.g., models from IKA, TIMO, SERENA, NIAHGA, RAVAK) come not only with installation instructions but also with some required consumable materials, which are usually not sufficient. Therefore, the video "Installing a Shower Cabin" and similar titles can be very useful to determine the required consumables and possibly some tools.
Installing a Shower Cabin: VIDEO
In any case, installing a shower cabin (video, photo guide, diaries, and other materials) "from the first-hand" can solve many problems before they even begin to appear. For example, installing and mounting shower cabins without a tray is possible in case of appropriate room equipment where they are planned to be installed.
IMPORTANT! In general, installing a shower cabin begins with installing the tray.
Installing the DrainIt is necessary to fix the drain components in the tray and tighten them securely, with the sealing gasket located under the tray. The installation of sewer pipes should be completed so that the external pipe outlet is positioned directly under the tray drain.
Installing the Assembled TrayThe assembled tray should be aligned horizontally using the adjustable feet. If installation requirements demand it, the tray can be raised to create a slope. Once the tray is properly aligned, its drain must be sealed with sealant — the joint between the drain and the floor.
Grounding the Cabin and PlumbingIf the shower cabin is made of metal or has significant metal surfaces, it must be grounded, which should be done by a specialist. Do not attempt this yourself if you do not have the necessary knowledge.
Installing the Wall Profile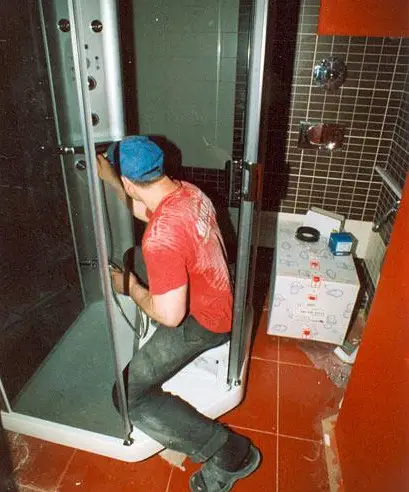
Photo 2 — Installing the Wall Profile
IMPORTANT! Before installing the wall tiles, you should ensure the overall sealing of the structure and completely prevent any possible water penetration.
The tiles should be laid with a slight incline, which can be problematic in case of poor-quality Chinese cabins. For this purpose, the wall profile is installed at the edge of the tray and marked with a pencil for mounting points.
IMPORTANT! If the wall is tiled, it is necessary to carefully drill holes without applying force or impact and insert anchors.
Afterwards, mount the wall profile according to the assembly and installation instructions.
Installing the Curtain and DoorsAt this point, you can install the fixed curtain and connect it to the wall profile, but do not permanently fix the curtain yet — first install and adjust the doors of the shower cabin. To check how well they stand, close the doors and verify the tightness of their fit to the tray edge. Opening and closing the doors should not be obstructed by anything.
Securing and Sealing the Cabin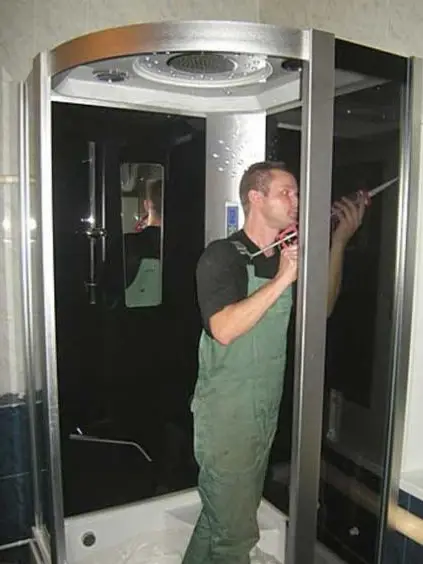
Photo 3 — Securing and Sealing the Shower Cabin
After installing and adjusting the doors, you can securely fasten all components and seal any gaps with sealant. The shower tray finishing can be arbitrary, but in most cases, especially when installing a shower cabin by yourself for the first time, the standard cabin kit does not require any additional items.
"Box" — Installation Option by Yourself
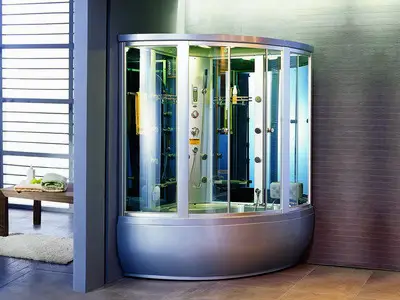
Photo 4 — Corner Shower Cabin of "Box" Type
It should be noted that the cost of installation can be completely eliminated if using shower cabins of "box" type. This latest achievement of science and technology does not require any construction or installation work at all. A "box" usually consists of several shower partitions and a tray. All that is required is to connect it to water supply and organize drainage. If natural drainage cannot be arranged, a pump can be used. To put it simply, self-installation of such a shower cabin is quite possible; moreover, these cabins can be equipped with a steam generator, hydro-massage functions, and/or Turkish bath features.
The installation scheme of such cabins is almost identical to any other, with the only difference being that no fitting or mounting of elements is required since they are already assembled. You just need to connect water, electricity, and organize the drainage. Furthermore, in most cases, no permit is required for such cabins, unlike modular cabins.
Connecting to the Water Supply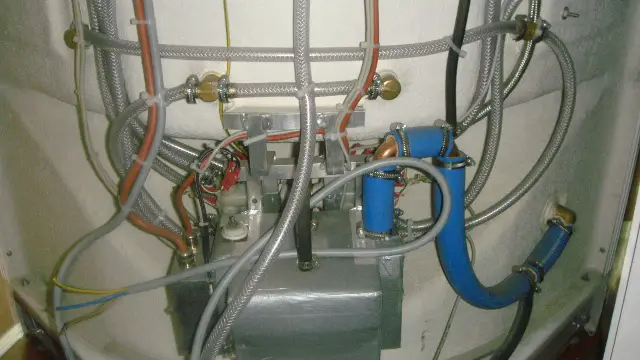
Photo 5 — Connecting the Shower Cabin to the Water Supply
Connecting a cabin (in this case, any model) to the water supply and organizing its drainage is described in detail in the instruction for each model. Usually, flexible hoses are used, and when it comes to drainage, it is better if natural water flow already exists and you just need to insert the waste hose into the sewer line.
For proper operation of the cabin and its hydraulic parts, attention should be paid to water pressure requirements; for example, with water pressure below 1.5 bar, hydro-massage will not work at all. For many regions, it is also relevant to install additional mechanical water filtration units — this will provide sufficient protection against premature damage to the cabin's water supply system.
Connecting to the Electrical NetworkIt is worth noting specific details of connecting to the electrical network. General requirements specify full grounding and neutralization of the cabin. Additionally, the cabin should be connected to a dedicated two-pole circuit breaker equipped with a residual current device. Most likely, in the entire room where the cabin is installed, it is necessary to install moisture-proof lighting and electrical outlets. Ideally, such measures should be combined with a major renovation, when rewiring and relocating outlets and switches would not be too difficult or inconvenient.
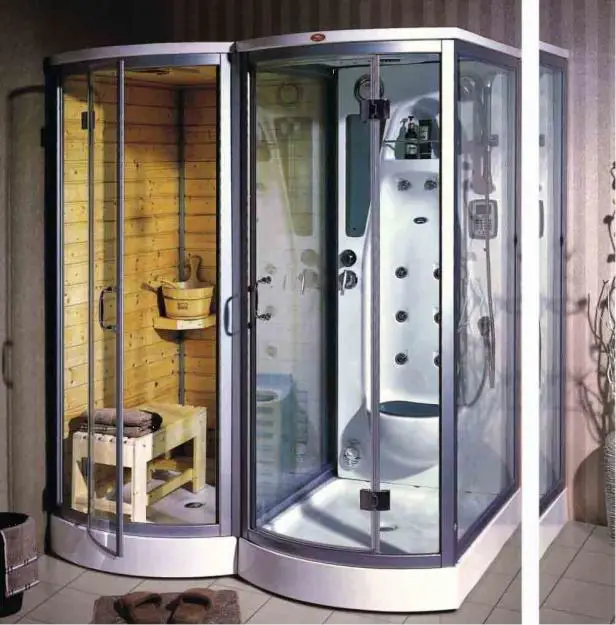
Photo 6 — Various Options for Shower Cabin Designs
IMPORTANT! When choosing a specific shower cabin, it is necessary to independently assess the overall strength of the cabin: for example, the cabin should not wobble, bend, or creak.
There should be no mechanical damage or scratches on the cabin, especially on its front components. It is important that there are no sharp angles — nobody is protected from falls in the cabin. The cabin's overall sealing should not raise any doubts, since this will allow all parts to last longer and reduce the need for sealant. Even if the future model is from a well-known manufacturer with a long warranty period, having spare parts would be useful — this should be checked when inspecting the kit of the purchased item (as some spare parts can be very expensive).
Cost of Installing a Shower Cabin
Probably, for most consumers, purchasing and installing shower cabins in a set is more sensible, as this allows for full warranty service. In addition to that, the contract typically includes not only installation and repair during the warranty period but also offers insurance services for such devices (it would be nice to have options like voltage fluctuation insurance). In general, it is advisable to refer to the approximate price levels in this product and service segment:
- Moscow (RUB): Installation cost including all consumables from 3000/6000
- Kyiv (UAH): Installation cost including all consumables from 300/500
Naturally, some (expensive) models may be sold with free installation, but in this case, budget options should be forgotten.
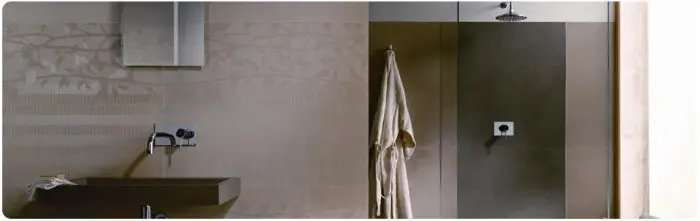
Photo 7 — Built-in Transparent Shower Cabin