Laying tiles on the floor
Laying Floor Tiles: Preparation Steps
The work is indeed labor-intensive. However, with careful attention and following the instructions carefully, anyone can complete it successfully.
First, measure the area of the surface to be tiled. For more accurate results, use a laser ruler instead of a traditional one. We need to know the length and width of the room; measure from each wall. Multiply these measurements to get the total area.
Second, choose your tiles wisely. The process of laying tiles in the hallway will largely be similar to that in the bathroom (often laid on polystyrene for better insulation—see article: “Laying Tiles on Insulated Floors”) or in the kitchen. However, the material chosen for different areas should vary accordingly.
It’s important to consider not only the color or size but also technical parameters such as:
- Wear resistance;
The higher this value, the less the tiles will wear over time. Choose the right grade based on the intended use of the area. For example, if people often walk barefoot in the room, a lower wear resistance grade may be sufficient, while a bathroom requires a much higher grade.
- Slip resistance;
This is indicated by numbers like R 9–R 13 (see image). Slip resistance is achieved through the pattern on the tiles or by using special textured surfaces.
- Thermal stability;
This is especially important for kitchen floors. Poor-quality materials won’t withstand hot grease; they may crack under such conditions.
- Chemical resistance;
Tiles should be resistant to common household chemicals.
- Water absorption;
The pattern of the tiles should match the overall style of the room, and you also need to consider how the tiles will be laid (we’ll discuss this in detail below).
For public areas, ceramic granite is a better choice than regular ceramics, as its wear resistance is much higher.
Regardless of whether you hire a professional or do it yourself, mistakes are inevitable. It’s always wise to buy extra tiles in case some need to be replaced during installation. You might also find that some tiles need to be replaced after use.
When choosing tiles, consider world-renowned brands such as Aparici (Spain), Cersanit (Poland), Peronda (Spain), Sadon (Italy), and Terranova (Spain). These manufacturers offer high-quality products at reasonable prices. Buying certified tiles will prevent disappointment and the need for costly replacements later on. Their well-organized product catalogs will also help you make an informed choice.
For domestic use, you can consider tiles from companies like Nefrit-Keramika, Volgogradskiy Keramicheskiy Zavod, Gazkeramiika, or the Sokol brand.
Third, make sure you have all the necessary tools and materials before starting.

Image 1 – Essential tools for laying tiles: 1 – Toothed trowel; 2 – Flat trowel; 3 – Rubber mallet; 4 – Aluminum straightedge; 5 – Electric tile cutter; 6 – Manual tile cutter; 7 – Construction level; 8 – Mixer; 9 – RED 2D CONDTROL laser level.
Also needed are:
- Tiles;
- Tile adhesive;
- Cement;
- Diamond bit (for cutting holes for pipes and other openings);
- Ruler;
- Bucket;
- Wet sponge;
- Depth gauge;
- Painting brush;
- Plastic spacers;
- Pencil.
- Seamless laying;
- Laying with visible seams.
- Seamless laying involves fitting the tiles together without gaps. This method creates a smooth surface but may make the floor too rigid, especially in new buildings. It’s also more difficult for beginners to achieve perfect straight lines.
- Laying with visible seams requires leaving a slight gap between each tile. The gap is filled with special sealant after the tiles are laid. Before starting, lay out the tiles on the floor to plan the layout carefully.
Laying Ceramic Tiles on the Floor
Start by setting up reference points to ensure the tiles are laid evenly. In small rooms, you can use four corner tiles anchored in cement mortar as references. Lay the first tile and then adjust the others using a level.
Larger areas require additional reference points or a wooden guide rail. Prepare the cement mixture according to the manufacturer’s instructions (usually a ratio of 1:3–1:4). Mix the cement and sand gradually to ensure it doesn’t dry out before you use it all.
TIP: Professionals usually prepare enough mix for three rows of tiles. You can start with just one row if you prefer.
If you’re using an adhesive instead of cement, the instructions for preparing and using it will be on the package.Here are the technical specifications for KNAUF adhesive (Germany):

Image 2 – Technical specifications for KNAUF adhesive (Germany).
Standard procedure for laying ceramic tiles:
NOTE: The floor surface must be thoroughly prepared before starting.
Along the marked lines on the floor, spread the adhesive using a trowel or brush, starting from the far corner of the room.
Beginners are advised to apply no more than 1 square meter of adhesive at a time.
Place the tiles on the adhesive and press them down firmly with a trowel to ensure they adhere properly. You can also apply the adhesive directly to the tiles, making sure to cover at least 70% of their surface. This method is only suitable for tiles with a textured back. Be careful not to apply too much adhesive, as it may cause the tiles to crack. Use a toothed trowel for this purpose.
TIP: The teeth of the trowel should be at least twice as thick as the tile thickness.

Image 3 – Steps in laying tiles: 1 – Marking the surface; 2 – Cleaning the seams; 3 – Applying sealant; 4 – Laying the tiles.
Currently, Ceresit SM 17 is the best choice in terms of price and quality. The series also includes other versions (SM 11, SM 12, SM 14, and SM 15) with different properties depending on their intended use.
If you’re using the method with visible seams, mark them with plastic spacers after laying the tiles.
Wipe away any excess adhesive that remains between the tiles.
Use scissors, a glass cutter, or a tile cutter to cut the tiles if needed. You can also try breaking them with a hammer, but be careful not to damage the surrounding tiles.
Constantly check the level of the floor and the straightness of the tile layout using a wooden rail, reference points, and a level.
Wait at least 24 hours before applying sealant. Do not walk on the freshly laid tiles or apply any loads to them for this time.
TIP: The color of the sealant may change slightly after it dries. Choose sealants from brands like Ceresit or Sopro; they offer excellent quality, a wide range of options, and good durability.
Use a rubber trowel or roller to apply the sealant evenly. Some professionals also use silicone sealer on the seams afterward.

Image 4 – Sealing the seams and joints: 1 – Removing excess sealant; 2 – Applying sealant; 3 – Mixing the joint sealant; 4 – Sealanting the joints.
Laying Tiles on Wooden Floors
The base surface must be flat, free of defects, and damage. For wooden floors, clean it thoroughly by removing nails, old paint, filling cracks, and smoothing any uneven areas.
Any damaged parts should be replaced, and the wooden boards should be reinforced if necessary. You can level the floor using 20-mm thick gypsum boards or applying a self-leveling compound without removing the existing flooring. However, laying tiles on an unprepared or poorly prepared wooden floor is not possible, especially in bathrooms or saunas.
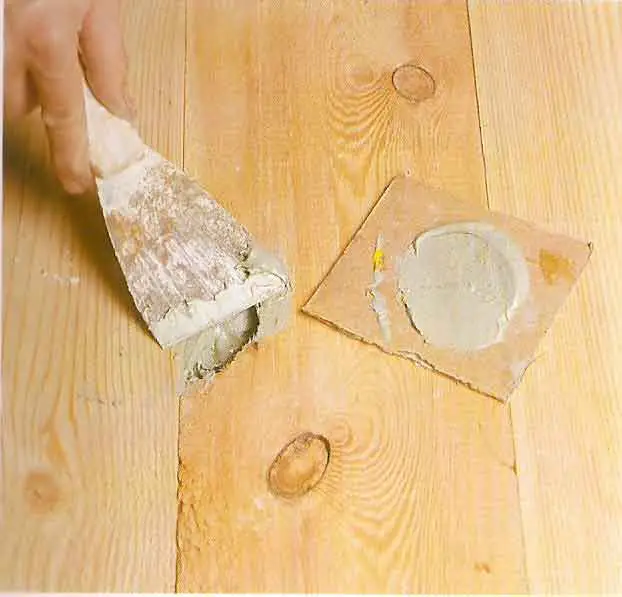
Image 5 – The base surface must be flat and defect-free before laying tiles.
Bathroom: Laying Floor Tiles (VIDEO)
Laying Tiles on the Floor (VIDEO)
Costs
In Kiev, the cost ranges from 50 to 120 hryvnia per square meter, depending on the skill of the installer.
In Moscow, the cost is between 600 and 1,000 rubles per square meter, again depending on the technician’s expertise.
Methods of Laying Tiles on the Floor
Before starting, you need to decide how you will lay the tiles and try laying them out on the floor without any adhesive to see how they will look. Make any necessary adjustments to your plan accordingly.
Basic method. This method does not involve using patterned or specially shaped tiles. Larger tiles are usually used for easier installation.
“Diagonal” laying. You will need a tile cutter for this method. Laying the tiles diagonally can help hide wall imperfections.
“Checkerboard” pattern. Two-colored tiles can add interest to the space, but choose the colors and sizes carefully to avoid an awkward look. This pattern can also be laid diagonally.
“Striped” pattern. Use two or more different colors of tiles arranged either parallel or perpendicular to each other.
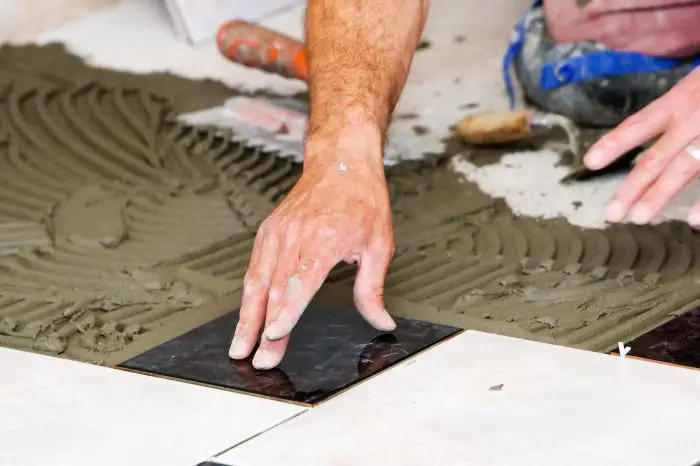
Image 2 – Laying tiles in a “calibrated” pattern.
“Carpet-like” pattern. Use decorative tiles to create a pattern similar to a carpeted floor.
“Custom design.” This method allows for creative patterns using various building materials.
“Calibrated” pattern. Arrange tiles in a randomized or orderly pattern using two or more colors.
Techniques for Laying Tiles on the Floor
Now that you have all the necessary tools and materials, and have chosen the right tiles for your room, let’s determine the best technique for you.
There are mainly two techniques: