How to Install Polystyrene Tile on Ceiling
The main options for finishing that meet most requirements are suspended systems, but they significantly reduce the room height, which makes their use problematic in low rooms. Traditional plastering and subsequent work are good but labor-intensive.
An alternative to these types of ceiling finishing can be ceiling tiles. However, adhesive ceiling has its own specifics.
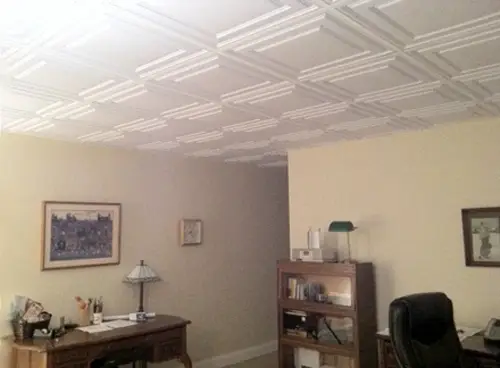
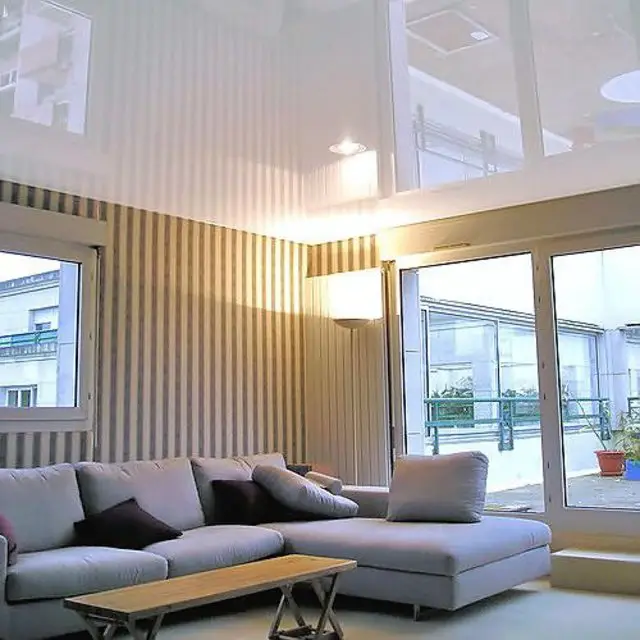
Photo 1 — Polystyrene ceiling tile in an office interior
Polystyrene Tile on Ceiling
Polystyrene tile or polystyrene tile is not the most ideal ceiling finishing option, but it has undeniable advantages.
Advantages of installing polystyrene tile on ceiling:- Low cost – the main "ace" of adhesive ceiling;
Polystyrene will cost much less than suspended systems or plastering. With limited financial resources or if there is no need or desire to spend money on a thorough renovation, tiles are an excellent solution.
- Lightweight – tiles have a small weight and are easy to install; Installing such a ceiling does not require mandatory involvement of specialists: a little effort and care – and the ceiling is ready.
- Speed;
Installing tiles requires very little time (compared to other types of ceilings).
- Universality;
You can cover almost any base with such tiles.
- Attractive appearance.
Decorative tiles can have various relief, imitate wood carving, stone texture, fabric and more.
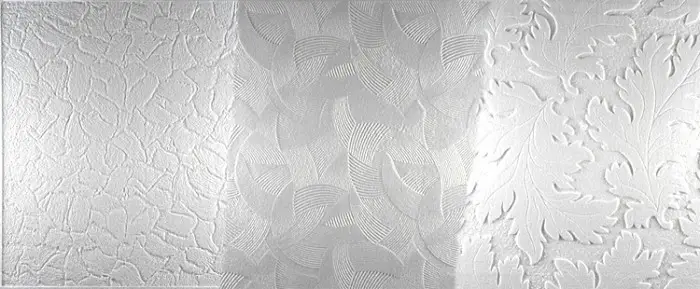
Photo 2 — Possible relief of ceiling tile
Negatives:- Polystyrene is not resistant to high temperature – tiles may melt;
This means that light fixtures and heating pipes must be at a sufficient distance from the ceiling to avoid overheating tiles, and in rooms with an increased risk of fire, it is better not to glue them.
- Tiles are not resistant to light exposure – they fade and yellow over time;
- Not all polystyrene tiles are moisture-resistant, humidity is undesirable in rooms with adhesive ceilings;
- Installing tiles is indeed easy, but there are two "but"s.
Firstly, tiles cannot be applied to very uneven ceilings – it will look at least unattractive. To achieve an aesthetically pleasing result, the base under tiles must be relatively flat (without significant height differences).
Secondly, even with a relatively flat ceiling, it is difficult to achieve a perfectly smooth surface: to avoid visible tile joints, you need to work hard.
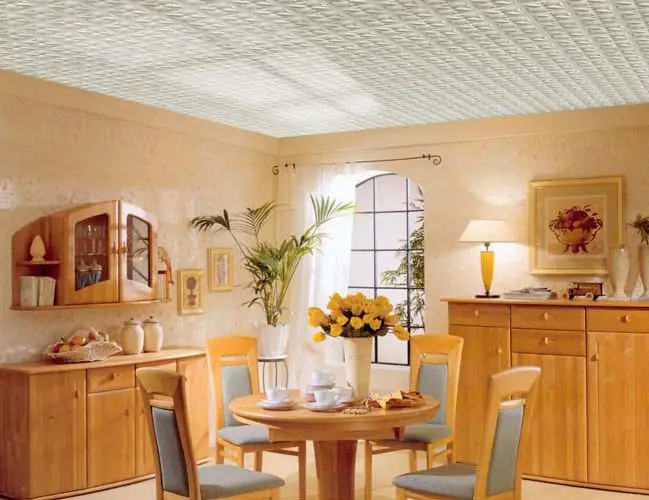
Photo 3 — Kitchen ceiling covered with polystyrene tiles
The last drawback does not apply to seamless ceiling tiles. Their difference is the lack of edging along the edges. Instead of the usual border, the tiles have a shaped edge, which makes tile joints invisible during installation. Seamless ceiling tiles are otherwise no different from regular polystyrene tiles.
It should be known that polystyrene tiles come in stamped and extruded types.
Stamped tiles have better sound and thermal insulation, can be additionally painted, have a proper shape, and the joints between them are less noticeable.
Extruded tiles are made from molten material, they are glossy, can be colored initially, are more moisture-resistant, but the joints between them are more visible, they cannot be cut, and differences in relief are more apparent.
When covering such polystyrene tiles with a special film, laminated tiles are obtained, which are more durable, easy to clean, not afraid of humidity and moisture, etc.
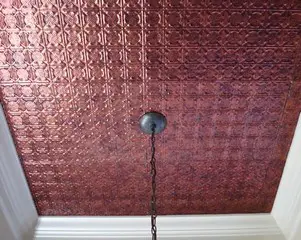
Photo 4 — Painted tile ceiling
A special type of ceiling tiles is mirror tiles. They are universal, as they can visually raise the ceiling and decorate the interior of any room.
Tiles are made from polystyrene, and the mirror effect is achieved by coating them with paint containing metal particles. Mirror tiles are usually sold in rolls and are easily glued to any surface thanks to the adhesive layer on the back side.
Polystyrene tiles and polyurethane tiles are often used to decorate ceilings, which imitate cornices. Especially effective in interiors designed in classical styles. Without polystyrene and polyurethane tiles, such ceilings often cannot be designed, as real wooden and cornice elements are very expensive, while painted in bronze, gold, silver, or wood-imitating polymer products look no worse than real ones.
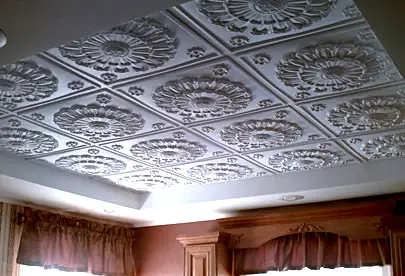
Photo 5 — Adhesive ceiling in a classical interior
Laying Tiles – Where to Start
As with any other finishing, before directly starting to install tiles, you need to develop a ceiling design. For this, you should choose the tiles, special adhesive for them if necessary, paint to complete the finishing, moldings to decorate, and light fixtures.
Designing a ceiling involves not only choosing relief, color, and placement of decorative and lighting elements, but also marking the tile layout.
When choosing how to mark the ceiling, you can pay attention to several main options. Tiles can be arranged in rows straight or diagonally. In both cases, rows can go "tile to tile" or with offset.
It is best to start marking from the center to the edges, so that symmetry is maintained.
For this, diagonals or perpendicular axes intersecting at the center of the ceiling are drawn on the ceiling.
Preparing for tile installation involves cleaning, leveling significant irregularities, drying, and priming the ceiling.
Depending on the manufacturer's recommendations, adhesive may be applied only to the ceiling or to both the ceiling and the tiles. In some cases, tiles that have been coated with adhesive should be left to dry for a while. Installation is done from the center to the edges, excess adhesive is removed with a cloth. At the end, moldings are attached if possible and necessary, tiles are painted additionally.
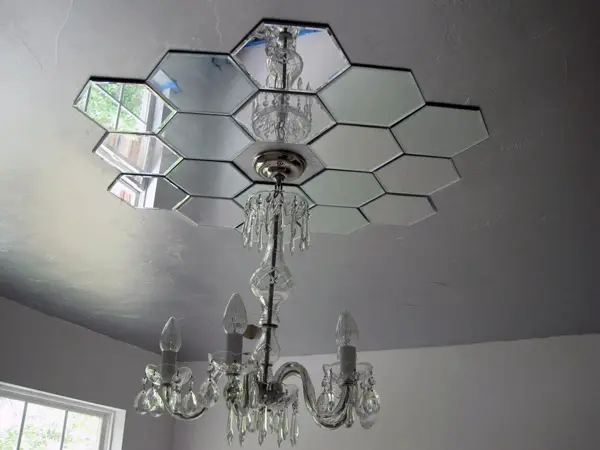
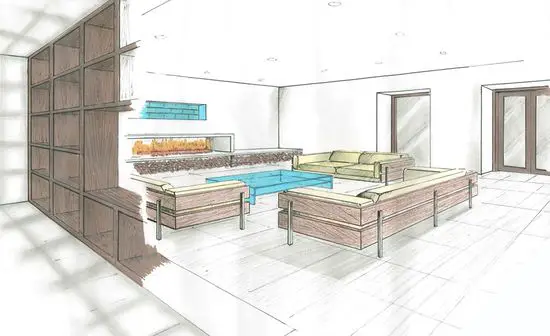
Photo 6 — An interesting designer solution that can also be implemented using polystyrene mirror tiles
PVC tiles or PVC panels are also used in ceiling design. But they are not glued, but mounted on a small frame. Such suspended ceiling reduces the height slightly and is good for its moisture resistance and smooth surface. Mainly used for finishing bathrooms, kitchens, and balconies.
Ceramic tiles – also a possible option for ceiling, but rarely used. Ceramic is certainly more eco-friendly than polystyrene, but it also weighs much more, and the probability of it falling off is accordingly higher. Due to cheaper and more reliable alternatives, laying a ceramic tile ceiling is simply not cost-effective.
How to Remove Tiles from Ceiling
Due to the fact that ceiling finishing with polystyrene tiles was in fashion earlier, many people today face the question of how to remove tiles from ceiling during renovation.
The tiles themselves are easily removed with a spatula, but removing adhesive from the ceiling is more difficult. After removing the tiles, the same way but with greater effort, the tile adhesive peels off together with the top layer of plaster.
If it is very hard to remove the adhesive, perhaps the best option is to leave everything as is and order a suspended or stretched ceiling. If there are only small amounts of adhesive left, you can prime the ceiling and level it with putty using reinforcing mesh.
Ceiling Tiles – Price
As mentioned earlier, the low price of ceiling tiles is their main advantage. The budget nature of this type of finishing covers many of its disadvantages. You can buy seamless polystyrene tiles for about 300 rubles per set of 8 pieces.