Ceiling from Plastic Panels: From Design to Installation
Advantages of a Plastic Ceiling
The popularity of plastic ceilings is due to the following advantages: price — this type of ceiling covering is affordable for everyone and one of the cheapest (the cost of a square meter of plastic panel — from $1.7);
wide assortment;
to cover a ceiling with plastic panels does not require large physical effort and experience, as well as help from construction teams;
plastic is a strong material capable of withstanding significant mechanical damage;
water resistance — a very important property for a ceiling surface, allowing the use of plastic panels in rooms with high humidity (in the bathroom, pool or kitchen);
fade resistance helps maintain the material color for a long time;
good sound insulation, helping to deal with noisy neighbors above or street noise;
high-quality plastic is made from environmentally clean materials, so it is completely safe and can be used even for ceiling finishing in a children's room;
material resistance to high temperatures;
this ceiling is easy to clean;
the material does not support combustion and does not melt.
Plastic panels for ceilings come in various colors and shades. There are also options with patterns and even complete pictures.
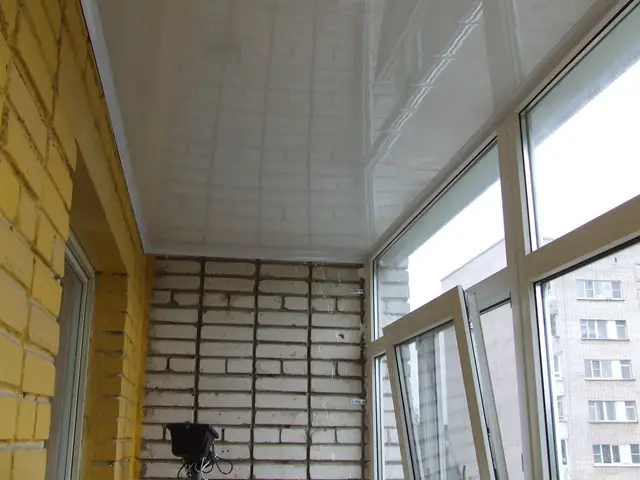
Photo 1 — Ceiling from Plastic Panels
Advantages of a Plastic Ceiling
The popularity of plastic ceilings is due to the following advantages:
- price — this type of ceiling covering is affordable for everyone and one of the cheapest (the cost of a square meter of plastic panel — from $1.7);
- wide assortment;
- to cover a ceiling with plastic panels does not require large physical effort and experience, as well as help from construction teams;
- plastic is a strong material capable of withstanding significant mechanical damage;
- water resistance — a very important property for a ceiling surface, allowing the use of plastic panels in rooms with high humidity (in the bathroom, pool or kitchen);
- fade resistance helps maintain the material color for a long time;
- good sound insulation, helping to deal with noisy neighbors above or street noise;
- high-quality plastic is made from environmentally clean materials, so it is completely safe and can be used even for ceiling finishing in a children's room;
- material resistance to high temperatures;
- this ceiling is easy to clean;
- the material does not support combustion and does not melt.
Plastic panels for ceilings come in various colors and shades. There are also options with patterns and even complete pictures.
Finishing a ceiling with plastic panels consists of two main stages: calculation and installation.
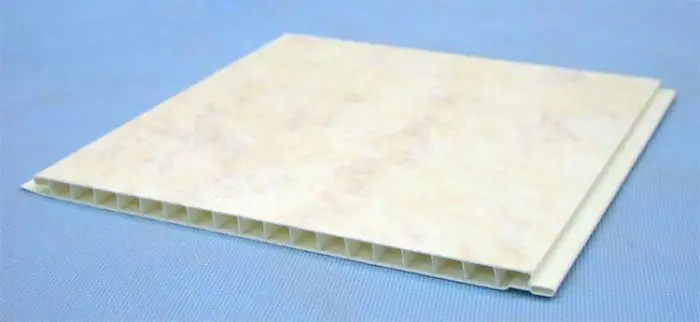
Photo 2 — This is how a plastic panel for ceiling finishing looks like
Material Calculation
Plastic Panels:
Plastic panel sizes vary: in the market, you can find plastic panels with lengths from 2.7 (standard) to 3 meters and widths from 25 (standard) to 50 cm, with panel thickness ranging from 5 mm to 10 mm.
There is a proven method for calculating the required number of panels: the ceiling area (ceiling length multiplied by its width) divided by the area of one panel (check the packaging), add 15 percent to the resulting sum for a reserve for cuts, and round the result to the nearest whole number.
metal profiles for installation:
On paper, draw a proportionally reduced ceiling scheme. Along one wall, draw parallel lines. Account for installing profiles at a distance of 60 cm from each other. The resulting scheme will help calculate the required number of profiles for ceiling installation.
IMPORTANT! Buy rigid UD profiles for securing the frame along the perimeter and lighter CD profiles for making transverse beams of the structure.
Fastener Consumption:
Wall plugs are calculated at 1 plug per half-meter of mounting profile, and screws — one per half-meter of plastic panel length.
Plastic Ceiling Trim:
Measure the ceiling perimeter and divide the resulting number by three. Round up to the nearest whole number divisible by three.
Assessing the Quality of a Ceiling from Plastic Panels
A quality PVC panel can be identified by the following properties:
- when pressed, it deforms only slightly; if such a panel cracked during testing, you have a low-quality product;
- plastic bending test — slightly bend the panel in the same place about 3-5 times; if the plastic remains intact, the coating will last long.
Ceiling systems made from plastic panels are a fast, affordable, and versatile way to create a flat and beautiful ceiling in any room.
Another advantage of plastic panels is that you can embed light fixtures of any type into them, whether it's a small spot light or a large chandelier.
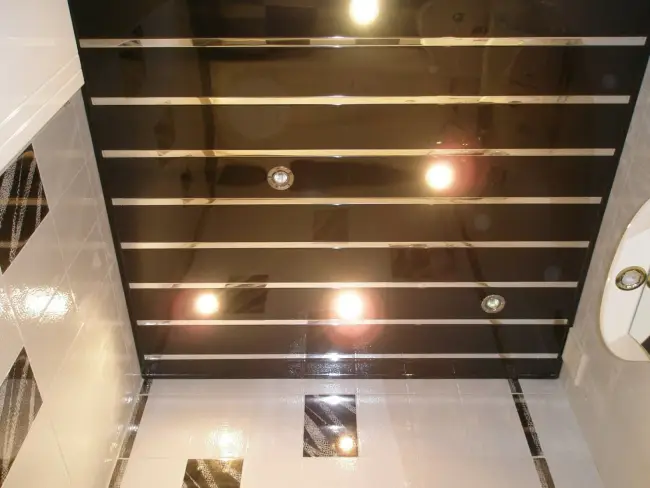
Photo 3 — Spotlights in Plastic Panels. Because the material does not melt and does not burn, it is completely safe to use such
Mounting Plastic Panels
Sheathing:
Using a level, mark the mounting points for rigid profiles running along the ceiling perimeter. They must be installed strictly horizontally.
The profile is tightly fastened to the wall so that no gaps or spaces remain. Cross profiles are installed using screws. These will hold the ceiling panels.
An "L"-shaped profile is mounted on the perimeter profiles.
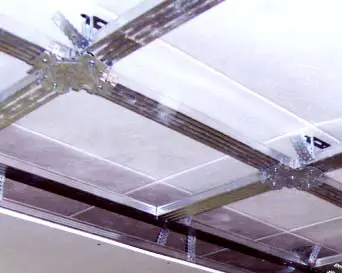
Photo 4 — Installed Ceiling Profiles
Installing Panels and Final Assembly of the Ceiling:
Cut panels to the ceiling length. This is done very carefully using a saw or scissors.
Next, the panel should be screwed as close to the corner as possible to the cross profiles using screws. The next panels are mounted into the grooves on the previous panels. Then each cell is secured to the frame.
Very important — mounting the last panel. Usually, it is cut to width and then carefully inserted into the wall profile on the opposite side.
Liquid nails are applied to the ceiling trim. The material is held in place for several seconds, and then the trim is pressed against the ceiling. Excess glue is removed with a clean damp cloth.
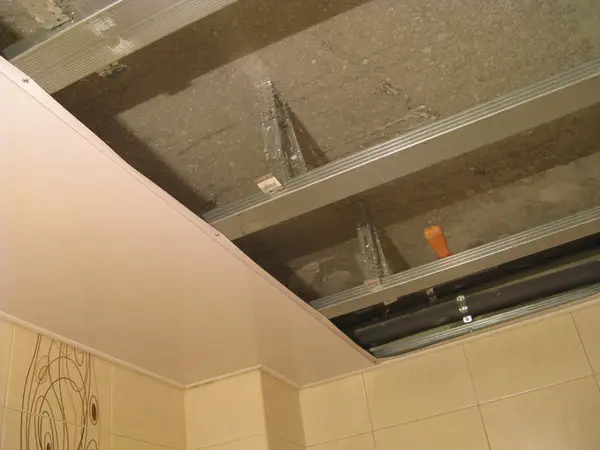
Photo 5 — Installing Plastic Panels on Ready Metal Profiles
Plastic panels are very convenient to install because they are lightweight and flexible. With their help, even two-level suspended ceilings can be created. Installing such a ceiling can be done independently with some experience in mounting work. In some cases (when the frame assembly is complex), help from specialists may be needed.
Today, external wall cladding of houses with plastic panels is in the top 5 in popularity. This is undoubtedly a solution that costs about 70% less than stone or tile work. One thing is to cover ceilings with plastic, and another is to clad building facades. Consider the durability of such cladding before making a purchase.
Design of Plastic Panels
As we mentioned earlier, the choice of color and sometimes texture of plastic panels is quite wide. Plastic is universal and easy to use, so it helps create various interior compositions.
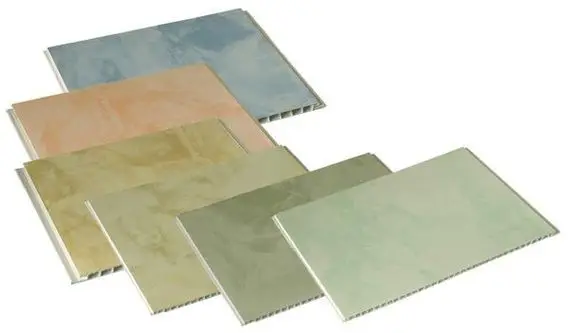
Photo 6 — Plastic Panels in Marble Style
There are monochrome plastic panels in various colors, panels with patterns printed on each panel separately or across the entire ceiling (sectional picture assembly). You can also buy plastic that imitates stone, wood, or sand surfaces.

Photo 7 — Plastic Panels with Pattern for Ceiling
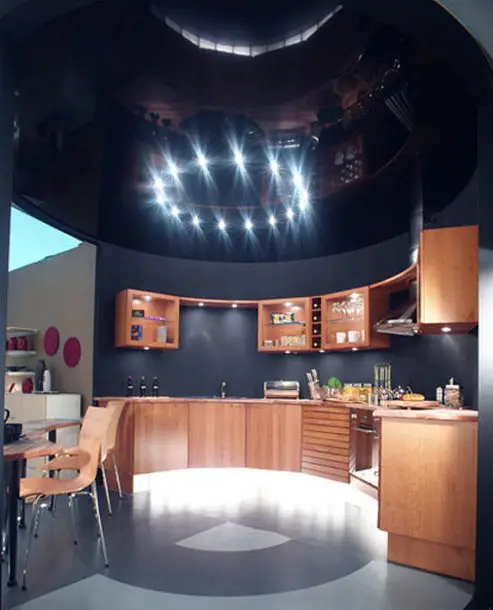
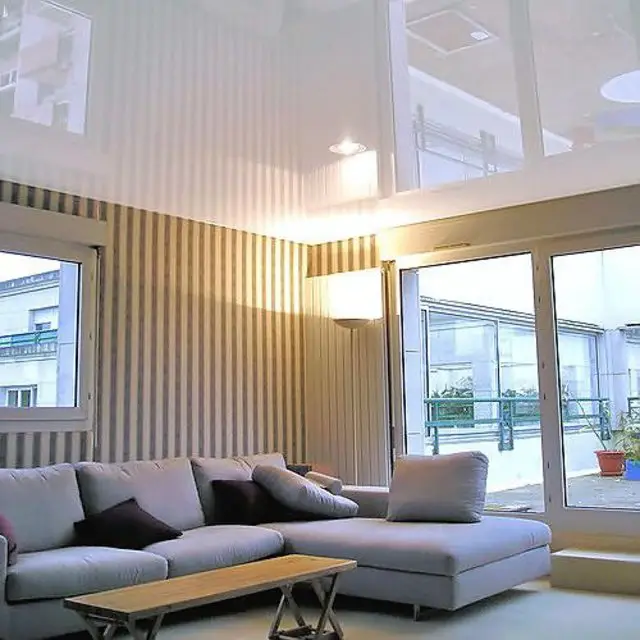
Lately, a new trend has emerged on the market — mirror ceilings made of plastic panels. This type of plastic is produced using special technology and, naturally, is somewhat more expensive than regular (the cost of a panel — from $3.5). Thanks to the mirror ceiling, you can visually increase the height of the room.
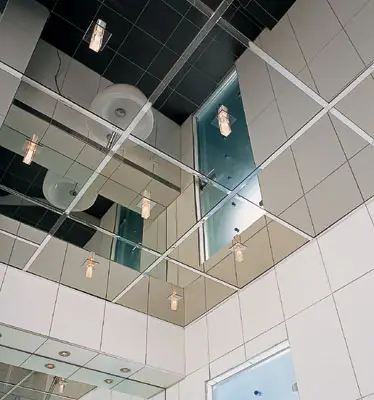
Photo 8 — Mirror Plastic Panels in Bathroom Interior