Linoleum Installation: Technology, Steps
Below are the specifics of installation on various surfaces, but the sequence of actions is roughly the same in all cases.
Tools for Linoleum Installation
The video above tells about the tools professionals use when installing various types of commercial linoleum on floors: you can not only learn what tools are available, but also see how to use them. For linoleum installation you will need:
- A knife (regular with a sharp tip or special for floor coverings);
- Ruler, tape measure, square, marker for marking, scissors;
- Spatulas (regular and toothed);
- A hammer;
- Hot welding equipment;
- A roller for linoleum.
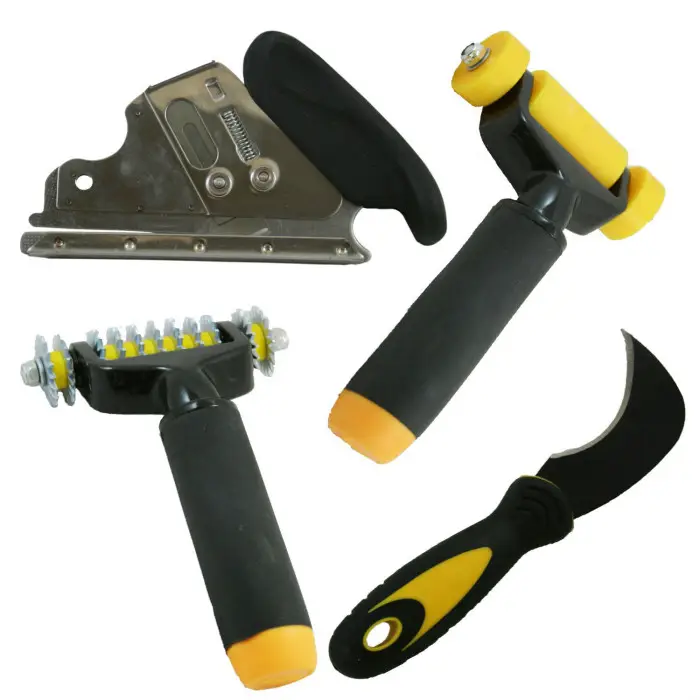
Photo 1 — Tools for Linoleum Installation
Consumable materials (adhesive, nails, etc.) and coverings are selected based on specific tasks.
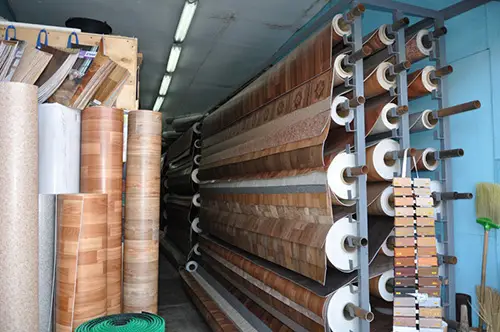
Photo 2 — Variety of Linoleum Covering
Linoleum Installation Technology
Installing commercial linoleum is always more cost-effective than, for example, semi-commercial linoleum; at least one reason for this is the service life of such linoleum – up to 10 years (especially in bathrooms and other areas where the durability of the coating is important). Although installation on different types of floors – on concrete, wooden floor, on plywood, on particle board, on OSB, on underlayment of another type – has its specifics, the general sequence of installation is completely identical. However, if it's, for example, installation of anti-static linoleum, the procedure may include laying copper strips along each laid strip of material. Additionally, installation of anti-static linoleum requires additional attention to floor electrical conductivity and compliance with specific SNiPs.
Installation Instructions:
Measure the room: you need the largest dimensions of the specific room, and it's even better to draw a plan with all necessary measurements marked.
Installation without adhesive is the fastest and in some cases (when linoleum is multi-layered, for example) a cost-effective alternative; but even in such cases, and in all other cases, you should unfold the sheets and let them settle. In places where linoleum cannot settle on its own, heavy objects should be used to help the process.
When installing on a concrete floor, to increase the bonding strength between the floor and linoleum, primer should be applied to the surface. When installing on a wooden floor, these rules are not mandatory but might be necessary for floor preservation.
Cutting the purchased linoleum should only be done once you have a clear idea of the direction of installation and the pattern of the linoleum. Remember that when installing linoleum without adhesive, strips are laid overlapped, and linoleum on thresholds must be secured additionally. The area of the room where linoleum is installed without adhesive should not exceed 12 m².
Adhesive is applied to the prepared surface and evenly distributed using a spatula. Instructions for applying adhesive and waiting time before direct contact are provided in the instructions. Applying adhesive to OSB panels or concrete floors may require different parameters for the adhesive. An alternative to adhesive can be double-sided tape, but in this case, a perfectly flat floor surface and precise work from the installer are keys to success.
The final step in installation is welding the seams of linoleum, which can be done either hot or cold. Traditionally, hot welding is considered more reliable and is used where mechanical loads on commercial linoleum will be relatively high. Cold welding can be used with homogeneous types of linoleum.
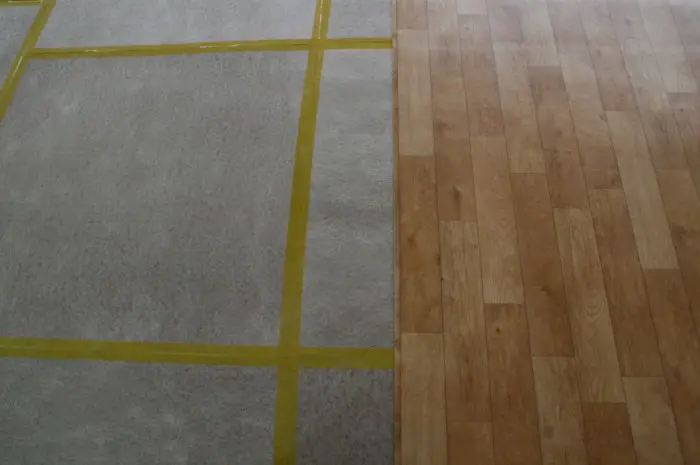
Photo 3 — Installing Linoleum on a Prepared Floor
Installing Linoleum on Different Surfaces
Let's consider options for installing linoleum on various surface types:
Installing Linoleum on Wooden Floors
This is considered one of the simplest methods of installation and is often done without using adhesive if the floor is relatively flat. A necessary condition is that the floor is in good condition. If the floor is old and has cracks and holes, it can be easily "fixed" by covering it, for example, with particle board or thick plywood.
Installing Linoleum on Concrete Floors
If this is a new floor, there should be no problems with installing heterogeneous linoleum. The only thing that may need to be done is priming the concrete surface to remove dust and ensure even adhesion of linoleum. However, when using multi-layered linoleum, it is possible to do without adhesive.
Installing Linoleum on Old Linoleum
This is a very practical option if the previous linoleum is in good condition. Often, another, much thicker linoleum is installed over the old one. In this case, almost no additional work will be required.
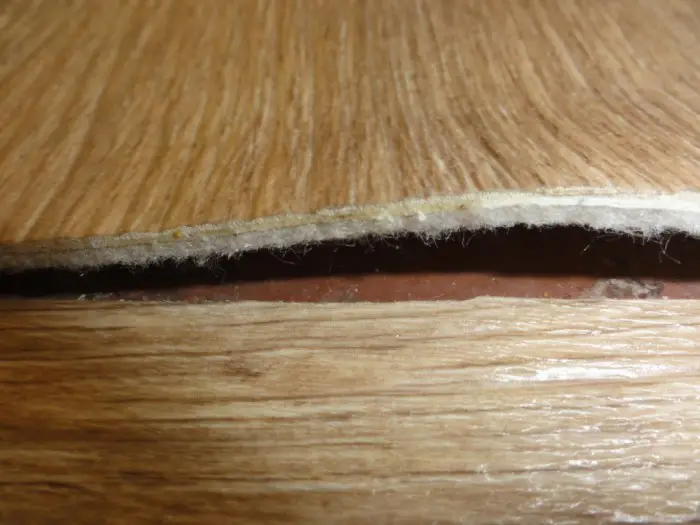
Photo 4 — Installing Linoleum Over Old Linoleum
Installing Linoleum on Plywood
In most cases, plywood is an additional covering that quickly and reliably levels any floor with a sufficiently solid base. Linoleum can be installed both with adhesive and without it (depending on the density of the linoleum and usage conditions).
VIDEO: Linoleum Installation – A Guide for Beginners
Installing linoleum yourself is easy! Authors of the video guide say so, but as with any other task, there are also its nuances.
Linoleum Installation: COST
Prices for linoleum of different quality vary significantly, so the prices listed here are the minimum possible costs per 1 m² (prices for commercial types of linoleum from TARKETT, ARMSTRONG, GRABO, FORBO or GERFLOR are usually higher):
- Moscow – from 250 rubles
- Kyiv – from 25 hryvnias
For comparison, the minimum costs of installing homogeneous linoleum per 1 m² (rubles/hryvnias) are listed below:
- Semi-commercial linoleum, residential linoleum – from 200/15
- Commercial linoleum, natural linoleum – from 250/20
Note: prices do not include any additional work costs.
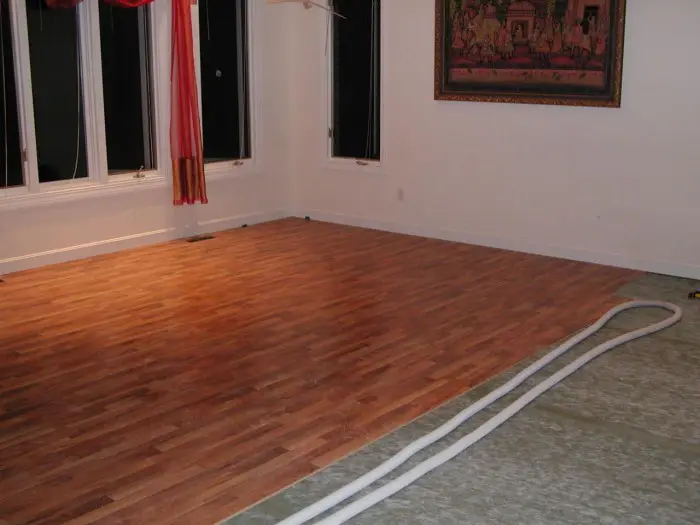
Photo 5 — Linoleum Installation