Ceiling Panel Installation: VIDEO
However, the reason for such recognition is quite simple: ceiling panels are easy to install and possess all necessary properties for residential premises: fire-resistant, moisture-proof, environmentally clean, improve sound insulation and allow access to the ceiling space at any time you need it, have low weight, and meet GOST standards.
Ceiling Panel Installation: VIDEO
However, the reason for such recognition is quite simple: ceiling panels are easy to install and possess all necessary properties for residential premises: fire-resistant, moisture-proof, environmentally clean, improve sound insulation and allow access to the ceiling space at any time you need it, have low weight, and meet GOST standards.
Such ceilings are often seen in public buildings, hospitals, shopping centers. In a residential apartment, this type of suspended ceiling is particularly suitable for rooms with unfavorable conditions where high humidity and frequent temperature fluctuations occur – kitchen and bathroom.
Moreover, it will also look great in the hallway, corridor, balcony or bathroom. Under a ceiling panel you can hide ceiling imperfections, electrical wiring, air conditioners and even exhaust systems. Also, perforated ceilings provide good ventilation.
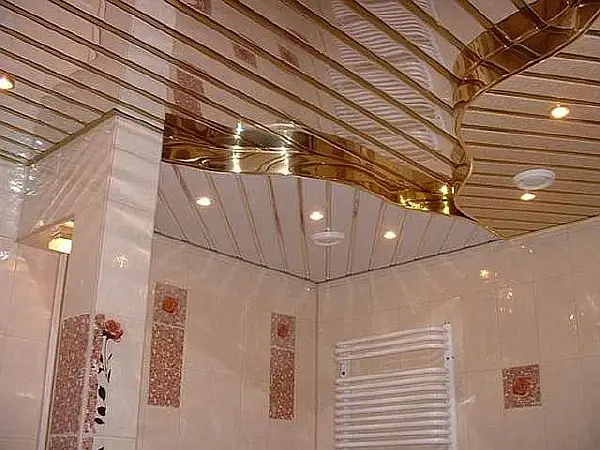
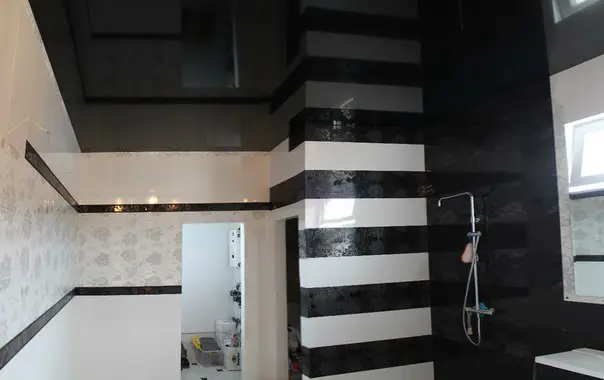
Photo 1 — Two-level ceiling panel
Fortunately, installing a ceiling panel does not require professional skills in renovation and is within the capabilities of almost everyone with even minimal experience. However, if you are not confident in your abilities, it is better to call experts.
Remember that your ceiling should not fall on you at the most inconvenient moment and should look stylish and aesthetically pleasing.
As for manufacturers, there are many of them on the construction market today. You just need to make the right choice among a wide variety of ceiling panels from different countries.
For your attention, such brands as Russians Albes, Lumosvet and Bard, Americans Ceiling Group USA Corporation, Dutch Luxalon, Germans Geipel and others.
Lighting for Ceiling Panels
It is no secret that during the installation of a suspended ceiling, you will definitely need lighting for ceiling panels. Point LEDs are most often used with ceiling panel structures.
However, among point lights there are different types depending on the type of lamps used in them, so you will have to choose a more suitable model for yourself. In addition, lights can be fixed and adjustable.
So, there are three main types — lights with incandescent bulbs, halogen lamps and LED bulbs. There are also raster lights, but they are better suited for large rooms like offices or shopping halls due to their size and characteristics.
Light bulbs with incandescent filamentsThey are slightly larger in size, so you have to take this into account when calculating the height of the suspended ceiling panel. If you don't want to reduce the ceiling height too much, it's better to skip this item from the list.
However, despite their relatively low cost, they have some other drawbacks. For example, they consume a lot of energy and their lifespan usually lasts no more than 2 years.
Halogen lampsThis is a more favorable option compared to the previous point. Halogen lamps consume 3 times less energy, and their service life can reach a decade (provided they are from certified manufacturers). Another advantage is that you don't have to lower the ceiling too much (from suspended ceiling to slab they take up only 3-5 cm). Installation with them is not complicated.
LED bulbsThe third item in our program is LED lights. Today, they can be called the most convenient and economical option for point lights for suspended ceilings.
LED bulbs are resistant to mechanical impact, have a high efficiency coefficient. These bulbs can be safely installed in rooms with unfavorable conditions (high humidity or temperature). Although they are more expensive compared to predecessors, they pay for themselves.
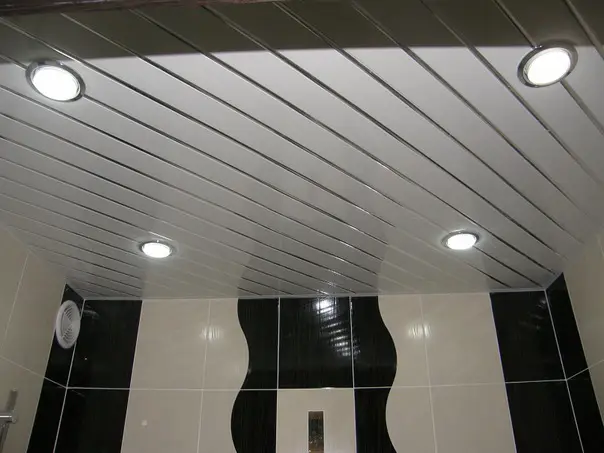
Photo 2 — Lighting for ceiling panel
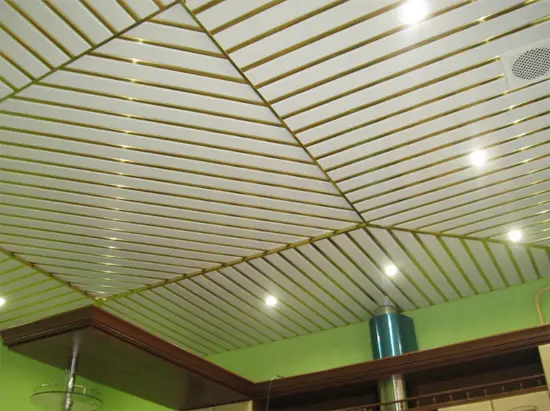
Photo 3 — Lighting for ceiling panel
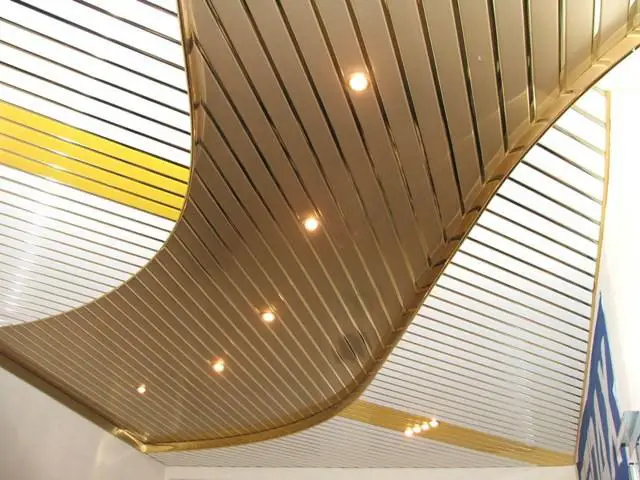
Photo 4 — Lighting for ceiling panel
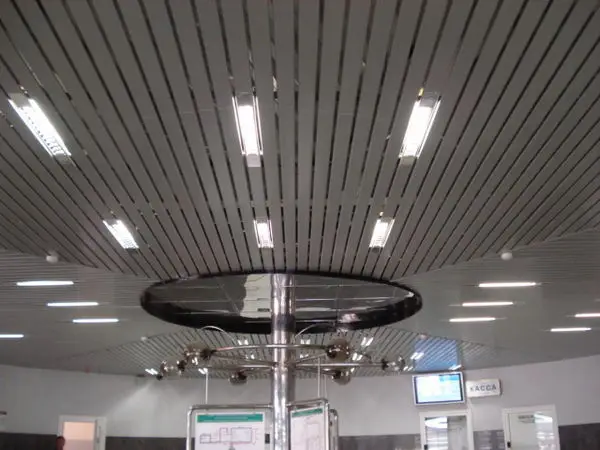
Photo 5 — Lighting for ceiling panel
How to Choose a Ceiling Panel
Let's find out how to choose a ceiling panel. Let's start with the fact that ceiling panels come in several types.
Open-type ceiling panels. In such ceilings, there are gaps between the strips, and the recesses of which are filled with material identical in color to the main ceiling panel. These ceilings come without inserts.
Open-type ceilings. There are also gaps between panels, through which the struts can be seen. To not spoil the aesthetics, these gaps can be covered with special inserts. Decorative inserts come in various colors, which allows you to liven up the ceiling design and match it to the overall style of the room.
And the last type is gapless ceilings. Here, the structure allows the strips to be fitted as close together as possible. However, small gaps of a couple of millimeters remain. But they don't spoil the appearance since their depth is negligible.
If the installation of open and closed ceiling panels does not differ, then with gapless ceilings the situation is somewhat different. Special struts with small protrusions are used here for securing the strips.
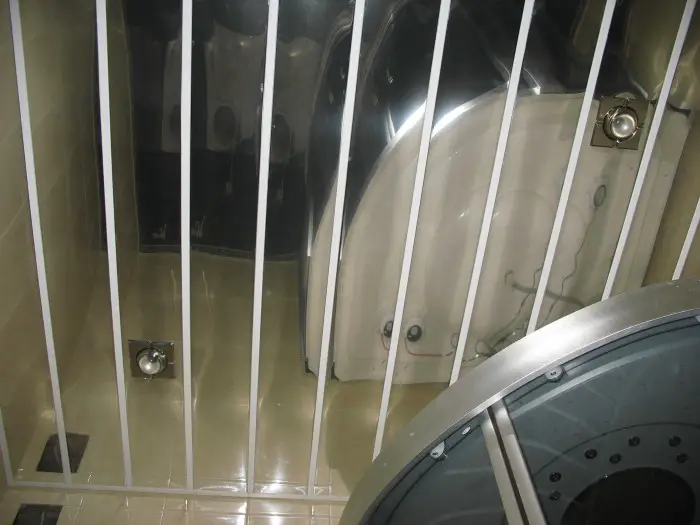
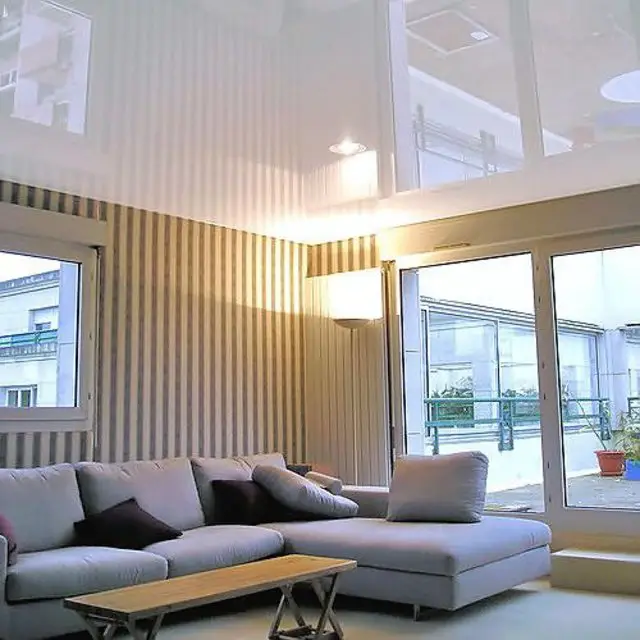
Photo 6 — Mirror ceiling panel
Calculating Ceiling Panels
Let's move on to another important issue - calculating ceiling panels. We need to know how much material will be needed for installation. Below is an instruction for you.
First, we need to determine the perimeter of the ceiling. For this, we measure its length and width. Then we multiply the sum of the length and width by two, as stated in school mathematics. Let's say, for example, the width of the ceiling is 5 meters, and its length is 3 meters. The perimeter will be (5+3)x2=16 meters. This will be needed for calculating the required length of the P-shaped profile.
Now let's calculate the total area of the ceiling. As again suggested by our mathematical reference book, we multiply the length by the width. 5x3=15 sq. m.
The standard size of an open strip is 3 meters in length and 10 cm in width. The area of one strip, therefore, will be 3x0.10=0.3 sq. m.
How many strips will we need in total? Divide the ceiling area by the strip area: 15:0.3= 50 strips.
Of course, don't forget that this is the minimum number of strips you'll need if there are no waste materials. However, in reality, such situations occur rarely, and the consumption will be higher than this minimum, so it's better to add 5-8 strips for safety. It's unlikely you'll want to build a ceiling from small pieces.
Another point. If you will use closed strips, the calculation should be done with the deduction of the strip width that will go for joining. Also, the strips are installed edge-to-edge, so there will be gaps of a couple of millimeters to a couple of centimeters. Therefore, consider these details too.
Now calculate the total length of the stringers (load-bearing comb). Make a marking on the ceiling perpendicular to the chosen direction of panel placement with a step of up to 1 meter.
Calculations are done, it's time to buy materials. You can collect all the necessary elements for a suspended ceiling yourself. Or you can purchase ready-made kits. These kits usually include the panels themselves, inter-panel profiles, end profiles, stringers. An instruction for installation is usually included in the kit.
Structure of the Ceiling Panel and Required Tools for Installation
Let's consider what the ceiling panel structure actually consists of. It includes ceiling panels of various sizes (steel, plastic or aluminum strips up to 6 meters in length, 0.4-0.7 mm thick and 5-30 cm wide) and a suspended fastening system. If the first part is generally clear, then the latter consists of several components:
- adjustable hanger;
- load-bearing beam (comb, stringer, strut) made of galvanized steel with slots for fixing panels;
- corner profile.
What will we need for installation?
Installing an Aluminum Ceiling Panel
Let's start installing an aluminum ceiling panel. We have already studied its technical specifications and structure above.
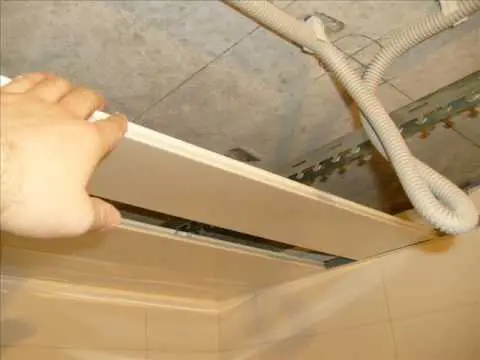
Photo 7 — Ceiling panel installation
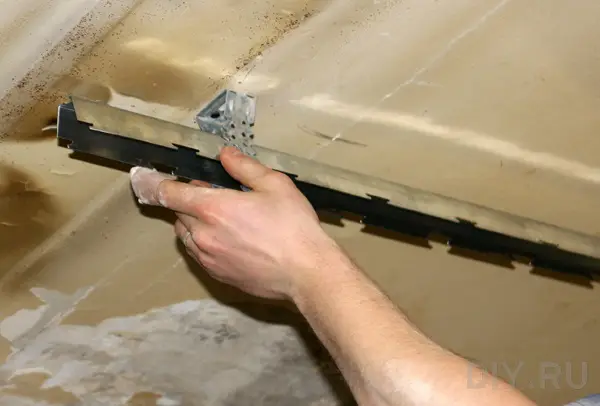
Photo 8 — Ceiling panel installation
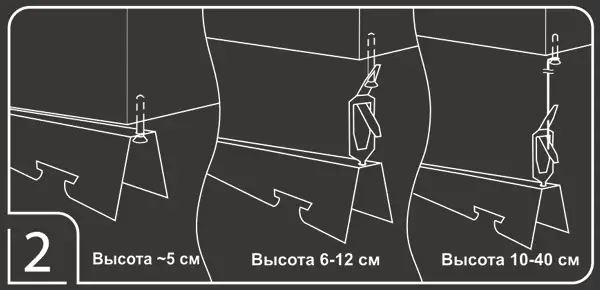
Photo 9 — Ceiling panel installation
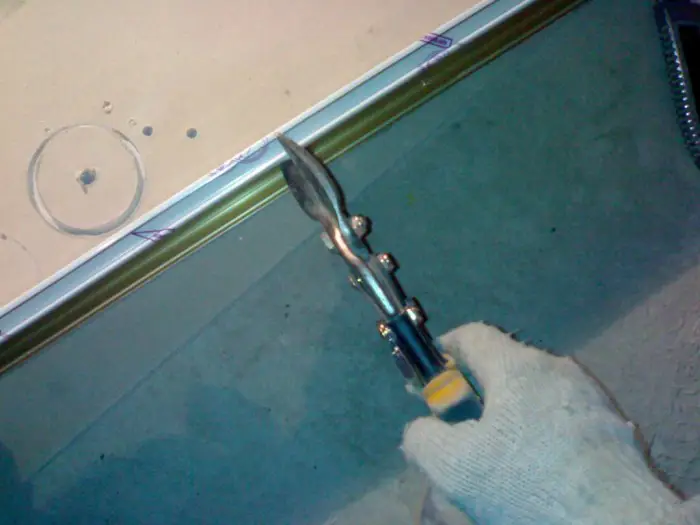
Photo 10 — Ceiling panel installation
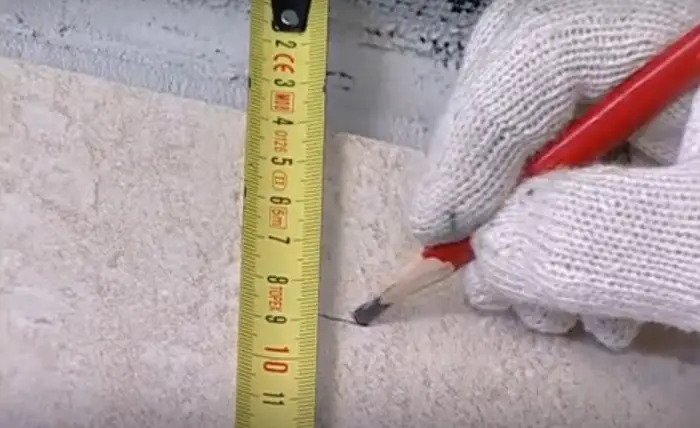
Photo 11 — Ceiling panel installation
First, mark the level at which you plan to mount the ceiling. Depending on needs and communications located under the ceiling, it can be lowered by 5-15 cm from the main one. After marking the ceiling level with a construction level, mark it with painter's string.
Fix the wall profile along the perimeter of the room: drive anchors every 50-60 cm from each other. The profile needs to be secured edge-to-edge at internal corners, and cut at 45 degrees at external angles.
Now mark and fix the load-bearing beams. Mark with a tape measure. Place the first one 30-40 cm from the wall, subsequent ones every meter. Cut the beam to the required length with metal shears. It should be 1 cm away from the corner profile. Place marks for mounting every 30 cm from the start and end of the wall. The number of marks between the extremes will depend on the room width. The distance between them is 1.2-1.5 m.
Drill holes for anchors in the marked places, then secure with screws. Note that load-bearing beams (guides) can be mounted on the main ceiling or on adjustable hangers. The latter have special brackets for mounting beams.
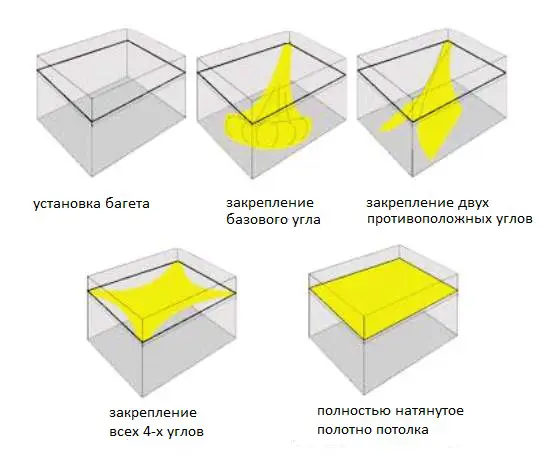
We only need to mount the strips now. Remember that the panel length should be less than the distance between opposite walls by 0.5 cm. Take a strip, place it at an angle against the wall profile and carefully lock it with the clip. Secure the second panel next to it. Place the next one against the opposite wall. And so on until the last strip. If the last one doesn't fit in width, you can trim it to the desired size.
By the way, if you didn't know, there is also an imitation of an aluminum ceiling panel. This is a PVC panel ceiling. These panels, made from plastic, are cheaper and lighter than their ceiling panel analogs.
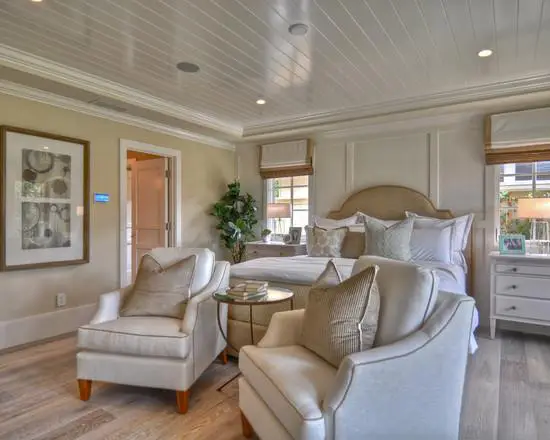
Photo 12 — Plastic ceiling panel
Like other suspended structures, a ceiling panel can be made two-level if desired. Sometimes this is done to hide communications without lowering the entire ceiling.
A more expensive but also more beautiful variant of a ceiling panel is wooden. Such a ceiling will look particularly great in country houses. If you are hiding ventilation systems in the suspended structure, it's better to choose strips with perforations for air exchange.
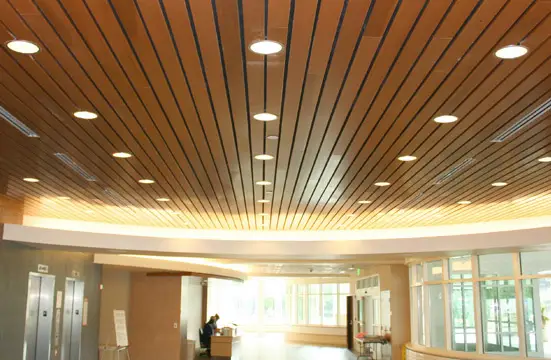
Photo 13 — Wooden ceiling panel
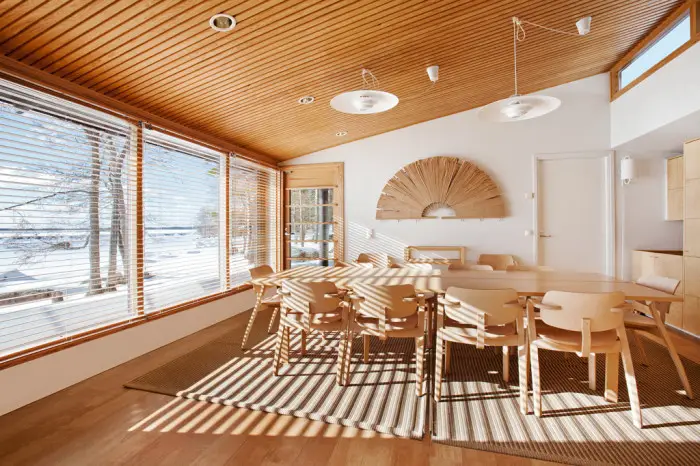
Photo 14 — Wooden ceiling panel
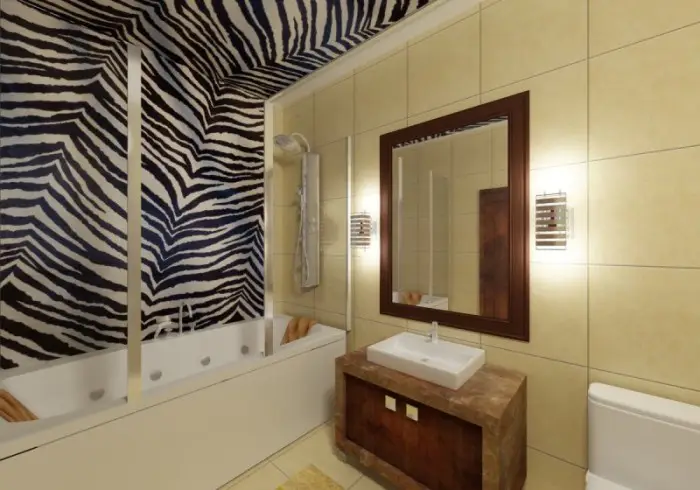
As for the colors and finishes of the ceiling panel, there are many of them. Ceiling panels come in black, white, mirror, gold, chrome, glossy, matte, with colored decorative inserts and without.
Aluminum Ceiling Panel
Aluminum ceiling panels are made from aluminum alloy 3005, 3003 and 5052 with a special protective coating. They have many advantages.
- resistance to high humidity;
- the ceiling does not require preliminary finishing;
- easy to install and create multiple levels;
- compatible with point lights and chandeliers;
- wide range of design solutions;
- easy to maintain;
- they are durable.
Aluminum ceiling panels can be found from such manufacturers as Bard, Lumosvet, Geipel.
$ Price of an aluminum ceiling panelIn Moscow, the price for 1 sq. m. of an aluminum ceiling panel starts from 500 rubles. In Kiev, you can buy strips from 50 UAH per piece.
Mirror Ceiling Panel
A mirror ceiling panel is an original design solution. It is usually installed in rooms with high humidity, for example, in a bathroom or toilet. Thanks to its characteristics, it does not rust and is easy to clean. Also, it is convenient to use in the kitchen where dirt and grease accumulate on the ceiling.
$ Price of a mirror ceiling panelIn Ukraine, the price per sq. m. of a mirror ceiling panel is about 350 UAH. In Russia, it's around 1400 rubles per sq. m.
Plastic Ceiling Panel
A plastic ceiling panel, unlike aluminum strips, is mainly mounted on a wooden frame. Such ceilings (imitation of a ceiling panel) are usually cheaper and lighter than metal ones. Plastic strips can be mounted not only on the ceiling but also on walls. They are more resistant to deformation.
Metal Ceiling Panel
A metal ceiling panel is a very common aluminum ceiling in the form of a combination of strips and decorative inserts. Their main advantage is ease of maintenance. These ceilings can be washed under a water jet, then dried with a soft cloth. If neighbors accidentally flood you from above, it's enough to remove the strips, pour out the water, wash and wipe the profiles with a damp sponge. They are resistant to temperature fluctuations, fire-resistant, environmentally clean, easy to install.
$ Ceiling Panel. Cost
Thanks to the Internet, it is very easy to find out how much a ceiling panel costs without leaving your home. And through online stores – even buy it immediately. However, it is always better to choose material in person to ensure quality and properly select the kit.
The price of a ceiling panel varies depending on parameters and color solutions.
In Moscow – from 43 to 110 rubles per sq. m.
In Kiev – from 60 to 270 UAH per sq. m.
In kits, the cost of a ceiling panel in Russia will vary from 1,500 to 4,000 rubles. You can buy the strip packaging from 160 rubles per piece.
In Ukraine, a ceiling panel kit will cost from 240-300 UAH.