Multi-level Ceilings. Installation Details
Essentially, questions about "how to make a two-level ceiling" and "how to make a multi-level ceiling" have the same answer. The principle of installing a multi-level ceiling is the same, with differences only in the number of levels and the shape of the structure.
Mainly multi-level ceilings are made from Gypsum Board (GKЛ), less often from PVC, aluminum profiles, and other materials. The frame is made of metal profiles.
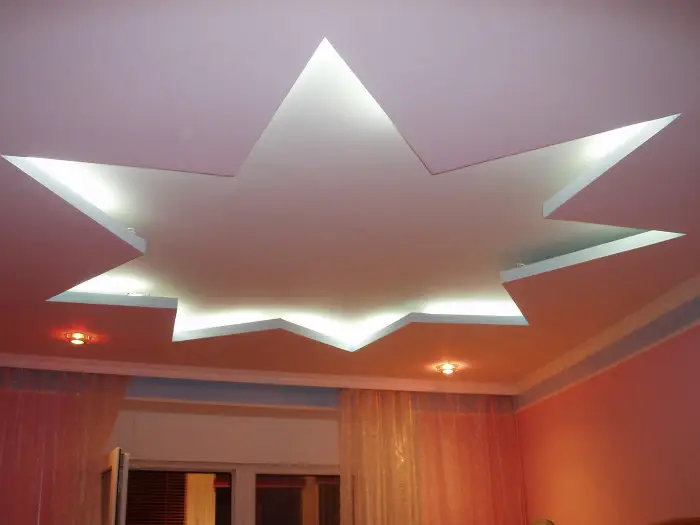
Photo 1 — Original two-level ceiling
Preparation
Before starting any work, it is necessary to plan the height of the structure and check whether it is possible to lower the ceiling by such a degree. In standard ceiling height in a Khrushchyovka flat, two or more levels is too much.
To minimize the loss of ceiling height, one can use the existing ceiling as a base level, but in this case, it must first be leveled. After confirming that the ceiling will not press on your head after the project is completed, you can proceed to design and purchase materials.
Since the structure is complex, a detailed ceiling plan is necessary. The intended design should be transferred onto sketches or drawings with dimensions to facilitate calculation and installation of the ceiling. The construction options can be modeled using computer programs.
Once you have decided what kind of ceiling it will be, calculate and purchase the required amount of profiles, hangers, fasteners, anchors, screws, gypsum board, light fixtures, and other components for a multi-level ceiling.
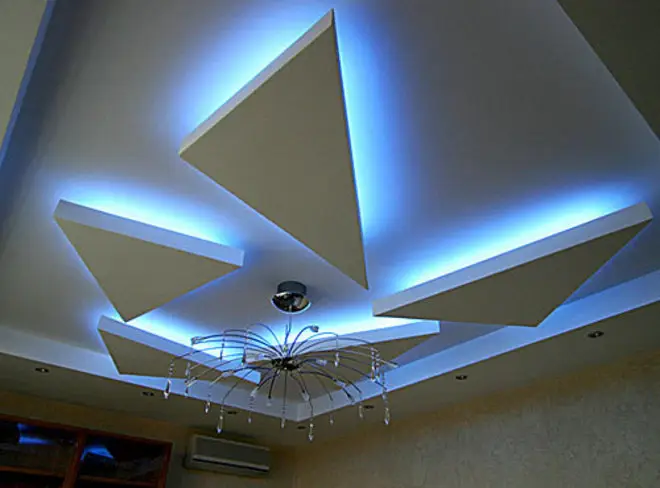
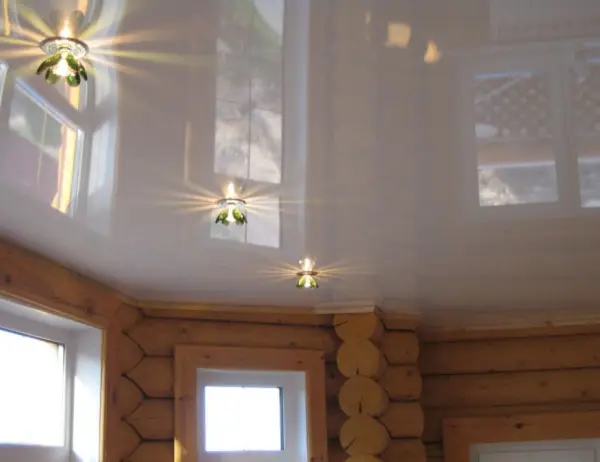
Photo 2 — Two-level ceiling with beautiful lighting
Electrical Wiring
The first thing to do according to the ceiling project is to run the wiring to light fixtures and switches. This work must be performed by a specialist, as it involves many details.
Appropriate cable sizes for the calculated power of devices should be selected, and wires must be run through conduits. Connections should only be made in junction boxes. Spotlights should be connected in groups, and transformers should be installed for low-voltage lights, etc.
Marking – How to Accurately Mark the Ceiling Level
The bottom edge of the ceiling can be aligned using a water or laser level. The height of the structure should be marked with a pencil on the walls, and all its lines should be transferred from the drawings onto the ceiling. All lines along which profiles and hangers will be mounted should be marked. Straight lines between points can be drawn with painter's string.
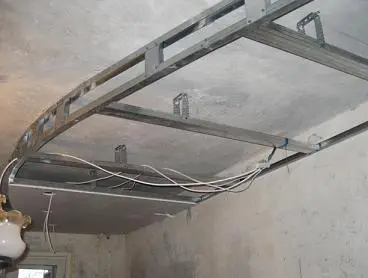
Photo 3 — Frame for the Second Level of a Suspended Ceiling
Installing the Frame
The installation can start from the lower or upper level, depending on which part of the structure has more area.
For example, if the second level is larger than the first, it's better to install the second level first and vice versa. If the first level is installed first, it can be covered with gypsum board only partially, just a little more than up to the boundary of the second level, meaning only the visible part of the first level is covered.
Let's say the base level is the existing ceiling, and the frame for the second level is installed. First, guide profiles should be secured on marked lines on the walls and ceiling.
If the line along which the profile is mounted is curved, two adjacent wall profiles should be cut and bent to achieve the required shape. Each segment of such a profile is attached separately to the base.
The next step is to mount hangers on the ceiling using anchor dowels. Hangers should be installed every 60 cm above locations where longitudinal profiles will pass.
Then, the side frame of the second level is assembled separately: one guide profile is already attached to the ceiling, now it's necessary to attach sections of ceiling profiles to the guide profile that will be at the bottom, equal in length to the height of the second level.
They are cut slightly longer than needed, with pieces removed from both sides of the side edges and a central wide protrusion left for attachment to the guide profiles. These protrusions are bent down, and the profile segment is inserted perpendicularly into the guide profile and screwed to it with "seeds". The spacing between these profiles is 60 cm in a straight structure, and 2-3 times less in a curved one.
The assembled part of the frame is lifted, and the protruding edges of the ceiling profiles are screwed to the guide profile on the ceiling. If the height of the second level is planned to be small, it’s possible to simplify things by using a wide SD-profile as a side panel.
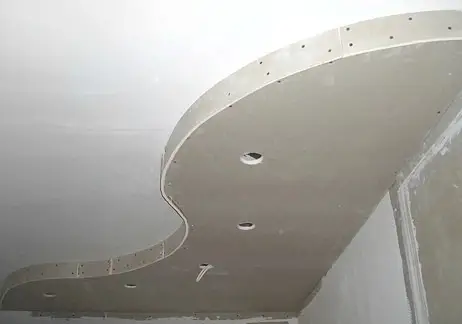
Photo 4 — Rough finish of the two-level ceiling installation
Now, strips of gypsum board should be cut to the height of the second level and attached to the side using screws.
Then, longitudinal profiles are installed: they are secured between guide profiles and fixed with hangers. Using clamps, transverse profiles are attached to the longitudinal ones.
Finally, the lower surface is covered with gypsum board, and holes are cut for light fixtures.
Where an arc is needed, the gypsum board is cut to size, rolled with a roller with needles on one side, and slightly moistened with water. After a short time, such a sheet can be easily bent and mounted to the frame.
If the second level is attached to the first rather than to the base ceiling, the fasteners must be installed where there is a profile behind the gypsum board. Therefore, during the installation of the first level, guide profiles should be installed in accordance with the plan for mounting the second ceiling level.
Installation of a multi-level ceiling can be done in various sequences and using different types of profiles.
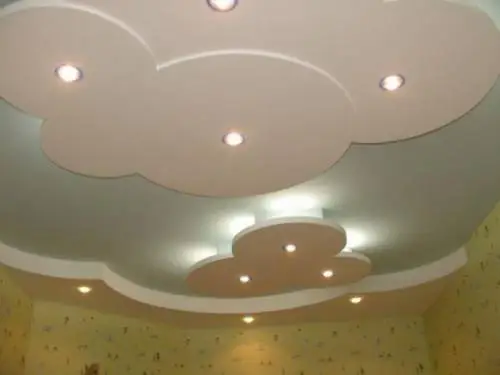
Photo 5 — Gentle multi-level suspended ceiling for a child's room
Design of Multi-level Ceilings
Two- and multi-level ceilings make a great decoration in any room, from corridors to bedrooms, but they are most often used in the living room.
One of the most popular options is an open thin box around the perimeter of the ceiling with spotlights and hidden LED lighting in the depth.
The design of multi-level ceilings in a child's room can be an embodiment of children's drawings and cartoons. Interesting to see large flowers made of gypsum board or protruding circles of different sizes that can be painted in various colors.