How to plaster the ceiling yourself – what you need to know
Plastering the ceiling – how to do it correctly
Plastering the ceiling is much more difficult than doing the same for walls. Plastering the ceiling makes sense when height differences range from 5 to 50 mm.
If the irregularities are smaller, you can get by with spackling; if larger, you’ll need to abandon plastering and opt for installing a suspended ceiling structure.
Ceiling plastering can be done using cement-based, cement-lime, or gypsum-based mixes. If the room is humid, a cement-based mix is used. If humidity and temperature are within normal range, a lighter and more flexible gypsum plaster like Rotband is recommended.
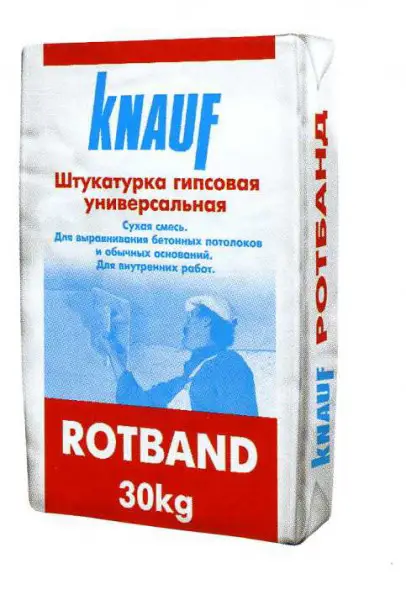
Figure 1 — Gypsum plaster for ceilings Knauf Rotband
- Preparation
First, remove old flaking finishes, clean joints, and remove dust. If old plaster remains firmly attached, make notches in it. Then determine the degree of ceiling curvature and choose the application method accordingly: with or without guides. For significant height differences, use fiberglass (20–30 mm) or metal mesh (30–50 mm).
- Priming
To improve adhesion, prime the clean ceiling 1–2 times with deep-penetration primer. If the room is humid, apply a hydrophobic treatment as well. Allow the primer to dry thoroughly. Even though many primers dry in 6 hours, it's better to continue work the next day.
- Installing guides
For minor irregularities or small ceilings, you may skip guides. However, using guides greatly simplifies the process. First, determine the zero level – the lowest point on the ceiling. Use this as a reference to mark the ceiling perimeter on walls. Then draw parallel lines across the ceiling for guide placement (with a small gap from walls and an optimal spacing of 1 m).
Drill 5–6 holes under each guide, insert dowels, and screw them in. Adjust the screws to align along each line using a taut string and a level. Then install perforated guide profiles on mortar or special clips that slide onto the screws, and check alignment again with a level.
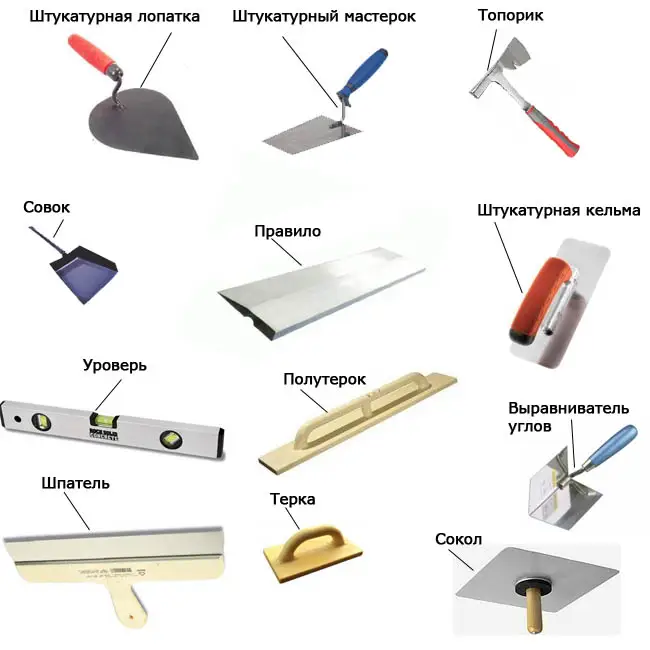
Diagram 1 — Tools used in plastering work
- If the ceiling is very uneven and plastering must be done over mesh, install the mesh before placing guides. Apply fiberglass mesh over a thin layer of plaster applied immediately after leveling screw heads. Only then install the guides. For metal mesh, attach it first using dowels and screws, then install the guides and begin plastering.
- The plastering process involves applying layers of scratch coat, base coat, and finish coat. The scratch coat is a thin, more liquid first layer. Then apply the base coat – the main plaster layer. The mixture, similar in consistency to thick sour cream, is thrown between guides and troweled flat with a straightedge. Where more material is needed, add more and re-trowel until a smooth surface is achieved.
The base coat may be applied in multiple layers, but it's better when applied in a single layer. After the base coat is applied and slightly set, remove the guides and fill the gaps with plaster, leveling them with the surface. Check flatness using a level. Allow each layer to dry thoroughly. The final, liquid layer – the finish coat – is applied over a set but not fully dry base coat, followed by troweling to achieve a smooth finish.
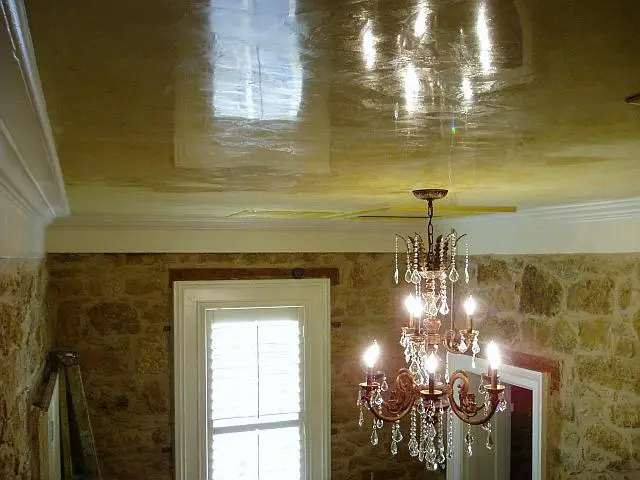
Photo 1 — Venetian plaster on ceiling
Decorative plaster for ceilings
Besides leveling plaster, decorative plaster is also available. It can conceal minor defects and enhance the appearance of the ceiling. Decorative textured plaster comes in two types: textured and structural.
Textured plaster creates a relief pattern, the appearance of which mainly depends on its filler material.
The relief of structural plaster depends on the tools used and the skill of the applicator. One of the most popular types of decorative plaster is Venetian. Its application gives the surface a marble-like appearance.
Plastering the ceiling, prices
- ROTBAND KNAUF gypsum plaster, 30 kg – 360 rubles.
- Plastering the ceiling, labor cost – from 400 rubles per square meter.
- Venetian plaster for a marble finish (labor + materials) – from 1200 rubles per square meter.