Shaping the Log House and Subsequent Painting
Why is shaping necessary?
Unshaped surfaces rapidly lose their advantages:
- the material darkens;
- wood decay begins;
- mold and fungi appear;
- the structure deteriorates.
Shaping cost starts from $10 per 1m². Therefore, if you have free time, desire, and tools, you can save considerably.
Tools
To shape the logs of a log house from the outside and inside, you will need to use a grinder. A simple tool with special attachments will help process the wood.
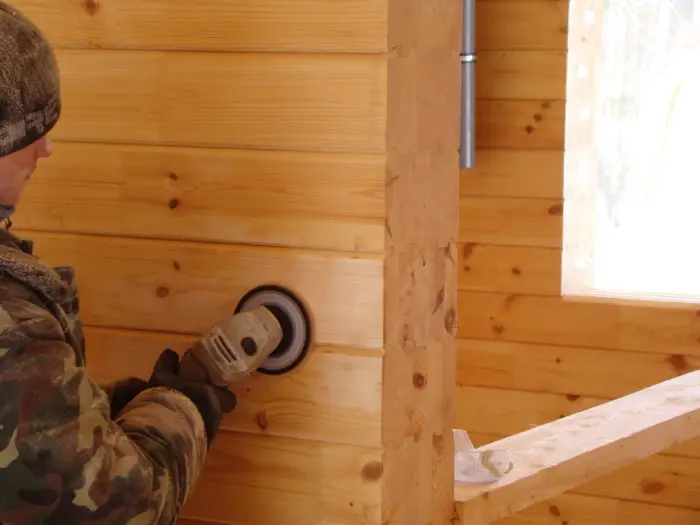
Photo 2 – Grinding with a grinder
In joints, corners, and on the ends of the log house, grinding with a grinder is impossible. Here, a regular chisel will come in handy.
IMPORTANT! Shaping generates a large amount of dust. Therefore, it is essential to protect your eyes with special goggles and your respiratory system with a respirator.
Log house shaping video
Video shows the process of shaping logs using a grinder.
$ Shaping cost
If shaping is performed by a professional, the cost will be from $10 per 1m². The price increases due to structural complexity and wood quality.
Shaping the log house yourself
Performing shaping yourself can significantly reduce construction costs. If you are new to this process, it may initially be difficult to adapt to the tool.
After processing at least one wall, you’ll understand how to hold the tool properly and when a chisel is sufficient.
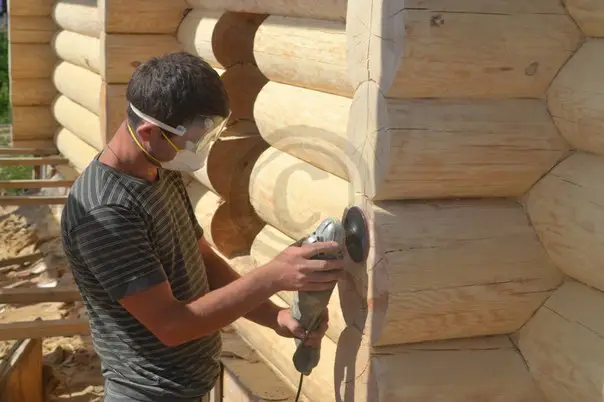
Photo 3 – Shaping a log house while wearing a protective mask
When to shapeShaping should only be done after the structure has settled. The wood must be dry!
What attachments to useNabbed abrasive attachments of varying grain size are used.
Initial processing uses a 40-grit attachment. It removes bark residue and surface irregularities.
Finishing shaping requires a fine-grit sandpaper of 80–100. This creates a smooth surface, free of roughness, burrs, and imperfections.
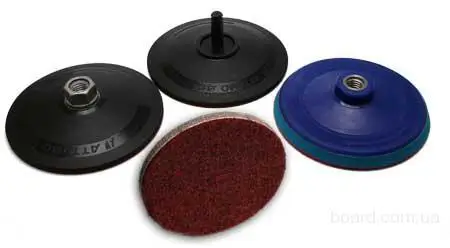
Photo 4 – Sanding attachments
You can estimate the approximate time needed to shape the entire log house. A professional spends about 2 minutes per meter of log with a 30cm thickness.
Video: Shaping a log house yourself
Video helps assess the difficulty of the shaping process.
Shaping a log house made of round-sawn logs
Shaping a log house is a labor-intensive process. To avoid rapid fatigue, use a powerful yet lightweight tool.
If using a grinder, a device with at least 850W power is sufficient. Use petal-type abrasive discs of varying grain size, replacing them regularly.
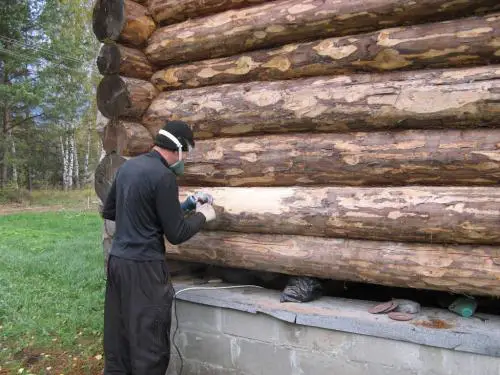
Photo 5 – Shaping a log house built from logs
Expert advice: "It's best to plan the shaping process to avoid leaving shaped surfaces uncoated for long periods. Divide the area into sections and plan to complete each in one pass. If you leave unfinished parts for several days, you’ll have to start over from scratch."
After shaping, surfaces must be treated with special preservatives: wood protectants, fire retardants, or lacquer-paint compositions. Otherwise, the log house will darken quickly.
$ Shaping cost for round-sawn logs
Professional shaping of log house structures varies in price. If the house is built from already cleaned, round-sawn logs, the process is less complex. The cost includes removing bark residue, smoothing irregularities, and starts at $10 per 1m² of treated area.
Painting the log house
To protect the structure from harmful climate influences and to enhance its aesthetic appeal, painting is performed.
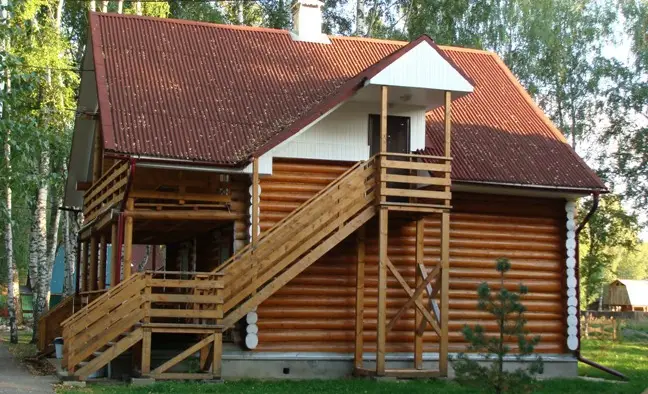
Photo 6 – Painting the log house from the outside
Wood protectantsInitially, wood is treated with wood protectants—formulations that prevent mold and fungal damage.
These also protect against wood-boring insects, larvae, and other pests that may damage the logs.
The house is painted inside and out. Treatment is done after settling and after shaping.
These bioprotective treatments also increase moisture resistance and UV protection.
Wood protectants are a mandatory base layer. Recommended brands include СЕНЕЖ, NEOMID, Remmers.
Fire retardantsFire retardants are substances that prevent fire ignition and do not support combustion.
The house is treated with fire retardants inside and out. These provide high heat resistance to the logs.
IMPORTANT! Today, combined products exist. For example, fire retardant and wood protectant properties are combined in a single formulation.
AcrylatesAcrylates are modern paint formulations that simultaneously protect wood from frost, UV radiation, and precipitation. They offer effective bioprotection. Acrylates come in various shades, penetrate deeply, and increase resistance to temperature fluctuations.
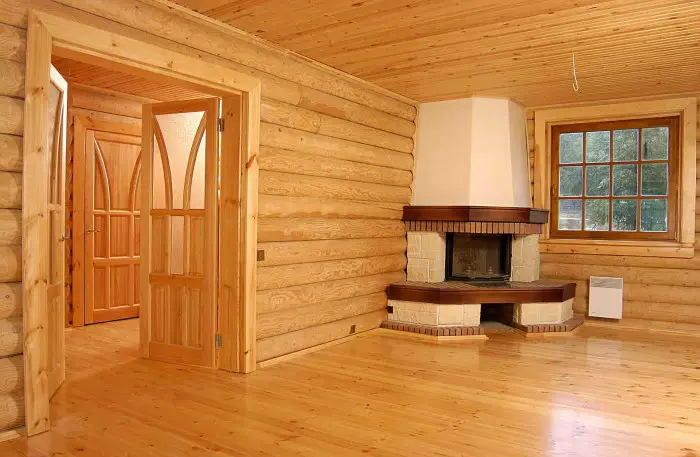
Photo 7 – Interior painting of the log house
Lacquer-paint compositionsInterior painting differs in color from exterior painting.
To protect against UV radiation, exterior painting uses darker shades. Interior spaces are painted in light, warm tones matching the wood’s natural color.
Color selection can emphasize the architectural style.
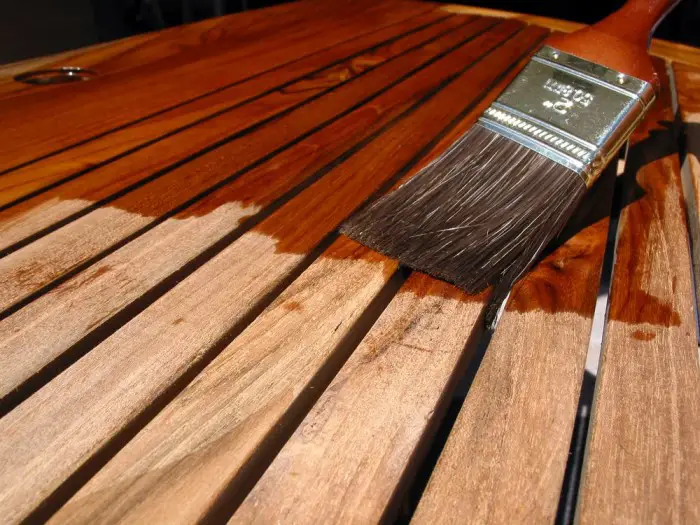
Photo 8 – Choosing a coating shade
Paint defines the structure’s color. Lacquer enhances decorative effects, adds gloss, and creates a glossy finish.
IMPORTANT! When choosing paint or lacquer, ensure quality: eco-friendliness, durability, and color intensity. Request a certificate of conformity from the seller.
How to paintPainting should be done along the log courses. Do not paint across the logs, as this creates drips that ruin the appearance.
Start from the top course. Apply preservatives, lacquers, and paints horizontally, from joint to joint.
If you need to finish painting the next day, ensure no logs are left with uncoated sections.
Apply 2–3 thin coats, not thick ones.
IMPORTANT! Do not use yacht-grade lacquer for log houses! Its structure is too dense. The wood cannot breathe properly under such a coating.
Painting the ends uses significantly more coating—up to four times more than wall coating.
For hard-to-reach areas, brushes are needed. Use brushes made from natural fibers.
Painting walls with brushes is unnecessarily labor-intensive. The best option is a roller with a dense, velvety surface. Choose a width of 15–20cm.
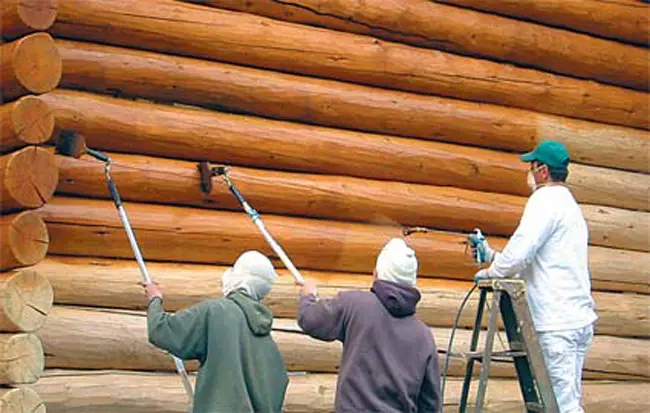
Photo 9 – Painting a log house with a sprayer
Rollers are used for the first coat. Then, a sprayer is recommended.
The most challenging areas are joints and corners. A brush is most convenient here.
Also, pay attention to drips formed when treating joint grooves. Use a nearly dry brush to remove drips before the paint dries.
Shelf lifeRemember that every coating has a defined lifespan. After this, reapplication is required.
Coating quality determines service life.
For example, wood protectants can last up to 10 years. Oil-based paints need renewal every 5 years. Lacquer coatings can last up to 10 years without reapplication.
$ Painting cost
Painting costs vary depending on structure complexity, materials used, and other factors.
Standard painting is priced by professionals from $10 per 1m². For high-rise buildings, the cost increases to $15 per 1m².