Log House Assembly: Different Techniques
In Lap
The connection of beam/post 'in lap' is also known as 'bird's mouth' joint. The key feature of this technique is the absence of protruding ends of logs/rafters in the corner of the erected log cabin.
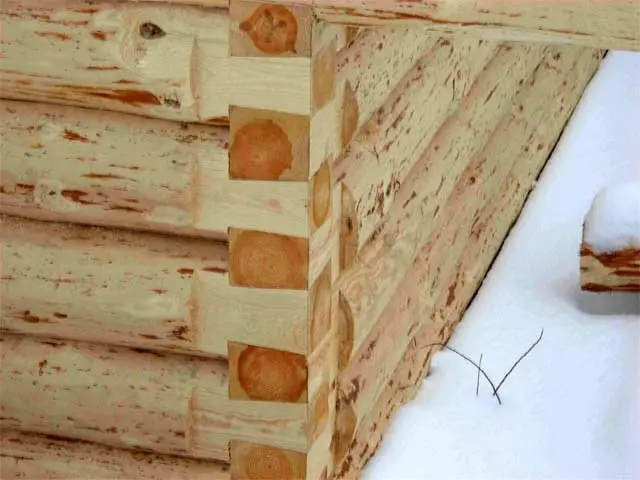
Photo 1 – Assembly 'in lap'
Advantages
The method ensures efficient use of the full length of the prepared material. An added benefit is the aesthetic appeal of log cabins built 'in lap'.
The 'in lap' method means a warm corner. The joint reliably self-locks during wood shrinkage, eliminating the need for additional fastening.
If desired, external finishing of a log cabin built using the 'bird's mouth' technique can be done with siding panels.
Disadvantages
This type of log construction is quite labor-intensive and requires accurate marking of the ends of logs/rafters. Additional end insulation is required later.
MarkingThe most critical step is marking. Correctly determined lap dimensions ensure a tight fit, prevent large gaps, and guarantee proper assembly.
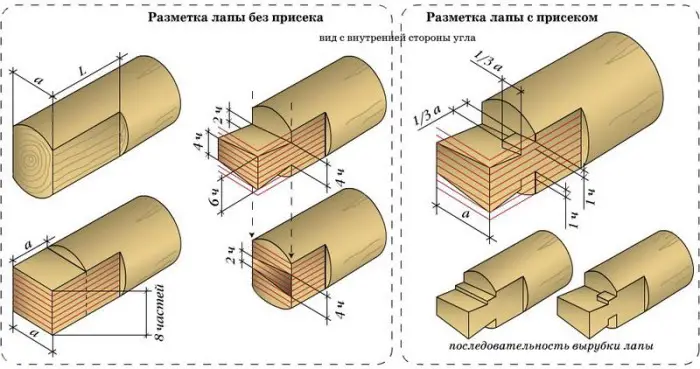
Photo 2 – Marking
The most convenient method is using pre-made templates. Cut the end shapes on thick cardboard, apply the template to the log/beam, trace it, and then cut out with an axe or chainsaw.
Additional FasteningsBesides corner joints, additional fasteners are required: dowels, tenons, bolts, and nails. Any suitable technology may be used.
On Dowels
A dowel is a wooden nail made from wood species such as birch or oak. Dowels are used to connect log layers in a cabin.
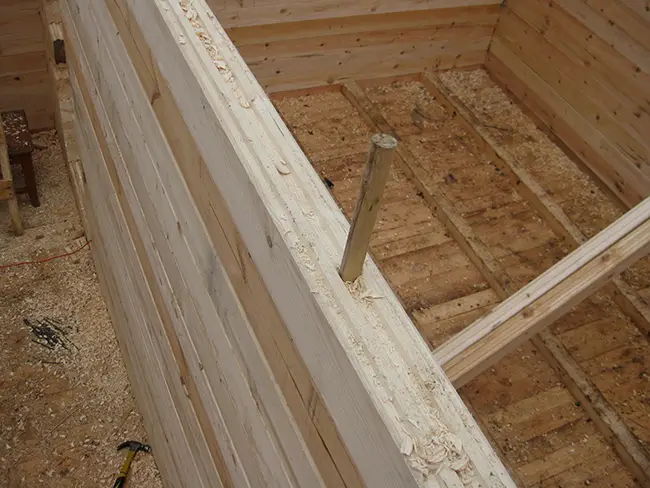
Photo 3 – Fastening with Dowels
Dowels come in round or square cross-section. These nails are strong, resistant to rot, easily machinable, and free of knots.
Before installing dowels, corresponding holes are drilled in a staggered pattern into the log/beam. Spacing between holes: 1.5–2 meters.
The dowel length must be sufficient to pass through 2–3 logs/rafters.
A special template simplifies drilling holes for dowel insertion.
On Tenons
Typically, tenons are used to fasten roof trusses when building log cabins. Tenons are wooden nails with cylindrical or square shapes. Their ends are pointed. The strength of tenon fastening is enhanced by using adhesive compounds.
On Bolts
Bolts are made of metal. The bolt length is approximately 1 meter. This fastening method is suitable when constructing a cabin from glued laminated timber.
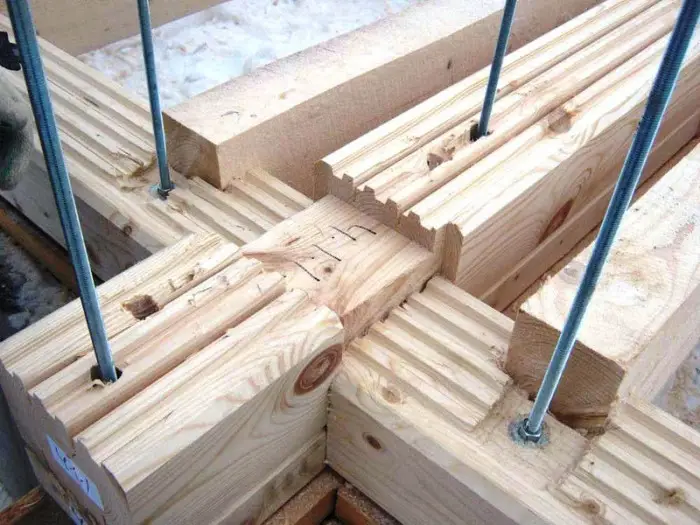
Photo 4 – Fastening the cabin with bolts
Bolts are installed into pre-drilled holes made by skilled workers. Bolt connections are secured with sleeves along the length. Nuts are tightened at the top and bottom of the structure.
The first log layer is fastened to the foundation with bolts. If the cabin walls are particularly massive, spring compensators may be used.
IMPORTANT! If the cabin is built from OCB (round-sawn logs), after the shrinkage process, the inserted bolts will protrude outward. Therefore, using bolts is not recommended when using OCB.
On Nails
Do not use metal nails during cabin assembly! The material will 'hang' on them. Experts recommend using only wooden nails.
Assembly of Calibrated Log Cabin
The simplest method for assembling a cabin made from calibrated logs. Prepared timber offers these advantages:
- clear labeling simplifies the assembly process;
- precise marking is calculated using modern PC software, ensuring joint accuracy within 1 mm;
- high-quality joints of calibrated logs provide excellent thermal insulation;
- calibrated cabins require no further finishing;
- assembly is straightforward – material is laid like a construction kit;
- due to tight joint connections, insulation usage between layers is significantly reduced, lowering costs for chinking.
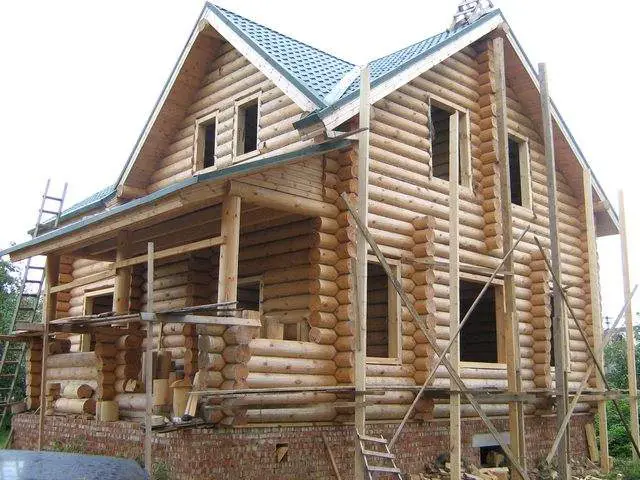
Photo 5 – Calibrated log cabin
TimeframeAssembling a cabin from already prepared, calibrated material takes up to 2 weeks.
Assembly of a Log Cabin from Logs
If logs have not yet been prepared, you will need to spend time cleaning, drying, and selecting logs of uniform diameter.
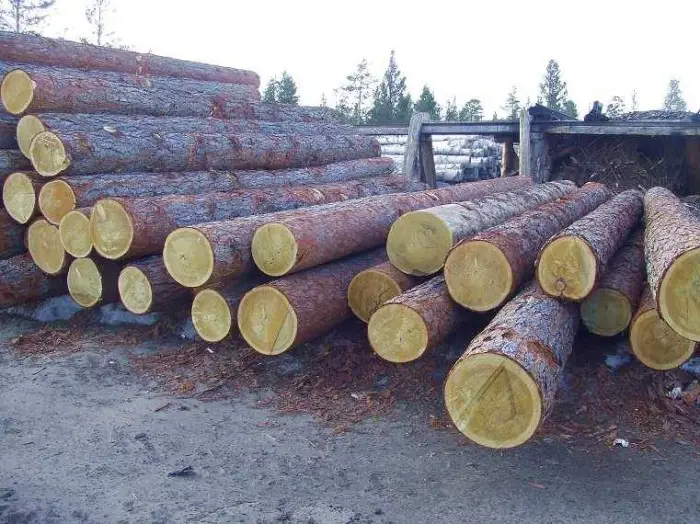
Photo 6 – Log for processing
Next, prepare corner joints by cutting them according to the chosen assembly method. After preliminary marking, cut the grooves and select fasteners.
Wood should be treated with special preservatives.
Assembly of a Round-Sawn Log Cabin (OCB)
Assembling a round-sawn log cabin is simpler due to the elimination of log preparation for laying.
The semi-circular shape of processed logs ensures perfect jointing of stacked layers. OCB has a consistent diameter along its entire length, precisely machined in a factory on specialized equipment.
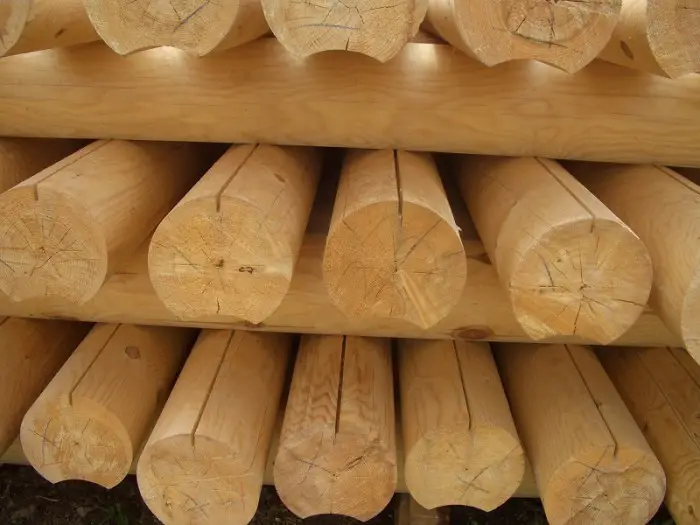
Photo 7 – Round-sawn log
The presence of a pre-made expansion groove prevents wood cracking during the shrinkage process.
IMPORTANT! The shrinkage process for factory-made OCB cabins takes only 6 months.
Log Cabin Assembly Video
$ Log Cabin Assembly Cost
Assembly costs vary. The standard rate per square meter is:
- from natural log cabins – from $170;
- from profiled timber – from $140;
- from OCB – from $110.
The price includes:
- design draft;
- manufacturing of the cabin;
- transport and unloading;
- assembly of the completed cabin;
- interlayer insulation;
- roof sheathing;
- roof truss system;
- subfloor;
- openings.
Finishing work, utility installation, and connection are not included. Additional cost applies for transport over 100 km.