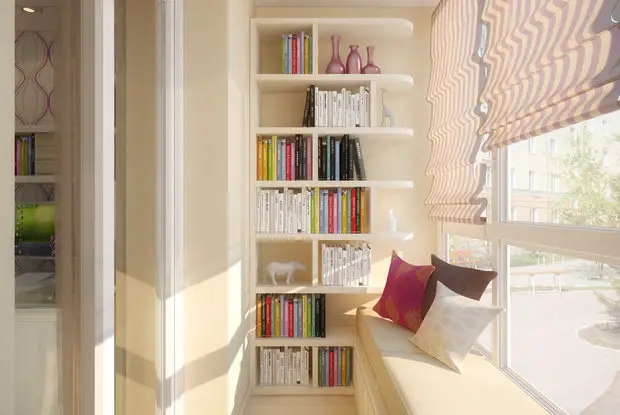
10 Mistakes When Insulating a Balcony You Should Know About
How to connect and insulate a balcony without ruining the appearance of your house or the climate in your apartment? We've collected several warning tips: it's time to learn from predecessors' mistakes
Doing the balcony connection and insulation yourself is a whole story with additional construction, complex technologies, and a sea of paperwork. And unpredictable results: sometimes after all the work, the insulated wall bulges out from under the glazing, window handles are too high, and condensation drips from the ceiling. We'll tell you how to make the balcony a full-fledged part of your apartment and not regret it!
Mistake 1: Relocation and Renovation Without Permission
Even if you don't want to demolish the wall between your apartment and the balcony, but only want to insulate the space behind the window, it's better to notify the BTI representative about your intentions so you don't have problems later, for example, with selling the apartment due to discrepancies in the technical passport of your living space.
Tip: Glaze the balcony using sliding glass units with aluminum profiles – and equip your summer unheated balcony this way. This measure will still add space (e.g., for storage), and there will be noticeably less drafts from the balcony side. No permit is required for such glazing.
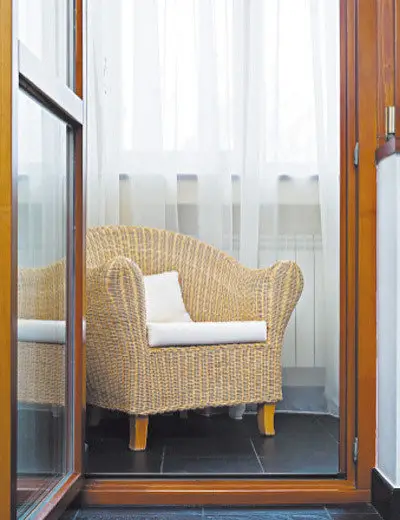
Mistake 2: Moving Radiators to the Balcony
If you received permission for relocation, you probably don't plan to pull off such a trick. But still, know that it is not allowed to move pipes and the radiator itself outside the building wall. Heat losses on the balcony are too high, pipes may freeze with incorrect insulation, and there could be accidents; you might have to pay a significant sum after individual recalculation for non-residential area heating. Regardless, radiators are not moved to the balcony – remember this during the planning stage of insulated balcony.
Tip: A system of electric heated floors or oil radiator will help – it can be attached to the wall just like a regular radiator.
Mistake 3: Installing Frameless Glazing
Frameless shutters look great – in the closed state, they appear as a smooth surface, sometimes even without edging. Also, shutters are convenient to assemble «like a accordion», not taking up space on the balcony. However, such a solution is not suitable for an insulated balcony: single glazing and gaps between panels won't protect against cold. Moreover, they quickly accumulate dirt and dust, leave finger marks, and don't hold mosquito nets.
Tip: Look into the latest developments – for example, to thermally insulated sliding windows. But the best choice for glazing a warm balcony remains PVC glass units with classic hinged shutters. Actually, they don't take up much space – you can open them only for ventilation, and open them twice a year to wash the glass from outside.
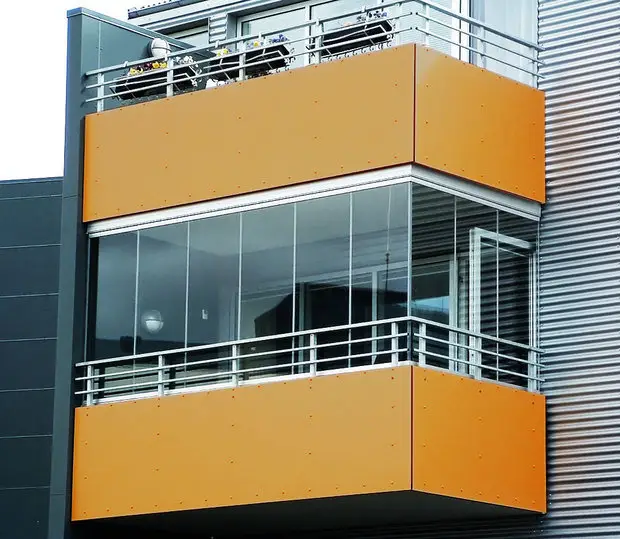
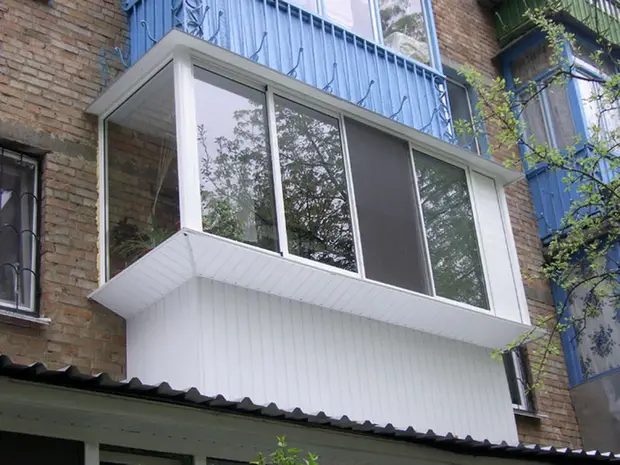
Mistake 4: External Glazing on Brackets
Trying to increase the area, or more precisely, the volume of the attached balcony, apartment owners build a frame for glazing that extends several dozen centimeters. A wide overhang appears at the top perimeter, where snow constantly accumulates, and during the off-season, rain makes loud sounds. The most important thing is that a glass growth appears on the facade, which ruins the appearance of the building.
Tip: An alternative is only possible within the context of facade uniformity. If your building has all open balconies (or they should actually be so), it's better to give up the idea of joining or even glazing. And decorate the balcony with green plants.
Mistake 5: Insulation in One Layer
To create an insulated balcony, the parapet and walls are duplicated by laying blocks of expanded polystyrene 70–100 millimeters thick – this material has excellent thermal insulation properties and frost resistance, so some believe that additional wall and parapet insulation with expanded polystyrene blocks is unnecessary. Actually, such thickness can freeze.
Tip: Add either extruded polystyrene panels or stone wool boards to the insulation sandwich.

Mistake 6: Ignoring Vapor Barrier
It is especially dangerous if you use mineral wool as an insulator – without vapor barrier material, it will get wet and spoil the walls and floor on the balcony, and neighbors may find condensation on their ceiling. Inside a balcony room joined without vapor barrier, condensation appears instantly.
Tip: Even if you use only polystyrene or other foamed materials for insulation – nothing prevents you from adding a thin layer of vapor barrier film to them. For mineral wool, such addition is an absolute must-have!
Mistake 7: Excessive Use of Sealant Without Protection
Seams with bubbling construction foam are a nightmare for perfectionists. Aesthetically unattractive, they can also spoil the climate in your apartment: it's because polyurethane sealants' foam doesn't tolerate direct sunlight and moisture. Without proper protection, it quickly deteriorates, opening previously sealed gaps and cracks for drafts and outdoor noise.
Tip: Carefully process the «foamed» seams – cut off excess sealant, sand the material with fine-grit sandpaper, and cover with spackle or acrylic paint (better use both). If you don't have spackle or paint at hand, take special mounting tape – but keep in mind that such seams won't hold paint well.
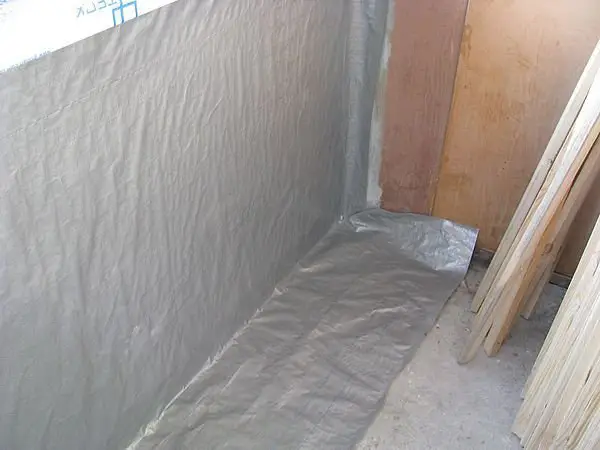
Mistake 8: Incorrect Floor Construction
Don't try to make the floor perfectly flat using a thick sand-cement screed, on which a solid layer of tile adhesive will later be applied, followed by ceramic tiles. Overloading the slab is dangerous. It's better to insulate the floor using ultra-lightweight materials (we clarify that this example doesn't refer to a heated floor system).
Tip: There are many recipes for the insulation sandwich for the floor on a balcony, but they all boil down to using soft insulation directly on concrete slabs (you can take polypen or mineral wool). Then it's recommended to lay a second layer of insulation – and definitely apply hydro-isolation (lay hydroglass with overhang more than 15 centimeters). You can make a thin screed on top – many skilled craftsmen just lay plywood if there's no significant slope on the balcony: thin, light, flat plywood, and on top of it you can lay vinyl or laminate in a warm and moisture-protected balcony.
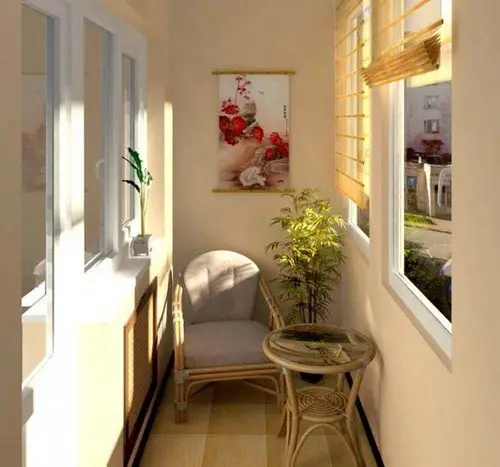
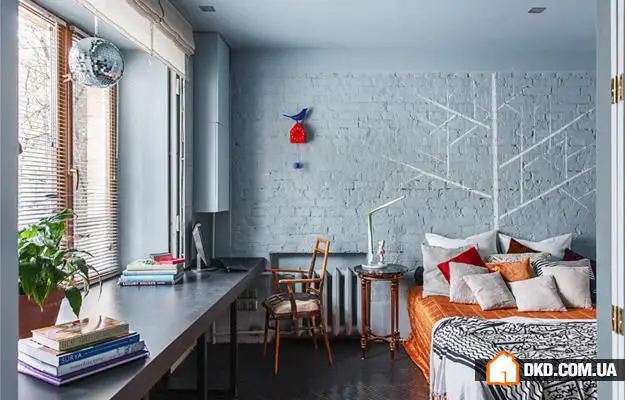
Mistake 9: Insulating the Wall Between the Balcony and Apartment
If the balcony is joined and insulated, the external wall becomes an internal wall. And covering it with various thermal insulating materials will in most cases be a waste of time and money – insulation on both sides of this wall won't affect the climate in the apartment.
InMyRoom Tip: Spend the saved money on beautiful wall finishing and window sill space. Also, on important details – see the next point.
Mistake 10: Neglecting the Details
This mistake is encountered by everyone. But most common oversights can be fixed at the root:
- When glazing, plan and discuss the height of handle placement, as well as the material, thickness, and mounting method of the window sill (if you decide to add a sill to the frames);
Determine whether mosquito nets are needed and how they will be mounted;
Gaps between the parapet and slab ceiling, not reaching the top or wall glazing plane must be filled and completed. Determine what materials and tools will be needed – and carry out the work before starting insulation.
Tip: If the insulation sandwich on walls becomes thick enough, take care of additional profile extensions – to prevent the wall from protruding far beyond the glazing.
Need a renovation specialist?
Find verified professionals for any repair or construction job. Post your request and get offers from local experts.
You may also like
More articles:
 Where Designers and Architects Live: 10 Classy Professional Apartments
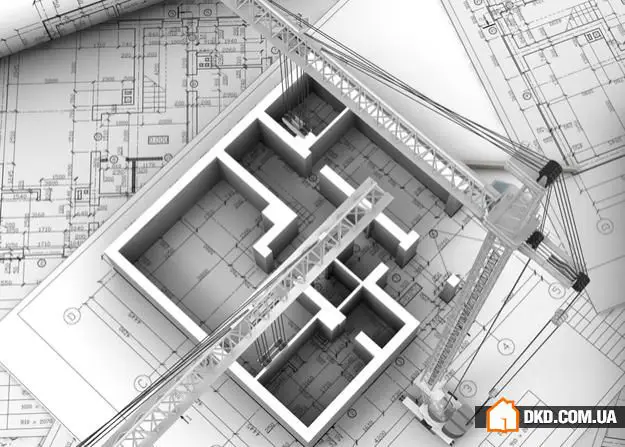 How to Repair the Kitchen Without Going into Debt: 9 Useful Tips
 Summer Season Garden: How to Furnish a Wooden Cabin with a Summer Terrace
 Preparing Your Garden Plot for the New Season: 7 Simple Steps
 7 Signs of Coziness: Check Your Interior
 Should You Install a Multi-Level Ceiling in Your Apartment: Pros and Cons
 4 Layout Options for a Narrow Rectangular Kitchen
 Choosing a Sink for the Bathroom: 7 Options from Different Materials