Bed Under Ceiling: Installation Instructions
Let's start with something unusual. A bed under the ceiling is an ideal solution for saving space and using it to maximum benefit. This sleeping area is most accessible in rooms with high ceilings.
Bed Under Ceiling
Let's start with something unusual. A bed under the ceiling is an ideal solution for saving space and using it to maximum benefit. This sleeping area is most accessible in rooms with high ceilings.
One living room can be beautifully zoned and used in various ways with a bed under the ceiling. The construction can be mounted only to the walls, only to the ceiling, or both.
With sufficient height, a rigid attachment for a loft bed is possible. If the room height is limited, it's also possible to install a movable bed that can be lowered from under the ceiling when needed and returned to its position.
The mounting system for such beds is more complex. Usually, special rails on the walls or strong lifting cables attached to the ceiling are used.
A bed under the ceiling is a very convenient, stylish, and beautiful way to zone a room. However, not everyone can afford to buy such a bed or have one custom-made.

Photo 1 — Suspended Bed
How to Mount to the Ceiling…
The furniture topic continues with the question of how to mount a cornice to the ceiling. If we're talking about a curtain rod, then for its installation on any ceiling, dowels of various configurations are required.
If the ceiling is made of gypsum board, then, even during the frame installation, one should plan a mounting point for the cornice and reinforce it with additional profiles.
The installation is performed using toggle bolts or similar specialized dowels into the lath. Mounting a cornice to a suspended ceiling is done on the same principle – behind the suspended ceiling, there must be a solid base (a rebate) for attachment. In a regular plastered ceiling, the same dowels are used, into which screws are driven to attach brackets or a cornice frame.
If the conversation about a cornice involves gluing trim, moldings, picture frames, angles, etc., then the method of attachment will naturally be different.
These methods also apply dowels, but picture frames are often mounted using liquid nails, spackle, or glue and additionally reinforced with dowels into the walls as a backup.
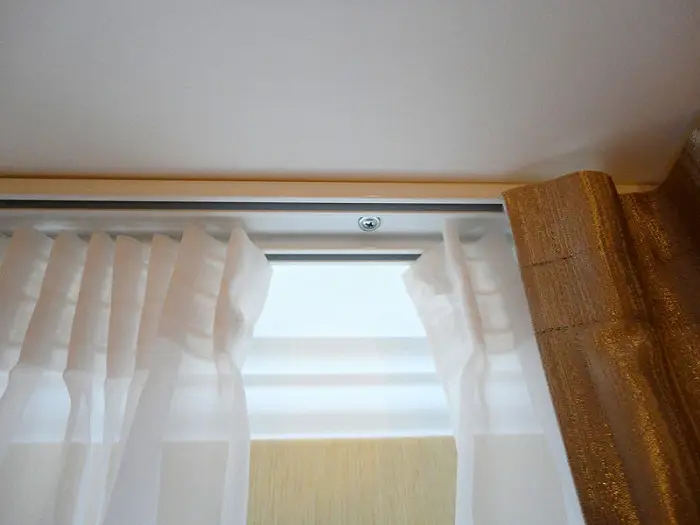
Photo 2 — Ceiling Cornice for Curtains
How to mount blinds to the ceiling – a question similar to mounting a ceiling cornice for curtains. As in the previous case, appropriate dowels are used for installing mounting brackets for blinds, suitable for the base material.
Before mounting a cornice or blinds, it's necessary to measure the distance so that there are no obstructions for opening windows.
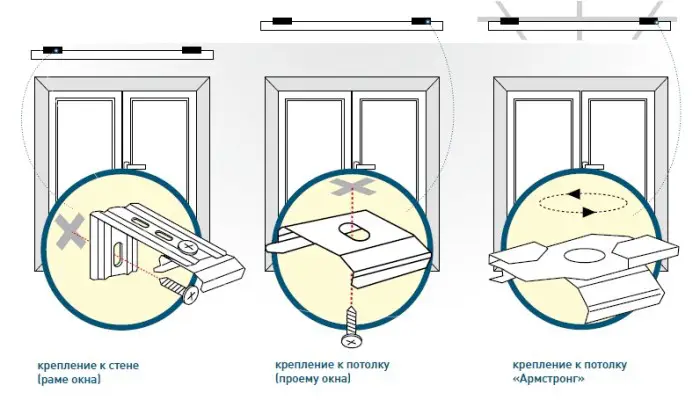
Diagram 1 — Blind Mounting Scheme
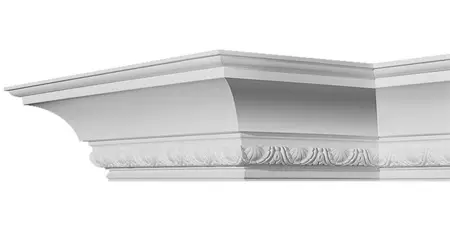
Photo 3 — Ceiling Cornice – Molding
What is a Rough Ceiling
A rough ceiling is a structure made of beams to which wooden strips are nailed, and on these, wooden boards are laid. It is needed for further finishing of the ceiling.
How to Finish a Ceiling
One of the main questions is how to properly choose a material for finishing a ceiling, what to use to finish it.
Finishing a ceiling can be done with gypsum board, plastic, Armstrong, or a suspended ceiling, which can be ordered from many companies such as Ceiling Factory. A ceiling can also be plastered and painted, covered with wallpaper, decorated with ceiling tiles, or other elements.
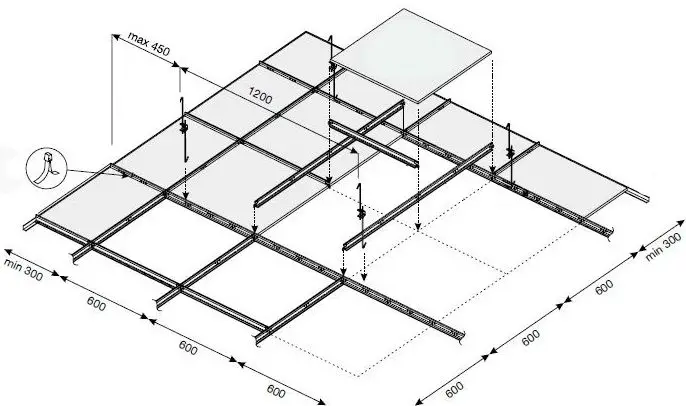
Diagram 2 — Armstrong Mounting Scheme on Ceiling
Ceiling Primer
During plastering, spackling, and other finishing work, questions arise about whether to use primer, which one is better, how to apply it, and so on.
If all renovation work is done correctly, then primer is an essential part of the process. Due to the horizontal nature of the ceiling, surface adhesion with finishing materials needs reinforcement.
The choice of primer depends on what it is applied to and for what purpose. For plastering, spackling, painting, or wallpapering, primer will vary, although there are also universal primers suitable for most purposes.
Universal primers include, for example, Ceresit ST 17. Manufacturers of finishing materials usually provide recommendations on primer selection.
Primer can be applied with a roller, brush, or other convenient tool. When applying a specific primer, it's necessary to follow the instructions, which specify how long it takes to dry (usually 6 hours, but in some cases it's better to wait until the next day before starting the next stage of finishing), how to apply it, whether dilution is needed, and so on.
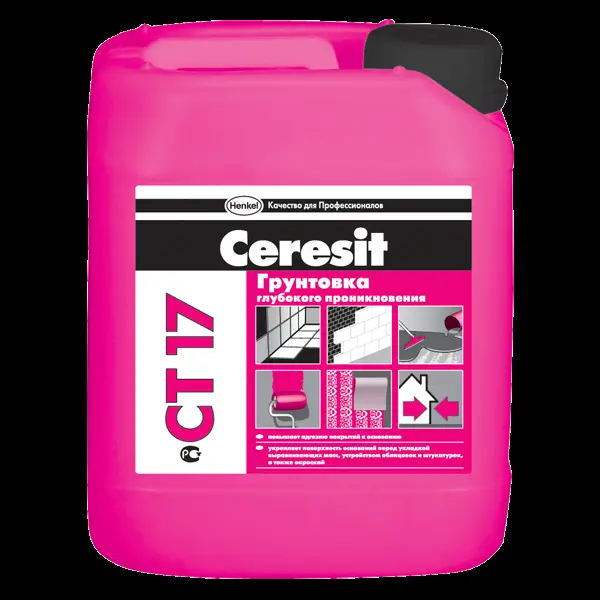
Photo 4 — Universal Ceresit ST 17 Primer
How to Glue Fiberglass Mesh and Why It's Needed
Fiberglass mesh is used for leveling surfaces and reinforcing finishing layers. Fiberglass mesh can be glued directly to gypsum board or embedded into spackle. It is mainly used for filling joints between Gypsum Board Panels (GKLP).
The mesh is also needed when applying a thick layer of plaster. Applying mesh (or "webbing") helps prevent cracking. To achieve the same effect, felt and special tape are used.
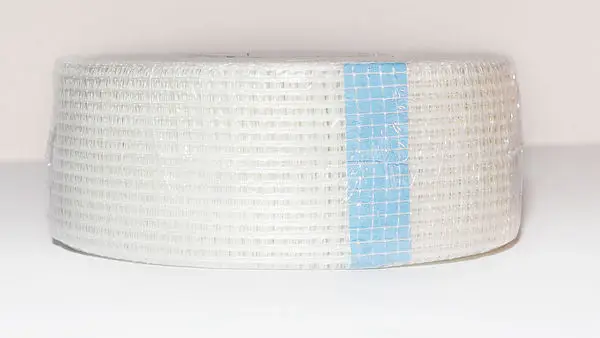
Photo 5 — Mesh for Joint Sealing
How to Clean the Ceiling from Glue
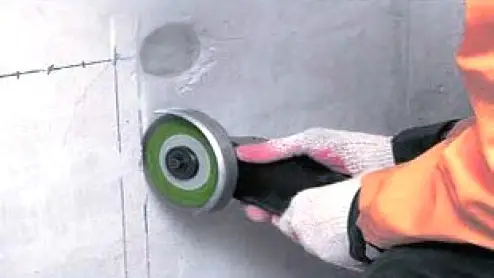
When renovating a ceiling that was covered with tiles, before performing new finishing, it's necessary to address how to remove the glue. Several methods can be helpful here. A metal brush, drill, angle grinder, spatula, and others may come in handy.
More effective is a mechanical cleaning method, but makeshift tools can also be used, especially if the glue doesn't adhere very strongly.
How to Visually Increase the Ceiling
Visually increasing the ceiling can be achieved using multi-level suspended and tensioned ceilings, glossy suspended ceilings, mirror tiles, painting in light tones, strategically placed lights, using light-colored shaped moldings to create a “grid” on the ceiling, and painting the interior of the cells in darker shades.
There are also other methods for visually increasing the ceiling. In each individual case, ceiling finishing should be chosen in coordination with the overall room decoration.
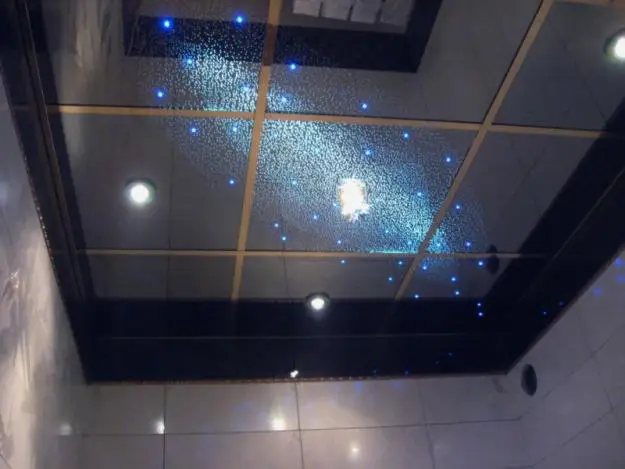
Photo 6 — Mirror Ceiling