Ceiling Installation Technology
Figure 2 — Cornice Installation (Mounting Scheme of Tensioned Ceiling in Fasteners)
Figure 3 — Mounting Scheme: 1 − Wall Bracket; 2 − Tensioned Ceiling Fabric; 3 − Hook; 4 − Decorative Masking Tape
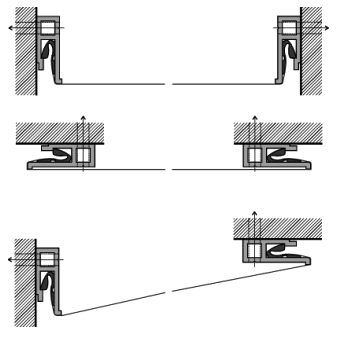
Figure 1 — Bracket Installation. Installation Options
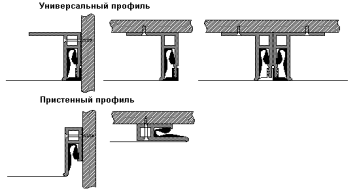
Figure 2 — Cornice Installation (Mounting Scheme of Tensioned Ceiling in Fasteners)
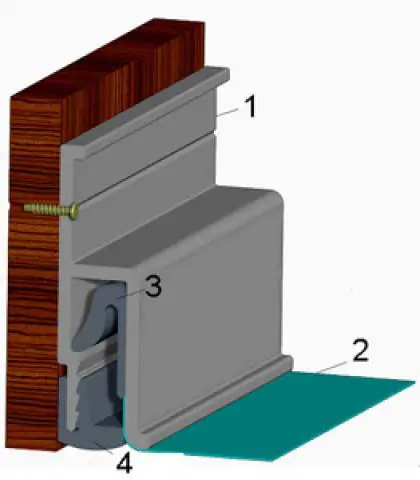
Figure 3 — Mounting Scheme: 1 − Wall Bracket; 2 − Tensioned Ceiling Fabric; 3 − Hook; 4 − Decorative Masking Tape
Ceiling Installation Technology
Classic Shape
A tensioned ceiling of this type is a flat surface, i.e. a smooth plane. However, in addition to a strictly horizontal surface, a classic ceiling can also be installed at any chosen angle by the client. This method allows quickly leveling the ceiling, hiding possible height differences, cracks, and any structural elements of the base room.
Regardless of the surface shape or the company performing the installation, a tensioned ceiling must be manufactured in any shade and in the chosen textured solution by the client. It can be installed in rooms of various configurations, including those with columns, pipes, and non-standard wall geometry.
A ceiling in the classic shape can be installed at any height from the base, with a minimum clearance of just 3 cm. Point lighting fixtures can be embedded into such ceilings, and it is possible to install a chandelier, ventilation system, fire or security alarm sensors.
Usage: A classic shape tensioned ceiling allows covering a room of any volume, making the ceiling surface perfectly flat.
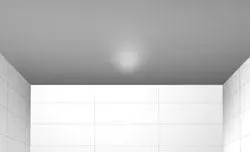
Figure 4 — Classic Shape Tensioned Ceiling
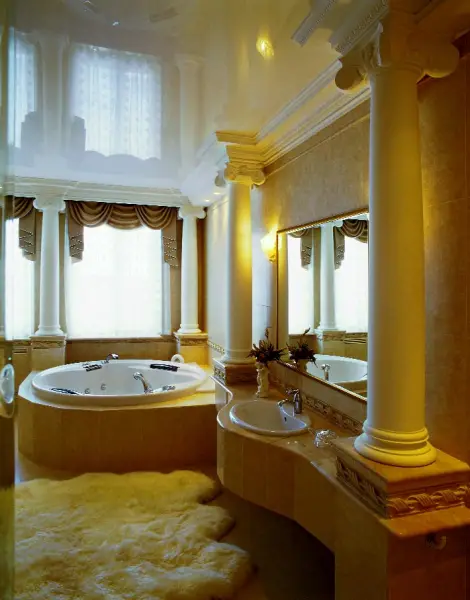
Photo 1 — Classic Shape Tensioned Ceiling in a Bathroom
Shape for Level Transition Installation
This form of tensioned ceiling can be considered one of the most varied in design options. The number of ceiling levels is technically unlimited. Multi-level ceilings are particularly interesting because they allow combining different textures and colors. For example, an attractive combination would be a level transition and ceiling bend.
It is also possible to emphasize decorative elements in the room by repeating their forms or colors with tensioned ceiling elements.
The room space can be expanded through the ceiling design: the desired volume for a room is provided by contrasting textures and colors on multiple ceiling levels.
Installation time for such a ceiling is 1-2 days (for standard systems, compared to 3-4 hours for every 20 m² of working surface).
Usage: By installing a ceiling with level transitions, a room can be visually divided into functional zones of different purposes.
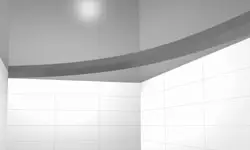
Figure 5 — Multi-Level Tensioned Ceiling Shape
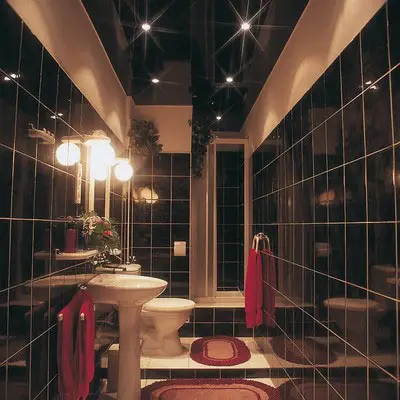
Photo 2 — Two-Level Tensioned Ceiling for a Bathroom with High Ceilings
Tensioned Arched Ceiling
This form of tensioned ceiling is characterized by smooth transitions from walls to the ceiling.
An arched ceiling can be made throughout the entire area or locally — on one or several sides. If the arched shape is used all around the perimeter of the ceiling, the arches can be joined into a dome form.
There are many options for changing the radius of curvature and the height of the ceiling arches. Installation of tensioned ceilings of this type takes up to 5-7 hours per every 20 m² of working surface area.
Usage: This form is effective when it is necessary to change the standard geometry of a room, for creating dome-shaped vaults.
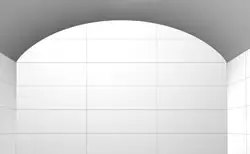
Figure 6 — Tensioned Arched Ceiling
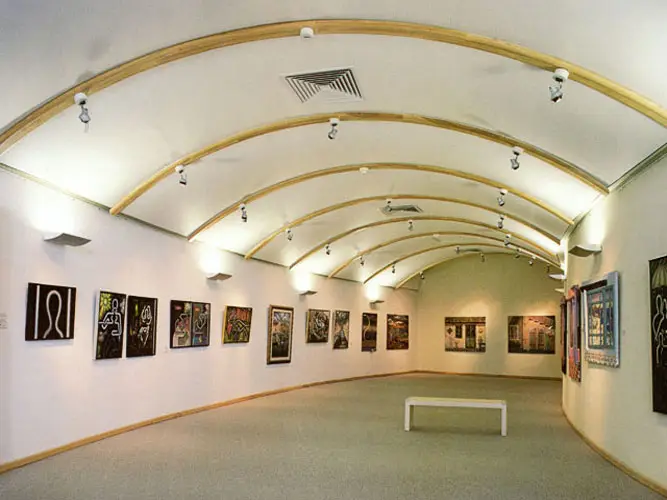
Photo 3 — Variation of the Arched Shape Tensioned Ceiling
Local Shape – Bell
A quite unconventional interior solution. The original ceiling form can be accentuated with carefully arranged lighting. The diameter and depth of the shape can vary. The boundary between the form and the main ceiling plane can also be made either smooth or with clear contours. Additionally, there are no limits on the number and size of shapes on the ceiling.
This type of tensioned ceiling can be combined with other forms at the client’s request.
The standard method of installing such a ceiling will take approximately 6-7 hours. Additional equipment may be required. Unlike single-level ceilings, it is not possible to install volumetric tensioned ceilings by yourself without sufficient experience and knowledge.
Usage: This form is particularly effective when light reflects off it, especially if the decorative part of the ceiling is made from glossy textures. However, such forms on a ceiling are only suitable for avant-garde interiors.
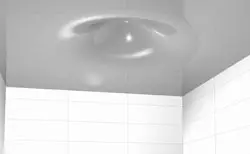
Figure 7 — Local Shape in the Form of a Bell
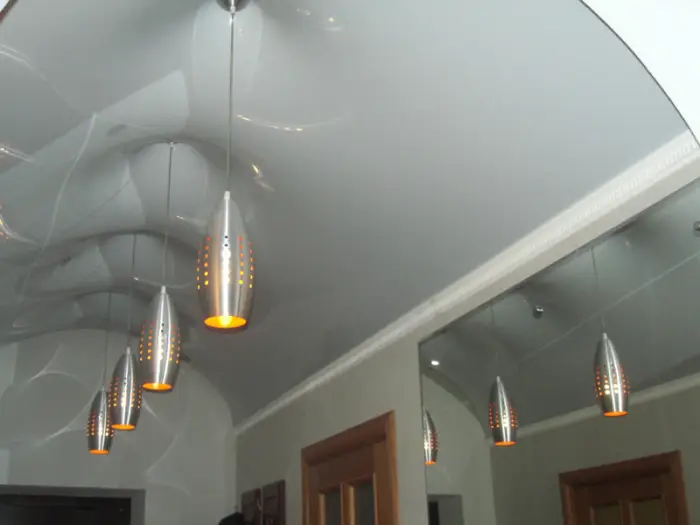
Photo 4 — 'Bell' as a Ceiling Decoration Form During Installation of Lighting Fixtures
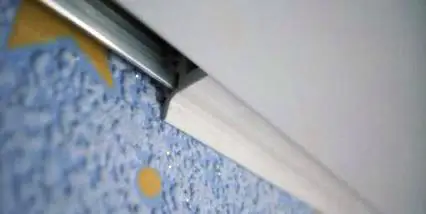
Photo 5 — Plinth Installation. A tensioned ceiling plinth can serve as either a slot fastener or a specially designed strip for this purpose. The latter should be secured UNDER the ceiling, not ON the ceiling
Conical Shape
This is another volumetric form of a tensioned ceiling, suitable for creating unusual interiors. The cone can be used as a standalone decorative element or complemented with other interior details.
This form allows for smooth and sharp transitions from the ceiling to the cone.
Using a cone, it is possible to create three-dimensional futuristic structures. Additionally, the cone can have various textured and colored finishes, with diameters and heights of such ceiling elements varying.
Additional construction element: the lower part of the cone in the shape of a drop or an uncut surface (there is also an option for creating a hole in the ceiling or a solid plane).
Usage: The cone can be used when it is necessary to hide the ventilation system in a room without compromising its appearance. Also, interesting are methods of decorating conical ceilings using lighting with different angles of light beam incidence.
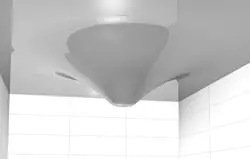
Figure 8 — Conical Shape
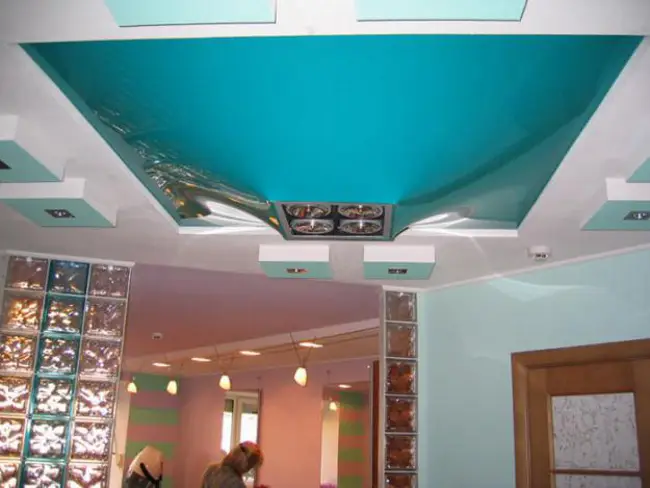
Photo 6 — The Cone Shape Can Be Used Not Only for Decorative but Also Practical Purposes. For Example, to Mask the Ventilation in Large Shopping Centers or Restaurants
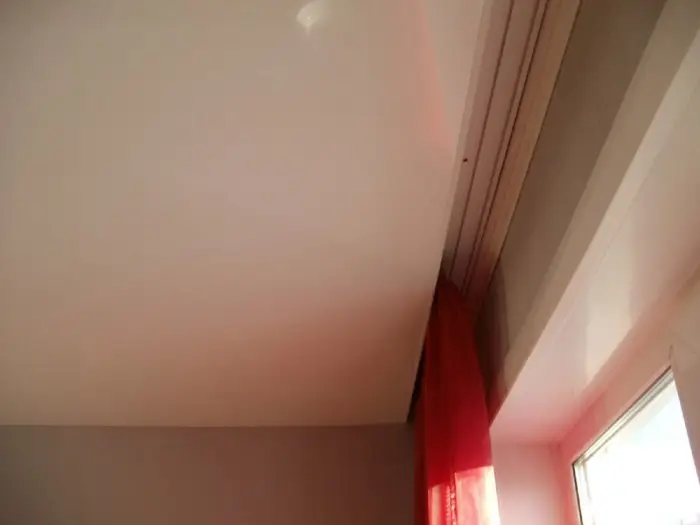
Photo 7 — Installation of Curtains Behind Tensioned Ceiling
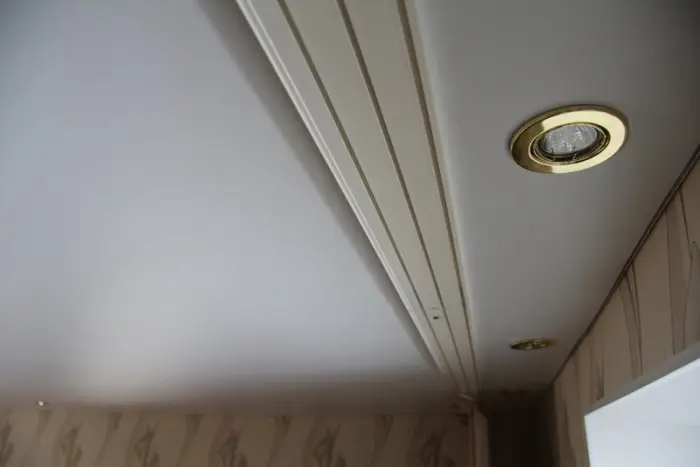
Photo 8 — Installation of Curtains on Tensioned Ceiling
Shape with Smooth Vertical Curves – 'Wave'
This is the most complex form of tensioned ceiling to install, but also the most beautiful. The wave height and step can vary depending on the designer's idea. The number of waves is unlimited.
It is possible to create 'waves' of various forms: uniform, smoothly fading, changing wave steps.
'Waves' can be created along one wall or along two or more walls.
Usage: The 'wave' form is mostly used when working with dark glossy ceilings.
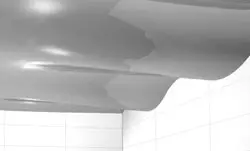
Figure 9 — Shape with Smooth Vertical Curves
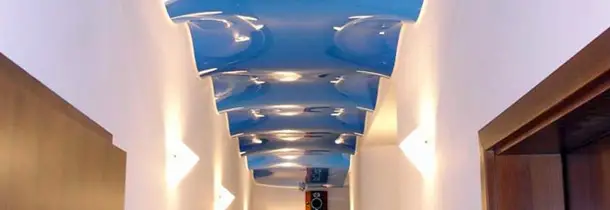
Photo 9 — 'Wave' in a Hallway Interior
IMPORTANT! When working with PVC film, a heat gun is used to warm the surface of the film and thus the room where the work is being done up to 60°C. When working in such conditions, extreme caution must be exercised: an explosion may occur during installation due to non-compliance with the technical requirements for gas equipment usage.
Photo Instruction for Installing Clipso Tensioned Ceiling (Classic Style)
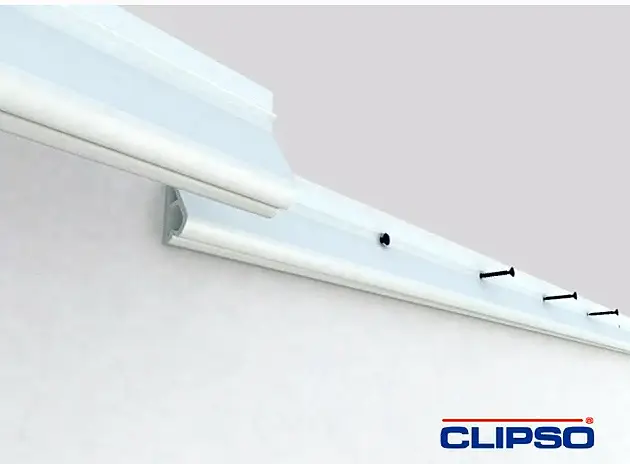
Photo 10 — Fixation of Mounting Profile
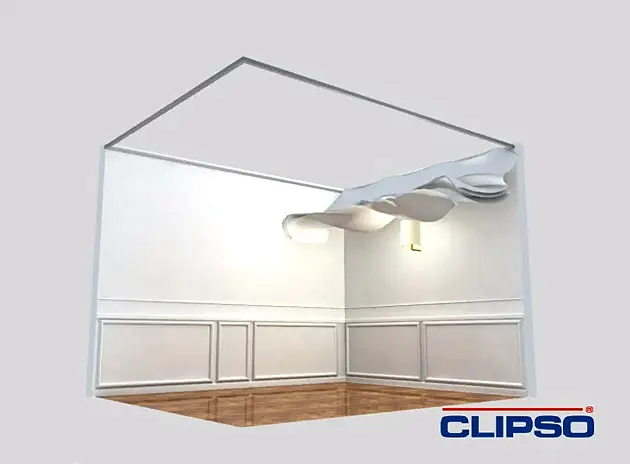
Photo 11 — Securing the Fabric into Mounting Grooves. Step 1
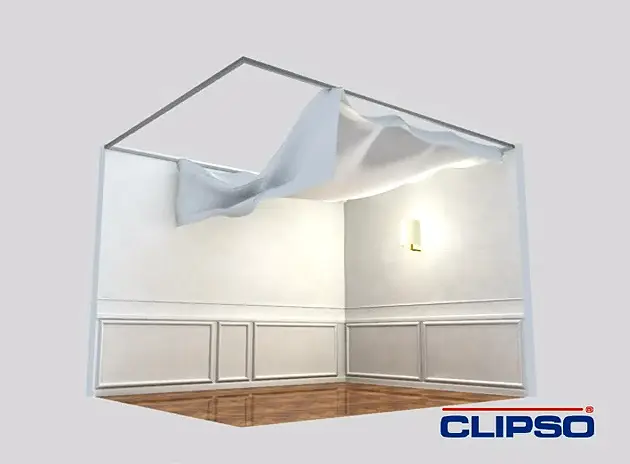
Photo 12 — Securing the Fabric into Mounting Grooves. Step 2
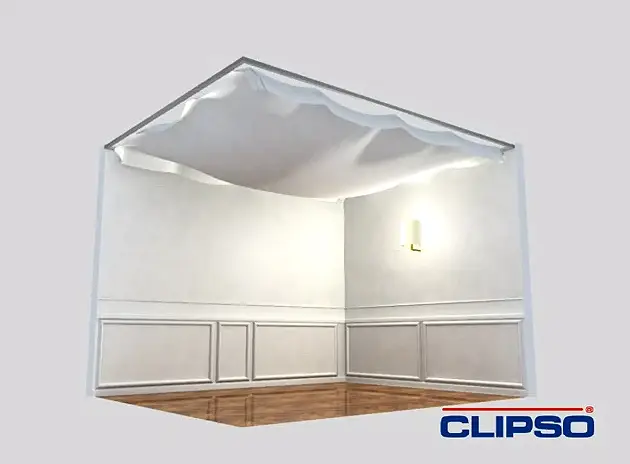
Photo 13 — Securing the Fabric into Mounting Grooves. Step 3
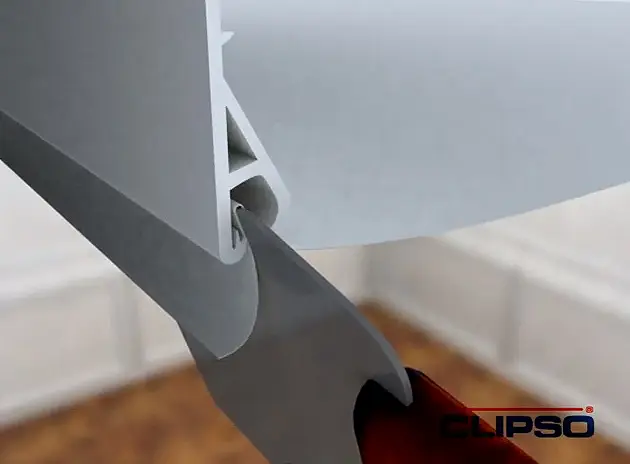
Photo 14 — Securing the Fabric into Profile with a Special Spatula
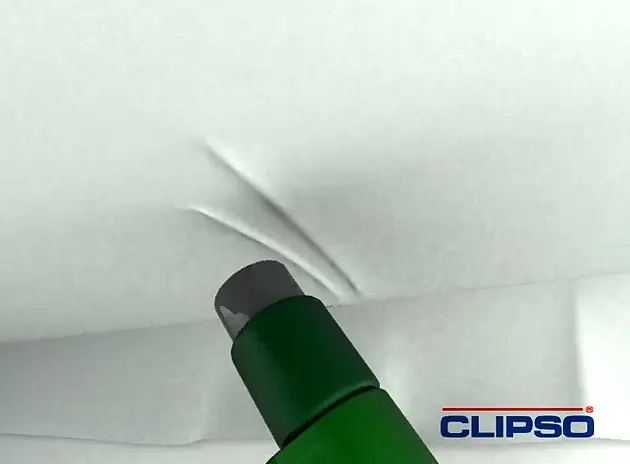
Photo 15 — Removal of Wrinkles and Folds Using a Heat Gun
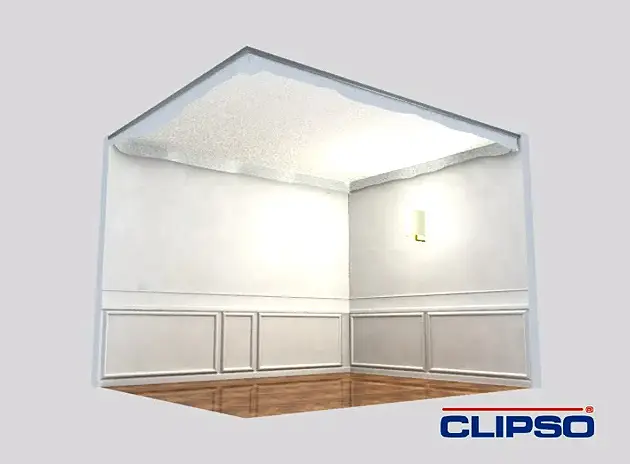
Photo 16 — Fabric After Stretching
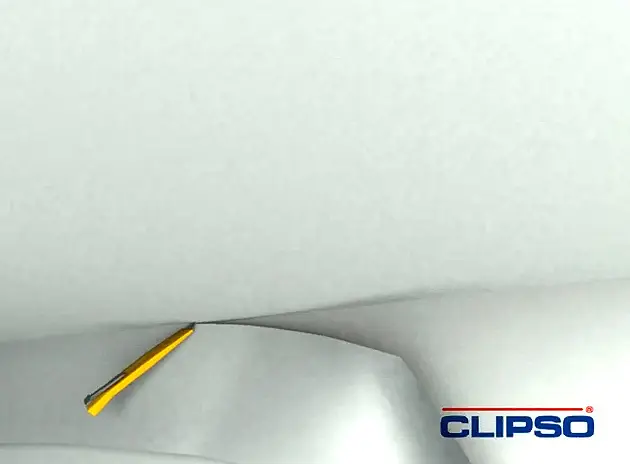
Photo 17 — Trimming Excess Fabric
Installing Tensioned Ceilings: VIDEO
http://youtu.be/Wk-pKYF-t0I
Installing Tensioned Ceilings: Price
Often, the cost of labor is calculated based on the price of materials: 25% of the ceiling price is the cost of labor for master installation.
Otherwise, prices for installing tensioned ceilings are as follows:
- In Moscow − from 485 to 1315 rubles/m² depending on the area of work;
- In Kiev − from 120 to 310 UAH/m² depending on the area of work.
IMPORTANT! Lower price corresponds to an order for work on ceiling area of 60 m² and more, higher price − payment for installation on ceiling area up to 5 m².