Flawless Finishing Touches: 7 Key Points for Final Renovation Stage
How to avoid ruining your apartment renovation at the final stage? We explore this in a real-life example
The final stage of renovation may seem like the easy part — walls are leveled, bathtub is installed, and finally you can breathe. But in reality, it's at this moment that most disputes arise and small mistakes occur which are hard to spot later. If you don't consider these nuances now, the laminate will shift, tiles may detach, and your kitchen won't fit in its opening.
INMYROOM and Yandex Market continue their joint project "Renovation DVIJ" — a five-part series about renovating second-hand apartments. With expert Ksenia Shahmatova, we show how to avoid mistakes during the final stage where precision down to the centimeter is crucial.
In the fourth episode, we talk about finishing work: laminate, tiles, painting, electrical wiring and that one particular socket by the windowsill — all of these should be considered in advance, not when a cleaner is removing the plastic film from the sofa.
 No height differences in the floor
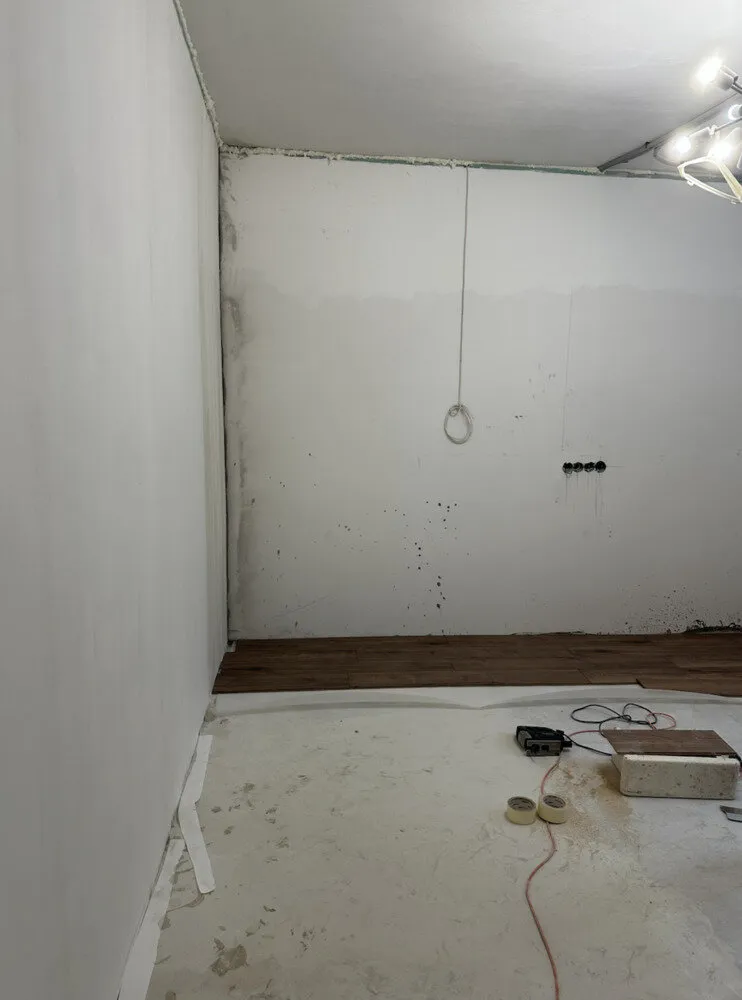
First thing that catches your eye at the final stage is the floor. But before achieving a beautiful laminate or tile, there's one critical step: proper screed. In this apartment, height differences reached up to 4 cm, and if leveling had been done "by eye," it would have affected everything — from the tightness of laying to the durability of the finish. Therefore, a combined approach was used: in one part — poured floor, in another — sand-cement mixture, depending on load and geometry.
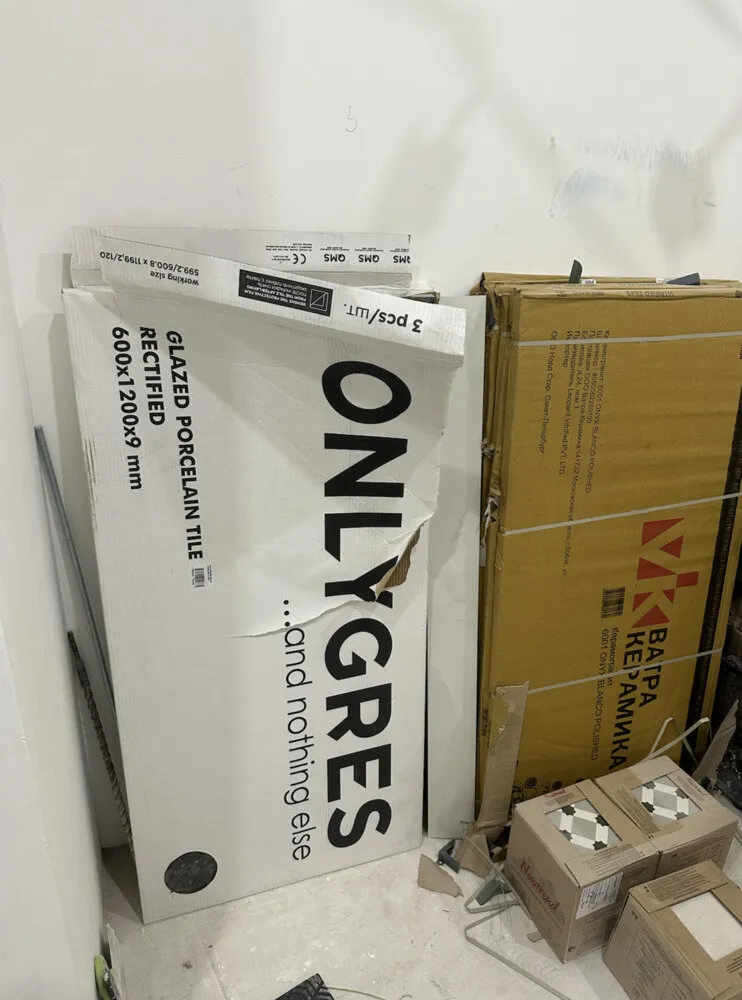
For laying, they chose 33rd class laminate — moisture-resistant with a textured surface. It is not only practical but also visually resembles natural wood planks. Such flooring resists moisture and withstands significant load — especially important if there are children or pets in the apartment. It was ordered through Yandex Market: a wide selection, easy to choose a shade that matches the wall color and track availability of required meters.
By the way, such purchases can be made via SPLiT — transform your home now and split payment into convenient installments. This is useful when buying everything at once: laminate, underlayment, and baseboards.
Painting, not redoingLevel walls are not a guarantee of good results. To achieve truly flat and uniform surfaces, the project used painter's felting. This is not decorative wallpaper but a technical material: it hides small imperfections, strengthens the surface and allows painting without risk of cracks.
Throughout the apartment, felt was applied first, then covered with washable paint — especially important in the entryway and kitchen. This approach provides both beauty and practicality: walls can be washed, they are not afraid of accidental splashes.
Materials were purchased via Yandex Market — it's convenient to collect the entire set at once: felt, rollers, spatulas, paint. As for paint, they chose Expert brand — highly opaque with a rich palette.
Attention: Wall spatula for wallpaper, buyLaminate EGGER HOME Oak, buy
Washable Expert paint, buyArtons 33 class 10 mm Oak laminate, buyWhat to consider when installing a toilet and bathtubAt first glance, it seems that you can install the bathtub or toilet anytime. But in practice, these are among the most capricious areas. In our project, we solved typical issues in a cramped bathroom with engineering solutions: installed two bathrooms, compact installation and reduced basin, which was searched separately — not in the package but based on specifications.
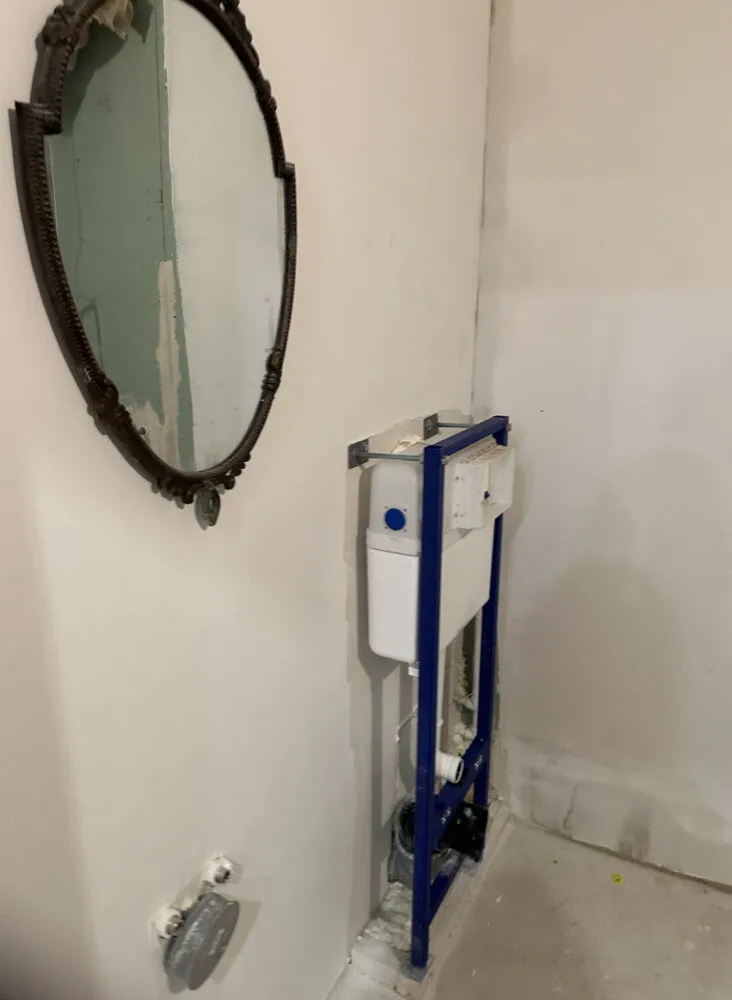
It's important to remember: the bathtub is installed first, and tiles are laid over it — to avoid gaps or leaks. For small bathrooms every centimeter counts: a 30 cm long sink, built-in cabinet above the installation, narrow towel rack are planned in advance to avoid elbowing into a wall. Electrical wiring, water outlets and access to inspection hatches were calculated at the design stage, not after tiling.
Outlets work for youMisplaced outlets are impossible to miss. Here, each usage scenario was considered separately: on the kitchen counter, outlets were even installed by the windowsill to plug in appliances directly on the work surface. In the bedroom, two outlets were planned for each light fixture: one outlet and a separate switch. And in the corridor, an outlet was provided for washing machine, although the appliance itself is outside the bathroom — this solution freed up space inside the bathroom.
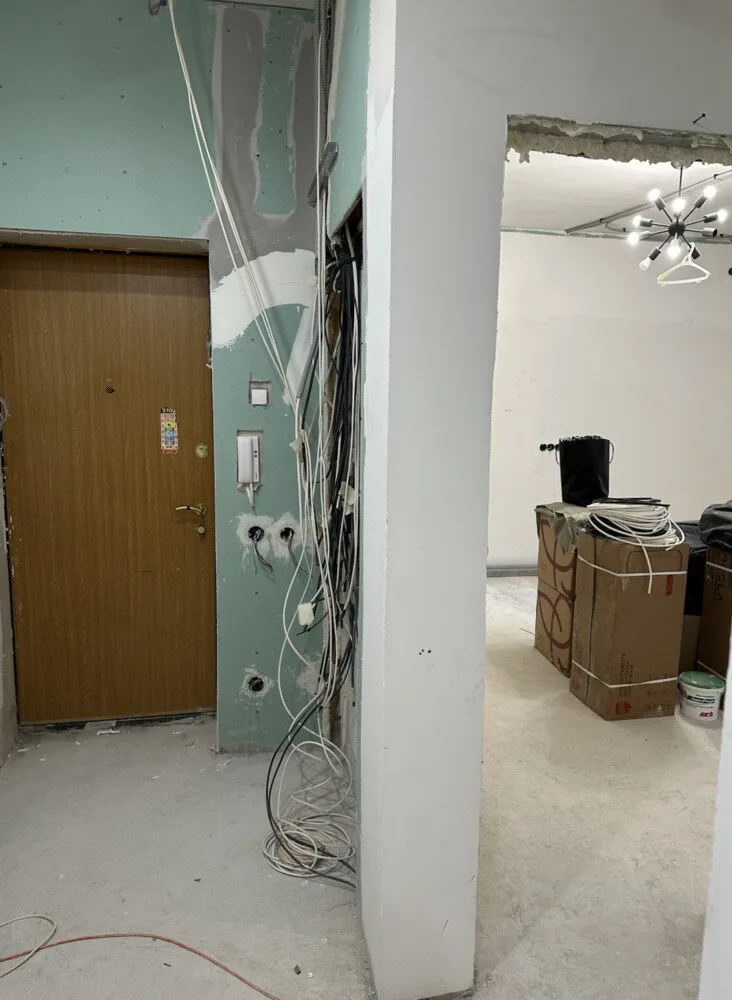
Also, the apartment included a point for an air conditioner — accounting for the fact that this is a Stalin-era building without centralized plumbing. In one room, it will be installed immediately; in others, the option to add it later was left. This saves new tenants from complex wall drilling and ruined renovation.
How modular solutions save time and nervesOne of the most unexpected moves in our renovation was to abandon a custom kitchen. Instead of waiting two months for standard delivery, we chose a modular kitchen and built it to size from ready-made blocks. Thanks to precise measurements and engineering preparation, everything fit perfectly in place: the oven panel, refrigerator and dishwasher were placed without gaps.
To achieve this effect, walls were plastered literally to the millimeter during finishing stage, taking into account future appliances' dimensions. For example, for a built-in pair of refrigerator + oven, they deducted 4 cm from the wall, added 1 cm of plaster and gained those precious 3 cm to fit both blocks at 60 cm each.
How to make an entryway practical and expressiveHere, they didn't just lay tiles but created a visual accent in the form of an ornamental "carpet". This solution immediately highlights the dirty area, but doesn't divide space. A heated floor was laid over tiles so that after rain you wouldn't worry about wet shoes, and in winter won't freeze in the corridor. Precise layout and combination of two types of tiles (solid color and patterned) achieved zoning without partitions, purely through texture and color.

This detail may seem minor but significantly affects comfort: no need to lay mats, the floor is easy to clean and the interior looks finished.
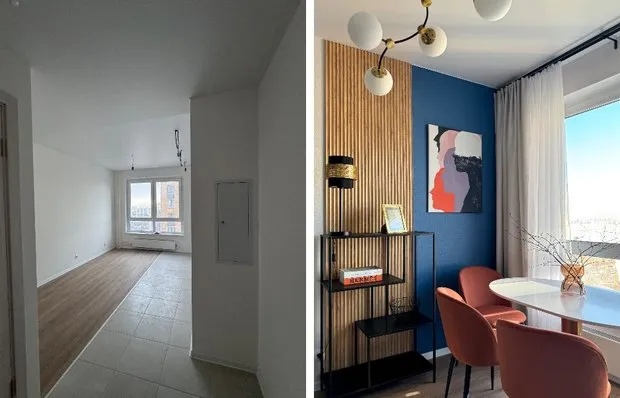
Final touchesWhen renovation nears its end, it seems like all that remains is to wait for furniture. However, this is exactly where details matter: wall paint colors, hardware color, neat panel assembly — all form the overall impression of the apartment. Here, paint was chosen in advance for each area: one shade behind the bed headboard, another in the entryway, and an accent wall in the living room was painted in a coffee color chosen after dozens of samples.
The panel was carefully hidden in built-in furniture with a concealed mechanism: nothing protrudes, but access is still available. Electricity is already connected — outlets and switches work, devices charge, the kitchen is ready for assembly.
Finishing touches = responsibilityDust from construction work is no longer visible at the finishing stage, but it's precisely here that it's decided whether the apartment will delight every day or irritate with small issues.
We went through this stage within the project "Renovation DVIJ" and confirmed that even a typical Stalin-era apartment can look like a Pinterest dream if approached with care. In the next episode — final round: we'll show how everything planned came to life in the interior, which solutions worked perfectly and what was ultimately achieved for three million rubles.
Need a renovation specialist?
Find verified professionals for any repair or construction job. Post your request and get offers from local experts.
You may also like
More articles:
 How We Transformed a 50 m² Studio in 2 Months (Before and After Photos)
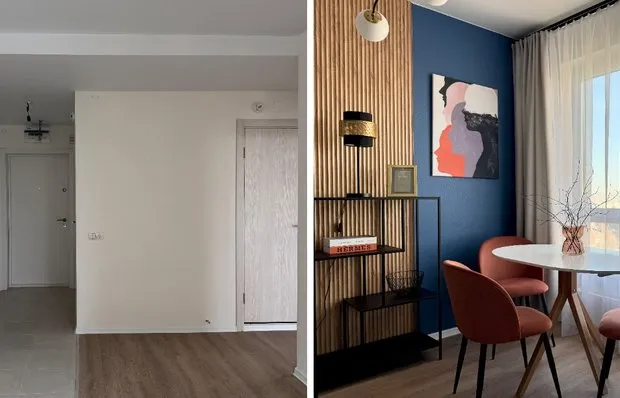 How We Designed a 14 sq. Meter Kitchen-Living Room in a Developer's Apartment
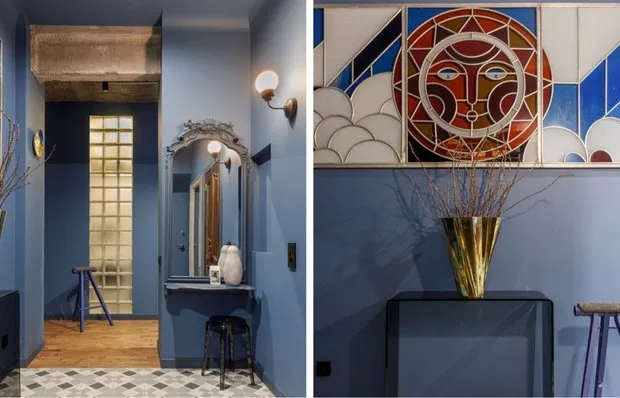 How a Designer Perfectly Decorated Her 7 sqm Hallway in a Stalin-era Apartment
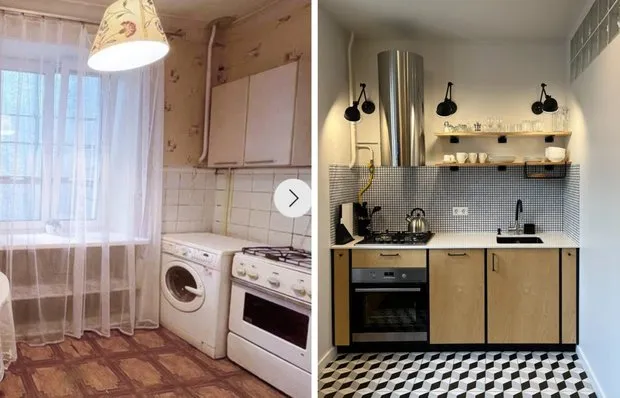 Before and After: Stunning Kitchen Transformation in a Historic Building
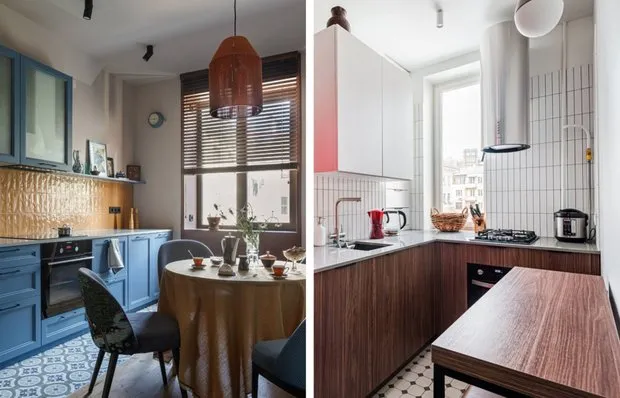 What Kitchens Designers Make for Themselves: 5 Great Examples
 I Set One Simple Rule and Now I Get Twice as Much Done: How a Japanese Method Changed My Day
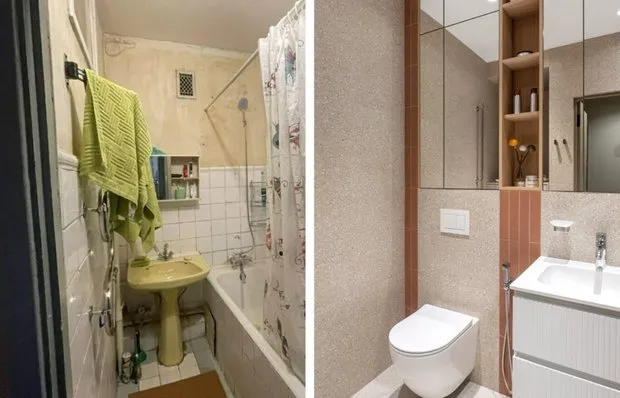 Before and After: A Cool Renovation of a Terrifying Bathroom in a Secondary Apartment
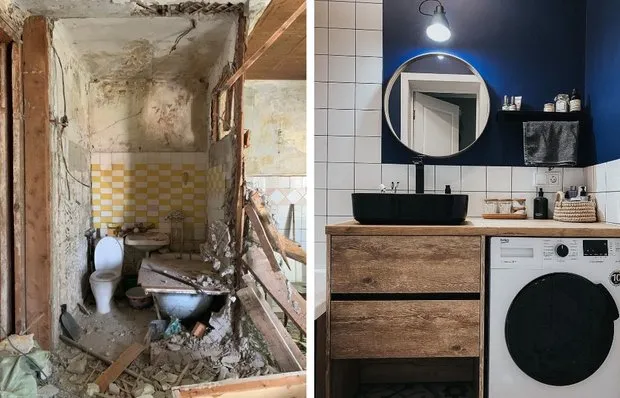 Compact Bathroom Before and After: 5 Examples of How Everything Fits in 3 m²