10 Important Steps of Bathroom Renovation: An Invaluable Guide from a Master
A bathroom is one of the smallest rooms in an apartment. But this doesn't mean that the renovation here is easier: on the contrary, a bathroom has a special microclimate that needs to be taken into account, and in a small area, all the plumbing fixtures must be arranged correctly, and you need to think about functionality and comfort. Mistakes are expensive — due to incorrect planning, the entire renovation can go wrong.
Together with master Fedor, we have compiled a detailed guide for each stage of the renovation, so you definitely won't make any mistakes. Save and use it.
Fedor Marzin is one of the founders of the company specializing in apartment renovations «PRORAB FёDOR».
Step 1. Finding Workers and Creating a Project
First, you need to decide who and when will do the renovation. You can take on the work yourself, but only if you have knowledge and experience in this field, and most importantly — time. If you're unsure of your abilities, then it's necessary to find a crew: better yet, a company where there is a master and specialists who are experts in every type of work.
Then you need to calculate the budget and understand what kind of renovation you plan to do in the bathroom. Renovations can be different: there is no fixed amount — it is formed from the customer's needs. You can calculate a budget for work, finishing and rough materials, as well as the time frame if you have a design project in hand. Here, designers can help: they will bring your ideas to life on paper and pass the information to the crew.
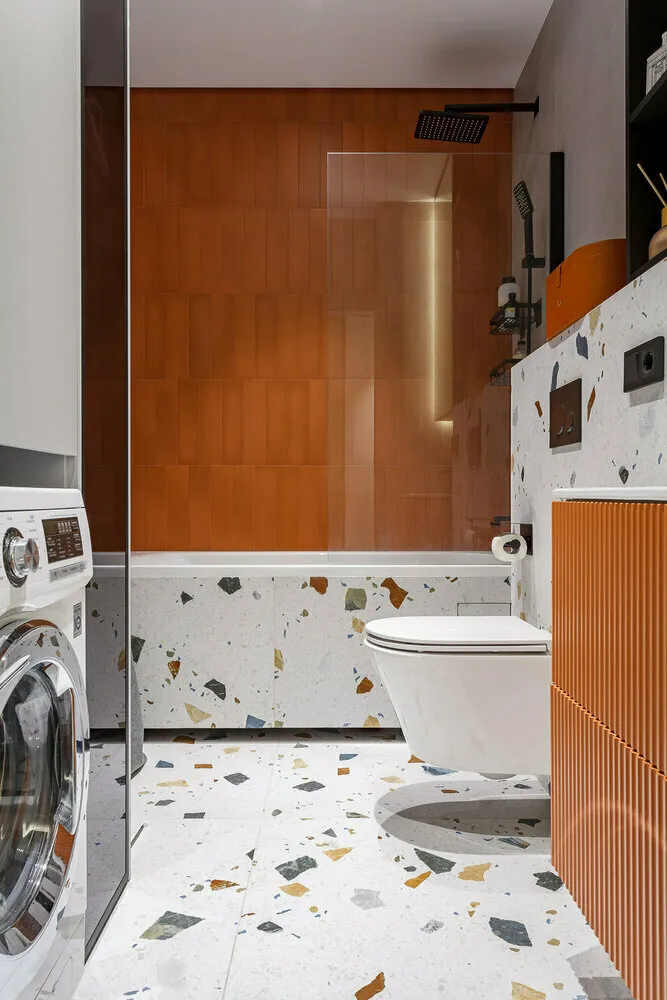
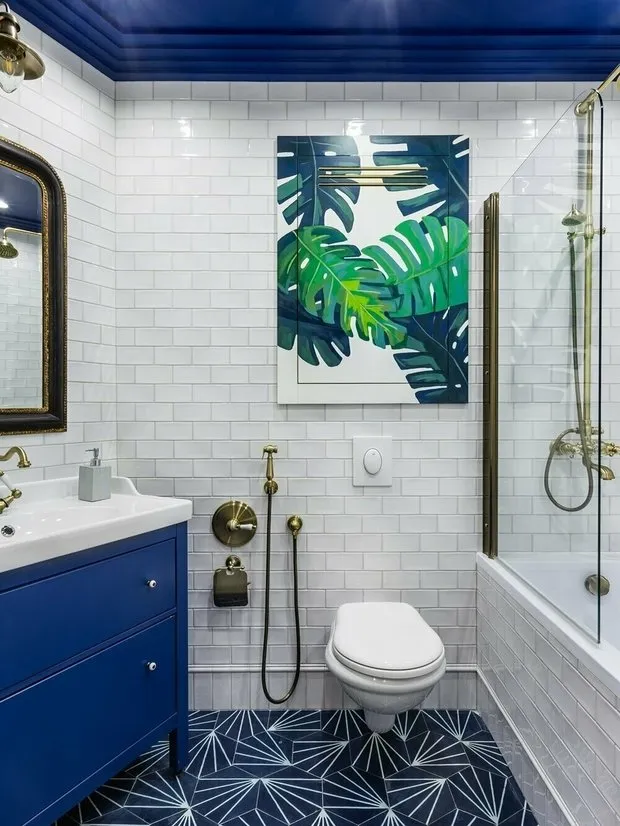 Design: Quadrum
Approach budget planning wisely and include important details at the design stage of the bathroom. Let's look at a warm floor example. Many think heating floors are an unnecessary investment or worry that electric floors are unsafe. In reality, it is a long-term investment in your own comfort: in the bathroom, the humidity level decreases, you care for your health and don't step on a cold floor barefoot, you create a comfortable microclimate. There is no need to worry about safety either: installation occurs during the screed, so the electric element is completely isolated.
In this sense, warm floors are just as important as good finishing materials or furniture. Moreover, in the context of the overall budget, a warm floor cannot be considered a large expense. Similar considerations can also be applied to leak sensors — these devices may seem like small details, but they guarantee peace of mind and protection from flooding neighbors or damaging expensive renovations.
Tip INMYROOM: Installation of a warm floor does not need to be postponed until the end of the renovation. The heating element is installed under tiles — it is invisible and safe, does not spoil the bathroom design, and remains isolated from direct contact with water. At the same time, warm floors ensure maximum comfort.
«TeploLюks» offers a wide range of warm floor systems: cable, heating mats or film-type warm floors. The heating system can be equipped with electronic or mechanical thermostats — choose the one that suits you. By the way, even a basic thermostat can save at least 30% of electricity.
The warm floor system helps maintain an optimal humidity level without over-drying the air. You can control it directly through a smartphone app — comfort is ensured with just one click.
Pay attention to: «TeploLюks» ProfiMat. Heating mat for warm floors; «TeploLюks» ProfiRoll. Heating cable for warm floors.
Step 2. Preparatory Works
Bathrooms come in three types: in new buildings, there are often no walls at all; bathrooms from the developer with partial renovations and bathrooms in secondary housing. If you are working with an older building, demolition works are carried out at the next stage — everything in the room is removed. Start by removing old plumbing, then get rid of outdated finishing (clean walls and ceiling, remove floor covering after these). During wall demolition, old pipes may need to be removed if necessary.
We have already mentioned that in new buildings, walls are often missing. If they are there, there may be a number of deficiencies: for example, the walls were built incorrectly or crookedly, and the developer initially used materials that do not meet requirements. In these cases, it is recommended to demolish and rebuild the walls. The same scenario applies in case of re-planning, which by the way must be approved.
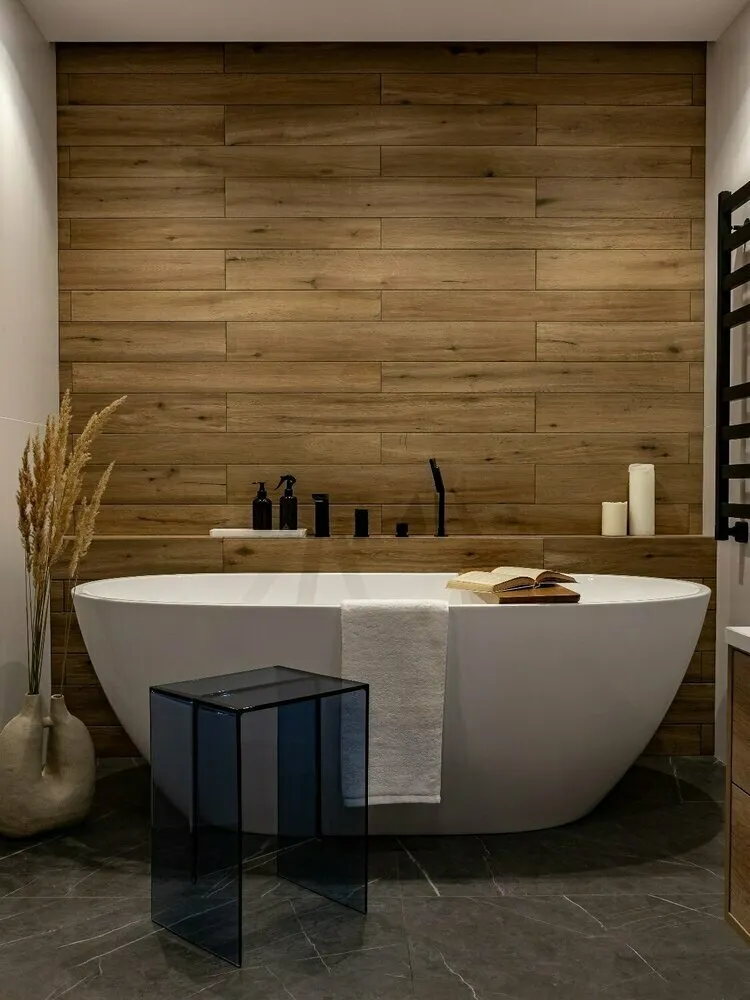
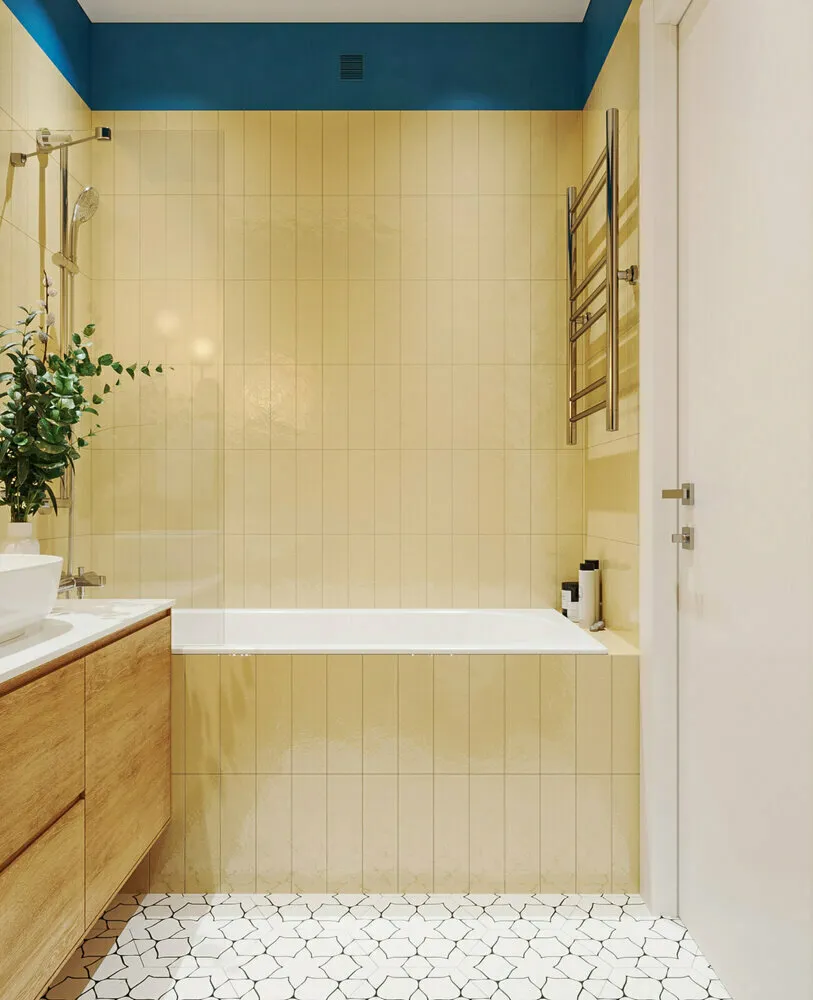 Design: Elena Rydikova
Step 3. Wall Construction and Plastering
Usually, bathroom walls are built from gas blocks or bricks: the decision is driven by practicality of materials. A brick wall can easily be plastered with cement-based plaster — this is the best choice because cement does not fear moisture. If you choose gypsum, you will need to install waterproofing for the entire bathroom.
Tip: Make sure that the guides (alignment elements ensuring proper surface flatness) are placed so that all angles are 90 degrees. The level should be vertical, and the plane horizontal.
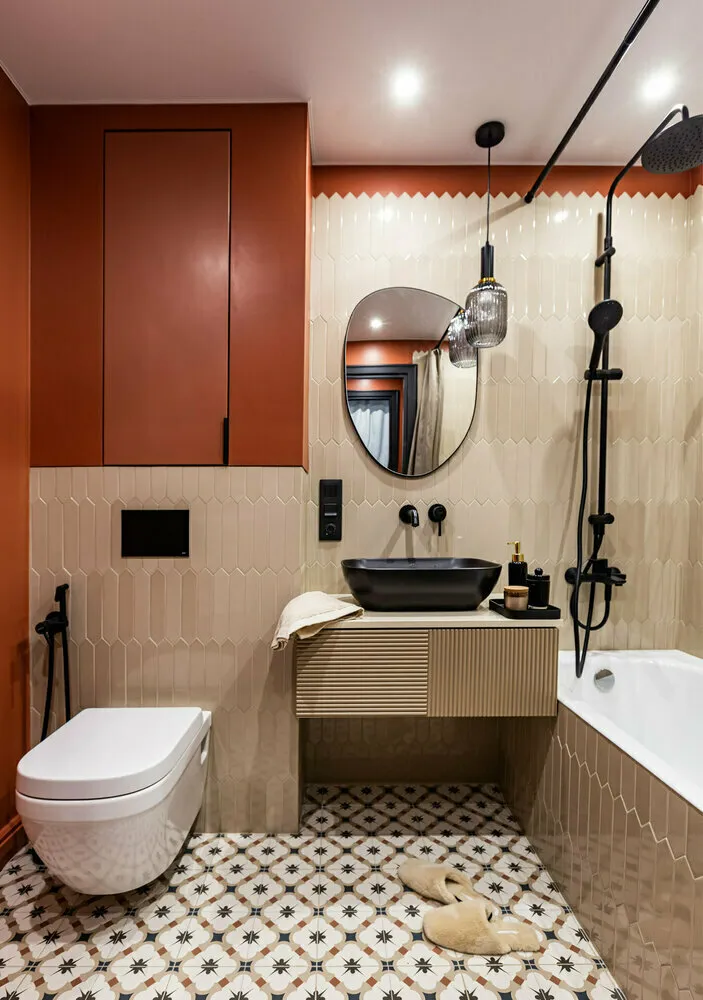
 Design: Ksenia Skorogod
Step 4. Electrical Work
After plastering, electrical work is carried out. When the renovation is done according to a design project, we understand where to install the socket, temperature regulator for the warm floor, switch, output for backlighting or leak protection, as well as lighting itself.
It is essential to run a second potential level circuit — in simple terms, this is an additional grounding protection. It is installed in every socket additionally, and also on all metal items — the water supply riser, cast iron bathtub, ceiling frame or conduit with a collector unit — all these elements must be grounded.
Since there are many appliances in the bathroom and the room is a high-humidity zone, several wire lines should be run to the panel — separately for the washing machine, a flow or storage-type boiler, leak protection and other sockets. It is important: the panel must have leakage and short-circuit protection.
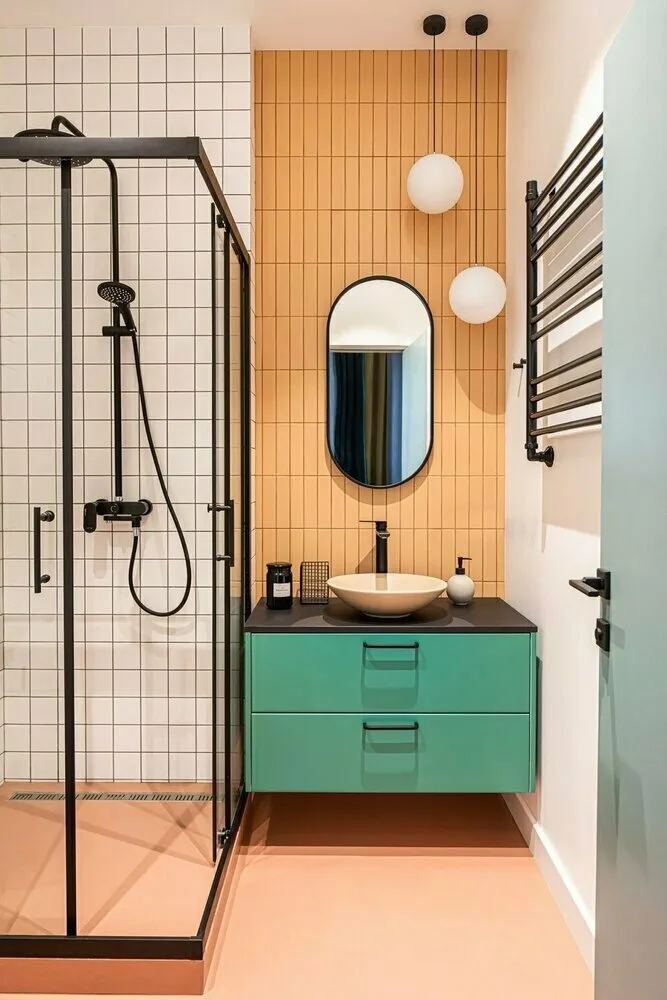
 Design: AM| Interior studio
Step 5. Plumbing Communications
Toilet
In the design project, it is indicated where the washing machine, bathtub or shower cabin, toilet, and whether there will be a hygiene shower. I recommend installing a concealed installation toilet and wall-mounted toilet. There are many misconceptions that they are unreliable, and there is no access for repair in case of failure. In reality, it's very simple: just remove the button and you will have access to all elements, just like in a regular toilet.
Hygiene Shower
It is worth talking about hygiene showers separately: they are used for their intended purpose and in technical needs — for example, to fill a bucket of water to clean the floors. Hygiene showers come in various types: a mixer near the toilet or a mixer installed on a collector.
Collector Unit
Why is a collector needed? These are separate taps that control each consumer line in the bathroom. It is necessary to prevent pressure fluctuations if two devices are used simultaneously. If something goes wrong (e.g., a mixer on the kitchen or in the bathroom), you can isolate the tap separately and not be left without water.
 Design: Svetlana Khabeeva
Pressure Reducer
Next, a pressure reducer should be installed — protection from high pressure in the general drain. Not all mixers and connections to mixers are designed for high pressure: the reducer helps adjust pressure from 6 atmospheres to 2 atmospheres, and also ensures a not too strong water flow.
Leak Protection
Don't forget about leak protection. Many think they can do without it, but those who have experienced leaks and flooding from neighbors below know that protection is essential.
Sound Insulation of Drainage
Mainly from the developer, the pipes are the cheapest and thin-walled. If you live not on the upper floors, they are very noisy — sound insulation is required. What kind of it is there? There are special kits for drainage, some use sound insulation for cars. It's better to choose special ones — they are double-layered and protect against impact noise.
Step 6. Floor Screed
In partial renovations and older buildings or secondary housing, a screed is not always required. But if it is needed, sound insulation must be installed under it (ideally throughout the apartment to avoid hearing neighbors from below and above). Then the floor is poured with screed: take into account the thickness of tiles, adhesive and warm floor filling.
 Design: Yana Feklina
Step 7. Installation of Warm Floor
Usually, 10 mm is left for warm floor. Why is a warm floor necessary in a bathroom? It's not such an expensive solution, but it has many advantages: you won't step on cold tiles with wet feet, the humidity level in the room decreases, the air heats up evenly, and warm floors also guarantee safety — water dries quickly if someone takes a bath after you, so no one slips.
Pay attention to: «TeploLюks» TROPIX MN. Heating mat for warm floors; «TeploLюks» Tropix TLBE — heating cable for warm floors.
Step 8. Tile Laying
Next, we do the layout for tile installation. Today, large-format finishing materials are very common — from 1.20 x 60 to 3 meters x 1.20 wide. It is important to understand exactly how you will lay the tiles and how much cutting will be required — the price varies greatly depending on format.
Step 9. Installation of Plumbing and Towel Rack
Bathtub or Shower Cabin?
If the choice is made for a shower, in apartments, the drainage outlets are very expensive and it's often impossible to make the shower level with the main floor — you have to raise it, make a tray. Trays come in various types. In construction execution, screed is poured, waterproofing is installed, tiles are laid.
If the choice is made for a bathtub, there are 4 types: acrylic, cast iron, steel and lithified marble. It is better to prefer lithified marble with its perfect geometry. We need this so that tiles can be laid on the bathtub with minimal gaps between the bathtub and the tiles. Also, for making a smooth screen — the connection between the bathtub and tiles will be perfectly flat.
 Design: Kateryna Shilyuk
Towel Rack
I do not recommend installing a water towel rack: in most cases, they leak, and they are also called "delayed action bombs"NaN
Need a renovation specialist?
Find verified professionals for any repair or construction job. Post your request and get offers from local experts.
You may also like
More articles:
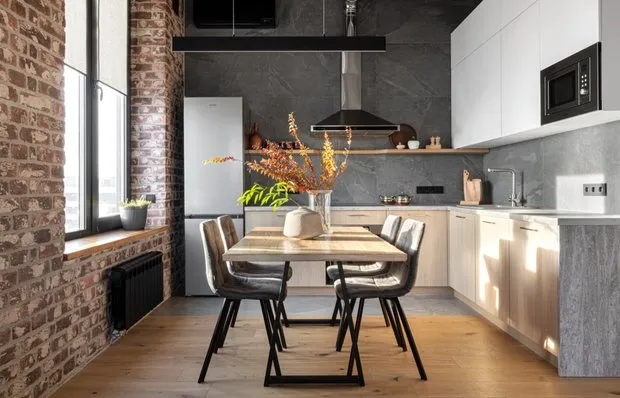 Brick, Concrete, Wood: Kitchen-Living Room in the Best Loft Traditions
 Personal Experience: How to Cover a Sofa by Yourself
 Cool Ideas for Renovation We Spotted in a Stalin-era Apartment
 Can You Comfortably Fit in 19 sq. m? Of Course!
 How They Transformed an 8.5 sqm Kitchen in a Panel House
 How Beautifully They Decorated Hallways in Khrushchyovkas: 5 Examples
 Wardrobes in standard apartments: 5 successful examples
 Before and After: Classy Redesign of a 54 sqm Khrushchyovka