Plastic Ceiling: Step-by-Step Installation Guide
Installing plastic on the ceiling: advantages
Plastic is mainly chosen for finishing non-residential spaces as a construction of a stylistically neutral ceiling surface.
In apartments and dachas, plastic is a preferred material for ceiling finishing in bathrooms, less often in kitchens.
The material resists moisture and frequent temperature changes. With proper ventilation, it does not mold, does not take up much ceiling height. Plastic is easy to assemble and, if needed, disassemble. Plus: there is the possibility of sectional replacement of damaged ceiling covering, which significantly reduces costs for secondary repairs.
However, one of the main attractive advantages of plastic panel ceilings is low cost.
Consider this: a plastic panel ceiling costs on average $3.5–5 per square meter (including materials and installation), with material cost starting from $1.7 per square meter.
Meanwhile, the cost of a Gypsum board (GK) sheet for ceiling finishing is $7.5–8.2 (approx. 3 m²). To install a gypsum board ceiling, you must pay an additional $4 per square meter, plus purchase adhesive, profiles (for mounting on a frame), reinforcing mesh, and joint compound for seam treatment. The difference is significant: $3.5–5 per square meter for plastic, and nearly $9 per square meter for gypsum board on a frame.
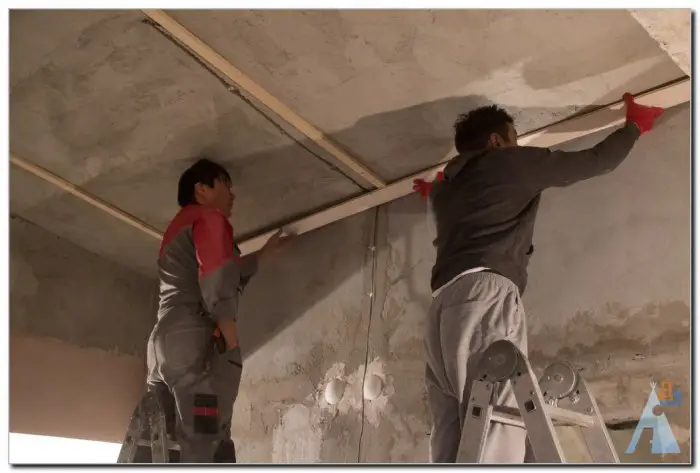
Photo 1 — Installation of ceiling cove
Installing a plastic ceiling
A plastic panel ceiling is essentially a combination of a suspended beam ceiling and a gypsum board ceiling. The same frame system used in gypsum board installations is applied here, and the finishing process is very similar to installing ceiling beams.
Installation steps for plastic on the ceiling:
- install guide profiles;
- install hangers;
- install ceiling profile;
- install plastic panels;
- install ceiling cove.
Installing guide profiles
1. Leave a 7–10 cm gap from the ceiling and fix the guide profile around the perimeter.
IMPORTANT! A gap up to 10 cm is needed to later run electrical wiring and install recessed lights under the plastic ceiling.
2. Use a laser level for accurate measurements.
3. If installing a plastic panel ceiling in rooms with ceramic tile walls, the process may be slightly more complex: do not drill through the tile directly into the guide rails—this may chip the tile. Instead, drill through the tile using a special drill bit according to markings, and only then fix the profile into the pre-drilled holes.
4. If you doubt the strength of the mounting or whether the guide rails can support the full structure, use 60 mm or longer dowel nails.
5. The spacing between profile fixings to the ceiling should be no less than 50 cm.
IMPORTANT! When using dowel nails on tiles, do not hammer them in—instead, screw them in.
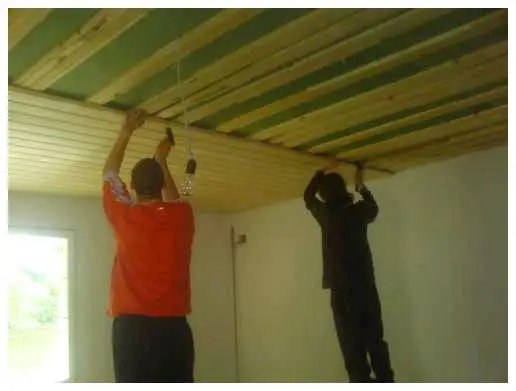
Photo 2 — Ceiling cladding with panels on a frame
Installing hangers and ceiling profile
The ceiling profile must be installed perpendicular to the direction of the plastic panels.
1. Cut the profile to the required length and insert it into the guide profile.
2. Mark the future mounting points for hangers.
IMPORTANT! Note: the profile must not pass through points where recessed lights will be installed! Also, the guide and ceiling profiles must not be fastened with screws, as this will prevent the cove from sitting evenly.
3. Hangers can also be installed using dowel nails.
IMPORTANT! If a dowel nail hits a void in the ceiling slab, the fastener may not hold securely. This issue can be solved by using special anchors for suspended ceilings (or using a dowel and screw if anchors are not available).
4. Ceiling profile components should be spaced no more than 30–40 cm apart. Even without cross-directional guides, such a frame can be built firmly and securely by hand.

Photo 3 — Plastic ceiling in a country house
Installing plastic panels and ceiling cove
Before installing plastic beams or panels, run all necessary utilities through the frame. After plastic installation, you can still run wiring or install lights. A panel-type plastic ceiling is not a seamless fabric ceiling—removing part of the panels allows for corrections. However, this adds extra work.
1. Install the ceiling cove on three of the four walls: on one wall, place it parallel to the panels; on the other two, place it perpendicularly.
2. Cut the first row of plastic panels to size and insert them into the cove. The opposite edge of the panel must be secured with screws to the ceiling profile.
3. Install the next panel into the open groove, also securing the opposite edge with screws to the profile.
4. Complete the work by securing the cove to the fourth wall.
This method allows for both simple and two-level ceilings. The only difference lies in the frame construction complexity.
MASTER’S TIPS
1. It’s best to install plastic panels on the ceiling with two people. Another pair of hands is never superfluous.
2. The cove for securing plastic panels must be a special, mounting-type, not decorative. It must have grooves for panel installation.
3. Fix the cove to the guide profile around the perimeter with screws. However, fix it to the last wall using liquid nails.
4. Handle screws carefully to avoid damaging the plastic panels. Hold the screwdriver strictly perpendicular to the profile when fastening.
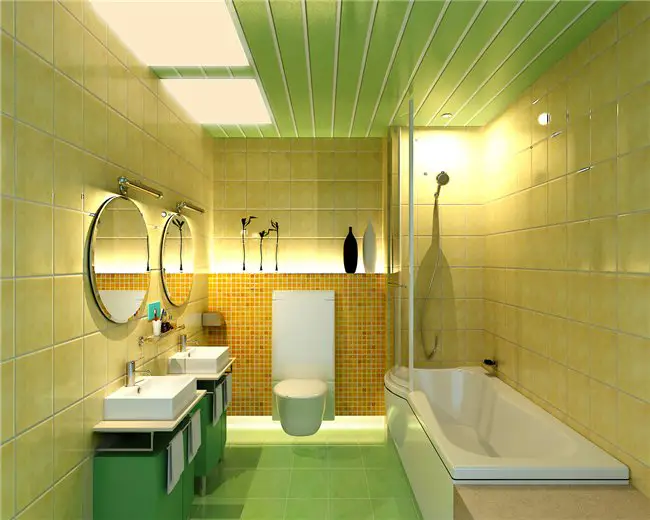
Photo 4 — Plastic beam ceiling in a bathroom
DESIGNER’S TIP
A plastic panel ceiling is not only suitable for repairs in toilets or balconies, but also in bedrooms. However, the appearance should differ: in the first case, plastic beams are appropriate, while in the second, plastic panels are better. The photos below show examples of how plastic suspended ceilings can be used in different rooms of an apartment.
If you plan to cover the ceiling with plastic, remember: the key for living room ceilings is not to use too narrow panels.
To avoid a cheap look, choose plastic panels with a width of 40–60 cm. White plastic is commonly associated with sanitary room finishes. However, textured panels painted in tones resembling different wood types can hide budget limitations. These look just as good as painting or wallpapering the ceiling.
DIY Plastic Ceiling: VIDEO
Plastic Panels for Ceilings: Prices
The price of different types of plastic panels depends on technical parameters: size and thickness.
Standard planks (beams) are about 10 cm wide and 9 mm thick. Cost: $2.1 per square meter.
Panels imitating natural materials or painted in a specific color cost more: for example, a "Lux" panel in "chocolate" color (0.1 m / 6 m / 8 mm) costs about $4 per square meter; a "Birch" panel (0.25 m / 6 m / 8 mm) costs $4.5 per square meter.
Higher-quality plastic for ceilings is also available. Prices start from $5–5.5 per square meter. This includes lacquered plastic panels imitating oak (0.25 m / 6 m / 9 mm) and mirrored plastic panels (0.25 m / 6 m / 4 mm).