Ceiling Mouldings
Ceiling mouldings are lightweight and easy to handle. Applying adhesive to these mouldings is very simple—just ensure you have quality adhesive material.
Ceiling mouldings are made from polyurethane and polystyrene. The most common option is polyurethane mouldings. This material is easy to work with, durable, and flexible. Flexible mouldings are more reliable, as the risk of breakage is nearly zero, and they can easily be adjusted to uneven ceilings (cutting them is simpler).
How to Cut Mouldings Correctly
When cutting mouldings, pay attention to the end section that overlaps at the corner and forms joints, to ensure a seamless finish.
A specialized tool called a "miter box" is used for cutting. It allows for straight and angled cuts. A miter box is an excellent tool, but it only works effectively in rooms with perfectly straight walls. In other cases, manual trimming is required.
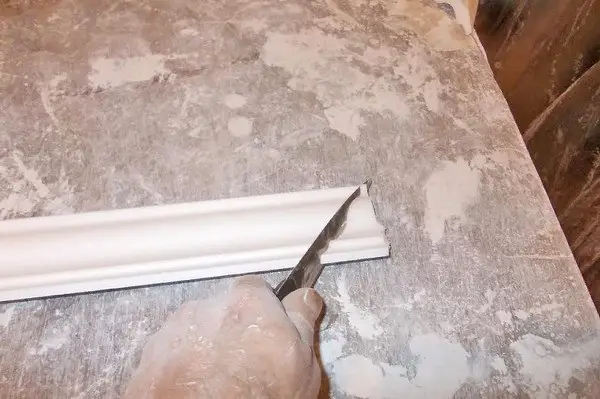
Photo 1 — How to cut ceiling mouldings correctly
How to Install Ceiling Mouldings:
- first, prepare the ceiling surface: clean the ceiling from dust and dirt (dust may prevent adhesive from bonding properly);
- then apply primer to the ceiling (prime not only the ceiling but also the adjacent wall surface up to 10 cm high);
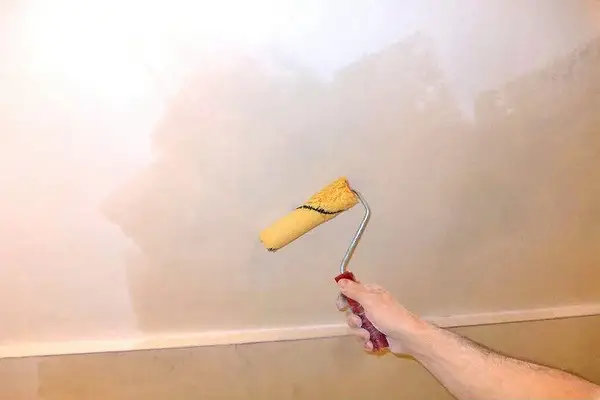
Photo 2 — Convenient way to apply primer using a special roller
- before attaching, temporarily place the already cut moulding to double-check measurements—this helps avoid calculation errors;
- if the moulding fits properly, proceed with installation.
IMPORTANT! Apply adhesive directly to the moulding, not to the wall or ceiling.
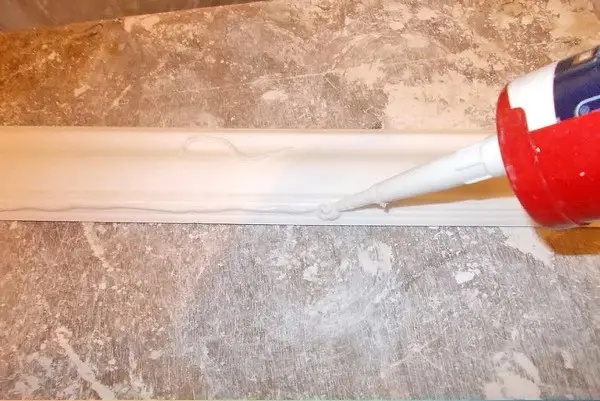
Photo 3 — Apply adhesive in a continuous line along the edge of the moulding; otherwise, it will be difficult to attach it neatly and tightly
- press the adhesive-coated moulding firmly into the corner between wall and ceiling;
Install them as tightly as possible. Excess adhesive can be removed with a spatula. If using joint compound, leftover adhesive can be gently wiped away with a brush soaked in water.
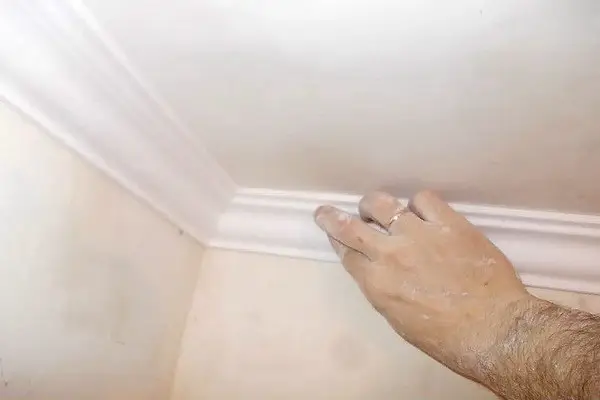
Photo 4 — Proper installation ensures long-lasting durability
Regardless of technique, gaps may form between the ceiling and moulding. These can be sealed using joint compound or additional adhesive.
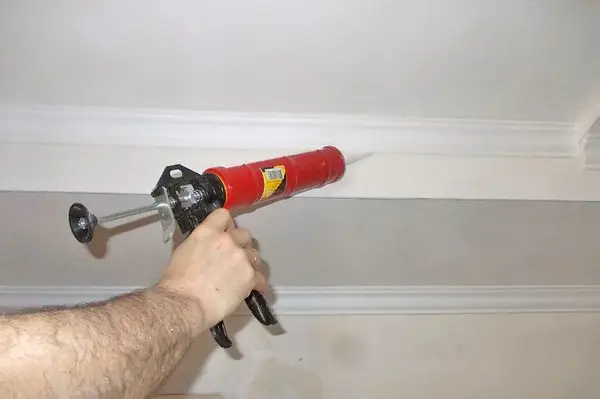
Photo 5 — Convenient way to fill gaps using a glue gun
Special mouldings are designed for seamless ceilings, ensuring perfect horizontal alignment. These mouldings can be attached to either the ceiling or walls.
Price for ceiling mouldings depends on manufacturer, material, width, and pattern. Prices range from $0.40 to $5. They are available in any hardware store, so you can buy them almost anywhere, including local hardware shops or supermarkets.
Installing Ceiling Mouldings: Video
Decorative mouldings are especially popular when finishing ceilings in a classic style, thanks to their wide variety of patterns. These mouldings become a true centerpiece in any room. Decorative mouldings cost more due to higher material usage and more complex manufacturing.
They are typically wider, not thin, allowing for intricate designs and various shapes. Wide mouldings are recommended for rooms with high ceilings to avoid making the space feel smaller.
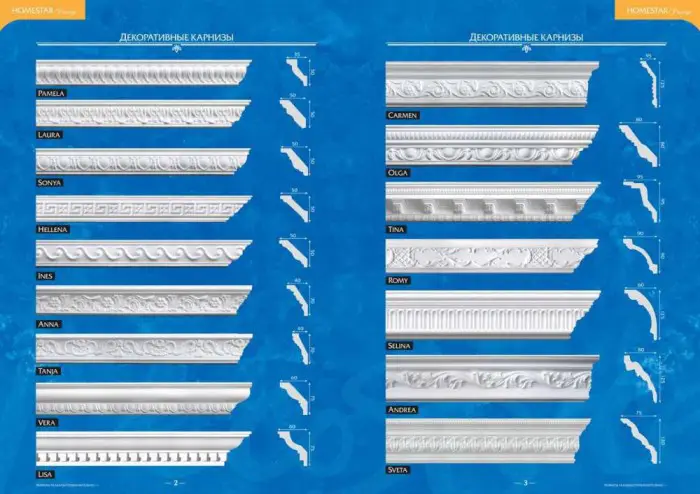
Photo 6 — Variety of decorative mouldings from Homestar
Additionally, wide decorative mouldings can be cut into unique shapes. The key is to carefully finish the cut edges.
Wall and Ceiling Siding
Siding (from English, meaning "exterior cladding") is a material used for wall cladding. It is practical and non-combustible. Its main purposes are protecting buildings from external factors and providing decorative value. Siding is easy to install, so DIY enthusiasts often install it on ceilings.
Advantages of this material include:
- does not rot;
- does not rust;
- easily cleaned from any type of dirt;
- classified as an environmentally friendly material;
- retains color for a long time;
- can be installed independently.
Siding comes in a wide variety of designs, so you can find a version suitable for almost any interior style.
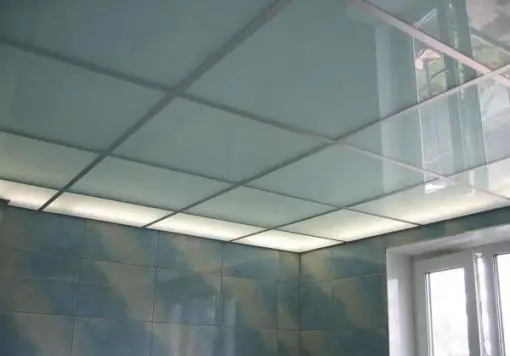
Photo 7 — Suspended ceiling made from siding, installed in square panels
Installing Siding
You can install a ceiling made of siding yourself, without hiring professionals.
DIY installation steps:
- first, measure the distance the new suspended ceiling will be from the original one—the clearance depends on the type of lighting (minimum recommended: 4 cm);
- then install wooden battens, using pre-made drawings;
- attach starting profiles to the battens using small nails or screws;
- remember to run electrical wires for lighting fixtures and pre-drill holes in the siding for lamp mounting;
- before installing the first panel, measure the room length and cut the strip accordingly;
- for the final panel, cut both length and width.
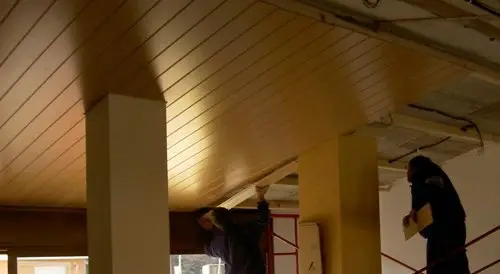
Photo 8 — Long siding panel imitating wood
Cost of Siding
Siding costs approximately $5–12 per square meter, depending on the material. Plastic cladding can be found for as low as $2 per square meter, but it's not as durable or long-lasting.
Professional installation costs $7–10 per square meter.
Thus, a high-quality siding ceiling averages $17–21 per square meter.