Wooden house by yourself – finishing works
To build a wooden house without specialists – by yourself, you need to know how to use construction tools, understand building technologies, and have a project.
If you decide to build the house yourself, you can:
- save up to one-third of the cost that goes toward labor;
- control all hidden works;
- change the schedule.
Let’s go through step by step how to build a wooden house on your own.
Project
Any construction is impossible without prior planning. You must order the project from professionals! Of course, if you lack experience in such matters.
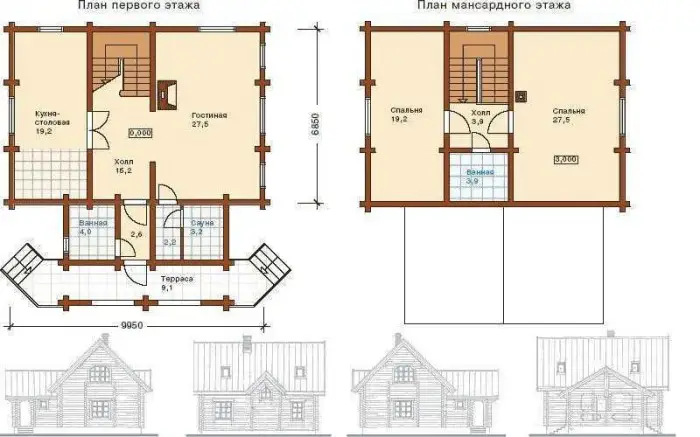
Figure 1 – House project
This stage helps define key aspects and set a budget:
IMPORTANT! Only a project approved by all authorities allows you to obtain official permission for any construction.
After development, approval, and coordination, you can begin construction.
Material procurement
Procuring materials is not difficult. The project specification helps choose the right diameter of logs/boards, necessary fasteners, and calculates the required volume.
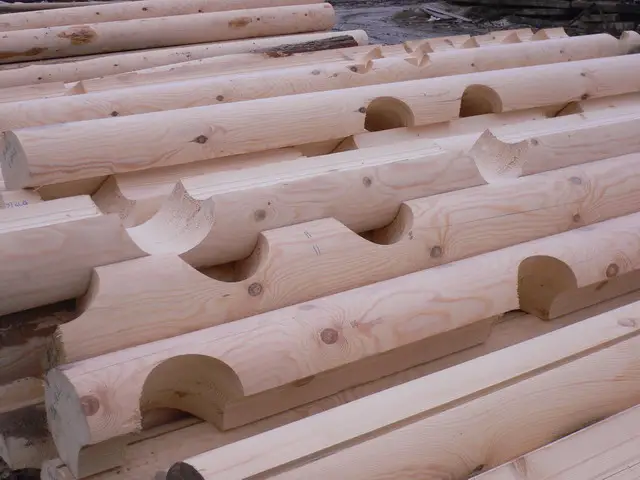
Photo 1 – Wood procurement
We recommend buying ready-made wooden house kits. Construction companies today offer many convenient options. You can order boards/logs with pre-treated surfaces, uniform size and diameter, with pre-cut longitudinal grooves and notches.
Such kits are easy to assemble. They include special fasteners, necessary floor joists, subfloor boards, and roof sheathing. Even foundation blocks can be ordered to match your house size.
Foundation
Foundation installation accounts for about 30% of the total construction cost and is a crucial first step after planning and material procurement.
There are many foundation types. We focus on the most convenient and durable: strip and pile foundations.
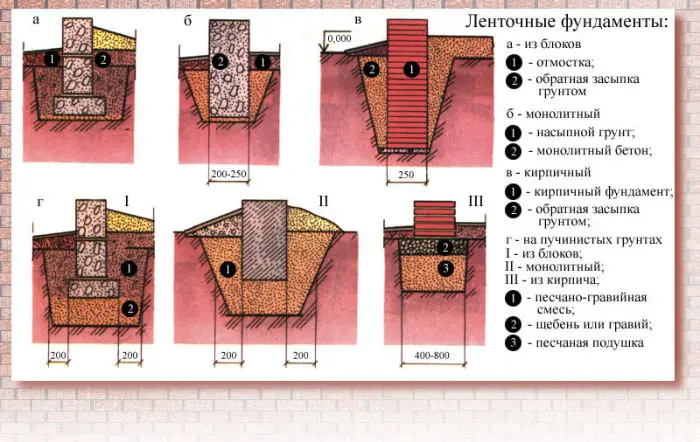
Figure 2 – Foundation selection
Strip foundationsPerfect for wooden houses! Allows for basements, garages, cellars, and underground spaces for heating systems.
Strip foundations are designed for large homes. They withstand high loads and are long-lasting.
Pile foundationsBest for small houses, 3x3, 6x6 meters. Not suitable for basements, but allow for porches and terraces. Usually built for saunas.
House construction
Logs (rounds)Construction continues with laying the first row. A waterproofing layer is placed on the prepared foundation: roofing felt, underlayment boards. Then comes the inter-log insulation: moss, common hemp, or rolled jute.
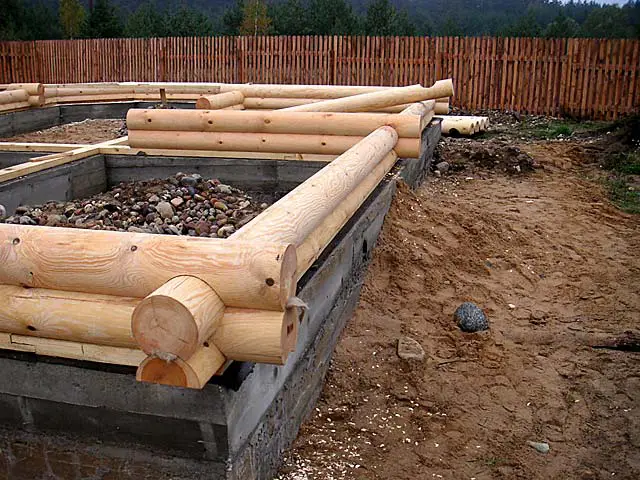
Photo 2 – House logs
Then logs/boards are laid. The first row should use logs/boards with a larger diameter. For example, if 150x150 mm boards are chosen, the first row could use 200x200 mm boards.
Next, a filler is placed and the assembly continues with mandatory insulation between layers. Insulation is placed in the longitudinal grooves and later sealed.
Fastening logs/boardsDifferent techniques require different methods of fastening. For example, the "Canadian" log joint allows no additional fasteners because the joint self-locks during shrinkage.
If the house is built "into a pocket" or "into a lap," logs/boards are secured with dowels. Fixing pins may be inserted at corner joints.
For details on construction techniques, see the relevant section of the website.
RoofThe roof is assembled from a ready-made kit: rafters, sheathing. You will need to install a waterproofing and insulation layer, then the roofing material: metal tiles, natural or composite shingles, corrugated steel, or traditional asbestos cement sheets.
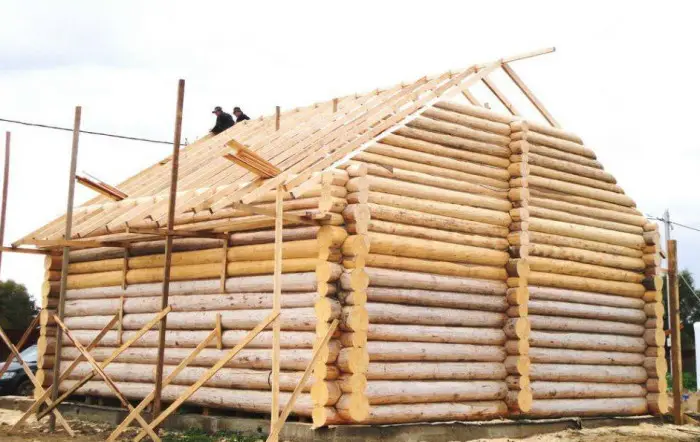
Photo 3 – House roof
OpeningsOpenings are usually made during house construction. If using a pre-made kit, openings are already planned. Do not install window frames or door panels too early. Wait until the settling process is complete.
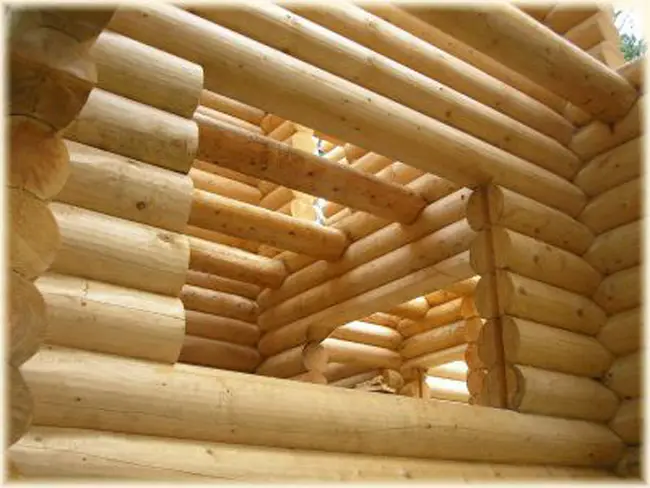
Photo 4 – House openings
Wooden or plastic structures are used for openings.
Floors and ceilingReady-made kits include subfloors – special boards and sheathing. They are assembled after laying the logs. Finishing floors are installed during interior finishing after settling, using any materials: solid wood, parquet, laminate, or tiles.
Roof structures are also included in the kit – main components. Further finishing occurs after settling and can use any materials chosen during planning: gypsum board, plastic, wood.
Finishing
After building the structure, wait for the house to settle. If using treated, round-sawn logs or profiled beams, settling takes 6–8 months.
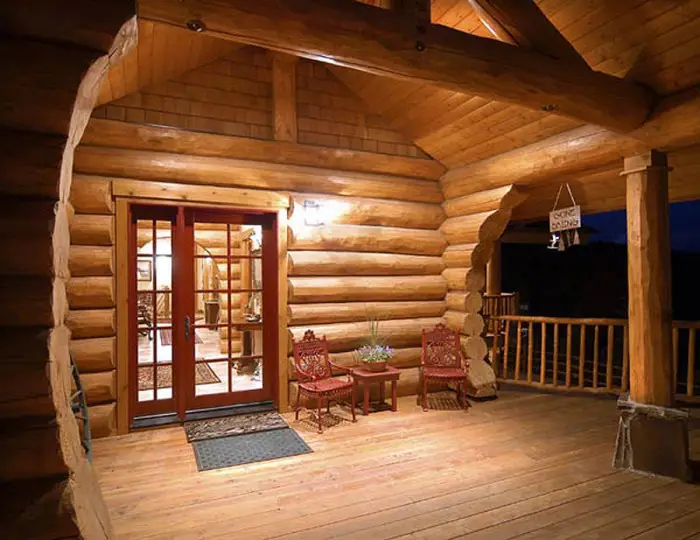
Photo 5 – House finishing
If you purchased untreated, hand-ridged wood, settling may take 1.5–3 years.
IMPORTANT! Wait until settling is complete. Only then begin finishing. The settling process reduces height by up to 7 cm.
You can save on finishing by using factory-treated wood: CCB (round-sawn logs), profiled, glued beams. After settling, only chinking, impregnation, and painting (inside and outside) are needed.
Repairing a wooden house yourself
You can always repair a wooden house on your own. You can:
- replace rotten logs;
- seal horizontal and vertical cracks with special sealant;
- replace damaged rafters;
- repair the roof.
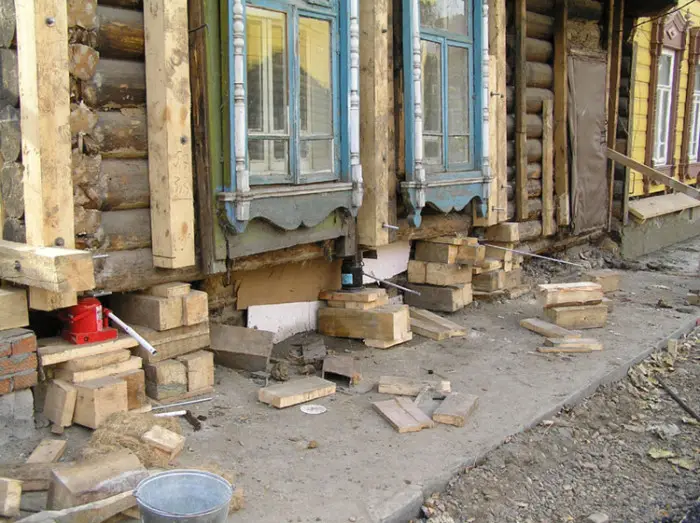
Photo 6 – Repairing a wooden house
IMPORTANT! Replace rotten logs using special jacks to lift the structure. Lower the house after repair using levers and wedges.
Wooden houses by yourself – video
Watch the video to see the process of building a wooden house from timber beams.
Gypsum board in a wooden house
Gypsum board helps hide irregularities, utilities, and framing in a log or beam house. Walls and multi-level ceilings can later be painted, wallpapered, or tiled.
Choose from these types of gypsum board:
- water-resistant gypsum board;
- standard;
- red composite – fire-resistant;
- special reinforced.
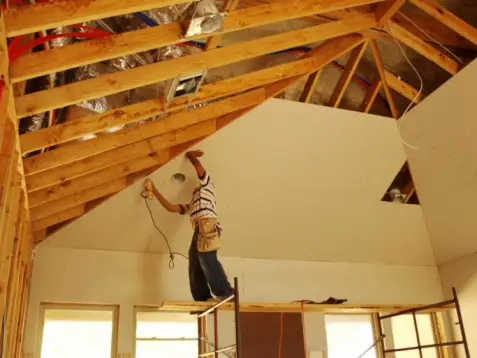
Photo 7 – Gypsum board in a wooden house
Gypsum board in a wooden house – video
Watch the video to learn how to properly install gypsum board in a wooden log house.
Sealant for wooden houses
The sealant used for wooden house joints must be resistant to moisture, heat, and mold or mildew damage.
It is used to seal inter-log joints and close gaps and cracks in logs/boards.
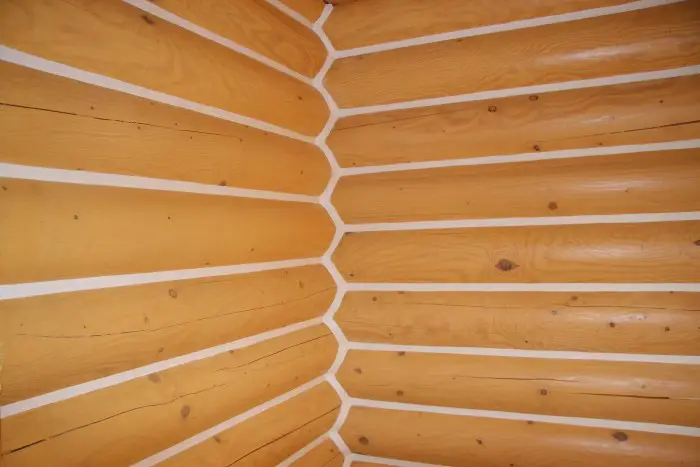
Photo 8 – Sealing a wooden house
We recommend using rubber-based sealants with acrylic additives. For example, Remmers Acryl 100, priced from $7 per kg.