How to Update an Old Kitchen: Masterclass by Sasha Mershiev
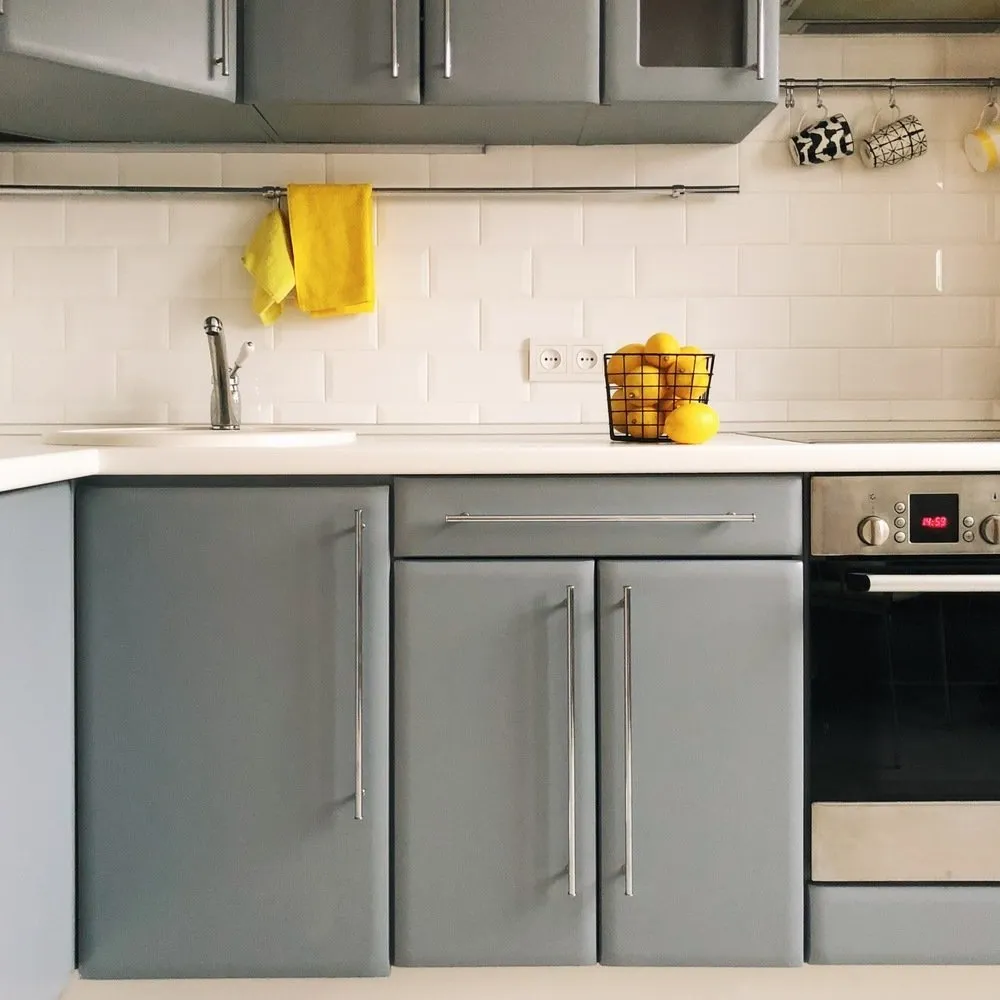
You're ready to renovate because your kitchen doesn't fit into a modern interior? Don't rush, decorator Sasha Mershiev will show you how beautifully kitchen fronts can look if you just repaint them.
Sasha Mershiev — interior design expert, decorator, owner of the MERSHYHOME workshop
You'll need:
- Old kitchen cabinet.
- A screwdriver.
- Cleaning agent + sponge.
- De-greaser 'White Spirit'.
- Painting tape.
- Protective film.
- Rubber gloves.
- Brushes (size: 40–60 mm), 3 pcs.
- Emery paper (grit: 100–180).
- Alkyd primer, 0.9 l.
- Matt paint, 2–2.5 l.
- Polycrylic or acrylic matt varnish, 0.9–1 l.
Where to start?
You can repaint any coating, but first you need to check its strength, especially if it's film or veneer. Everything that peels off or bubbles must be removed.
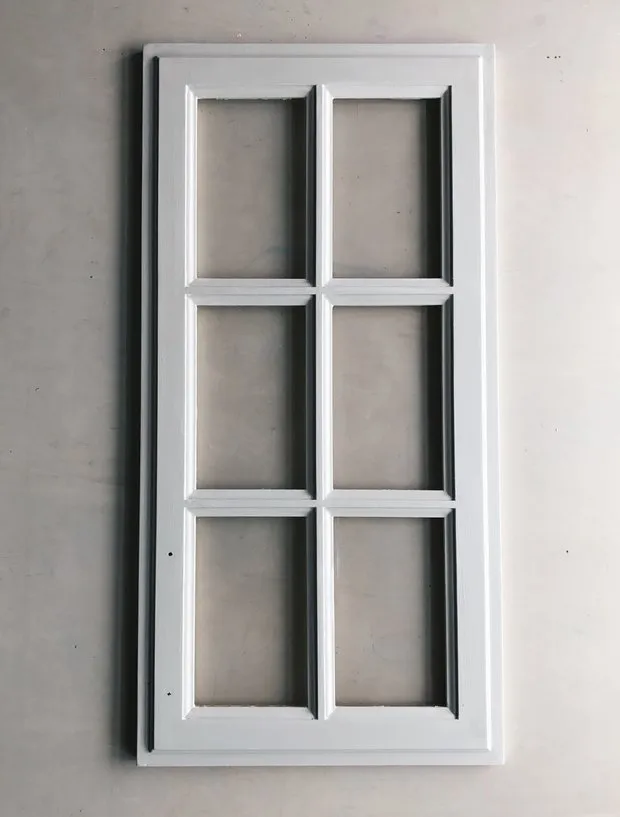
I recommend painting the fronts and leaving the internal structure as is. Choose a color that suits your kitchen and begin working. For a visual example, I used the front of another kitchen.
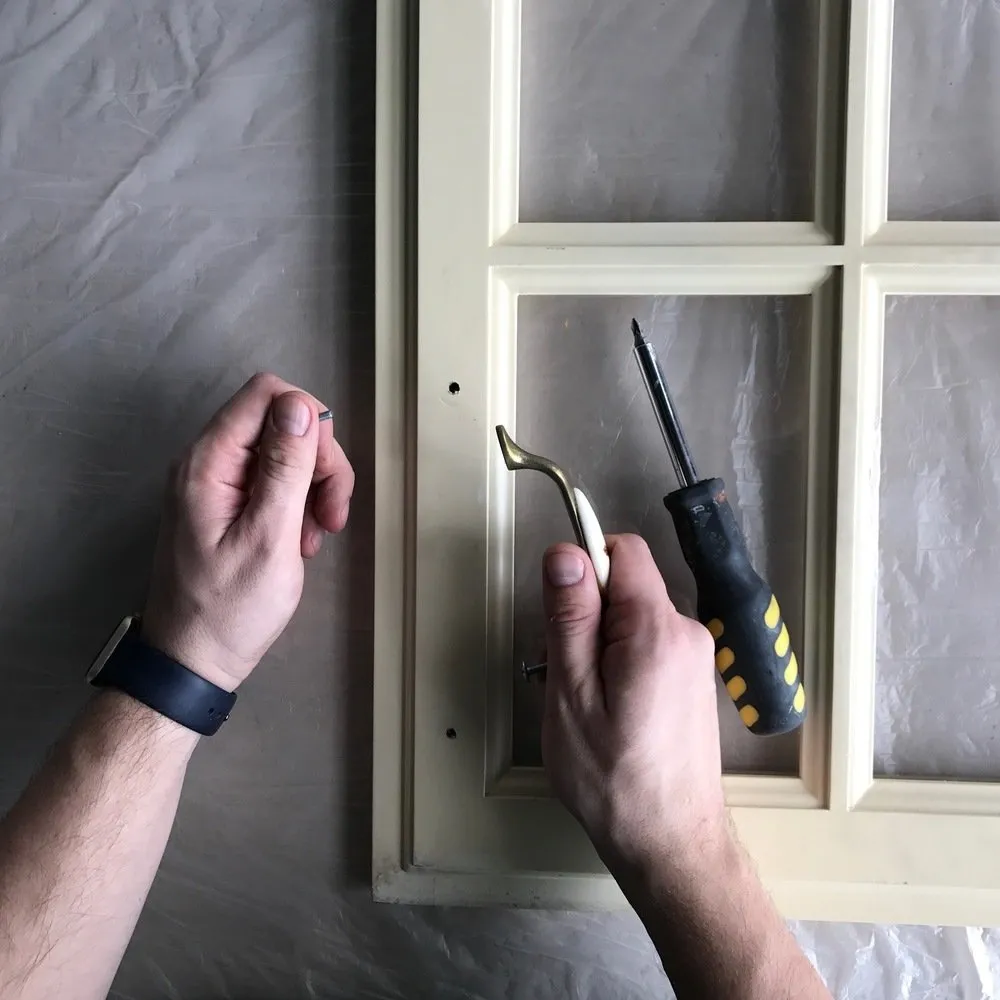
Remove hardware
Take off the fronts and cover adjacent surfaces with painter's tape for delicate areas.
Wash and dry with a towel
Be careful: fronts should not have dust, dirt or grease.
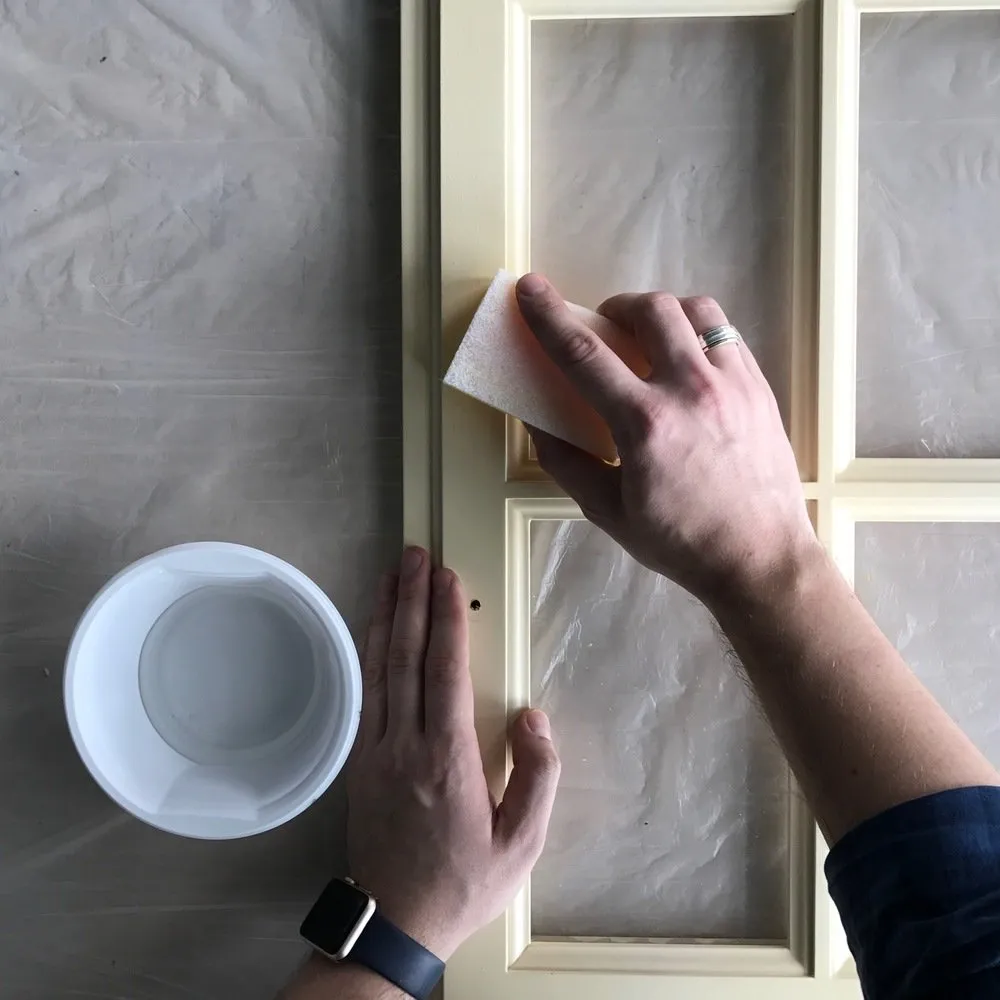
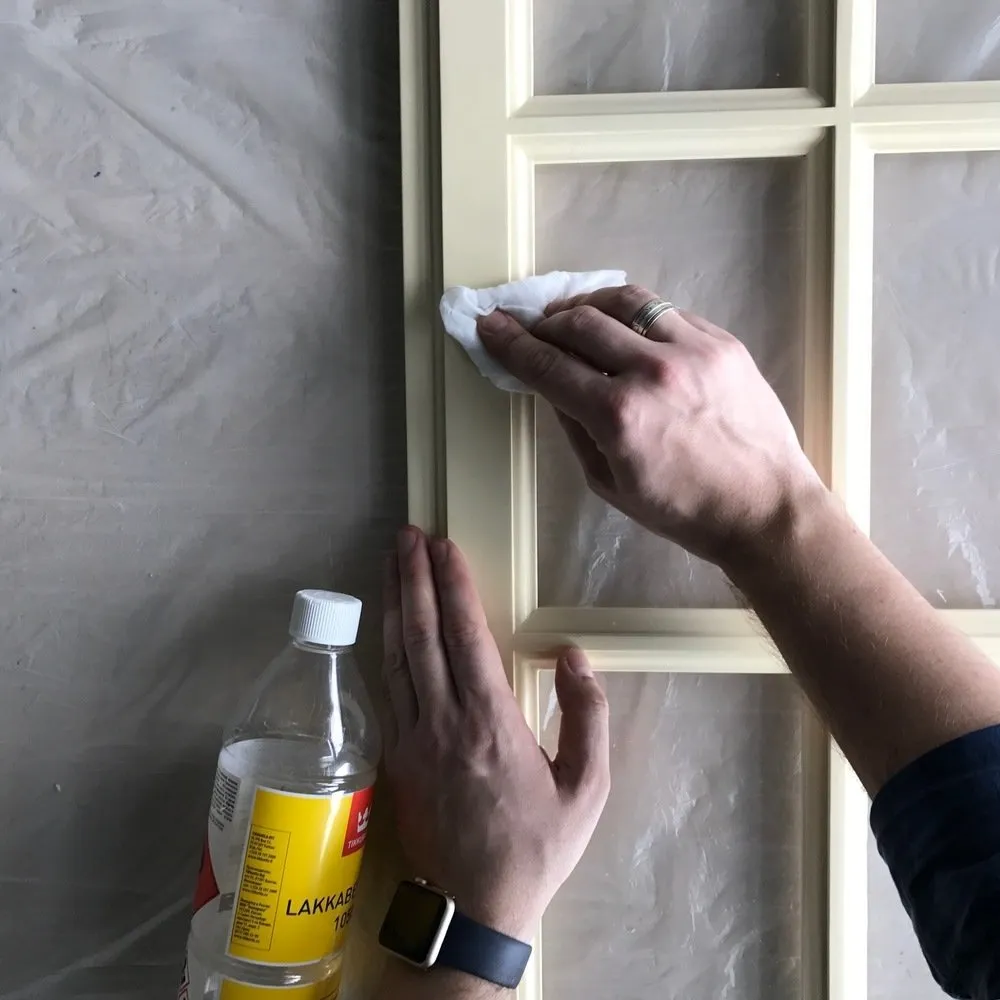
Wipe clean surface
To de-grease the surface, I use 'White Spirit'. It can be replaced with alcohol. Make sure no contaminants remain.
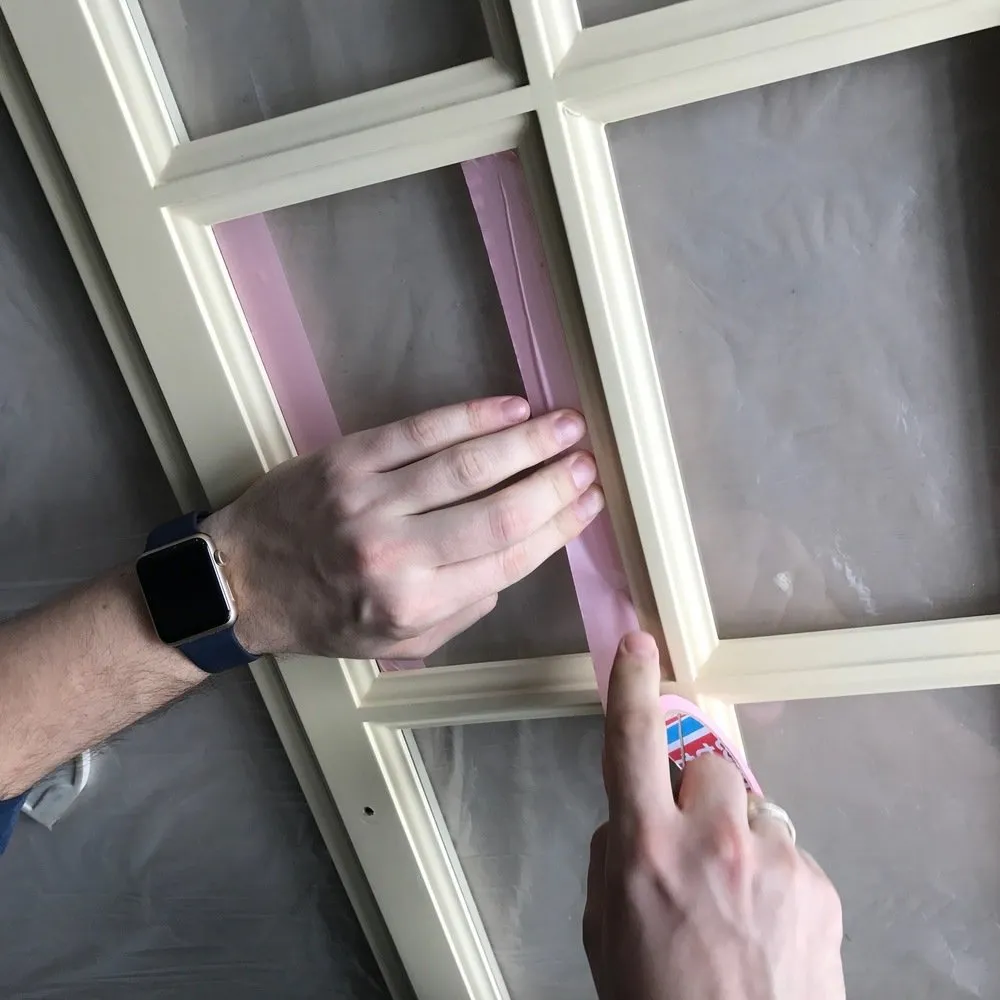
Mask elements not involved in repainting
Also protect with plastic film not only the surface you're painting, but also the walls and countertop.
By the way, protect your hands from paint too — use gloves. I recommend vinyl ones, which are sold in pharmacies.
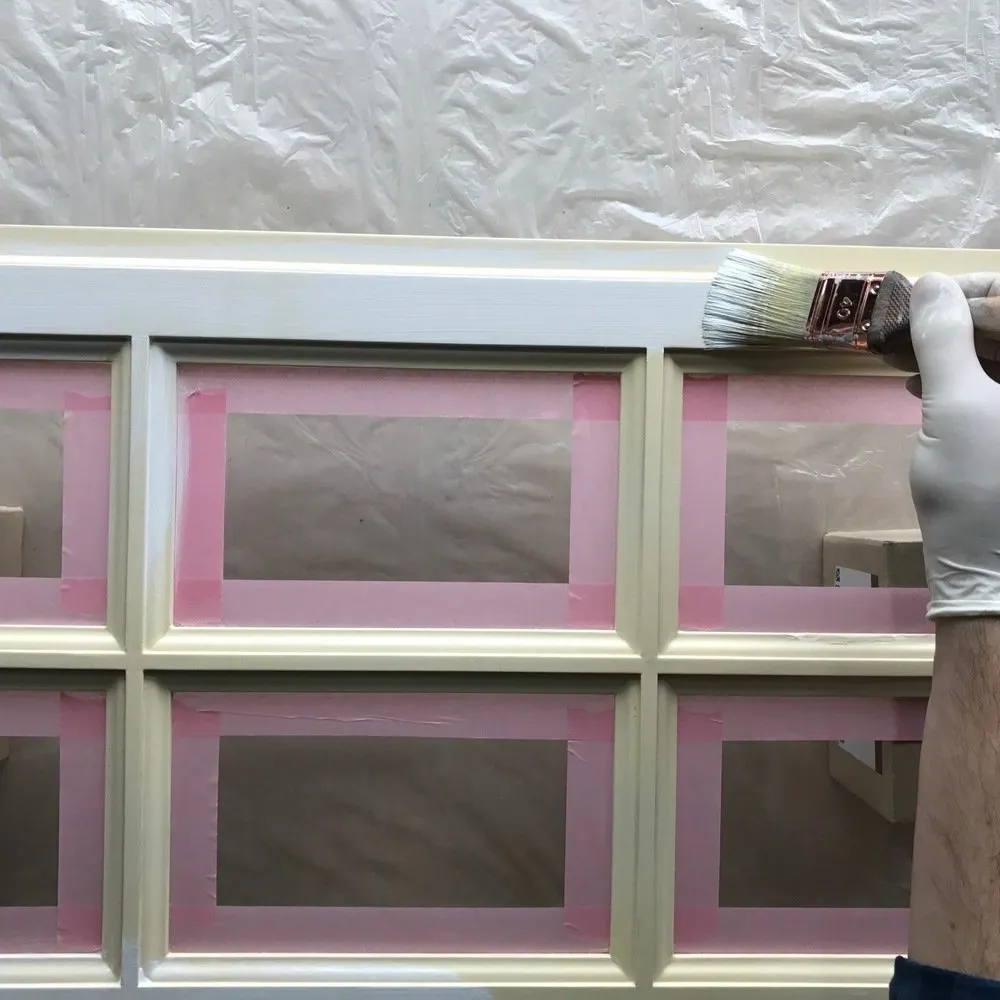
Apply alkyd primer
Necessary in two layers. I always use white, but it can be tinted to match the future kitchen color.
Level surface between coats with emery paper
Buff after each coat of primer, paint and varnish — except the final one. Adjust intensity yourself depending on desired result. Light buffing gives a textured surface, while more pressure makes it smooth.

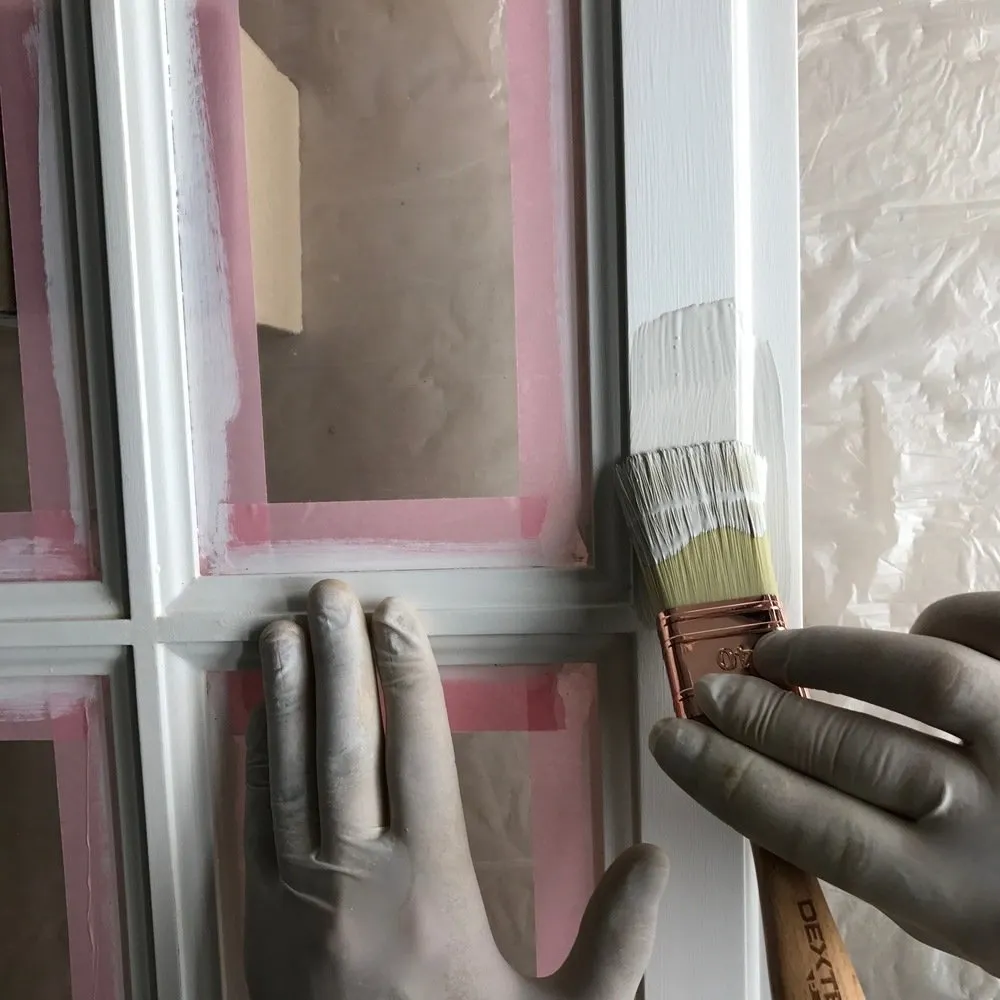
Apply paint in two layers
I use chalk paint — it's ultra-matte, durable and has good coverage. Never use glossy paint.
Paint consumption is usually indicated by the manufacturer, but for a small kitchen 2–2.5 liters should suffice. One more tip from me: if you use a natural bristle brush, the surface will be more textured.
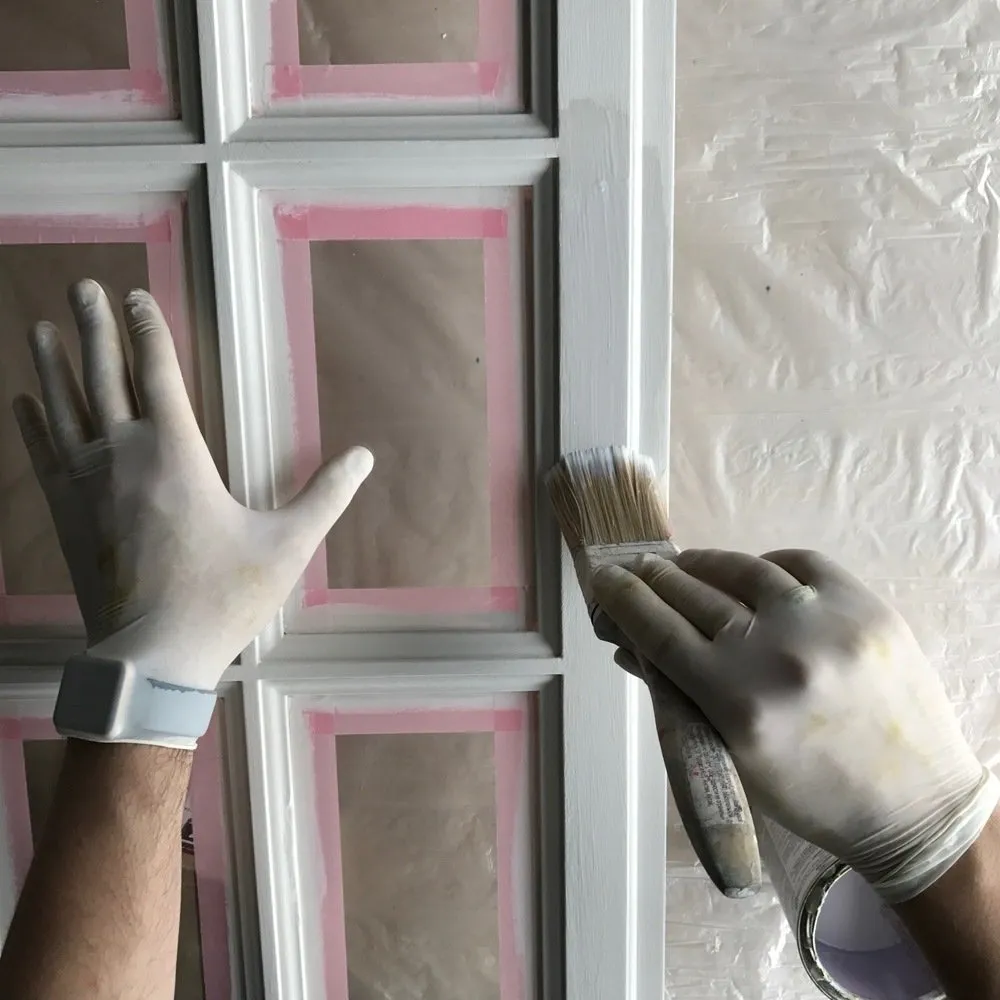
Apply matt varnish — also in two layers
I use a brush with artificial bristles, then go over between coats with emery paper.
Varnish can be acrylic if you don't cook often and there are no pets in the apartment. For a more practical surface, choose polycrylic or polyurethane matt varnish.
Let the paint dry and reinstall fronts
Drying time for each layer is usually indicated on the paint or varnish packaging. But I suggest letting the last coat dry overnight before reinstalling everything.
Now everything is ready — enjoy the result!

Need a renovation specialist?
Find verified professionals for any repair or construction job. Post your request and get offers from local experts.
You may also like
More articles:
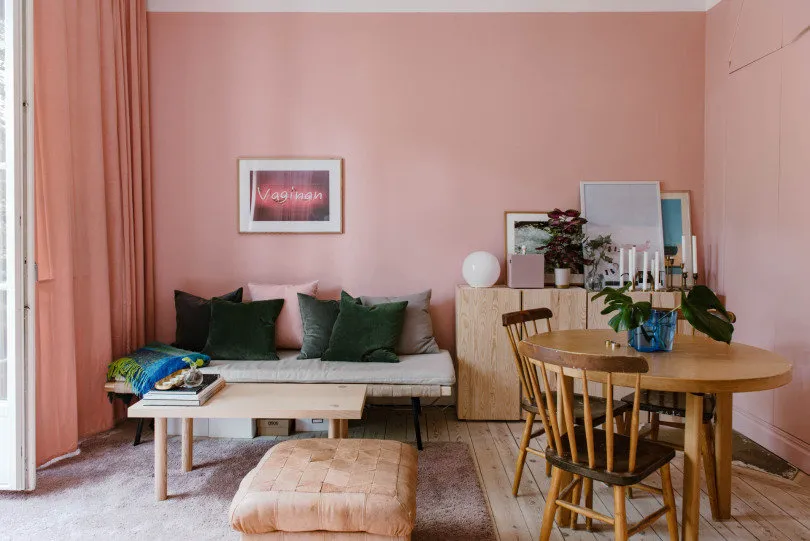 Maximizing 29 Square Meters: A Studio Apartment in Sweden
 How a Fishing Hut Was Transformed into a Stylish Country Home
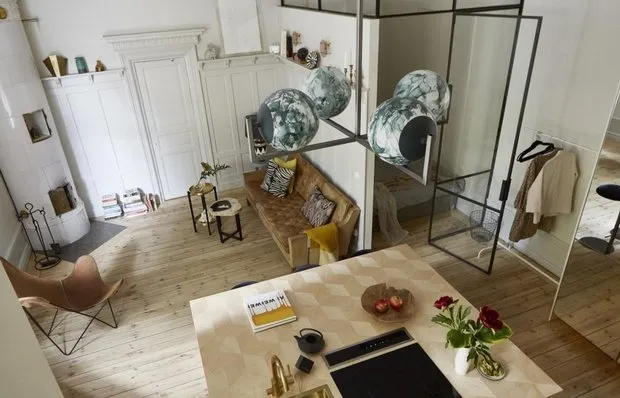 Small Studio with Two Bedrooms and Kitchen Island
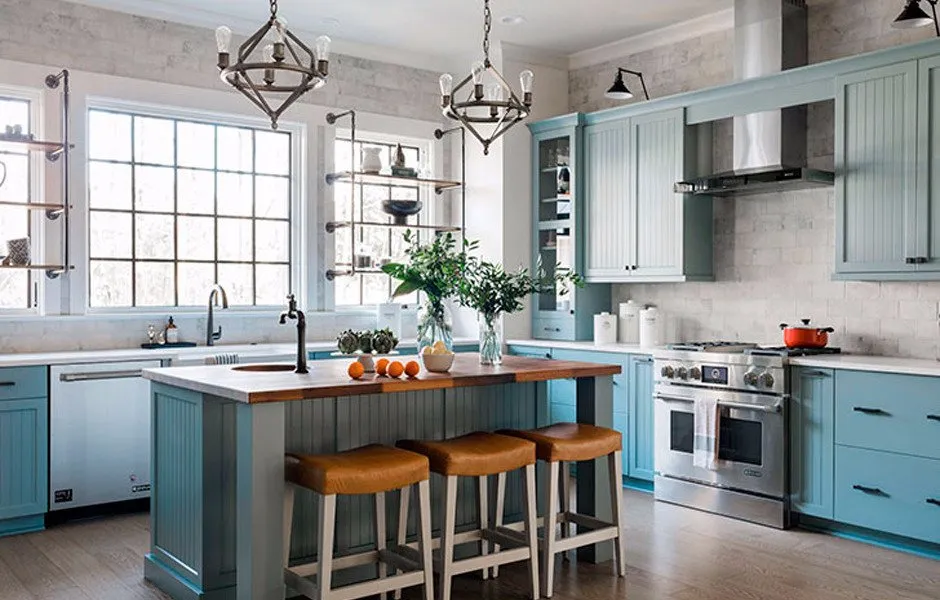 How to Give Your Kitchen a Scandi Charm: Idea from a Professional
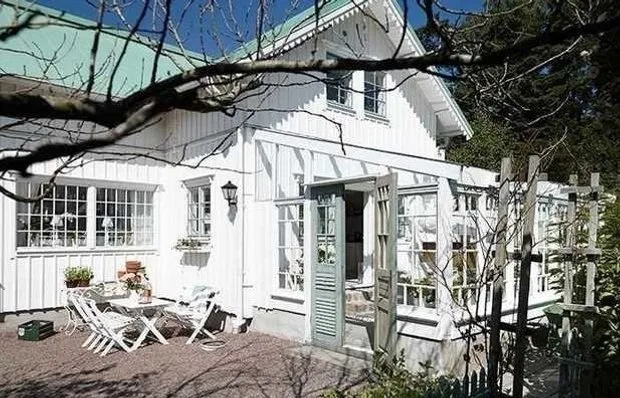 Cozy Cottage That Inspires You to Renovate Your Own Country House
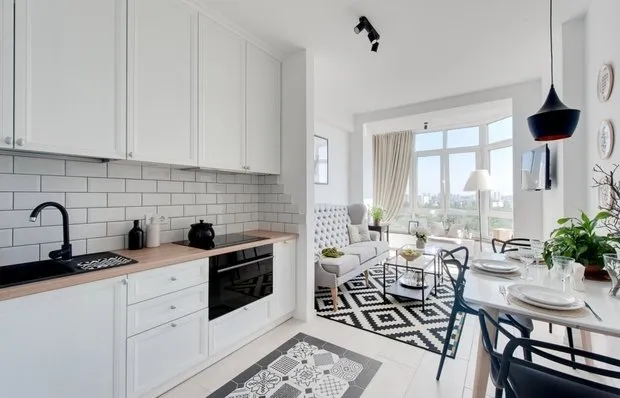 5 Questions for Everyone Who Wants to Decorate a White Kitchen
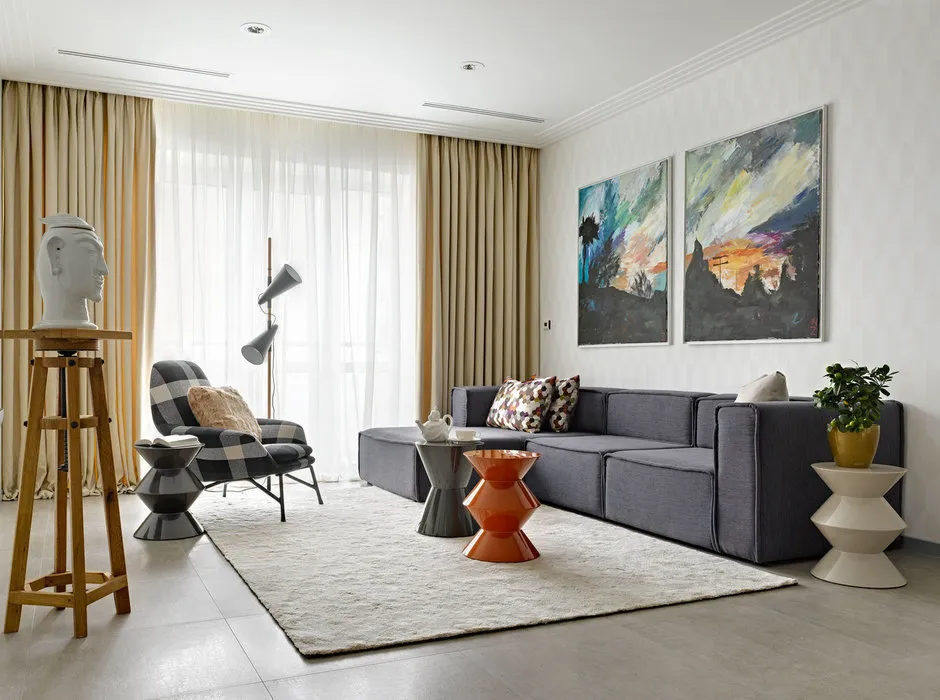 10 Useful Things for Your Living Room
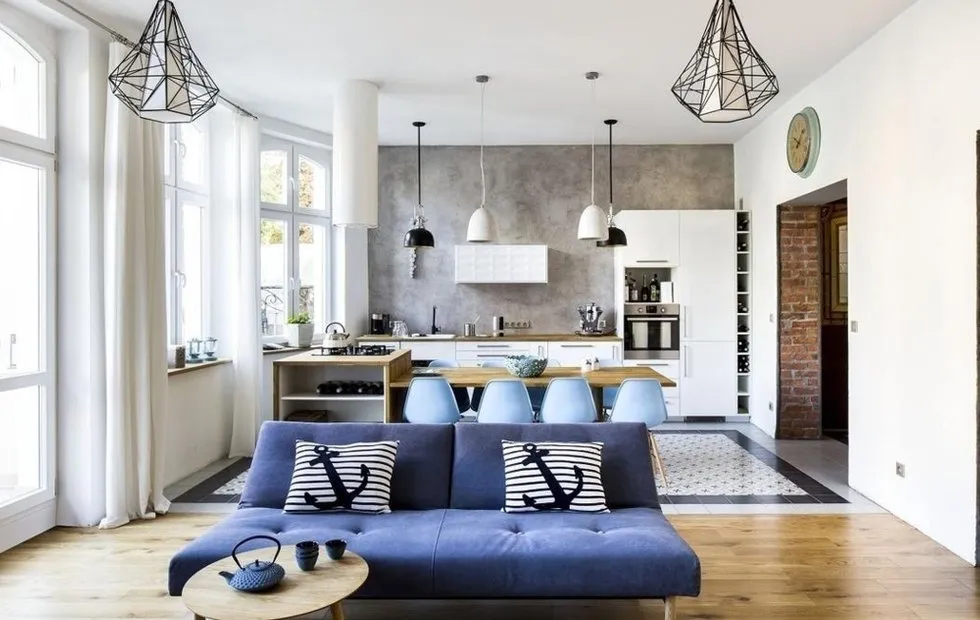 Creating a Maritime Atmosphere in Interior Design: Living Room Design Project