How to Make Gypsum Board Cornices
Installing gypsum board cornices by yourself is possible if you follow the specific technology recommended by manufacturers.
Let's see how to make gypsum board cornices for windows.
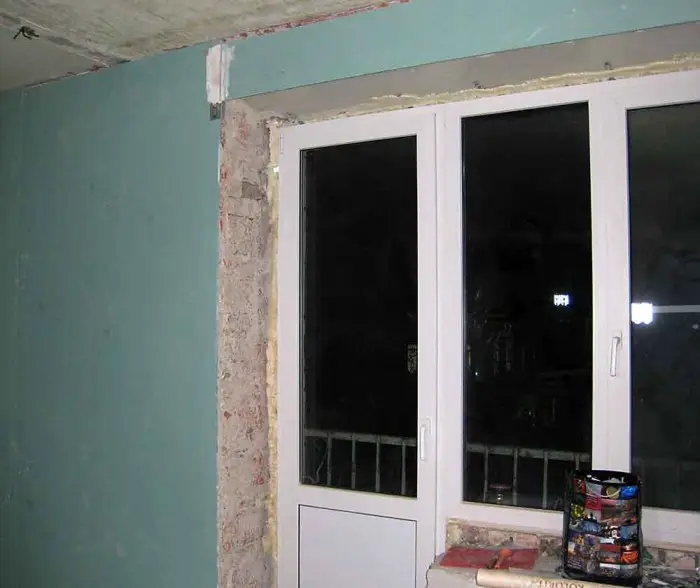
Photo 1 — Preparation stage. The working surface is cleaned of dirt and old finishing, primed, and after drying, the installation of gypsum board sheets begins
Cornices: Gypsum Board Finishing
The working surface must be cleaned of dirt, protruding construction elements, waste, greasy spots, and old wall coating. Expose the opening island.
The method of cornice cladding suitable for your case is determined by measuring the distance from the edge of the window or door to the old cornice. If this distance exceeds 3-4 cm, gypsum board must be mounted on a profile.
If the gap size does not exceed 15-25 mm, gypsum board sheets can be glued.
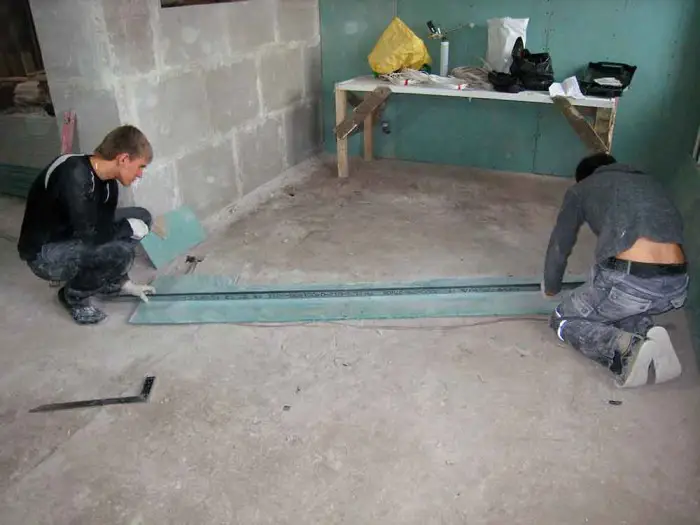
Photo 2 — Making Gypsum Board Parts for Window Cornice Finishing
Take wall measurements and cut strips of gypsum board for cladding side and top cornices accordingly. To improve thermal insulation of the cornices, wall surfaces, sill, and ceiling planes must be solid — as seamless as possible.
Installation of gypsum board sheets on window cornices should be done in the following order: finish the GKL (or GKLV) side panels of the opening, then proceed to work on the top cornice. Self-tapping screws are driven along the outer edge all around the perimeter of the cornices to ensure better fixation.
Finally, install the sill on the windows. Often, after removing the old sill (concrete or wooden), a pit up to 6 cm deep forms.
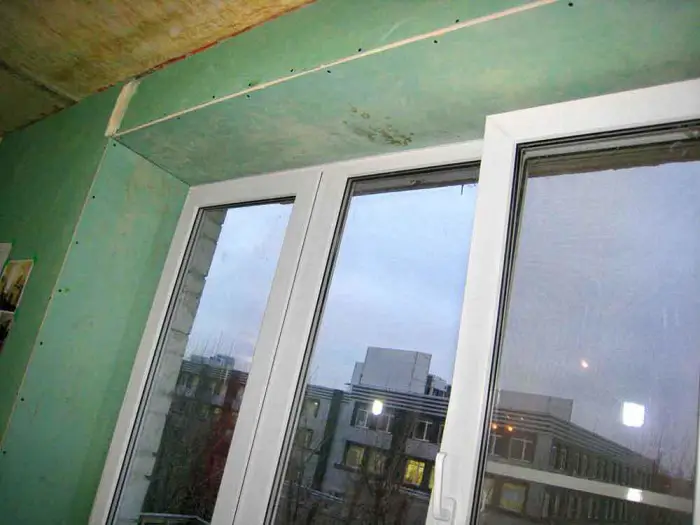
Photo 3 — After installing the top panels, they can be placed on supports for more secure fastening of elements. During all work, check the straightness of corners and leveling of attachments
IMPORTANT! Sometimes the height difference after removing the old sill can reach up to 15 cm. In such cases, leveling of the base for installing the sill must be done using all available methods.
For example, by placing brick fragments or similar materials in the pits. Besides brick laying, there is an alternative and more reliable option: place a reduced version of dry floor on the sill — level the surface with keramzite filling.
When using brick, cracks may form, which can allow drafts to enter. Even if gaps between the masonry are sealed with construction foam, achieving long-term results in such a way is not possible.
In contrast to the "brick" method, keramzite filling is a more reliable option. The fill has better thermal insulation properties. The fill is poured with a special composition — cement milk, after which the sill is leveled with another layer of cement mortar. It should be made as thin as possible.
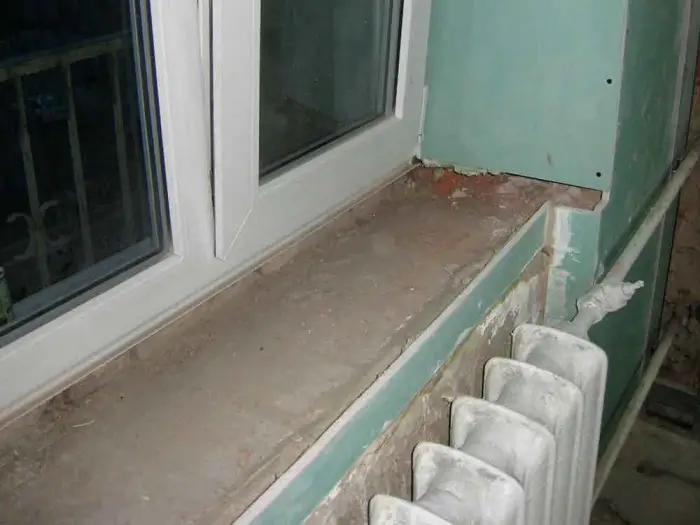
Photo 4 — Leveling the base and installing gypsum board on cornice for sill
After all parts are placed in their positions, the corners at the joints of gypsum board sheets should be covered with metal corner pieces. Now you can spackle the cornice surfaces, sand them down, and proceed to finish decoration — wallpapering, painting, or tiling.
Door cornices made from gypsum board are produced using a similar process. The only difference in the work sequence is reinforcing the internal cornice structure (gypsum board is installed in two layers or glued with a full-surface adhesive rather than point-by-point) due to higher usage intensity and higher probability of damage to the gypsum board sheet.
IMPORTANT! Please note that green-colored external layers of the gypsum board were used in this work, which according to general labeling standards are used exclusively for moisture-resistant sheets of gypsum board.
Gypsum Board Cornices (VIDEO)
$ Prices for Gypsum Board Cornices
For quality work on cladding cornices with gypsum board:
- In Moscow, you can pay from 1,800 rubles for processing a window cornice with dimensions 1400 / 1200 / 25 cm;
- In Kiev — from 400 UAH for processing a window cornice with dimensions 1400 / 1200 / 25 cm.