Budget-friendly but very beautiful 6 sqm bathroom DIY
Detailed budget estimate for renovation
We already told about Olga Zhdanova's stylish apartment, where our heroine and her husband did the renovation themselves. Today we decided to tell more about the bathroom with cool solutions and cozy design.
Olga Zhdanova — apartment owner and blogger
During the renovation, I drew all my inspiration from Pinterest and foreign bloggers: I noticed a beautiful sink, tile layout, color combinations, and accessories. Then I looked for alternatives in our stores, tried them on, and calculated everything for my interior.
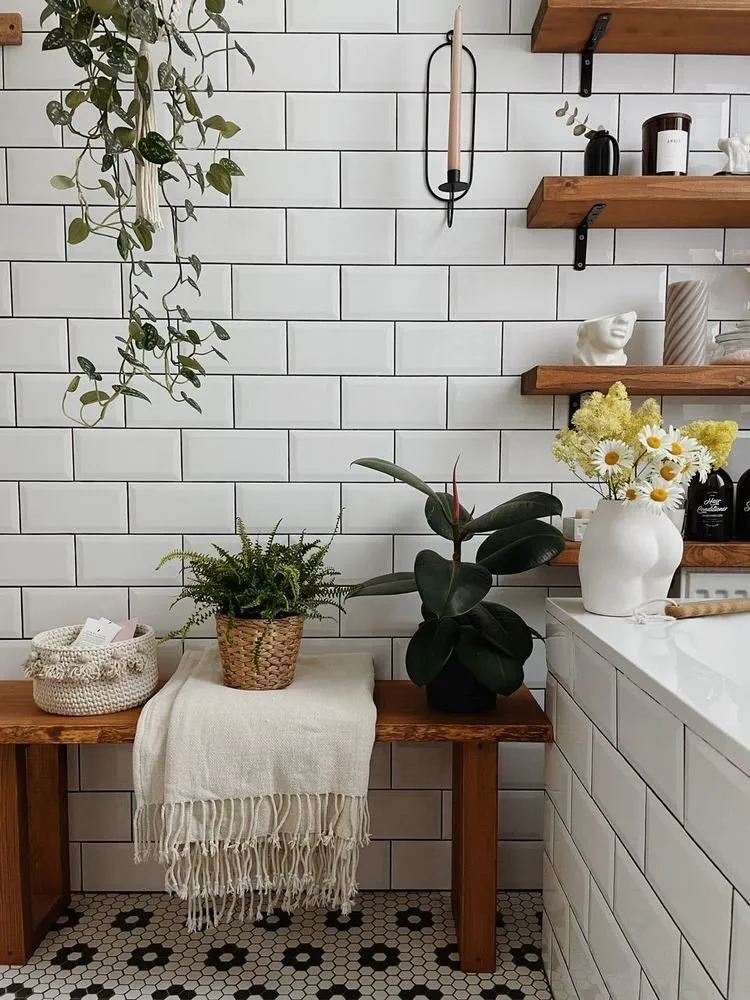
One feature of our bathroom is that it has a window. So I allowed myself to decorate it with live plants. But to avoid 'glowing' on the street, I applied special film to the glass: it lets light through but blocks the view outside.
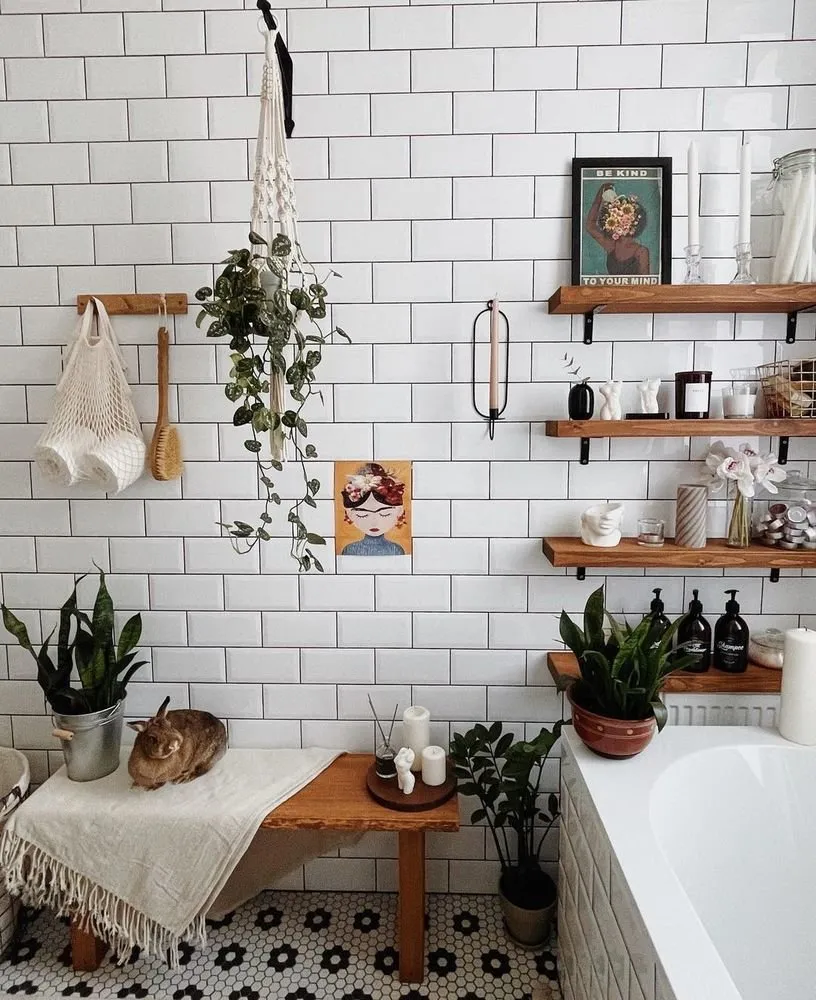
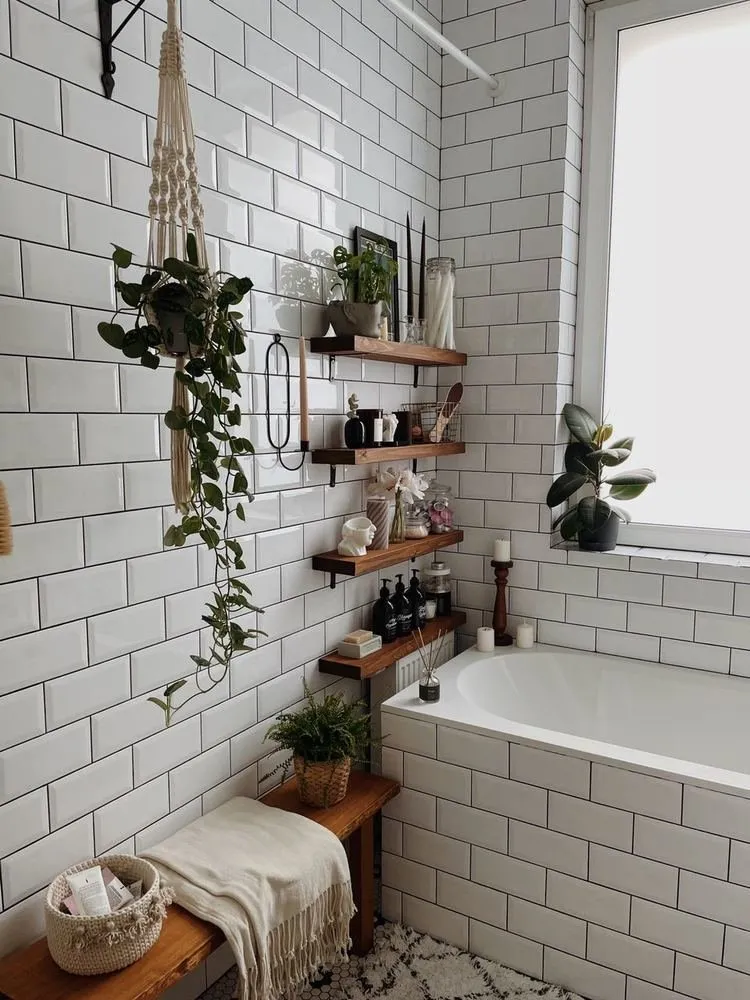
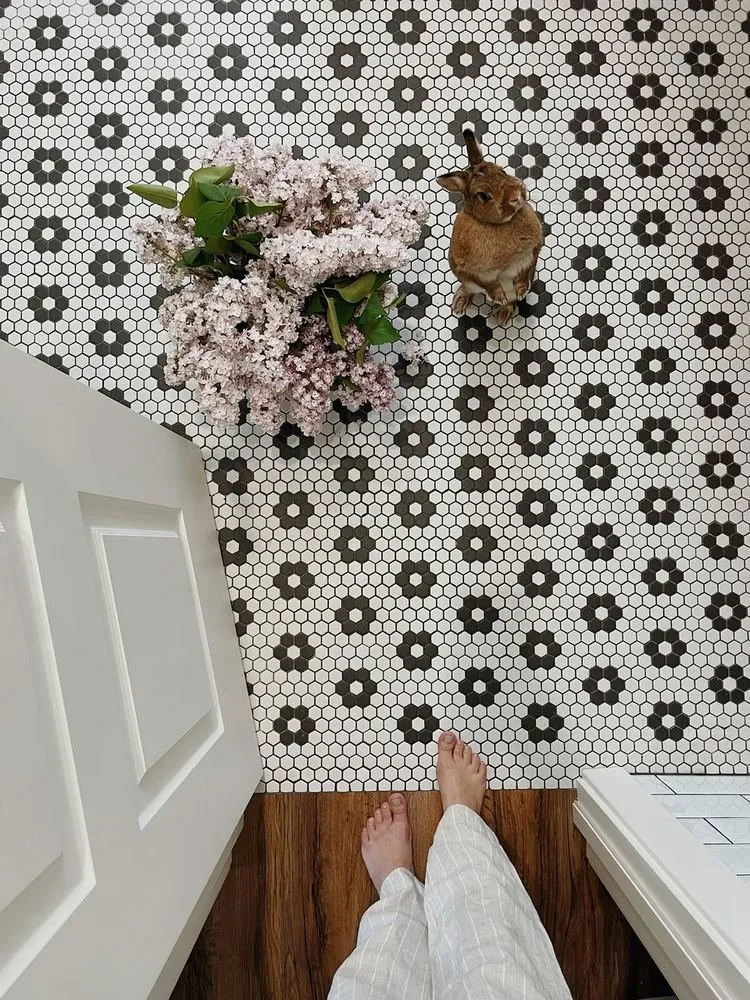
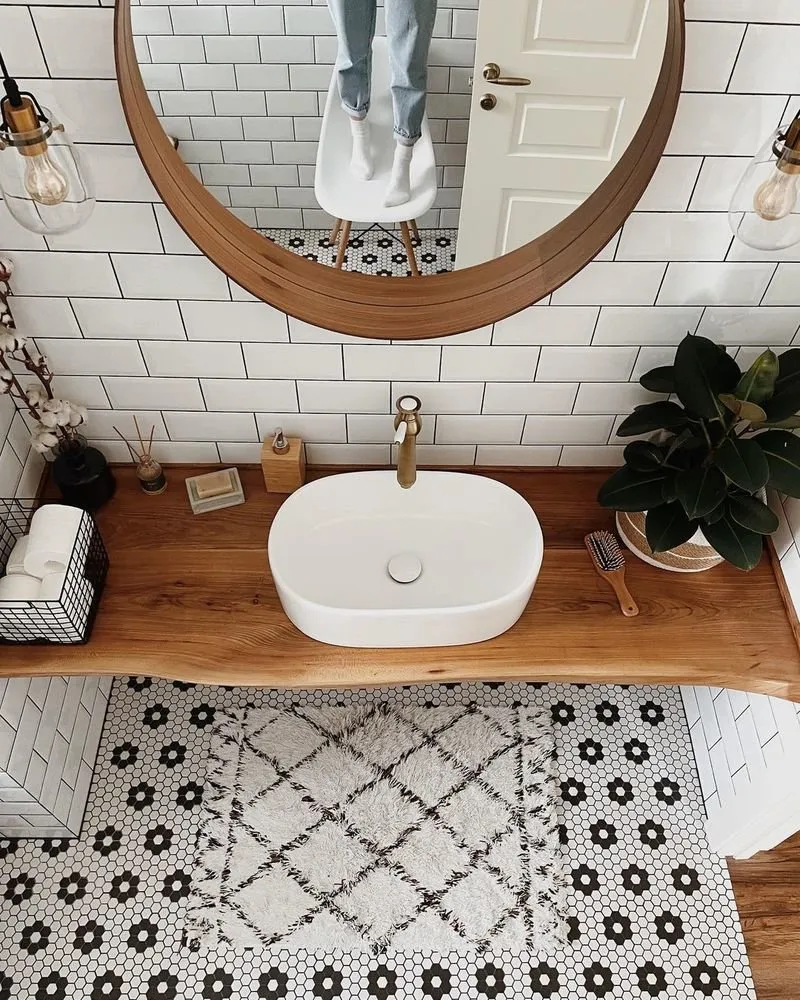
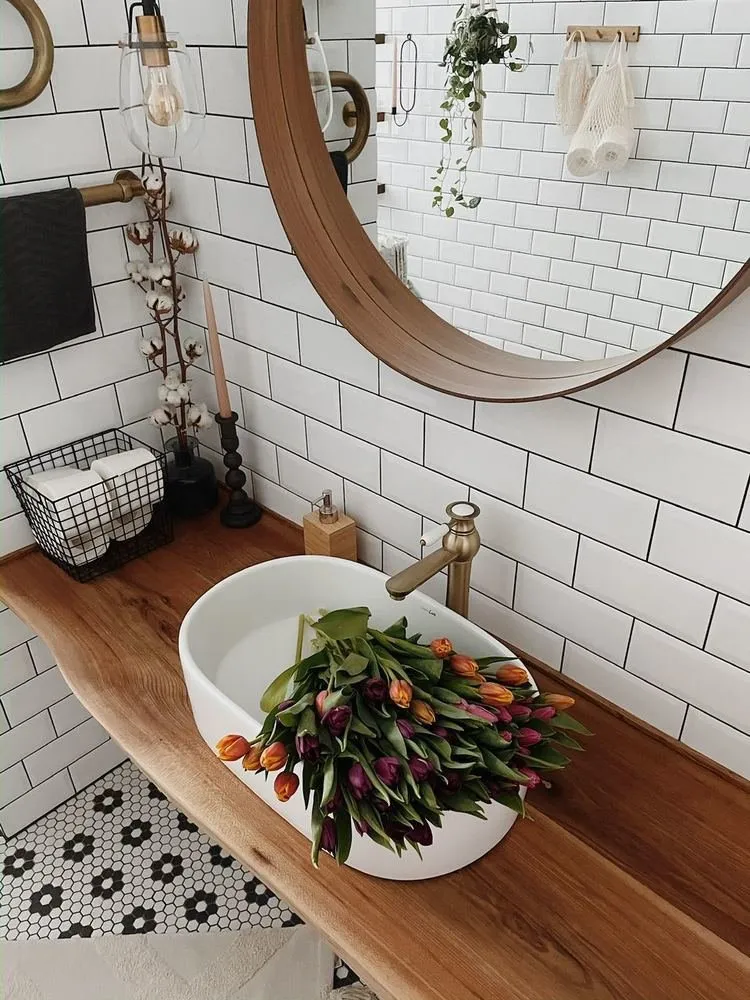
The walls are white tiles 'bunny' from Kerama Marazzi, price per sqm — around 700 rubles. The floor is mosaic laid in a pattern resembling a daisy field, with graphite grout 'Cerexit'. All of this can be found at 'Leroy Merlin'.
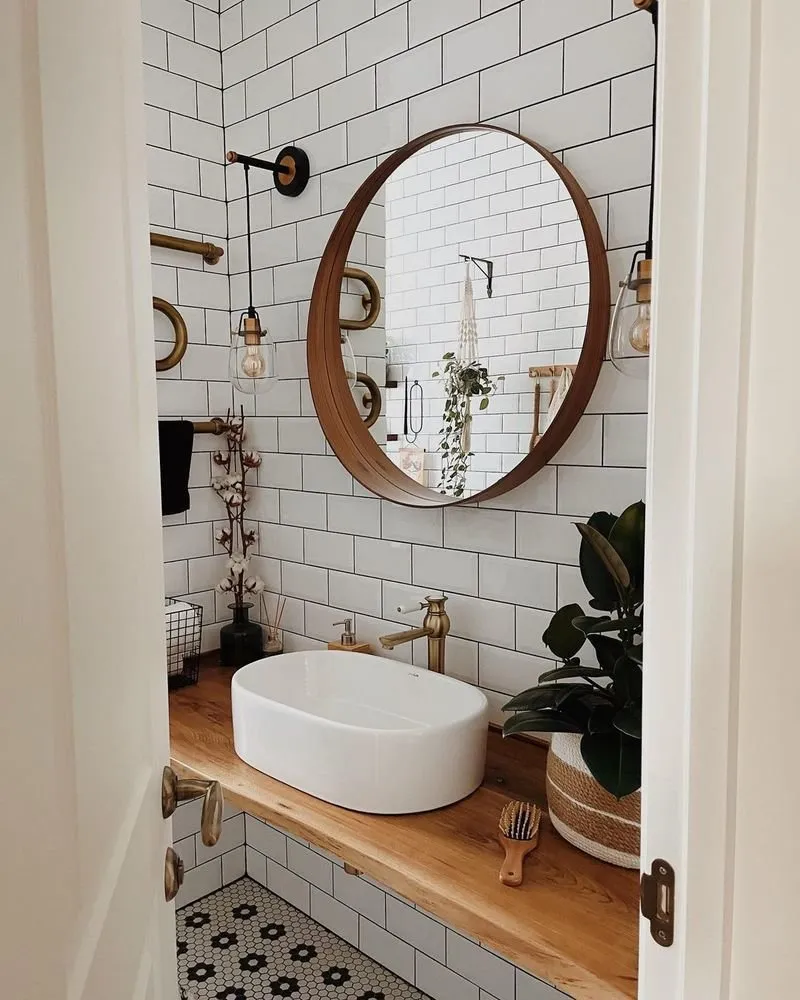
The main lighting is ceiling 'eyes', plus two suspended lights above the sink. One costs 3500 rubles. The wooden countertop for the mounted sink was bought on 'Avito' for 10 thousand rubles, the bronze towel rack — 5500 rubles, the sink — 4700 rubles, and the mixer — 5500 rubles. The round mirror from IKEA Stockholm — 4500 rubles.
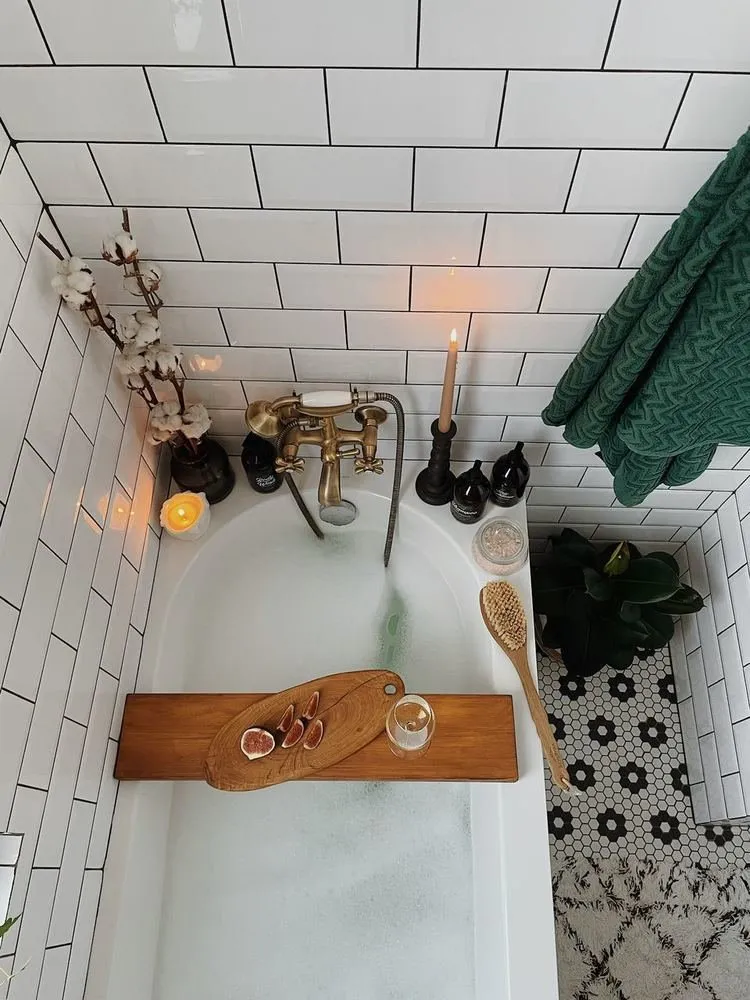
The acrylic bathtub Villeroy & Bos, size 180x80 — 55 thousand rubles, the suspended toilet of the same brand — 21 thousand rubles, the shower and mixer for the bathroom were bought at 'Leroy Merlin' for 5600 rubles.
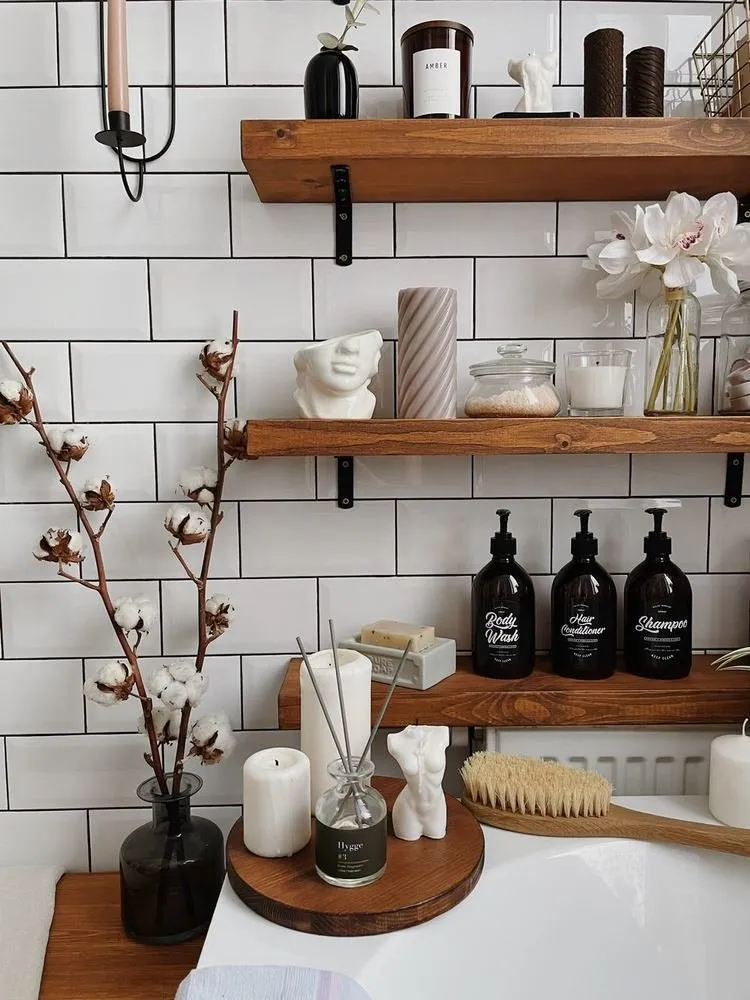
There are many things at home made by my own hands. In the bathroom, these are wooden shelves and a bench. I love open shelves, so we have many of them and plan to add more. They are convenient, beautiful, and for me — a sign of order.
The 'Leroy Merlin' bought planed boards were cut into equal pieces, coated with garden furniture oil, and secured to brackets. After a year, the shelves have not suffered at all from moisture and overheating. The bottom shelf is not fixed and I also use it as a table during baths.
 About how to make a bench from timber:
Need planed timber, spruce 40x60 and a pine slab 28x300x1450, I took them at 'Leroy Merlin', everything can be cut there. Timber: 4 pieces of 40 cm, 4 pieces of 12 cm.
- All parts of the future bench were sanded with fine sandpaper, and the edges of the slab were first sanded with coarse sandpaper (better to do this with a grinding disc).
- Coated with garden furniture oil in three layers. The oil protects against moisture and overheating, plus gives a matte finish. This option is ideal even for an outdoor bench.
- After full drying (it takes 2–3 days for the oil), I sanded the coating again with fine sandpaper — this highlights the wood grain. Then all elements were wiped clean.
- Finally, just connect everything. I fastened with screws 5.5 mm long.
- First, connect the legs for the bench, then attach them to the seat. Done.
Need a renovation specialist?
Find verified professionals for any repair or construction job. Post your request and get offers from local experts.
You may also like
More articles:
 7 Ways to Have Fun as a Family at Home
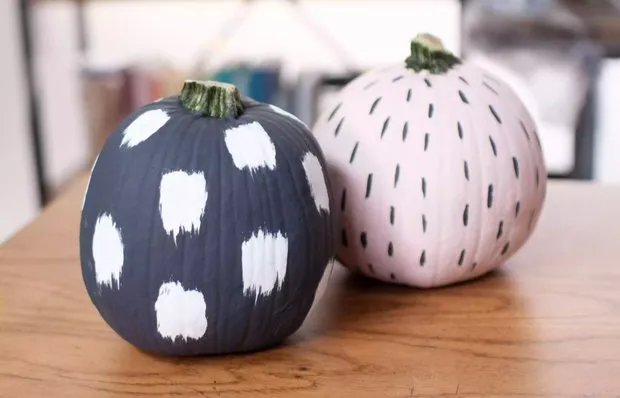 How to Paint Pumpkins for Autumn Decoration: Simple Ideas + Instructions
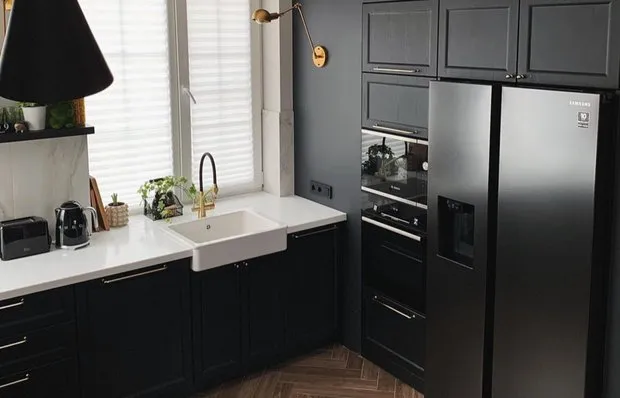 Black Kitchen 10 m² Done by Yourself: Bold and Very Stylish
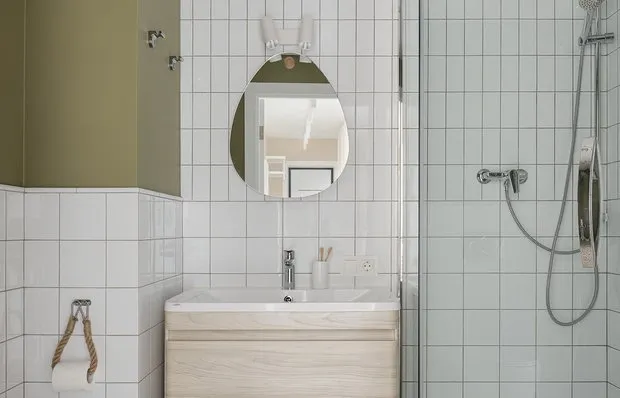 7 Cool Interior Ideas for a Small Bathroom
 6 very beautiful interiors where the main accent is floor covering
 High-Speed Internet in a Private House, Like in a City Apartment: Connection Guide
 Beautiful cozy studio apartment 25 m² in Sweden
 6 Budget Ideas for the Hallway That Everyone Can Replicate