Painting Walls: 10 Mistakes You Should Know About
If you're painting walls during a renovation, consider all the pitfalls of doing it yourself — to avoid ending up with an uneven surface or paint that has turned into lumps
If you think painting takes no more than half an hour and walls become like new, we have to disappoint you. Painting a surface is a task not without nuances: the process can drag on due to wrong choice of paint, roller, or a layer applied too early. The time of day when you pick up the tools also matters. Practice, of course, is the best way to achieve success, but we recommend avoiding others' mistakes and tell you how.
Mistake #1: Painting unprepared walls
Minor defects, dust, sand particles, and bristles from a brush used in previous painting can hide under the paint and negatively affect the result. All imperfections will be visible under a layer of paint — you’ll either have to accept them or clean the wall and repaint. Grease spots may show through, no matter how many layers you apply. Defects are especially noticeable if you use glossy paint.
What to do: to avoid double work and unpleasant surprises, prepare the wall in advance. Use sandpaper or a special plastering tool to smooth out uneven spots and defects. Then brush off the dust with a brush or broom. Stains can be removed by wiping the wall with a damp cloth and soap.
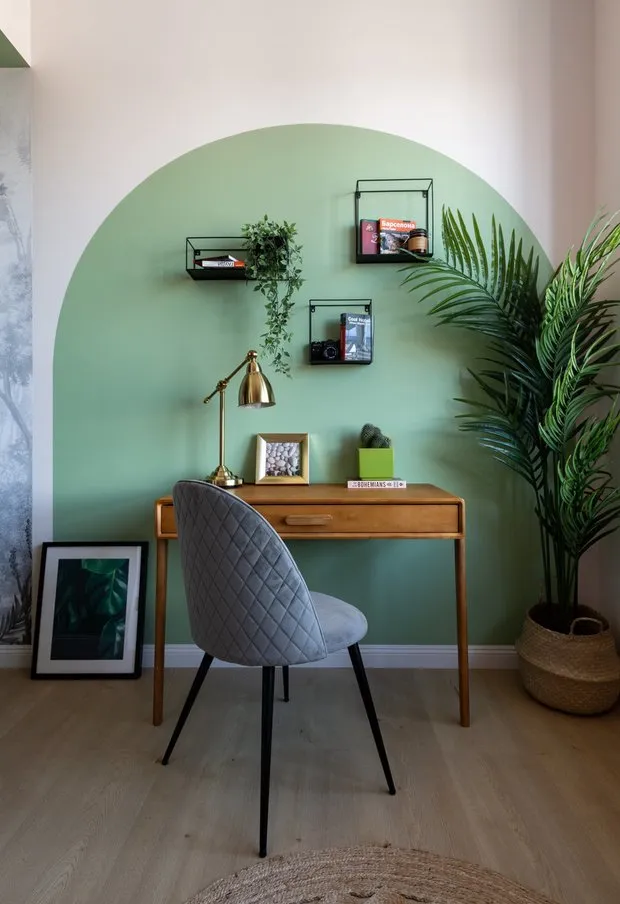
 Design: Anna Zueva
Mistake #2: Ignoring primer
Not using a primer before painting walls? Don't be surprised if the result is unevenly painted or you use more paint than needed. The reason is that primer reduces surface moisture absorption, which allows you to save on painting supplies. It also provides adhesion between the surface and paint, improving wall coverage.
What to do: choose the appropriate primer for walls. Apply it vertically with a brush in small stripes, then horizontally — perpendicular to the first layer. After the base dries, you can apply the first coat of paint.
Mistake #3: Incorrectly diluted paint
Paint can be too thick or become that way during work. Then it needs to be diluted — an intuitive action. But what to dilute it with is a question that can ruin both the material and the work. For example, if you dilute a water-dispersible paint with white spirit, it causes polymer coalescence.
If you paint walls with such a mixture, the result will be poor — disappointment is inevitable: the paint will apply unevenly or even in lumps. If, on the contrary, you dilute oil-based paint with water — it simply won't mix with the main mass.
What to do: read the paint can instructions and choose the appropriate diluting agent accordingly. Don't add too much water or solvent — it's better to add small amounts, thoroughly mixing the paint.
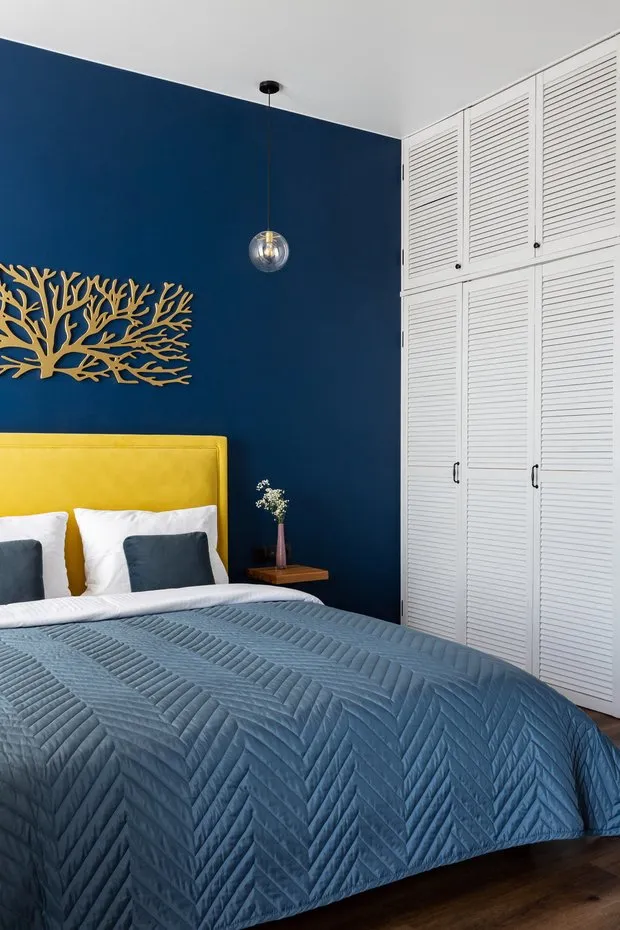
 Design: Denis Ryzhkov
Mistake #4: Painting without a test
Choosing color is a rather complex process, especially when the shade has to be combined with another tone or pattern. A masterpiece may have to be repainted, and this process can repeat endlessly. The same applies to a shade you have to make yourself using colorant.
What to do: add the coloring concentrate gradually to the paint, thoroughly mixing the contents. Start by pouring a small amount of paint into a small container and adding a few drops of colorant — see what color you get. Achieve the desired tone, and then repeat the same in a larger container if you like the result. To ensure color compatibility with the room's overall decor, try a test coat — apply paint in an inconspicuous corner and wait for it to dry. If the result suits you — proceed with the job.
Mistake #5: Wrong tool selection
Using the right brush or roller is just as important as choosing paint. It's not a matter of taste. To evenly cover the wall, you need to buy a couple of rollers and a brush. First, you will roll the surface, then use a brush to paint corners and hard-to-reach areas.
What to do: for the first coat of paint, it's better to choose a roller with long nap — 1–1.5 cm. It will absorb more paint, allowing you to achieve even coverage faster and easier. For a second coat, a roller with short nap — 6–7 mm — is better: it helps save paint and avoids drips. Choose a brush with natural bristles — they won’t leave fibers on the surface.
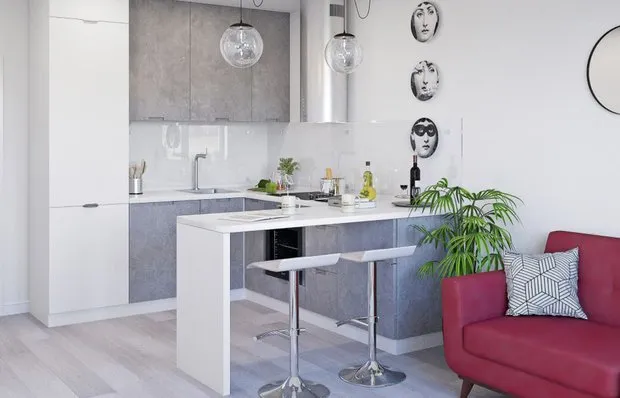
 Design: Ekaterina Bychkova
Mistake #6: Painting in different directions
If you paint vertically, then horizontally, and finally however it seems convenient in hopes that the wall will look decent once dry — you're making a serious mistake. All brush strokes may show up, especially if you use a brush.
What to do: choose one painting method — either vertical or horizontal — paint will apply evenly, and the result won't look absurd due to chaotic strokes. When painting in multiple layers, you can alternate methods, for example, paint the first layer vertically, and the second one horizontally.
Mistake #7: Painting in a single layer
Painting in one layer can result in uneven coverage, and if you want to change the surface color dramatically — finishing quickly won't be easy. Even when changing from a light shade to a darker one, the first color will show through.
What to do: to achieve a rich tone, apply two or even three coats. The first will distribute paint evenly on the surface; the second and third will better blend it, even out color, and fill in minor imperfections.
 Design: Sofya Ryabova
Mistake #8: Painting over wet paint
Naturally, you want to finish painting quickly and enjoy the result. That’s why we often don’t think about the consequences of painting over a “wet” wall. As a result, an unfinished layer starts peeling off, sticking to the brush or roller. Oil-based paint may blister — you’ll have to start all over again. Actually, waiting for the paint to dry and sanding off defective spots.
What to do: be patient. While the paint is drying, you can do anything else. Pay attention to the instructions on the can, which indicate how long paint needs to dry completely. If it’s a water-based emulsion, it will dry quickly — and you can resume work soon.
Mistake #9: Not enough paint
This can become a serious problem. First, because by the time you get to the store, the already applied layer may have dried (after drying, the edge between fresh and previously applied paint will be noticeable). Second, it’s hard to find the right shade if you added colorant to the paint yourself.
What to do: the easiest solution is to buy more. In a pinch, you can return an unopened container to the store or keep it “just in case” — touch up spots where paint starts peeling. Paint cans always indicate the area coverage for the volume — pay attention to those numbers. Also, keep in mind that if you're painting a surface in two layers, the area increases by double.
Mistake #10: Choosing the wrong time for painting
Applying paint in direct sunlight can cause it to dry too quickly — before you have time to spread it evenly. Paint may also bubble or flake. If painting under electric light, all imperfections will be barely visible.
What to do: the best time for painting is during daylight hours, without direct sunlight falling through windows. It's better to paint the southern side in the morning or evening, when the sun isn't as bright.
Photo on cover: ISTOK BUREAU
Need a renovation specialist?
Find verified professionals for any repair or construction job. Post your request and get offers from local experts.
You may also like
More articles:
 How to Choose an Expensive-looking Kitchen Without Breaking the Bank: Expert Tips
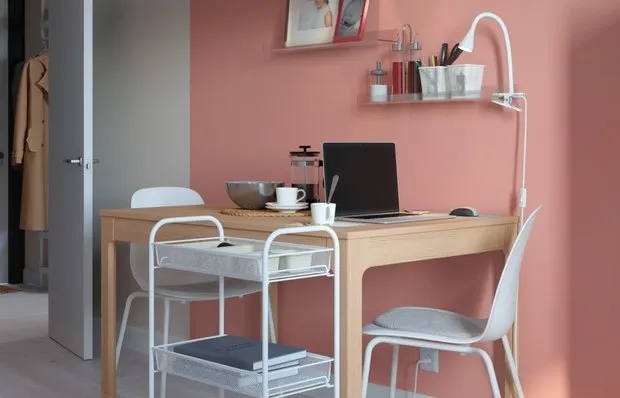 Top IKEA Ideas: How to Organize a Workspace Anywhere in Your Apartment
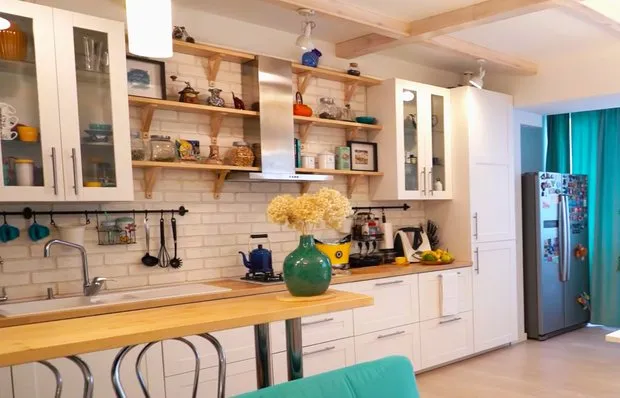 Spacious Kitchen-Living Room 35 m² in IKEA Style: 5 Interesting Solutions
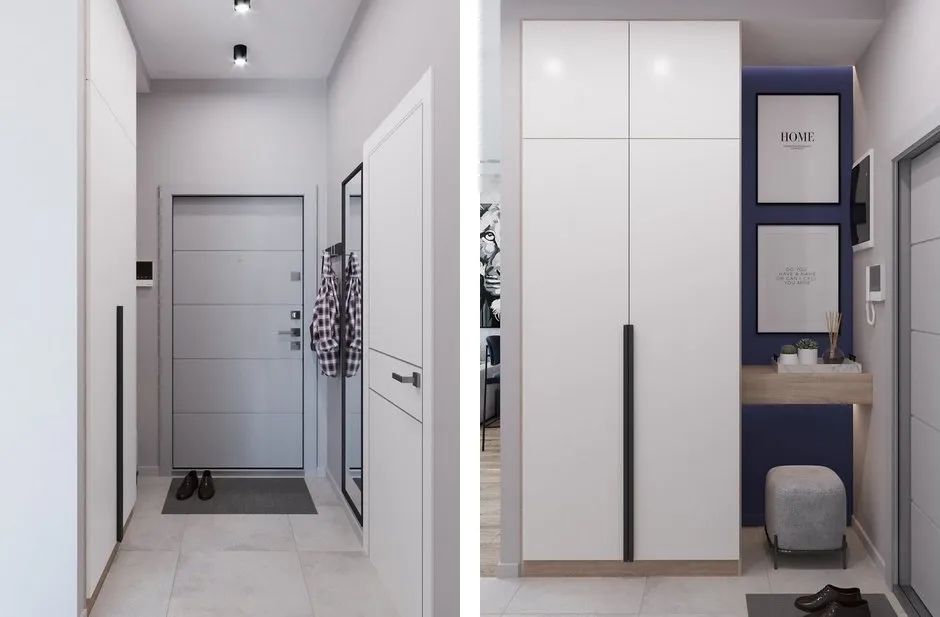 5 Most Convenient Mini Entryways from Projects
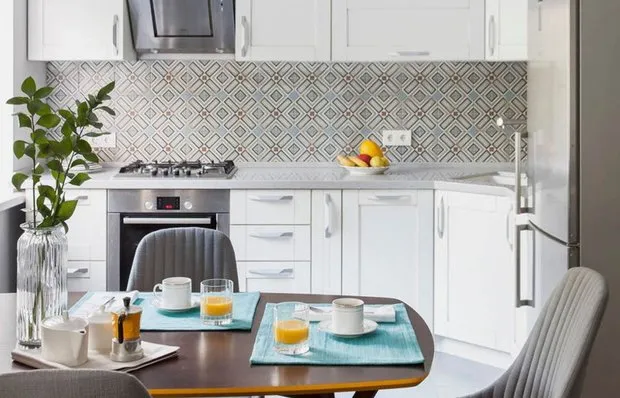 Top 5 Cool Interiors in Regular Khrushchyovkas
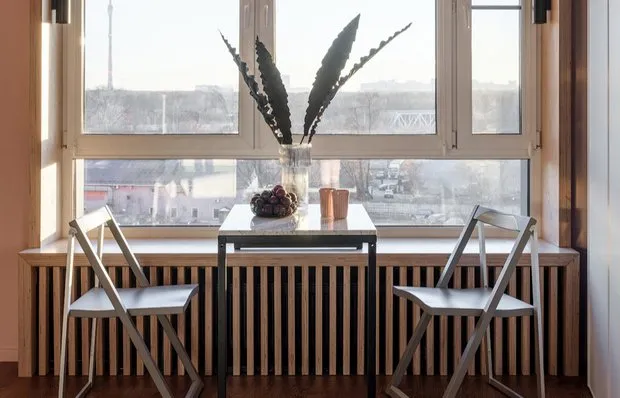 7 Cool Window Sills for Relaxing in Regular Apartment Projects
 IKEA Products in Classy Apartment Interiors
 Don't Do This: 6 Cleaning Mistakes Everyone Makes