Application of Decorative Plaster. Video
Choosing Decorative Plaster
Decorative plaster comes in various types:
- by purpose: for interior finishing, for exterior finishing, universal;
- by base: acrylic, silicone, silicate, mineral;
- by texture creation method: textured, structural;
- by grain size of filler (usually crushed stone, sometimes crushed from valuable stones; stone may be ground into powder, as in Venetian plaster with marble).
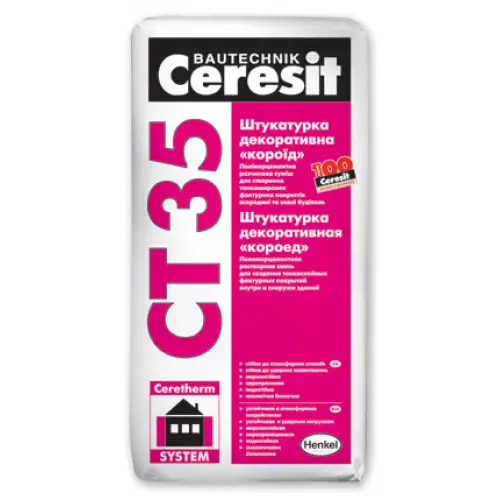
Photo 1 — Universal (for interior and exterior) decorative plaster Coroed Ceresit CT 35 (3.5 white, 25kg)
Preparing Walls for Finishing
For applying decorative plaster, walls must be flat, clean, dry, and have good absorbency. All dirt, stains, and residues (including old wallpaper, paint) must be removed, walls leveled, filled with putty, and cracks sealed. Some types of decorative plaster, especially those that will lie smoothly or have a subtle texture, require a perfectly flat surface.
Plasters used to create three-dimensional textures can hide minor wall imperfections. If only part of a wall will be covered or adjacent areas are already finished, apply painter’s tape along the edges of the work zone.
Priming
To improve adhesion, strength, and durability of the decorative plaster, the surface must be properly primed and allowed to dry thoroughly. Priming ensures even distribution of the plaster mix, prevents material waste, and extends the lifespan of the finish. As with plasters, many types of primers exist. Refer to the plaster’s instructions to choose the right one. The term "dry thoroughly" refers to drying time specified in the primer’s instructions. Minimum drying time is 6 hours; in most cases, it’s better to proceed to the next stage the following day.
Methods of Applying Plaster – Equipment and Tools
Mechanical application of decorative plaster is possible using a specialized station or plaster application unit. The machine includes a spray gun and adjustable nozzle for controlling the flow of plaster mix. The same decorative plaster can produce different results when applied by machine versus hand tools.
Mechanical application is recommended for large areas and textured plasters where manual texturing isn't needed.
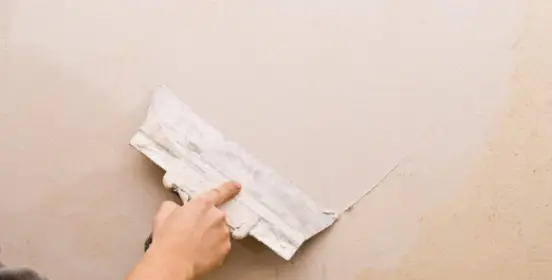
Most commonly, decorative plaster is applied by hand using tools such as rollers, brushes, trowels, floats, scrapers, or even improvised materials.
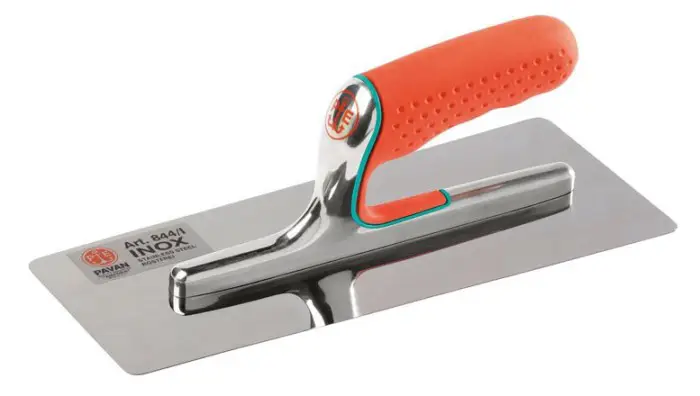
Photo 2 — Fully chrome-plated Venetian trowel ECCELSA PAVAN
Applying Decorative Plaster
The application process varies depending on the type of plaster. Always follow the manufacturer’s instructions. There are various techniques for applying decorative plasters. For example, pebble-textured plasters can be applied with a trowel using smoothing motions. Plasters containing granular filler require a float to be passed over the surface after spraying or troweling, creating patterns with cracks and grooves as grains shift in direction.
For modeling plasters, a base coat and a finishing layer are typically applied. For example, on a dry base coat, a lighter or darker tinted mix (as in imitation marble) is applied in strokes. The mix can be applied evenly with a trowel and then lightly textured using a smaller trowel.

Photo 3 — 3D pattern created using decorative plaster
Rolling over the applied plaster creates a unique pattern. For shaping, you can use folded fabric or a sponge. 3D patterns can be achieved using stencils and templates.
Sanding and Painting
White plaster can be painted in any desired color. Painting decorative plaster usually involves two layers: priming and painting. The plaster can be fully painted, then raised areas sanded down, followed by a second coat. Raised areas will appear lighter than the background, helping to imitate textures like tree bark. The relief can also be emphasized with gold or silver lacquer. Applying wax adds shine and provides additional protection.
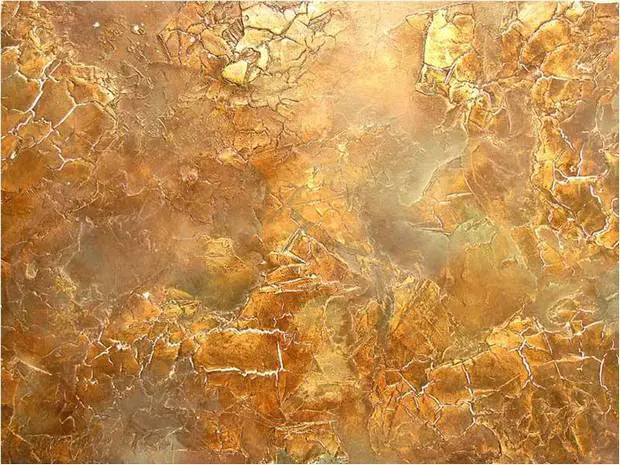
Photo 4 — Example of using white plaster
If you wish to perform this labor-intensive process yourself, watch tutorial videos on decorative plaster application or take a masterclass from experienced finishers.
Video: Applying Decorative Plaster
A professional plasterer can save you time and effort—just describe your desired result, and they’ll ensure it’s achieved with expert skill. As the saying goes, "any whim for your money." Professional application of decorative plaster, averaging from 650 RUB in Moscow and 150 UAH in Kyiv per square meter, saves time, energy, and stress.
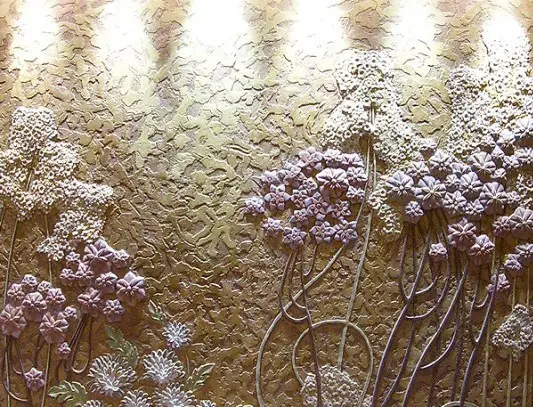
Photo 5 — Example of decorative plaster on walls
Plastering and Wall Puttying
Before applying decorative plaster, ensure that standard plastering and wall puttying are done correctly and serve as a solid base. As mentioned, walls should be as flat as possible. This is achieved by applying leveling plaster. The thickness of leveling plaster varies by type, with specific requirements for composition and thickness. The quality of plaster materials and application tools is regulated by GOST standards. Plaster must be applied according to Building Codes and Standards (SNiP).
According to SNiP, plastering is divided into three grades: standard, improved, and high-quality. Minimum thickness: 12 mm (standard), 15 mm (improved), 20 mm (high-quality). This thickness suits mineral or acrylic plaster on walls. However, experienced finishers note that wooden walls may require thicker plaster—up to 30–35 mm.
There is a special barium plaster used on ceilings and walls to shield against radiation. It is applied in 10–12 mm layers, with a maximum thickness of 90 mm depending on radiation levels.
Plastering depends on wall material, condition, indoor or outdoor location, and more. Therefore, to learn this craft independently, you need plastering training—wall plastering tutorials.