Plaster Mix: Composition and Application Features
Composition of plaster mix. Recipe for a construction 'potion'.
As we've already mentioned, the composition of plaster mix is quite simple:
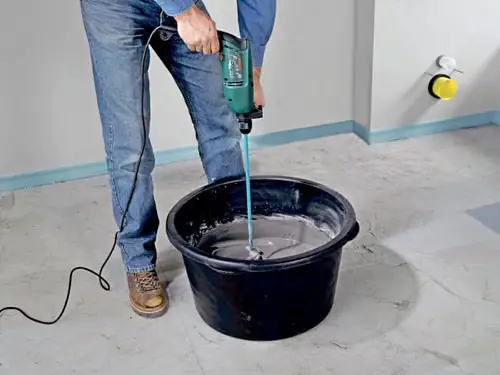
Photo 1 — Mixing plaster for rendering
Composition of Plaster Mix: The Recipe for a Construction 'Potion'
As we've already mentioned, the composition of plaster mix is quite simple: a binding agent and aggregates.
There are simple mixes and complex ones. However, you can either prepare the mix yourself or buy it ready-made.
Simple mixes:
- Clay-based
- Lime-based
- Cement-based
Complex mixes:
- Lime-clay
- Cement-lime
- Lime-gypsum
Attention! When mixing, it's crucial to maintain the correct proportions (ratio of aggregates to binding agent). An excess of aggregates results in insufficient strength, while too much binding agent makes the mix too fatty, prone to cracking and shrinking during hardening. Therefore, take this process seriously.
How to check the fatness of the mix? While stirring, observe if the mix sticks to the trowel. If it sticks slightly – you're on the right track. If it doesn’t stick at all – the mix is too lean (excess aggregates). If it sticks too much – it's too fatty (excess binding agent).
Plaster mixes are categorized not only by type but also by properties and purpose:
- By reinforcement: simple or reinforced (with added wool, felt, or felt-like materials).
- By color: gray or colored.
- By water resistance: permeable (cement or lime-based, without hydraulic additives) and impermeable (cement-based with liquid glass, hydrosil, or ceresit).
- By hardening conditions: hydraulic (hardens in air and water), air-hardening (lime-based, hardens only in air), and water-hardening (cement-based without lime addition).
- By consistency: thick (for heavy coats), semi-thick (for base coat), and liquid (for topping and splashing).
- By setting speed: fast-setting (with plaster of Paris or liquid glass) and slow-setting (lime-based).
- By composition: decorative, simple, or complex.
- By thermal properties: lightweight ('warm') mixes, where the bulk density of inert materials is less than that of water, and heavy ('cold') mixes, where it's equal or greater.
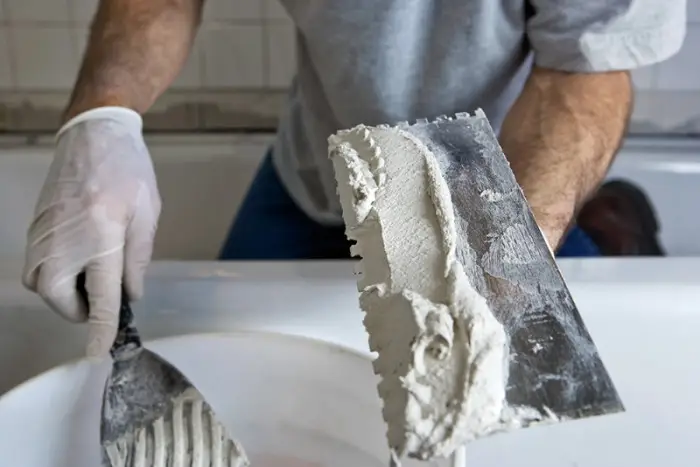
Photo 2 — Lime-based plaster for rendering
Before rendering, a neutralizing mix is often applied to walls. This mix extends the lifespan of rendered walls and prevents mold. It contains acid, so safety precautions are essential during application:
- Apply the neutralizing mix in well-ventilated areas.
- Workers must wear full protection: rubber overalls with long sleeves, respirator, goggles, rubber boots, and gloves.
- Keep unauthorized personnel, especially elderly people and children, away during application.
How to apply the neutralizing mix:
- Prepare the wall by removing old paint, wallpaper remnants, and dirt.
- Prepare the mix in a special container, following instructions.
- Apply to dry rendered walls using a sprayer or brush, and let dry.
- Rinse off reaction by-products with running water.
Keep in mind that the neutralizing mix does not form a film but penetrates into the wall. Therefore, light tints or streaks may appear on the surface.
Below, we explain how to prepare lime-based plaster.
Lime-Based Plaster for Rendering
Lime-based plaster adheres well to wooden and brick/masonry walls due to lime's dual role as a plasticizer and binder. Rendering with lime-based plaster is typically done indoors. The reason is its low water resistance and brittleness. On the other hand, old lime-based plaster is easily removed during future repairs, even by hand.
How to prepare lime-based plaster? Add water and a small amount of quartz sand to the 'paste', stir. Then gradually add more sand until the mix reaches the right consistency. Lime-based plaster hardens slowly; to speed up the process, you can add gypsum. Pour gypsum into water slowly, mix, then add the lime paste and stir until uniform.
Lime-based plaster for rendering is typically sold in 50 kg bags.
Advantages of lime-based plaster: ease of application, ecological safety, and natural antiseptic properties.
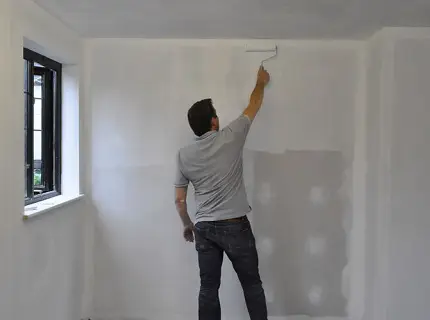
Photo 3 — Wall priming before rendering
Priming Before Rendering
Priming before rendering can prevent the final layer from peeling off. Therefore, the answer to 'Should you prime before rendering?' is a clear 'yes'. Due to rapid moisture absorption by the wall surface, rendering often doesn't bond properly, and priming helps here. While putty and rendering are similar, rendering has significantly lower adhesion, so proper wall preparation and priming prevent early peeling.
Priming comes in different types, each providing a different surface effect.
One mix protects against moisture, another has antiseptic properties. For example, Knauf Grundiermittel improves adhesion and controls moisture absorption. Priming before rendering ensures a more even layer of plaster.
If your home has different wall materials, buy several types of primer. Wall priming is a process that requires careful planning.
- Reinforcing primer is for loose (porous) or unstable surfaces.
- Deep-penetration primer suits asbestos-cement and newly rendered walls. Anti-corrosion primer is ideal for metal structures.
- Wooden surfaces and timber need antiseptic treatment.
- Surfaces with organic or inorganic stains require anti-stain primer.
Priming is essential if you plan to hang wallpaper after rendering. Special primers for decorative plaster create a barrier between the decorative layer and base (e.g., Ceresit CT 16).
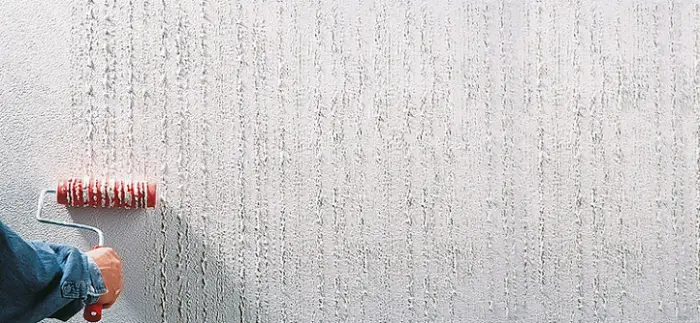
Photo 4 — Applying decorative plaster
Wall Preparation Before Rendering
Wall preparation for rendering includes thorough base preparation. Clean the wall surface from dirt, soot, oil, and other contaminants, level it, and lightly dampen with water before rendering. Leveling the wall at the preparation stage helps save material and avoid unnecessary layers later.
Surface prep for decorative plaster is similar to that for standard plaster. Remember: decorative plaster requires a special primer. If you're working with old gypsum plaster or gypsum board, treat with deep-penetration primer Tiefgrund TV. Surfaces with weak load-bearing capacity or high sand flaking should be treated with Acryl-Hidrosol.
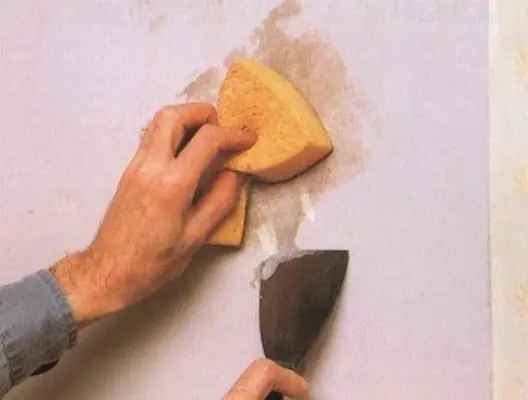
Photo 5 — Preparing wall for rendering
Composition of Plaster
Traditionally, plaster includes:
- Lime
- White glue (PVA)
- Water
- Cement
- Gypsum
- Clay
- Sand
By quality, plaster is classified as basic, improved, or high-grade. By performance, it can be waterproof, fire-resistant, water-repellent, insulating, and more.
The composition of decorative plaster varies depending on its characteristics. By binder type, decorative plasters are silicone, silicate, mineral, or polymer-based. They may also contain crushed stone, wood particles, mineral fragments, colored clays, etc.
Plaster mix composition depends on the main component – gypsum or cement. Gypsum-based mixes dry in 4–7 days, cement-based ones in 24–28 days. Besides gypsum, gypsum mixes contain mineral and polymer additives, as well as sand.
Composition of perlite plaster:
- CaSO4+1/2H2O (calcium sulfate hemihydrate),
- perlite,
- calcite,
- inhibitor,
- water retainer,
- air-entraining additive, etc.
Perlite plaster offers high thermal and acoustic insulation. It's used on ceilings, walls, brick, concrete, and gas concrete substrates.
Composition of barite plaster:
- Cement
- Ground barite
- Polymer additives
If you want to protect your home from radiation, this plaster is suitable. However, experts recommend additional finishing with environmentally safe building materials, as barite is quite toxic.
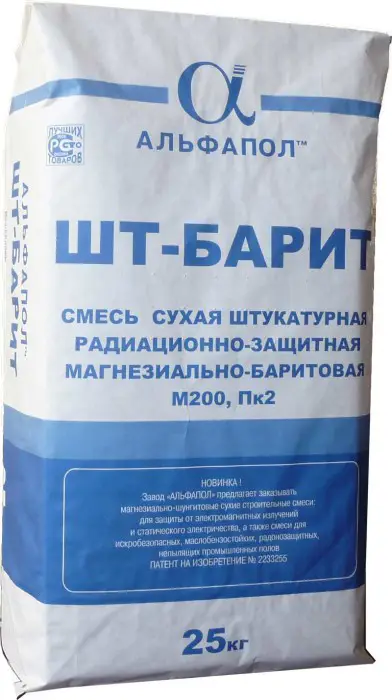
Photo 6 — Barite plaster