How to Demolish Walls Yourself: Step-by-Step Guide
It's better to build than to tear down, people say. However, demolition work costs almost as much as construction. Want to save money? Take it on yourself.
Remember what the character played by Gary Oldman said in the movie 'The Fifth Element': 'If you want a job done well, do it yourself.' Is it really possible to demolish walls by yourself? Our expert Andrei Lyamin-Borodin thinks so.
Andrei Lyamin-Borodin is a general director of Rewedo, an online service for booking renovations. 1. Get Permission for Relocation
If demolition involves any manipulation with internal walls and partitions — creating or sealing openings, partial or full dismantling — before starting the work, make sure that the relocation does not require prior approval from the housing inspection. It is not required in cases when creating openings or even full demolition concerns non-load-bearing walls.
Then the relocation is registered after the work has been completed. Exceptions are houses with wooden floors and buildings of historical monument status — in this case, the housing inspection will request a technical conclusion about the condition of the building's structure and safety of the planned works. Of course, this must be prepared before starting the work.
If interventions in load-bearing walls are planned, permission can only be obtained after submitting a relocation project. In this case, approval is possible only for opening an aperture, not full demolition of a load-bearing wall.
Load-bearing walls in BTI plans are usually thicker than non-load-bearing ones. But not always. Therefore, measure the wall thickness yourself. In most panel buildings, non-load-bearing walls are no more than 120 millimeters thick, in brick ones — no more than 250, and in monolithic ones — no more than 200. However, you shouldn't rely solely on wall thickness.
First of all, there is a significant degree of error due to finishing layers. Secondly, measuring the thickness of some walls can be quite difficult. Search for information about wall types online using the building series (indicated in the apartment's technical passport), or get consultation from the housing inspection.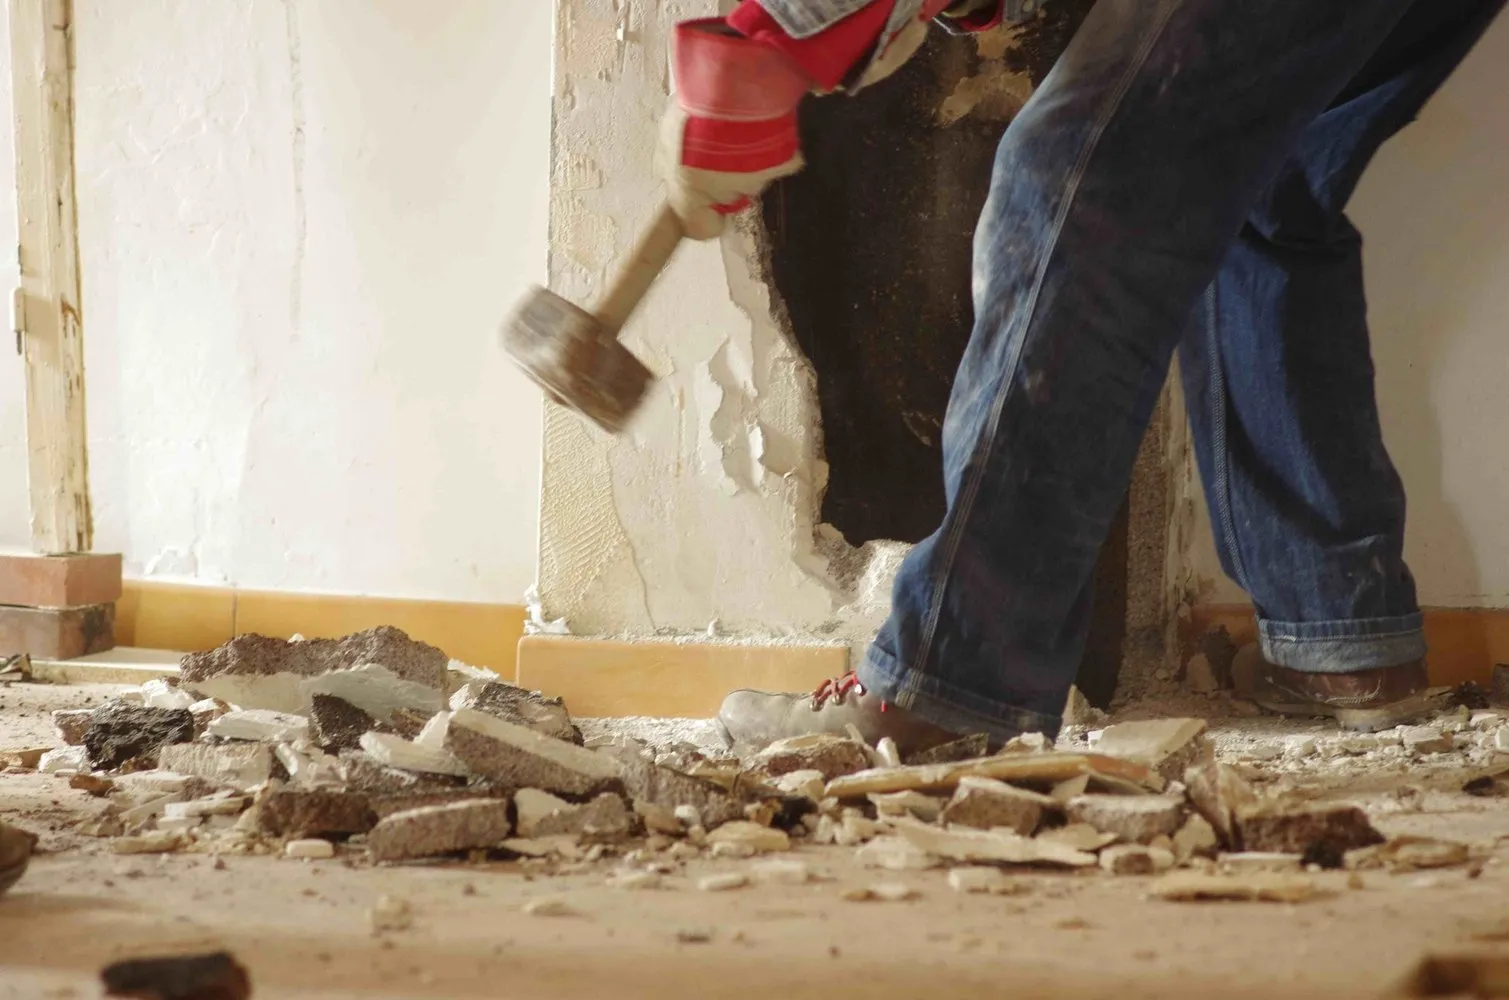 2. Determine Your Resources
Permission, if necessary, is obtained. Now to the task. Demolition requires tools. The cost of these tools will affect the economic sense of the entire plan. If you are a practical person but your kit is incomplete, launch crowdsourcing: ask for help from friends, neighbors, relatives. This is the optimal option.
Otherwise — purchase (possibly on the secondary market) or rent. At least you will incur expenses for protective equipment: masks, respirators, safety glasses, gloves, plastic sheeting for window covering, and garbage bags (a lot will be needed!). Don't forget about safety equipment — always use closed shoes.
Depending on the situation, you may need: a spatula, a breaker hammer, a sledgehammer, chisels, a nail puller, a crowbar, a perforator, a angle grinder, and also a shovel and construction vacuum cleaner for cleaning up debris. Do not try to clean construction dust with a regular household vacuum — you will damage the device and get no result. 3. Prepare the Work Front
For safety reasons, the apartment must be de-energized during demolition. Power electro-tools like a perforator from the panel, running time. Demolition work is done from top to bottom — starting with the ceiling and ending with the floor. If your plan includes only cosmetic renovation, then finish materials that need to be replaced are removed.
In capital repair, sockets and switches, windows and doors, built-in wardrobes and lofts, screed go into the trash. Old wiring must be carefully freed and temporarily left in place. As a result, you should end up with bare walls and ceilings without plaster and bare floor slabs. Usually, the old toilet remains during the repair — it's important not to break it during demolition.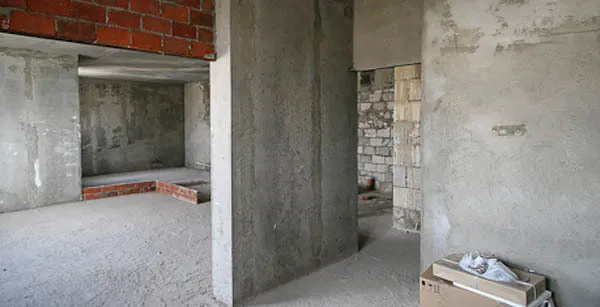 4. Start the Work!
Brick wall dismantling begins from the top at the ceiling junction using a hammer and chisel or a perforator, while walls made of foam blocks are dismantled with a hammer and perforator. Partitions made of gypsum board or gypsumlite are the easiest to demolish, requiring only a hammer for destruction.
What lies under the finish floor depends on the building, its series, and year of construction. Wooden joists are examined — in some cases, they can be left without replacement. However, sand or construction waste between them must be removed. Dismantling cement-sand screed is done by impact method using a powerful perforator.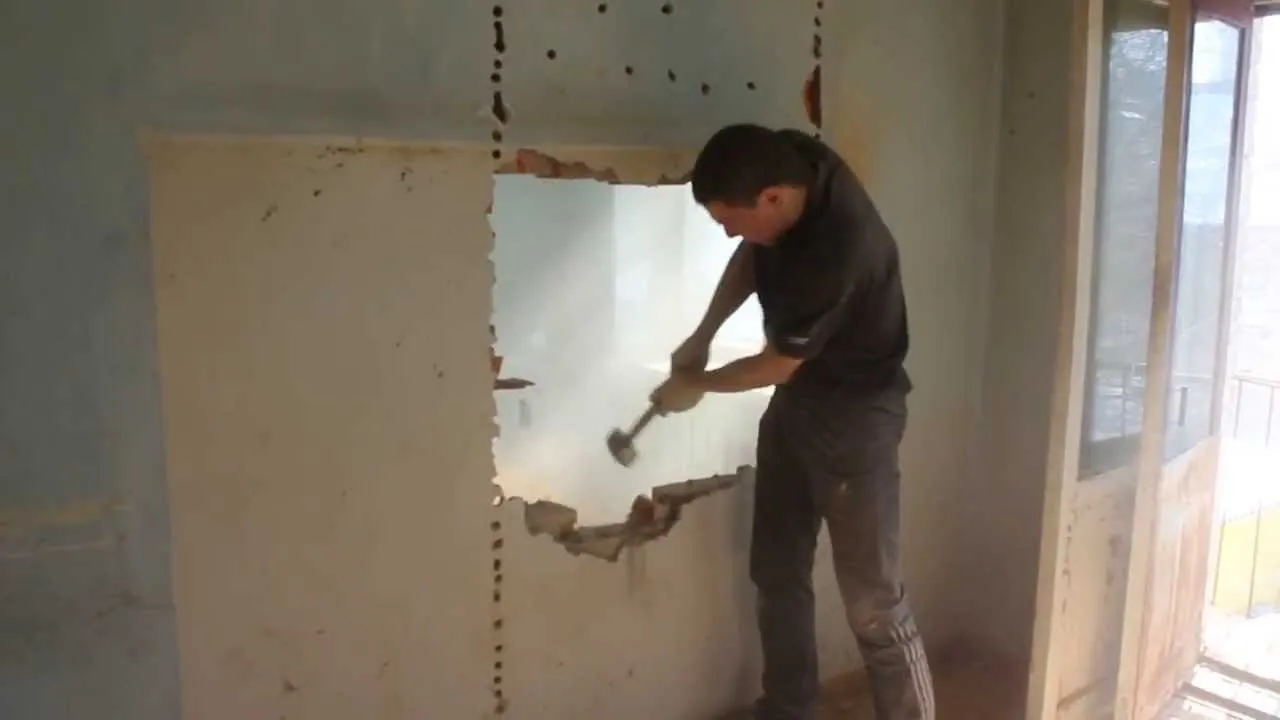 Be careful: electrical wiring of the apartment below may run under the floor. Handle it carefully. You cannot pour new screed over old one — this increases load on the slabs, and in addition, poured on a substandard surface, it will not be durable.
Now you can proceed to creating new apertures. For light non-load-bearing walls, a perforator or angle grinder will be needed. In load-bearing walls (as well as in non-load-bearing concrete), apertures are made with diamond cutting, which prevents cracking — and this work definitely requires hiring professionals.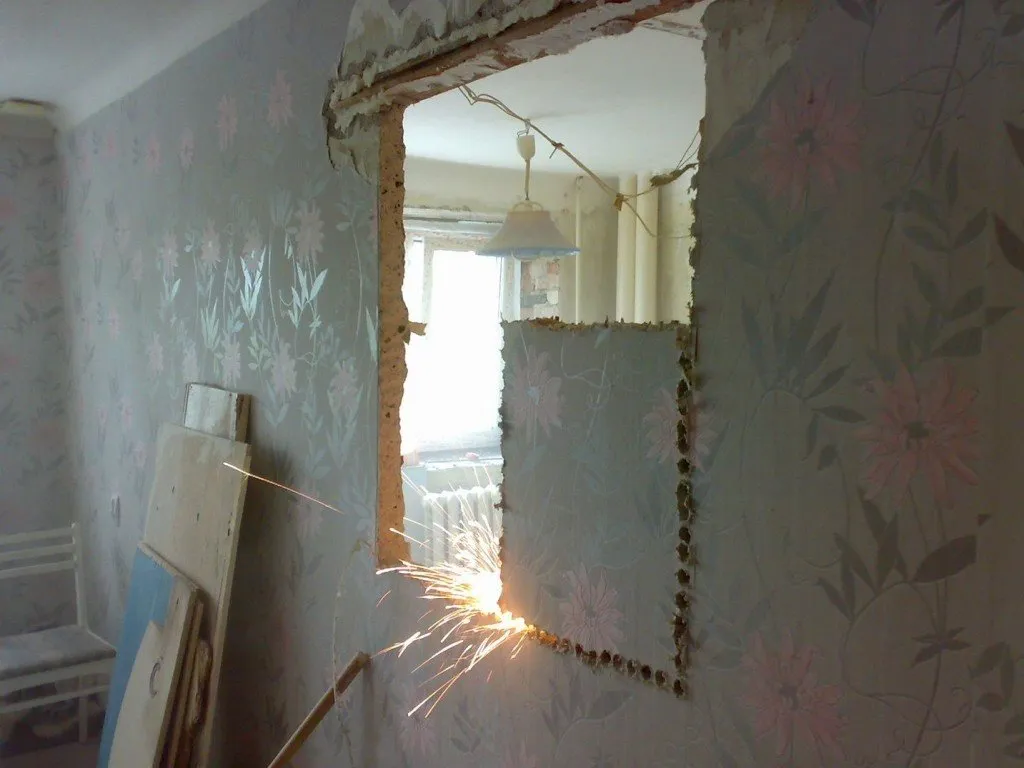 5. Now Put It in the Bag!
Collecting waste into bags happens simultaneously with work. Waste bins in the yard are for household waste, and construction waste cannot be taken there. You will have to order a container — depending on the volume, one to ten containers or more may be needed. After all work is completed, the space must be vacuumed.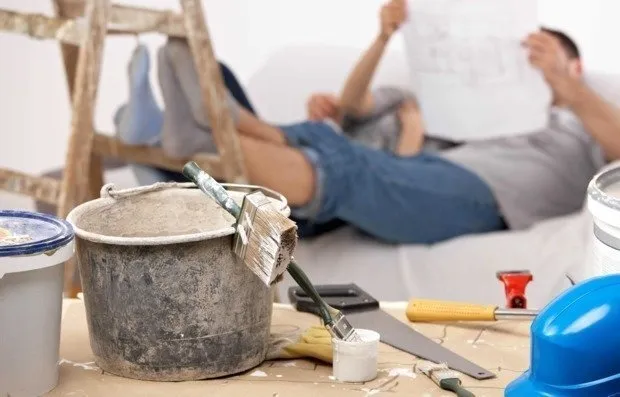
You might find this interesting:
- How to Do a Renovation Without Leaving Home: 6 Tips from Designers
- How to Move a Door Opening in a Load-Bearing Wall: Architect's Tips
- How to Do Relocation: Rules and Regulations
Need a renovation specialist?
Find verified professionals for any repair or construction job. Post your request and get offers from local experts.
You may also like
More articles:
 Guide: 10 Most Read Posts of April
 10 Useful Posts for Dacha and Country Home Owners
 How to Create a Stylish Interior Without a Designer
 Secrets of Interior Photography: How Decoration Transforms Spaces
 How to Quickly Do Bathroom Renovation: Tips from Professionals
 How to Decorate an Open Balcony: 12 Current Ideas
 How to Protect Your Apartment from the Sun: 8 Examples
 Editor's Choice: 8 Items from Eichholtz