Installation of Wardrobe Doors by Yourself
Installation of doors with the Versailles system (video)
Photo 2 — Mechanism of Sliding Doors
Installation of Wardrobe Doors by Yourself
When such an event is conducted for the first time, it makes sense to invite a measurer from the company where the wardrobe door is purchased. This will be useful to understand how the straightness of the door opening, wall perpendicularity, minimum and maximum wall thickness, including the corners of the opening are determined.
The installation scheme of wardrobe doors from any manufacturer will always indicate the need for a flat surface (this affects the tightness of the door fit), and only when the installation site is ready can the next operations begin:
Installation of doors with the Versailles system (video)
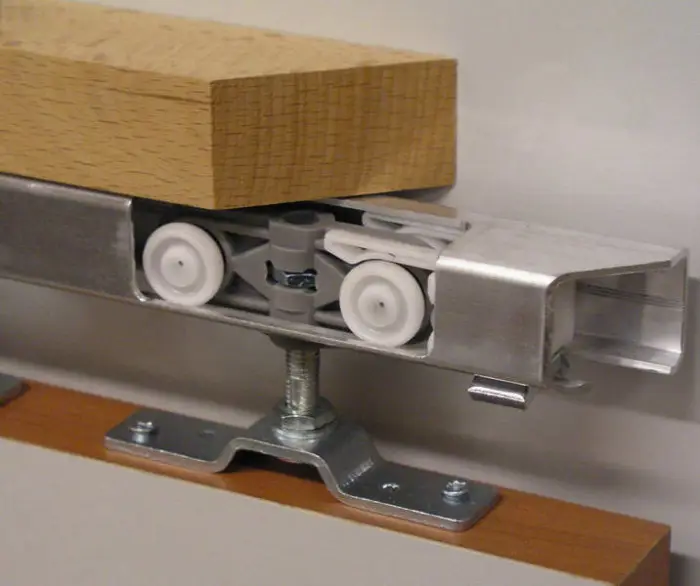
Photo 2 — Mechanism of Sliding Doors
Installation of Wardrobe Doors by Yourself
When such an event is conducted for the first time, it makes sense to invite a measurer from the company where the wardrobe door is purchased. This will be useful to understand how the straightness of the door opening, wall perpendicularity, minimum and maximum wall thickness, including the corners of the opening are determined.
The installation scheme of wardrobe doors from any manufacturer will always indicate the need for a flat surface (this affects the tightness of the door fit), and only when the installation site is ready can the next operations begin:
Installation of the bottom guide rail: usually, this guide rail is twice as long as the width of the door opening (this is the length of the free travel of the door), and at one end, the guide rail is longer than the door opening by about 5-7 cm; installing the guide rail according to the instructions should not cause difficulties;
Finding the place for the top guide rail: to determine everything for the top guide rail, you need to mount the rollers on the door and place it on the bottom guide rail; the extreme positions of the door will indicate its position at the top;
Installation of the top guide rail: first, the bottom guide rail needs to be secured to a batten (usually its dimensions are 40 mm x 40 mm); the batten with the top guide rail is secured using dowels and screws according to pre-marked points
Installation of stops: stops are placed on the top guide rail from both sides, they are necessary to fix the door in the chosen position;
Installation of the door: the door panel is first inserted from the side of the top guide rail, then the door needs to be lifted, and only then the door rollers are placed on the bottom guide rail; thus, both upper and lower rollers should be on the rails;
Installation of decorative panels: the bottom part of the door does not require any finishing, while the top part — the guide rail — is closed by a panel secured with screws; screw heads are hidden under decorative buttons.
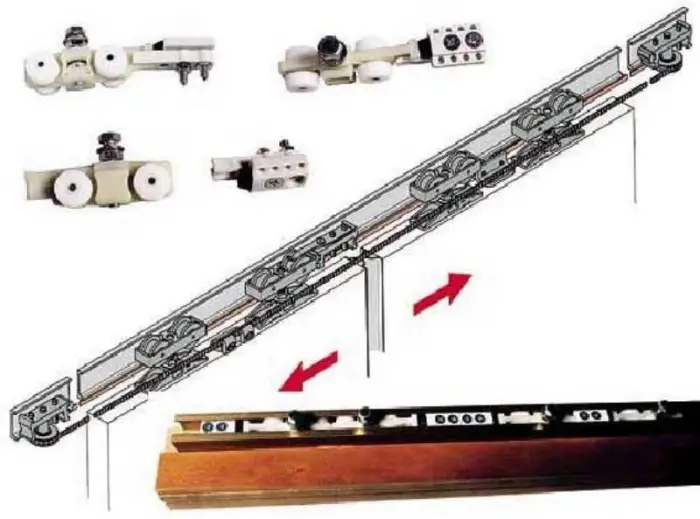
Photo 3 — Mechanism of Hanging Doors
After that, it is only necessary to check the door movement, the operation of the fixator, and whether the door panel fits tightly against the wall. Upon completion, you can determine how possible or impossible it is to install interior wardrobe doors by yourself. It will be very useful to familiarize oneself with how the installation of wardrobe doors is done — video reports and manuals from a specific manufacturer. Such materials can be distributed quite officially, both by the manufacturer and by dealers.
Wardrobe door models are almost custom-made products, as the number of well-known brands on the market is quite limited — RAUMPLUS, HUGA, PRESTIGE, COMMANDOR and some others.
Installation of Sliding Doors: Video Guide and Reality
A somewhat different and simpler approach than with wardrobe doors is the installation of sliding doors. Installation of sliding interior doors can be done exclusively using the top guide rail. In this case, installation of sliding doors is the simplest: only one guide rail needs to be installed using standard doors.
In general, the installation process of sliding doors can vary — not only when doors move along the wall but also when doors are built into the wall; however, such an installation scheme is very labor-intensive and, most likely, it will be difficult to implement it by yourself.
Self-Installation of Sliding Doors
Self-installation of doors from the outside of walls begins with determining the main dimensions: distance from the door opening and the bottom edge of the distance strip (usually 60 mm), dimensions of the door opening and door panels.
Sometimes, the distance strip and battens are replaced by one batten (approximately 50 mm x 50 mm), to which the bottom rail is then secured.
This method of securing sliding doors requires the guide batten to be placed precisely horizontally and to fit tightly against the wall, regardless of how flat the wall is. But even in this simplified case, it is necessary to ensure that there is sufficient space between the door panel and the wall for the free movement of the door. After that, the guide rail can be secured to the installed batten.
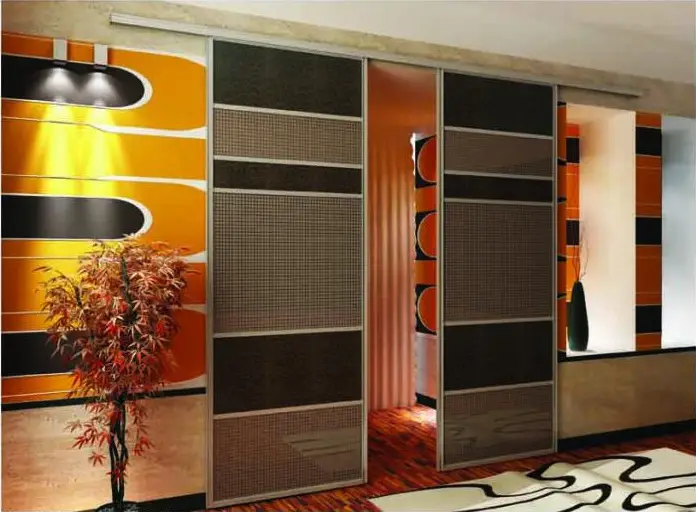
Photo 4 — Sliding Doors
On the secured rails, the carriages need to be assembled and tested for movement along the full length of the rails.
After mounting the carriages with rollers on the rails, the travel limiters need to be installed — rubber dampers should be placed inside. The instruction of each manufacturer may slightly differ in details, but the installation sequence is always the same.
The next step is to install the door panel attachments on the carriages with rollers. Initially, the door panel secured on the carriages does not need to be fixed: it is necessary to ensure that the door panel will move smoothly along the full length of the rails up to the travel limiter. Usually, in any factory construction, there are adjustment bolts that, together with the attachments, allow for final fine-tuning of the door panel position within the entire structure.
The final steps of installation include handles for sliding doors and a decorative threshold on the top part. The threshold, as a rule, should be hinged to provide access to the carriage mechanisms and rollers.
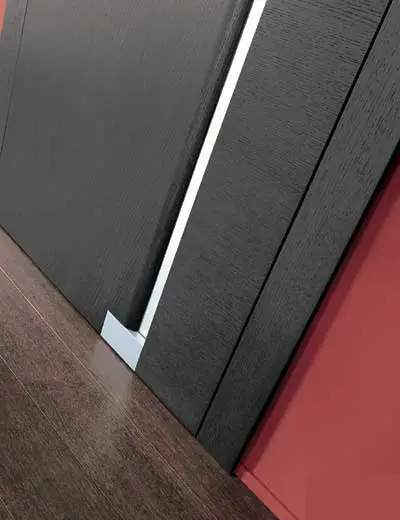
Photo 5 — Threshold on Wardrobe Door
The cost of performing such an installation depends not only on the doors but also on what preparatory measures are needed in a specific case. However, installation cost will always include the installation of the door frame, as the installation of sliding doors (video from any source mentions this) implies preliminary site preparation.
“Installation of sliding doors by yourself” video and other online publications have become a kind of section in the “Do It Yourself” series, where almost all manufacturers of such door systems are presented. Therefore, when searching for the necessary manual, it is necessary to more precisely formulate search queries, mentioning the brand or model of the doors.
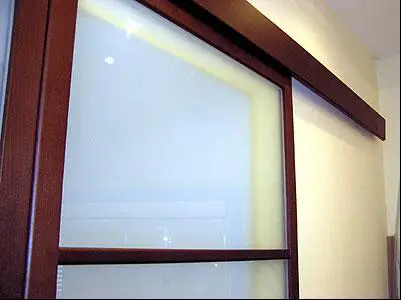
Photo 6 — Note that there is enough space for the door on the side
Self-Installation of the "Folding Door"
Installation of “folding” doors is quite within the reach of any home handyman who has a standard set of tools: saw, drill, screwdrivers, tape measure, etc.
A detailed illustrated installation scheme of the “folding” door comes with the door — work should begin with carefully studying it.
In general, the installation of a “folding” door is less labor-intensive than installing a normal hinged door. Moreover, in some cases, “folding” doors are more economical than interior doors not only in terms of space but also in terms of resources.
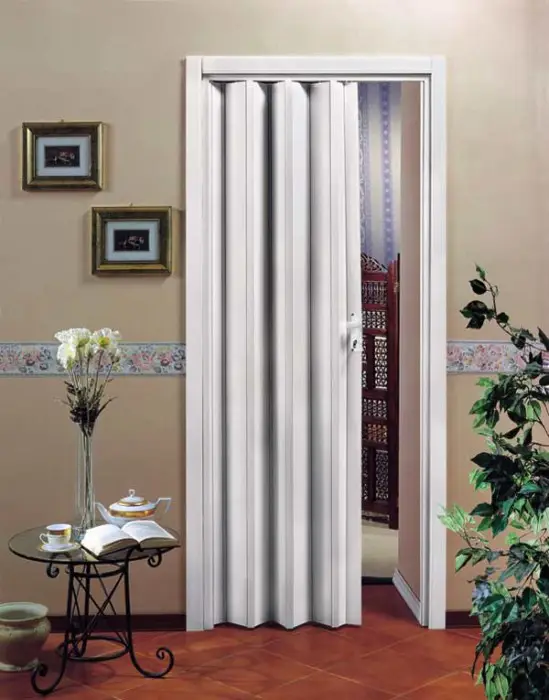
Photo 7 — Folding Door
First of all, it is necessary to take measurements of the door opening; if the dimensions are far from standard, it is necessary to find out how many panels should be in this case. Then, the length of the door panels needs to be adjusted, which should be slightly (approximately 4 cm) shorter — taking into account the necessary clearances on the sides and the rail. The length of the rail itself also depends on the width of the door opening. After that, the axes for the rollers at the top and bottom are installed and the door panel is assembled.
Important! The specific design features of each door may require additional manipulations and preparation to get a more complete understanding of how the “folding” door installation is done correctly, and video reports from “experienced” individuals — these are inexhaustible sources of tips and tricks that should not be ignored.
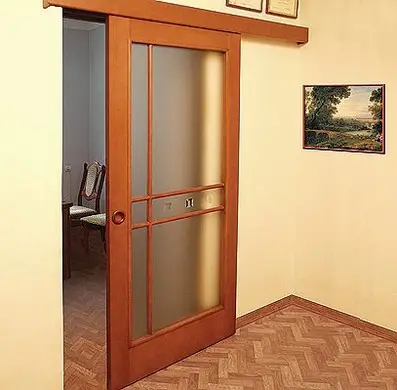
Photo 8 — Door Designs Are Very Diverse
The alternative sliding doors considered above cannot fully replace reliable and durable doors — because sliding doors, as a rule, are not expected to have such “protective” functions. However, in places where there is a need for a tight partition between rooms and space is limited, sliding door options are simply irreplaceable.
Cost
If speaking about the possible cost of such doors and the price that companies charge for installation, it is difficult to speak precisely about the cost due to the specificity of the market. For example, here is the price and installation cost in Moscow and Kiev:
- door prices from (RUR/UAH) 2000/1000
- installation from (RUR/UAH) 2000/400