Stylish, Long-lasting, and Budget-Friendly: How Our Heroine Designed a Euro-Studio for Her Family
Maximized the layout and thoughtfully planned lighting
Our heroine Elizaveta is an architect by profession. At the time of renovation, which took place 11 years ago, she was just starting to work on interior design and decided to decorate her apartment herself. The budget was limited, so the couple tried to do it with simple means, but they managed to maximize the layout: every centimeter was used wisely.
The apartment was originally designed for two people — Elizaveta and her husband. Over time, many things have changed: a child and a dog were added to the family, and work is now done at home instead of in offices. The apartment's interior gradually updates, and recently the couple improved the lighting to make the atmosphere even more comfortable.
Elizaveta shared how she created a cozy and functional space without exceeding the budget through thoughtful solutions.
 On Layout and Renovation
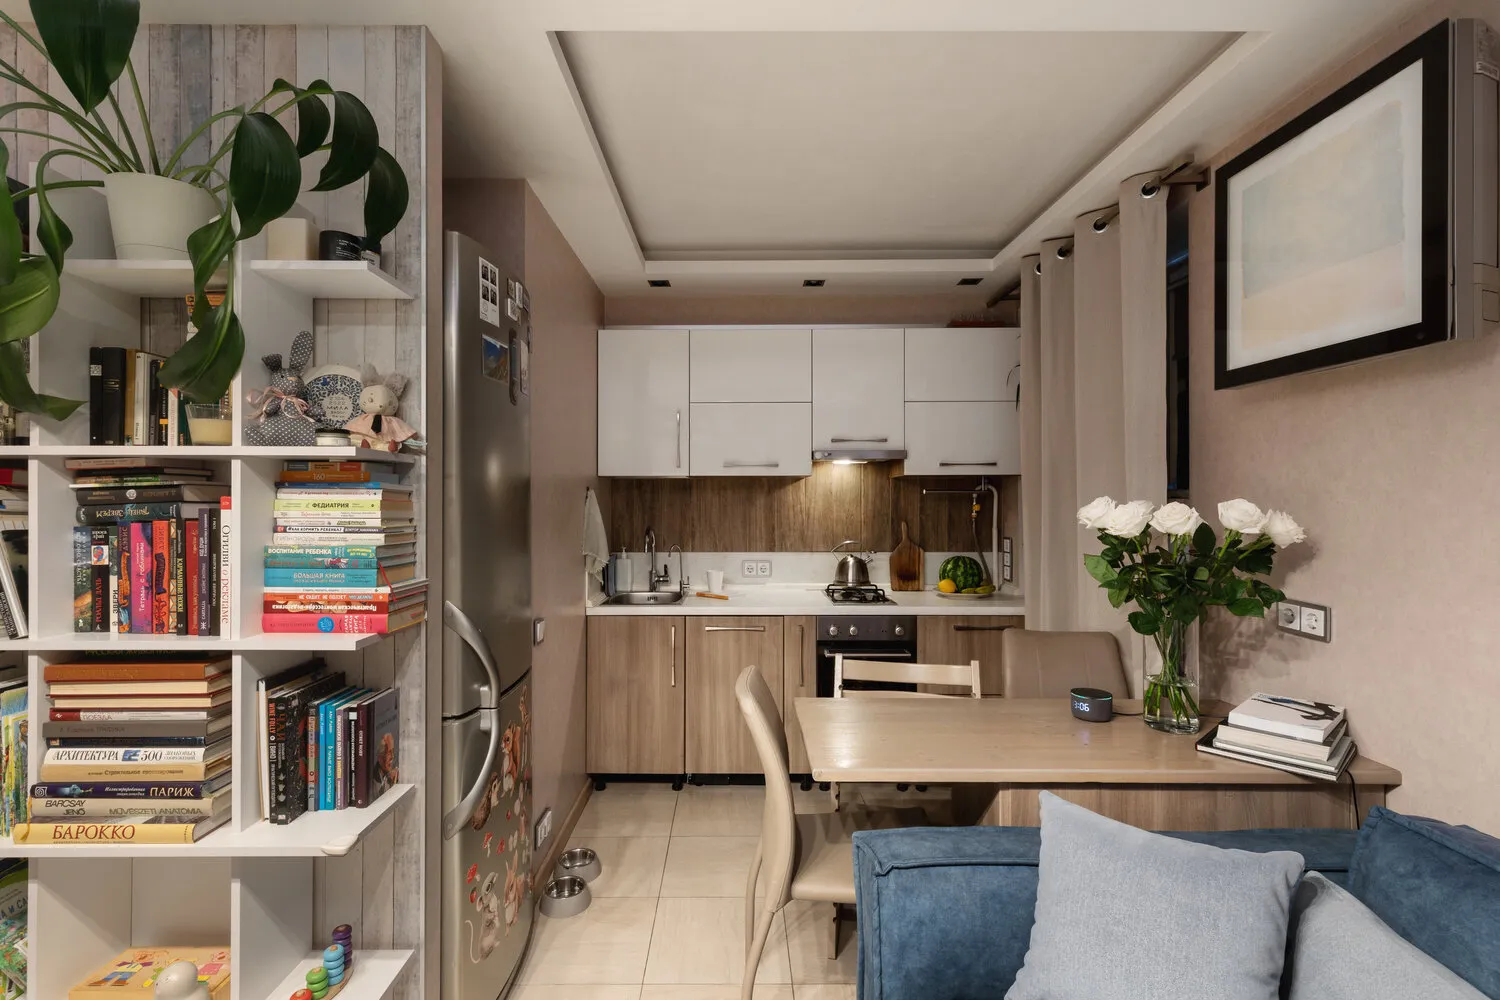
At the time of purchase, the apartment looked quite typical: a small kitchen, two rooms — one of them was even tiny at just 7 square meters, and a small hallway. To make the space more convenient, some partitions were removed and the kitchen was combined with the living room. Built-in niches for appliances were added to keep everything neat and tidy. With a new plan, the apartment now has a spacious kitchen-living room, bedroom, hallway, and bathroom. A space for the washing machine and storage was created in front of the bathroom.
We wanted to implement different lighting scenarios so that each room had not only general light but also evening ambient lighting. For this, niches for LED strips were made in the rooms.
The renovation did not go without adventures. We had to change several teams, and one of them even caused a flood when the renovation was almost complete. Fortunately, the parquet hadn't been laid yet, and this saved us. But now looking back, I realize that renovations without any issues are rare. I remember all these mishaps with a smile because in the end, everything turned out great and cozy.
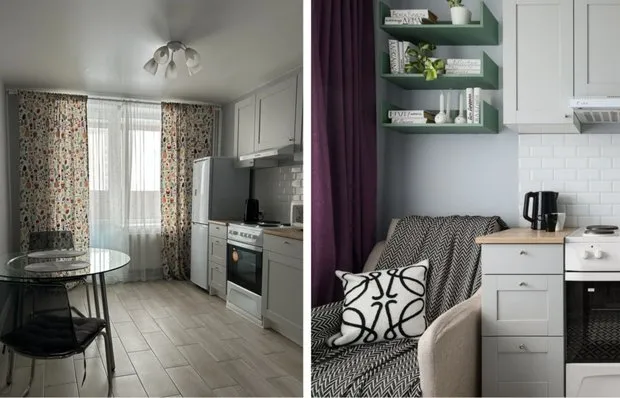
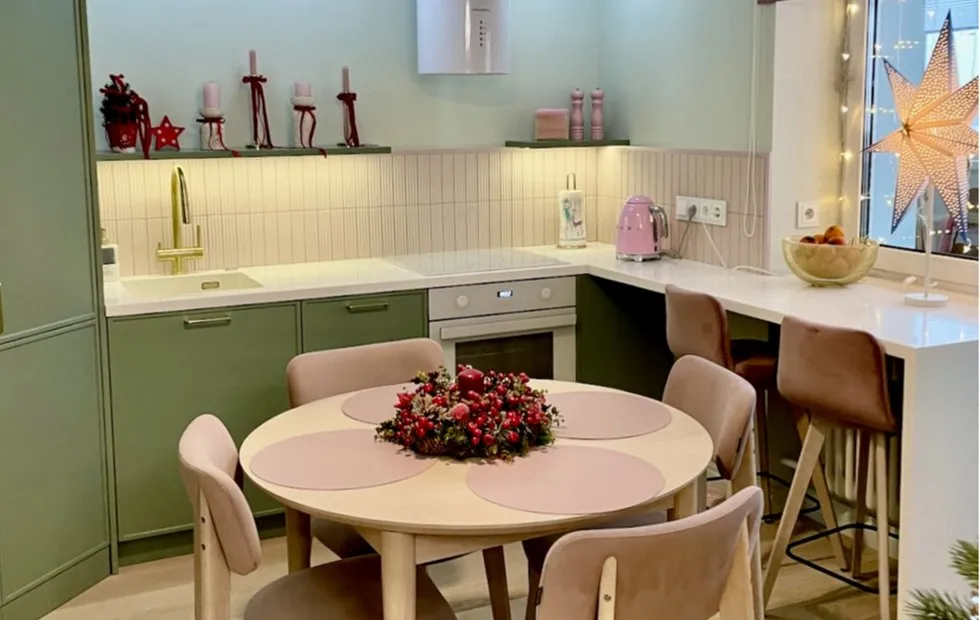
On Kitchen-Living Room
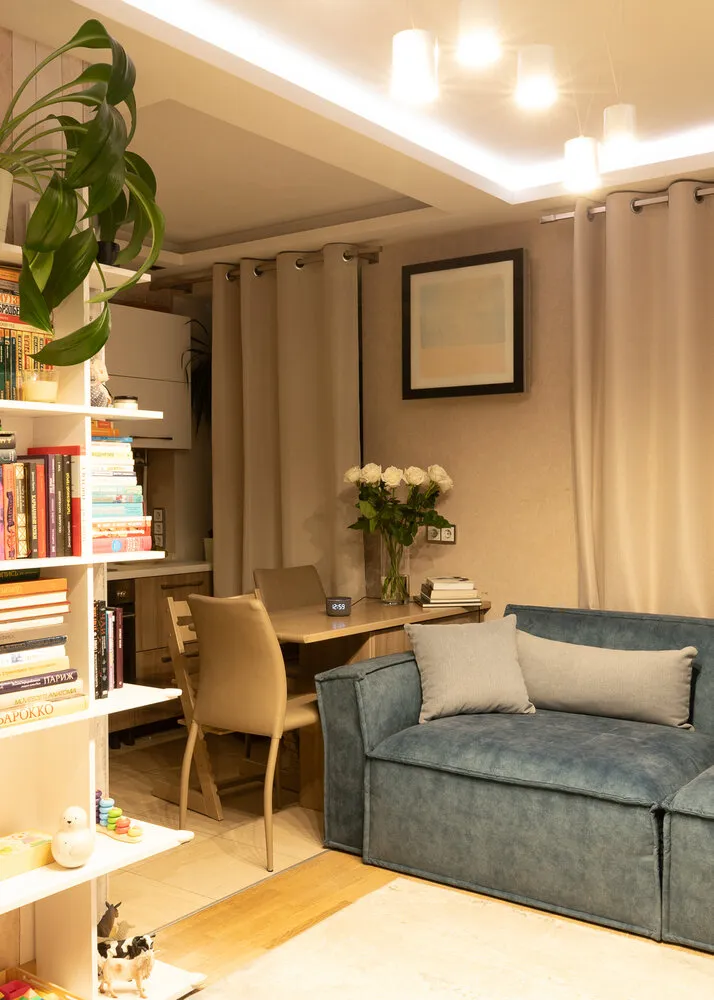
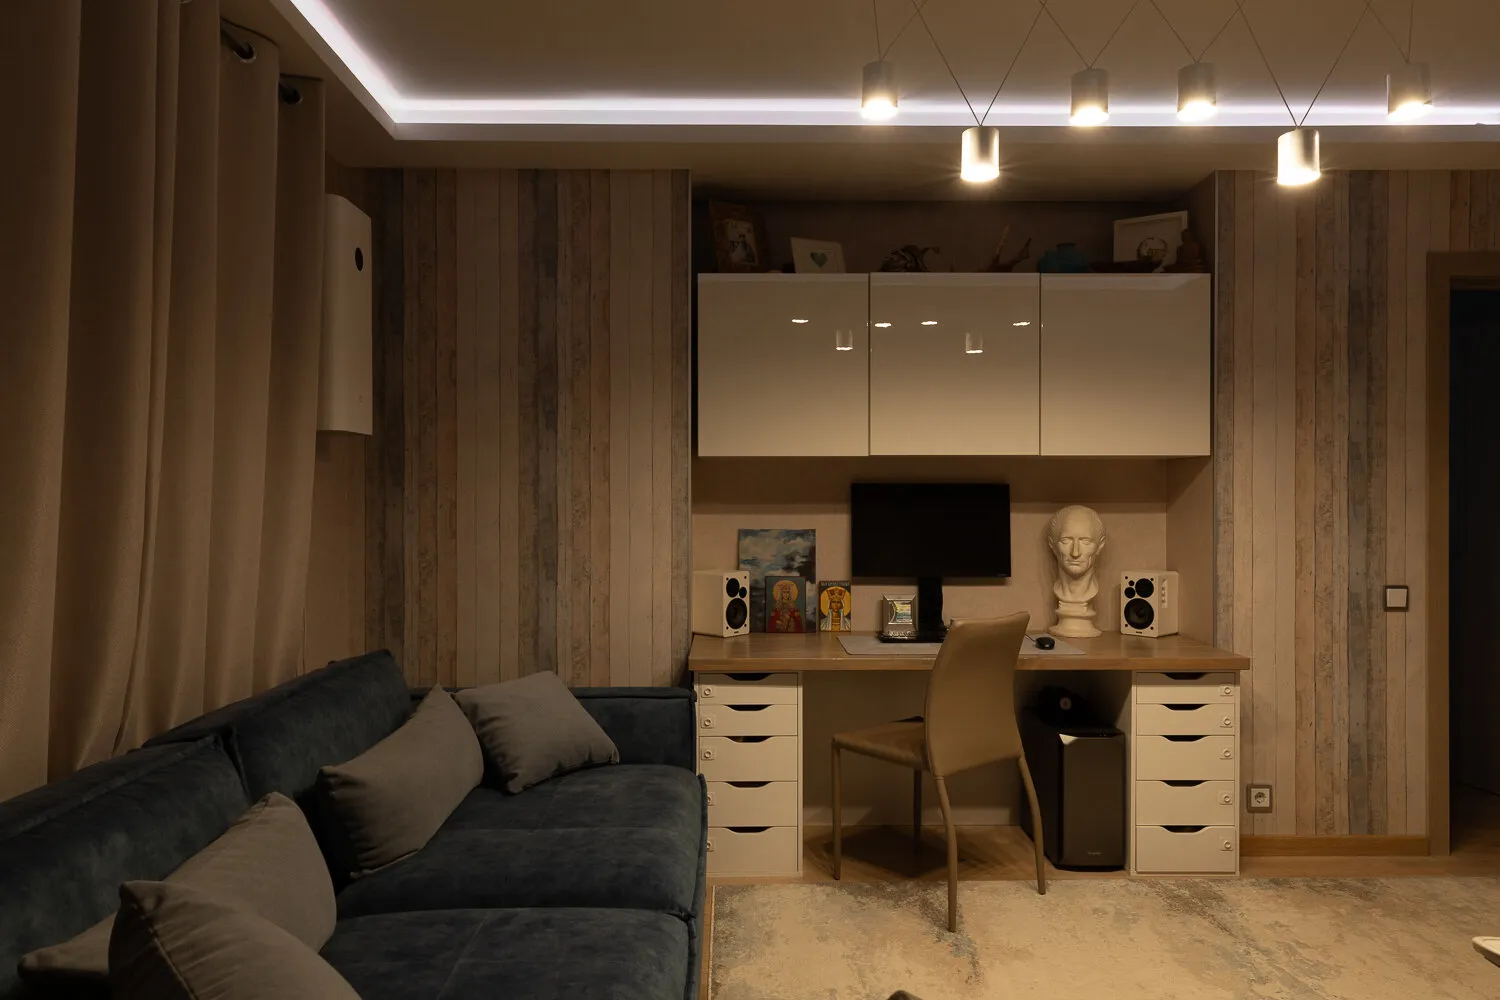
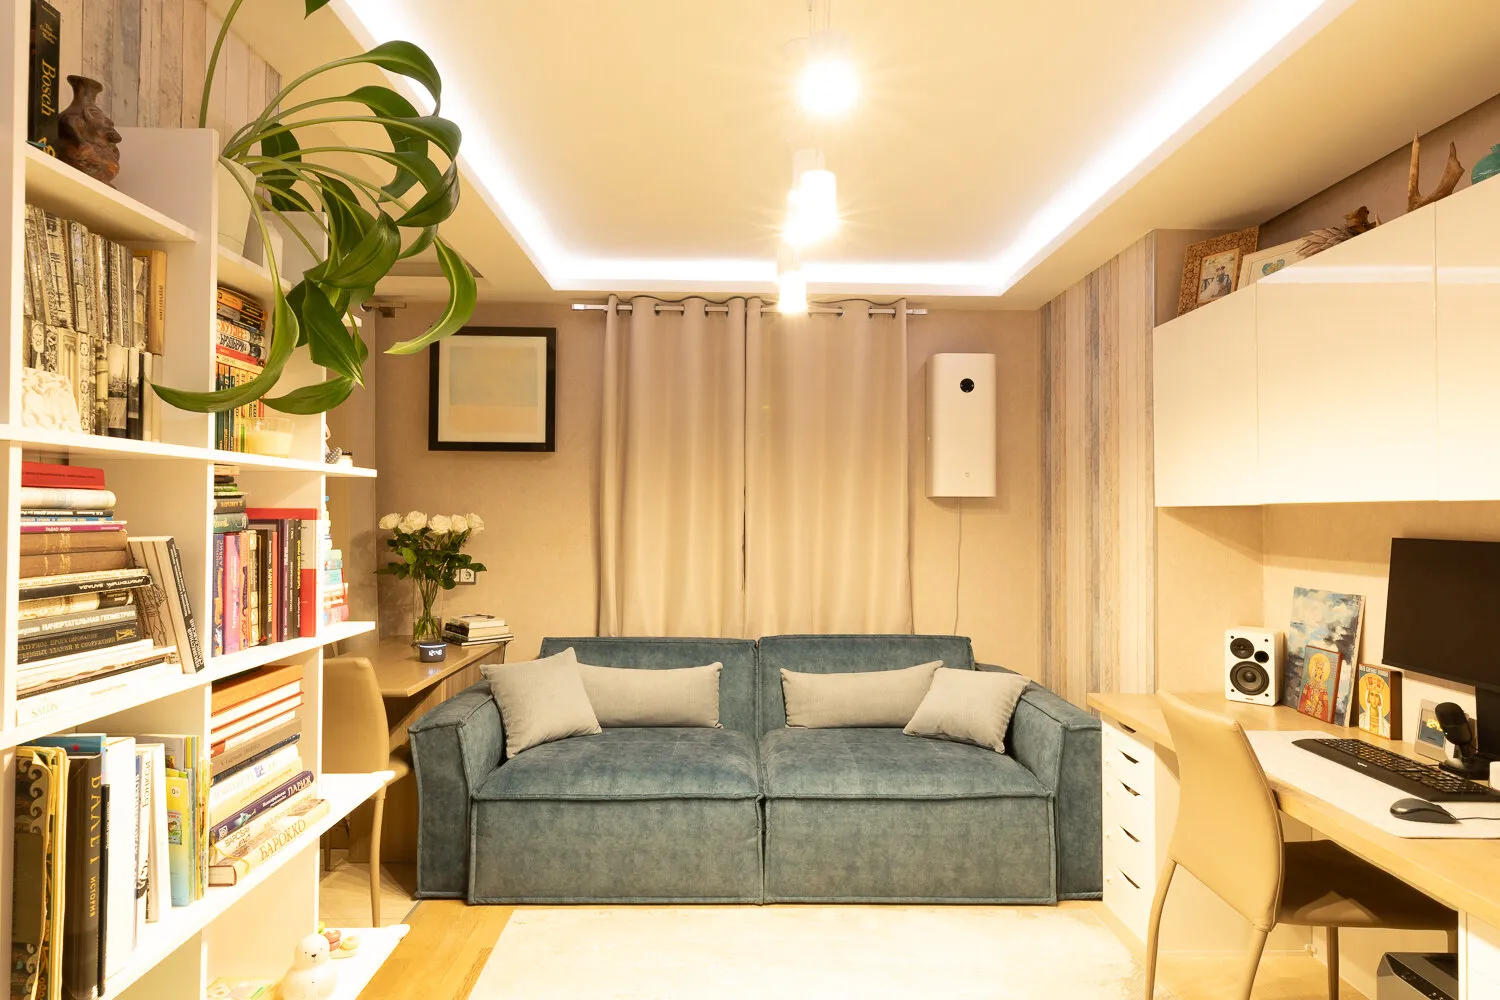
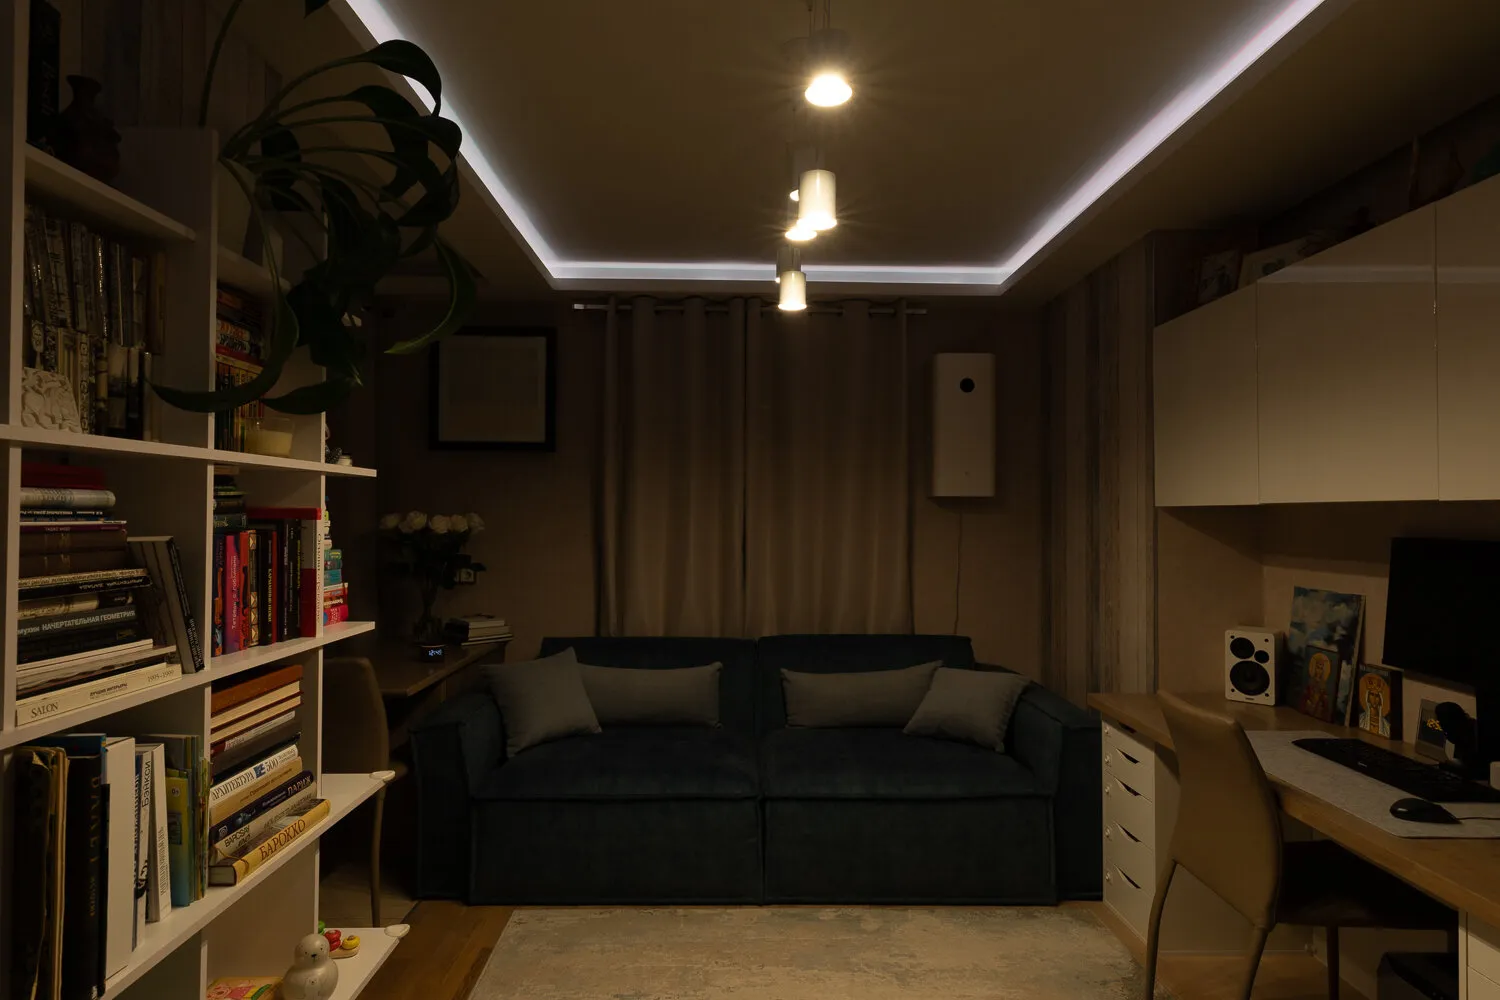
In this room, we wanted to create a cozy and light atmosphere, so natural textures were added: wooden window sills and kitchen cabinets in wood style. The walls have wallpaper with an aged board effect, but now I think solid color options would look better. A niche was built for a workspace and storage. Initially, there was a TV stand here, but we decided to get rid of the TV and create a full workspace corner. The niche was designed so that it wouldn't take up space in the living room, otherwise a table could only be placed in an inconvenient spot.
Of course, the interior changes with us and adapts to our needs. For example, we replaced the sofa with a more comfortable one with memory foam. The kitchen originally had a high counter, but after the child was born, it had to be lowered for convenience.
We wanted to adapt not only the furniture but also the lighting. It turned out that smart devices from Yandex can be added to a home at any time, not only during the renovation phase. Recently we installed smart bulbs and sensors that are controlled by voice through Yandex Station or the Smart Home with Alice app.
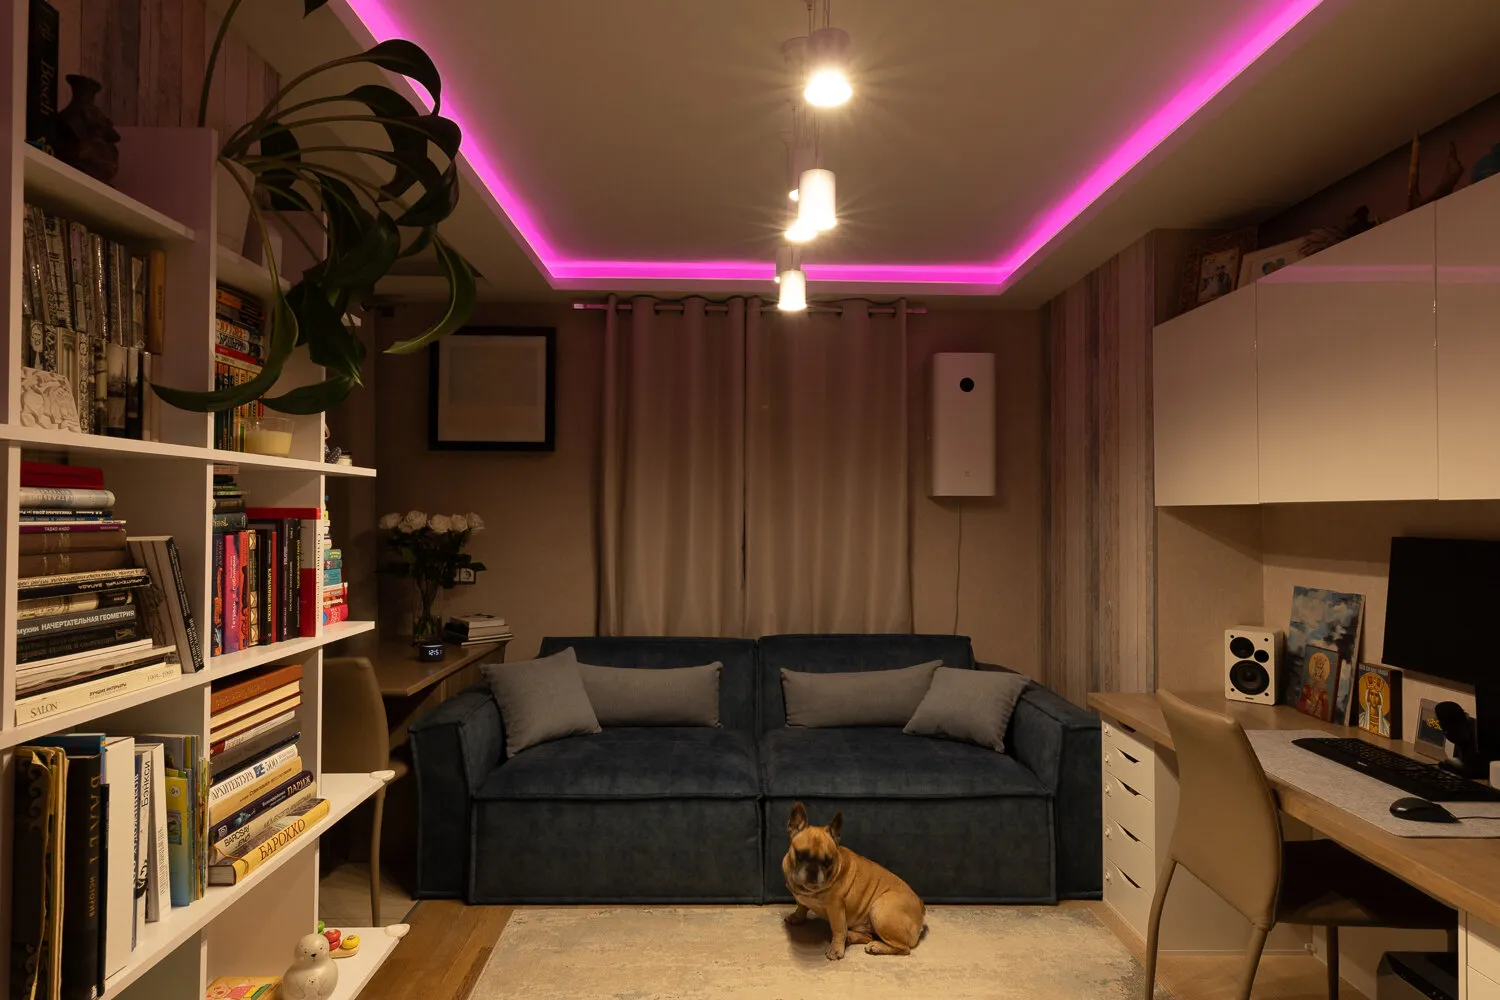
We installed LED strips, smart bulbs for a chandelier and desk lamp in the living room. This is convenient: brightness can be adjusted depending on the time of day — brighter during the day and evening, dimmer for rest or watching movies. In the evening we turn on the chandelier and desk lamp at 30% brightness, and for mood lighting — pink backlight from the strip. Thus, we create cozy designer accents with lighting.
 Smart Yandex Bulb, E27, 806 lumens, white, Matter™Yandex Motion and Light Sensor, Zigbee™Smart RGB Yandex LED Strip, 3m, Matter™Yandex Smart Bulb GU10, 520 lumens, RGB, Matter™
On the Bedroom
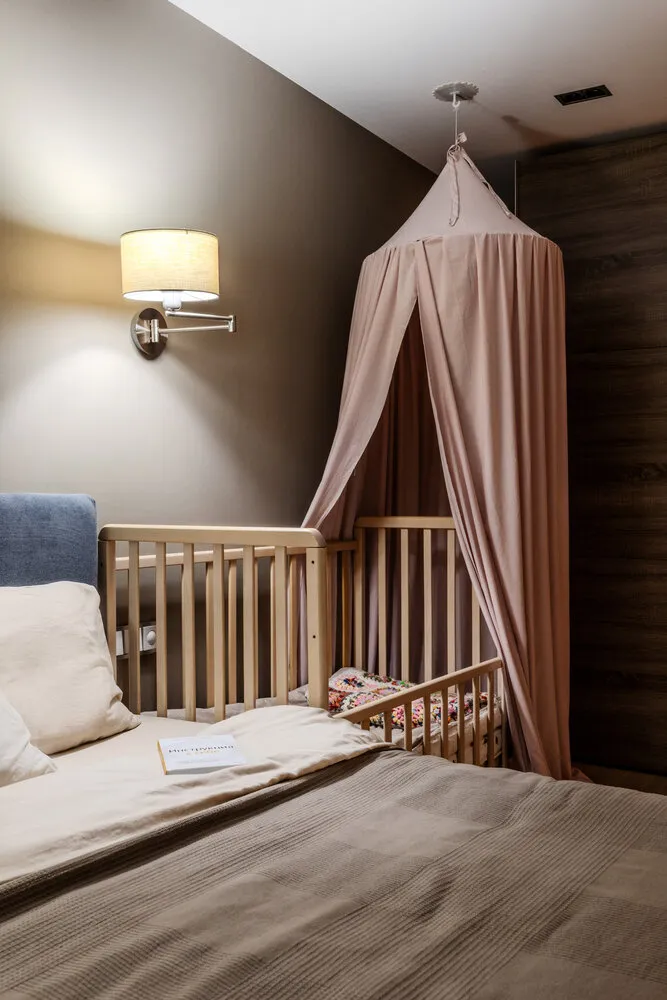
In the bedroom we decided to create a cozy atmosphere, so we chose wallpaper in taupe color — it's soft and calming. To add a bit of brightness, an abstract panel was hung on the wall in front of the bed. It looks smaller than the wall itself, so we framed it with moldings. The effect is like a real painting — looks very stylish.
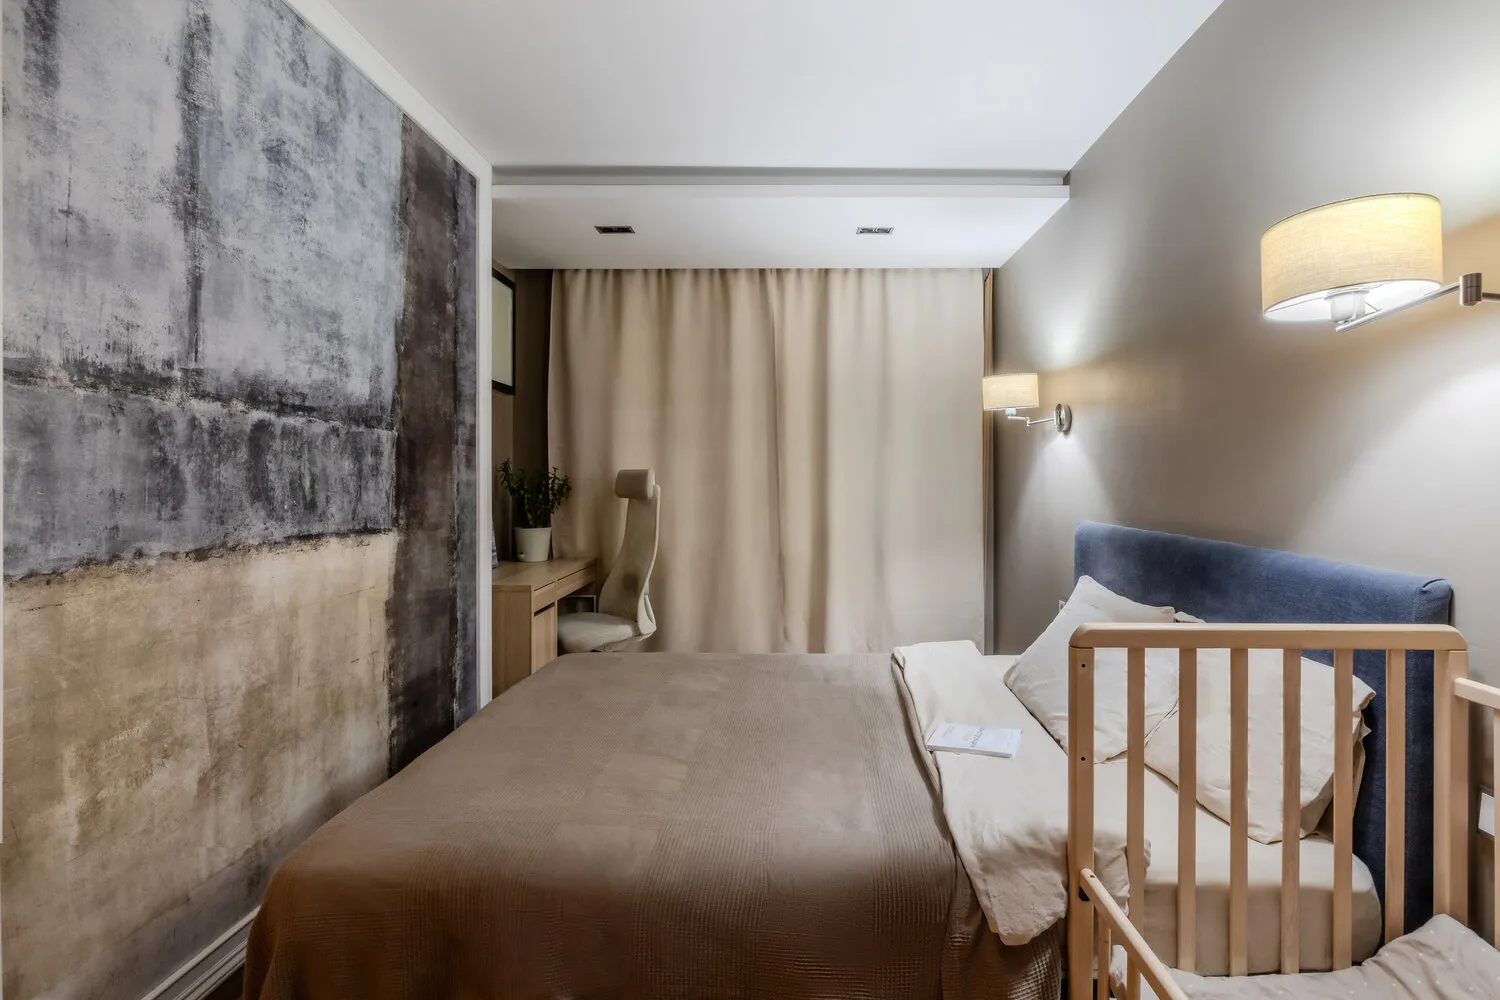
Now a child's bed is in the bedroom, so we had to plan lighting carefully. We installed wall sconces with smart Yandex bulbs. They allow setting up lighting scenarios, where brightness and color temperature change automatically. For example, we set a sleep scenario: the light slowly dims in the evening to prepare the baby for bed, and in the morning the bulbs gradually turn on to help wake up comfortably.
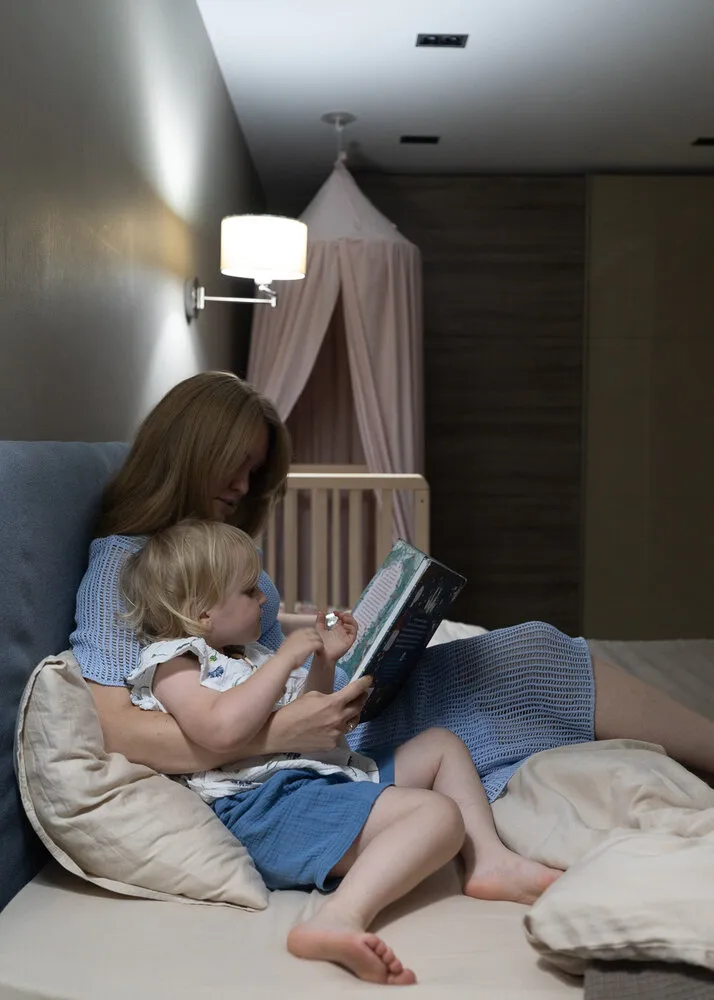
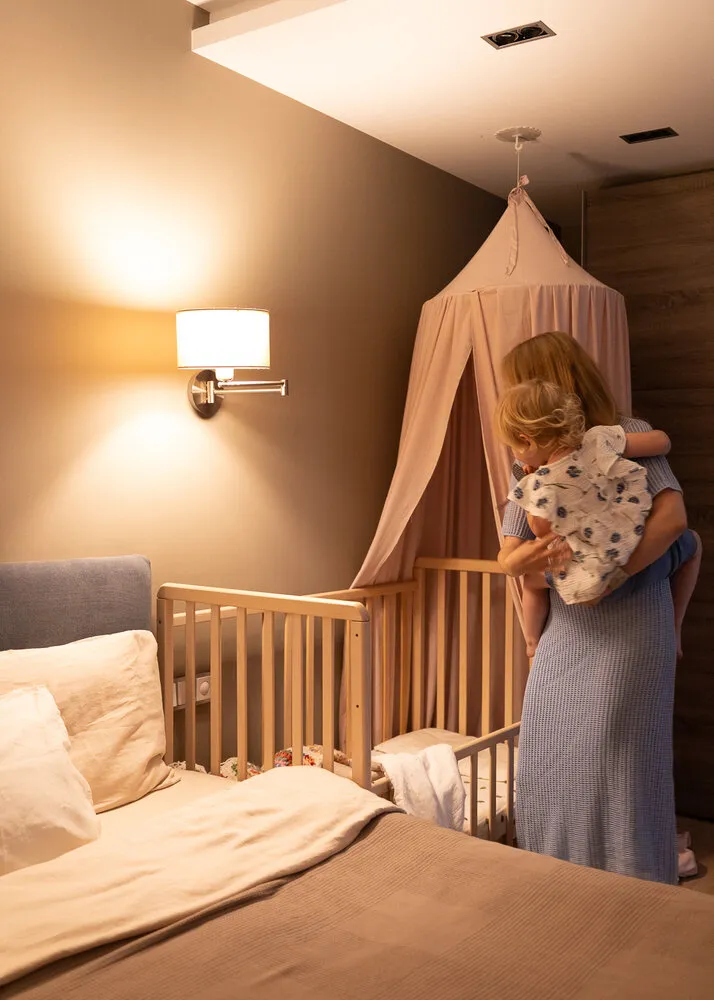
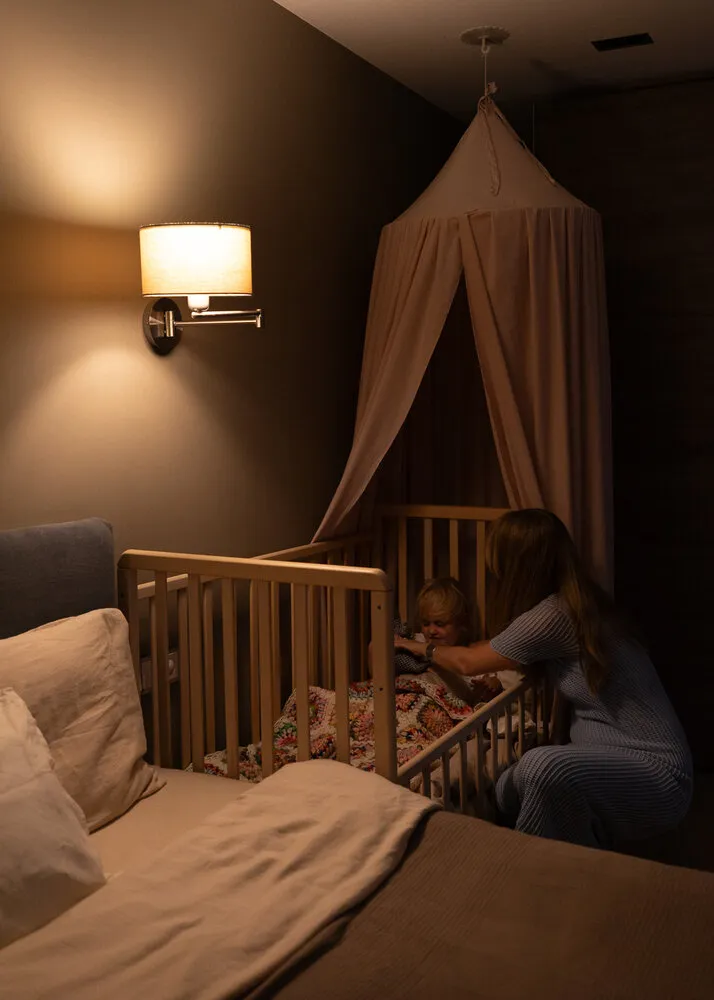
There is also a night mode: if someone moves in the dark, the motion sensor detects this and turns on soft light in the sconce which then fades out after a few minutes. So the child is not afraid to get up at night, and light doesn't disturb sleeping people. The evening lighting scenario can be activated through the app when everyone is already asleep. Now I can control the lights from my bed without getting up to flip a switch.
The bedroom wall protrudes due to the niche in the living room. The passage is narrow — only 40 cm, although we knew that a comfortable passage should be 80–90 cm. We took the risk but found a solution: we bought a narrow bed without protruding parts, with soft design and rounded corners. The headboard was made ourselves from plywood, foam, and fabric — it turned out thin and neat. In the end, even with such a small width we feel comfortable.
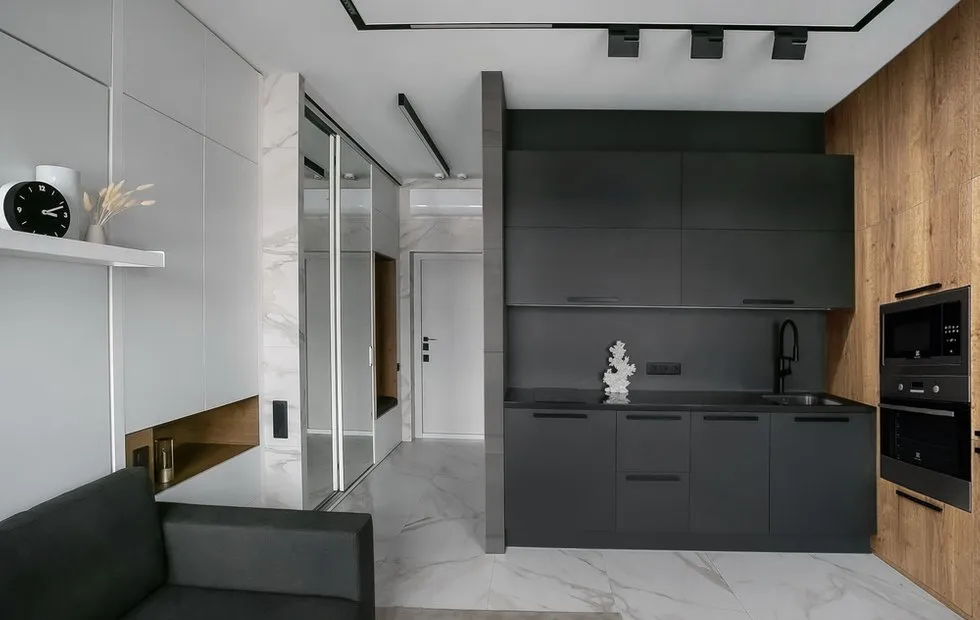
On the Entrance Area
One of the successful solutions was creating niches for storage systems, which significantly increased functionality. In place where there used to be a corridor, we created a niche from the kitchen side for a standard refrigerator. On the other side is a niche for a washing machine with additional storage space. This allowed making the bathroom more spacious. However, there is also a drawback — noise from the washing machine because it's near the living room rather than behind a closed door.
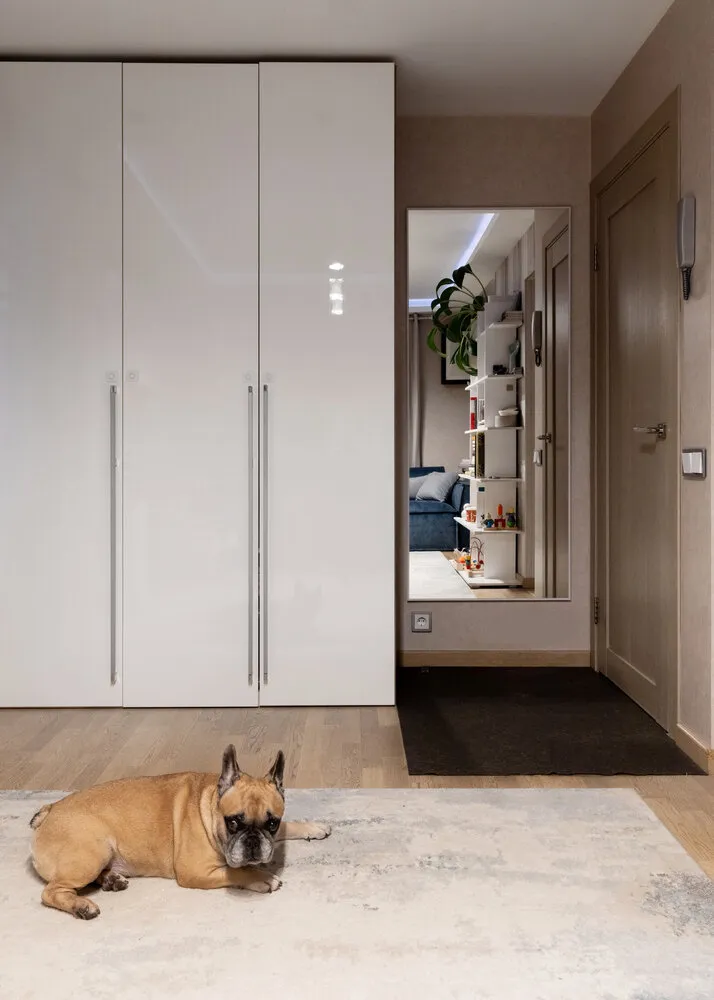
An unsuccessful decision was the lack of a separate hallway area. We combined rooms as much as possible, and alternative arrangements for the entrance were not considered. Nevertheless, a dirty area requires at least minimal isolation for convenience.
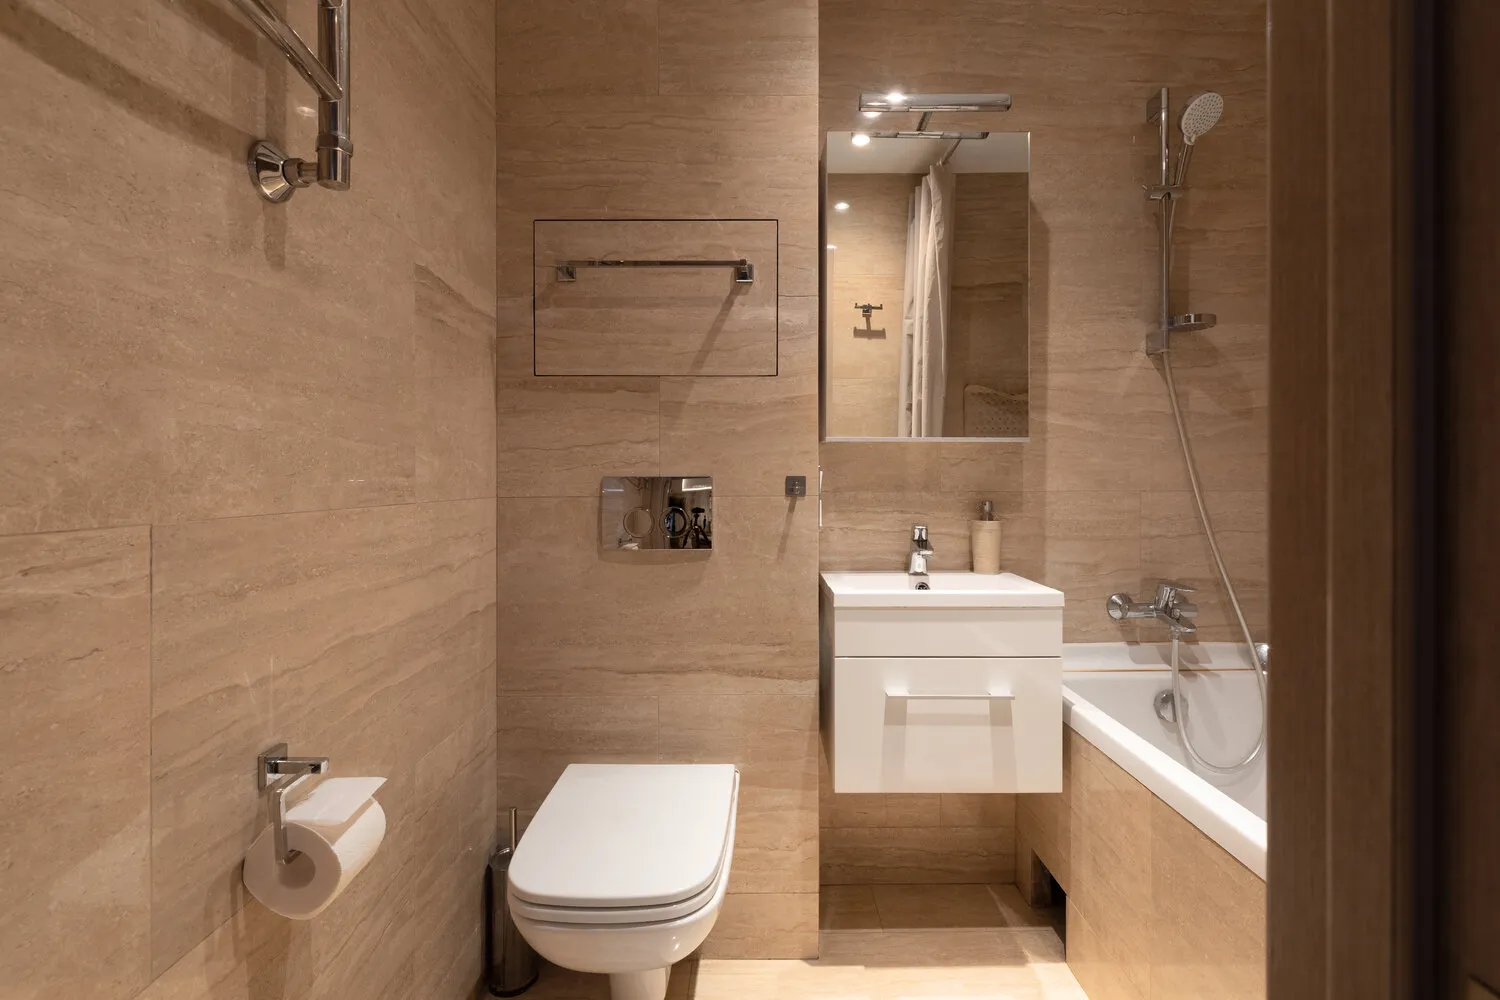
On the Bathroom
We chose ceramic granite in wood style for both walls and floor. Installed a full-size bathtub, which was very convenient, especially with a child. Wall-mounted toilet and vanity unit were also good choices since the cabinet under it accommodated a laundry basket. Above the sink, we placed a functional mirror cabinet.
Our apartment is small but very cozy and functional. Every corner here has been thought out to the smallest detail, and despite compact dimensions, we managed to create a space perfectly suited for our needs.
Need a renovation specialist?
Find verified professionals for any repair or construction job. Post your request and get offers from local experts.
You may also like
Before and After: How to Budget-Friendly and Stylishly Transform a Kitchen in a 38 sqm Studio Apartment

How to Refresh a Cracked 42 m² Two-Room Apartment: Stylish Update (+Before Photos)
Why a Designer Painted the Door to Match the Wall Color — and You Should Do the Same
How to Turn a Studio Apartment into a 2-Room Flat Without Demolishing Walls: 7 Working Tips
More articles:
- Before and After: How to Budget-Friendly and Stylishly Transform a Kitchen in a 38 sqm Studio Apartment
- How to Refresh a Cracked 42 m² Two-Room Apartment: Stylish Update (+Before Photos)
- Why a Designer Painted the Door to Match the Wall Color — and You Should Do the Same
- How to Turn a Studio Apartment into a 2-Room Flat Without Demolishing Walls: 7 Working Tips
 How to Stylishly and Brightly Furnish a 6 sqm Bathroom
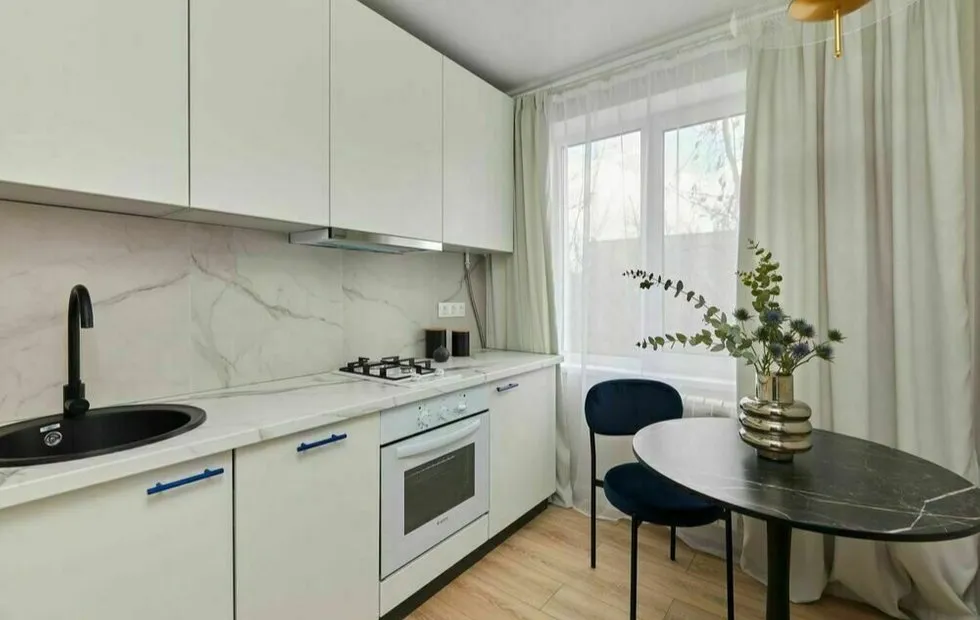 Cheap Stylish Renovation of a Khrushchyovka for 150 Thousand Rubles
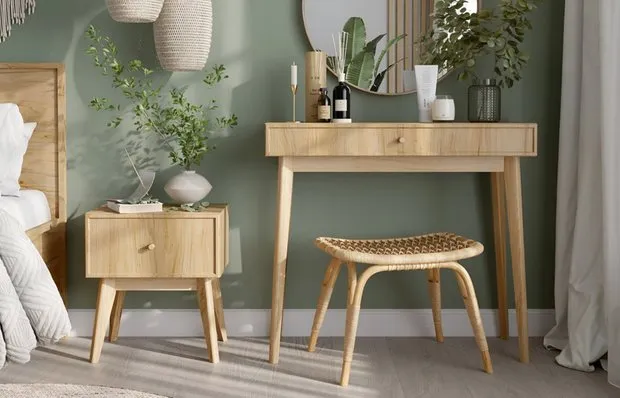 Trendy Furniture: 10 Best Solutions for Your Home
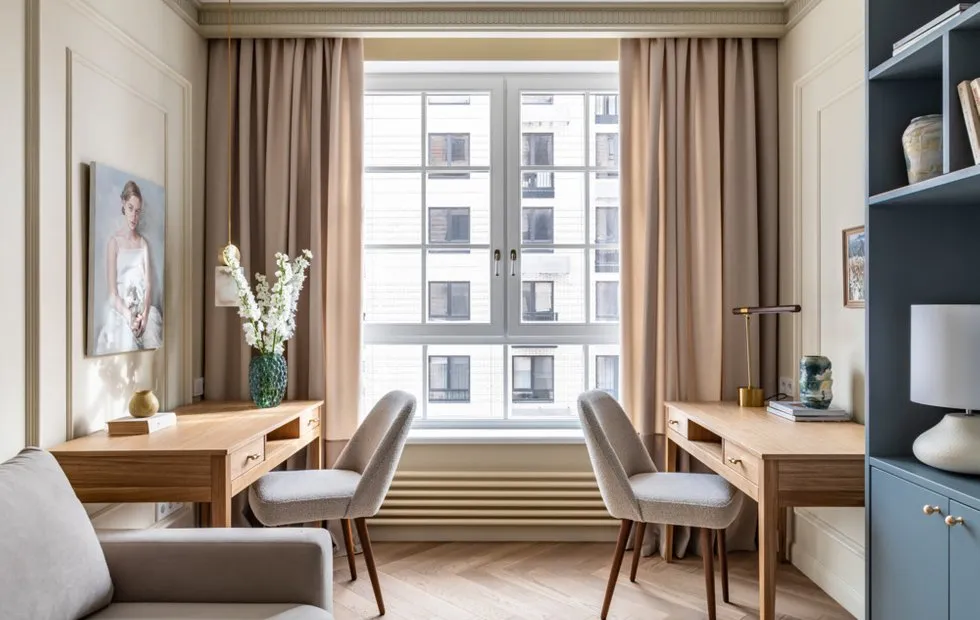 Why Your Child Doesn't Want to Do Homework: 7 Mistakes in Organizing a Child's Room