Bathroom 3 sq m: 8 Tips That Create the Feeling of Spaciousness
How to make the space visually larger, more functional, and cozier
A bathroom with an area of 3 square meters is a standard for most typical apartments, but this is not a death sentence. With a thoughtful approach, even such a tiny space can be made visually larger, more functional, and cozier. The secret lies in using design tricks that "trick" perception and create an illusion of space.
The main rule for a small bathroom is that every centimeter must work, and each decision should visually expand the space. Proper colors, lighting, mirrors, and layout can transform a cramped room into a comfortable bathroom where you don't feel confined.
Main points from the article:
- Light glossy surfaces reflect light and visually increase space;
- A large mirror can double the perceived size of the bathroom;
- Suspended plumbing frees up the floor and creates a feeling of lightness;
- Vertical lines in design make ceilings appear higher;
- Hidden storage removes visual clutter and organizes the space.
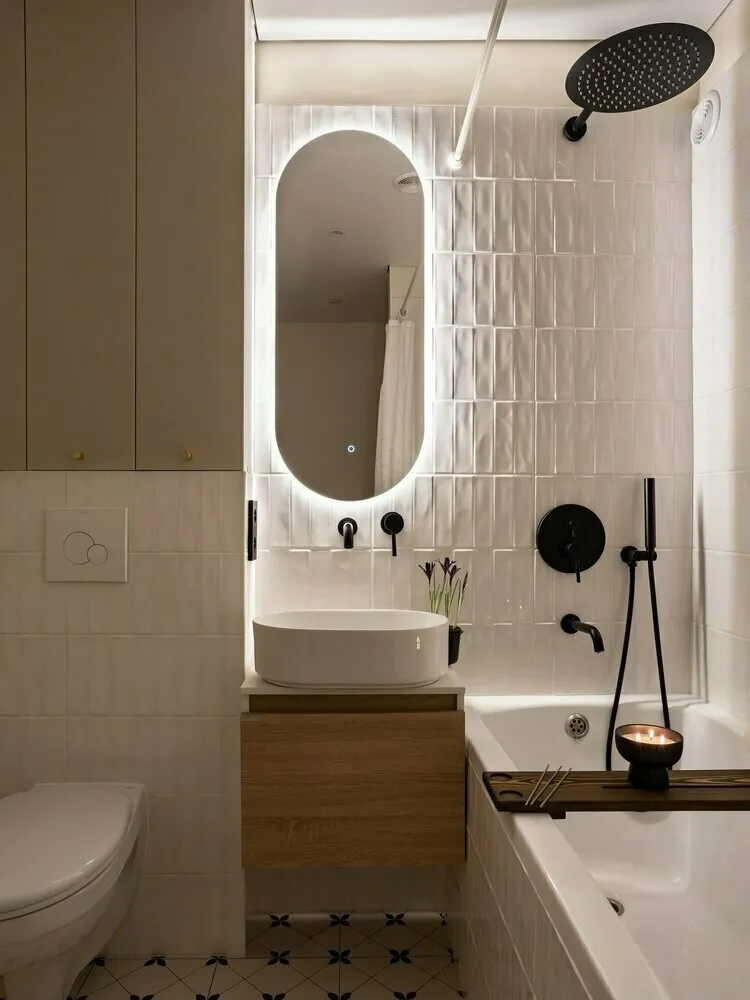
Tip 1: Light Palette with Glossy Finish
White, light gray, cream — these colors reflect maximum light and create a feeling of airiness. In a small bathroom, dark tones absorb light and make the space even more cramped.
Especially effective is glossy tile — it works like many small mirrors, reflecting light in all directions. Glossy walls visually widen the room's boundaries and create a sense of depth.
Don't be afraid of total white — it's not boring, but stylish. Add texture through different materials: glossy tile, matte paint, textile elements. This creates interest without overloading the color palette.
If you want color, add it through accessories — towels, a mat, plants. They are easy to change, creating a new mood without major renovations.
 Design: Maria Tartashnik
Tip 2: Mirrors as Space Expansion Tools
A large mirror is the most effective way to visually double the bathroom. Perfect if the mirror covers the entire wall above the sink or even more.
- Mirror panels on opposite walls create an infinity effect, but it's important not to overdo it — too many mirrors can disorient.
- Backlit mirrors solve two problems at once: they increase space and improve lighting. LED strips around the perimeter or built-in lighting create even light without shadows.
- Avoid small framed mirrors — they fragment the space. One large mirror works more effectively than several small ones.
Tip 3: Wall-Mounted Plumbing for a Feeling of Lightness
Wall-mounted toilet and sink free up the floor, creating the impression that the bathroom is larger than it actually is. Visible floor visually expands the space.
- The installation is hidden in the wall or casing, and only the toilet bowl is visible. This looks modern and significantly simplifies cleaning — it's easy to mop under the toilet.
- A wall-mounted sink can be console-style (mounted to the wall) or on hidden brackets. The space underneath can be used for storage or left free for visual openness.
- If wall-mounted plumbing is out of budget, choose compact models on thin legs — the effect will be similar, though less pronounced.
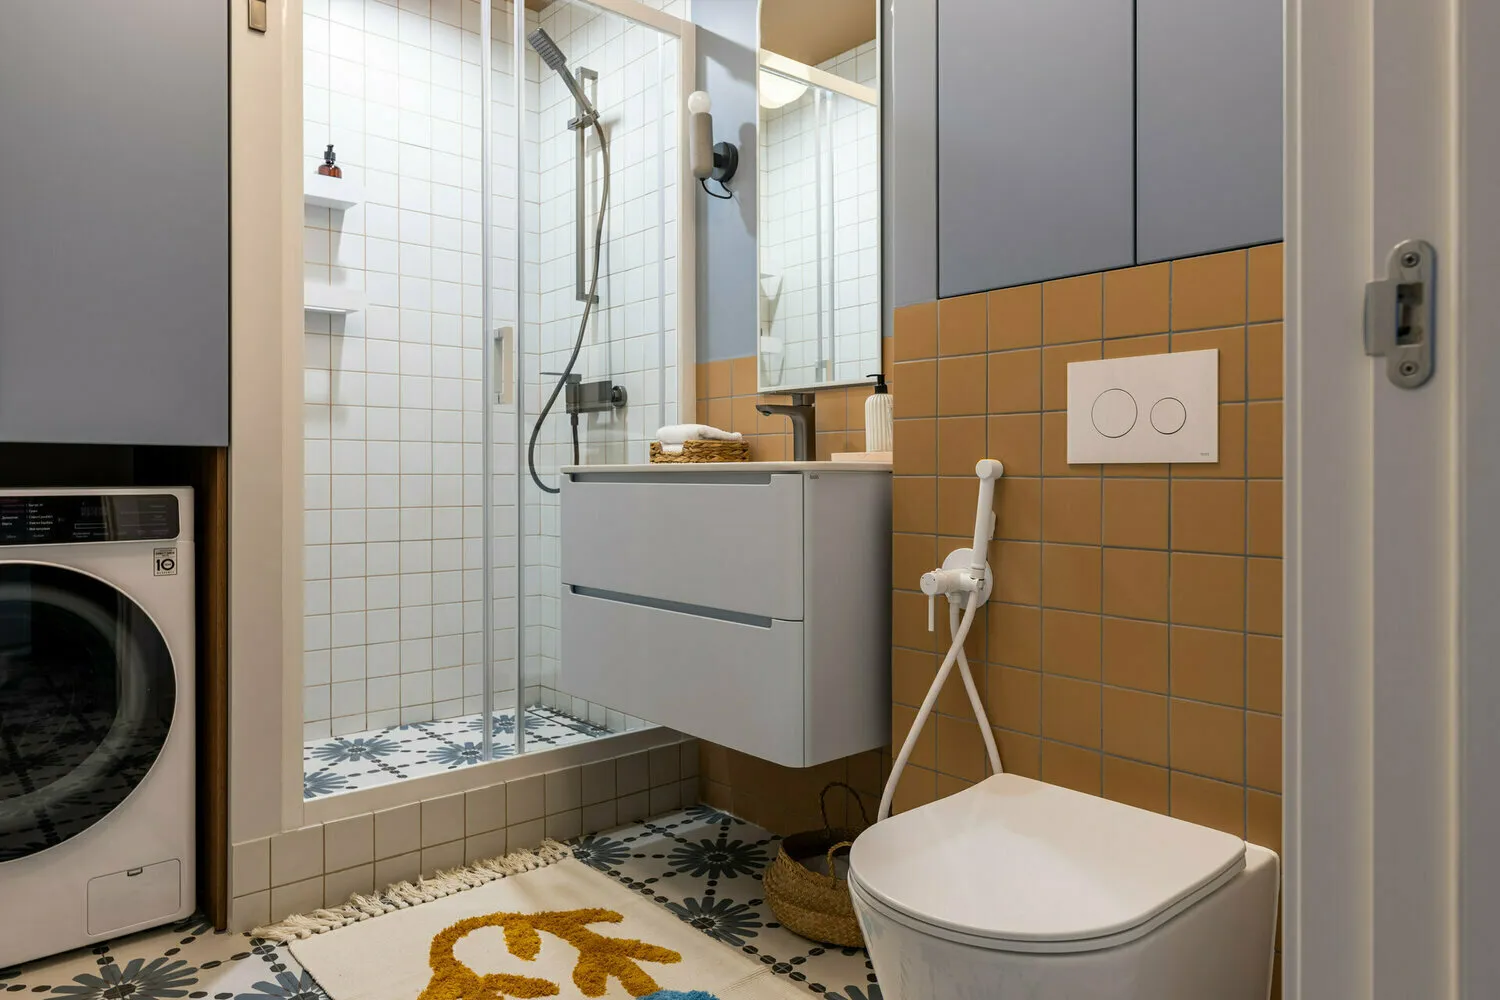
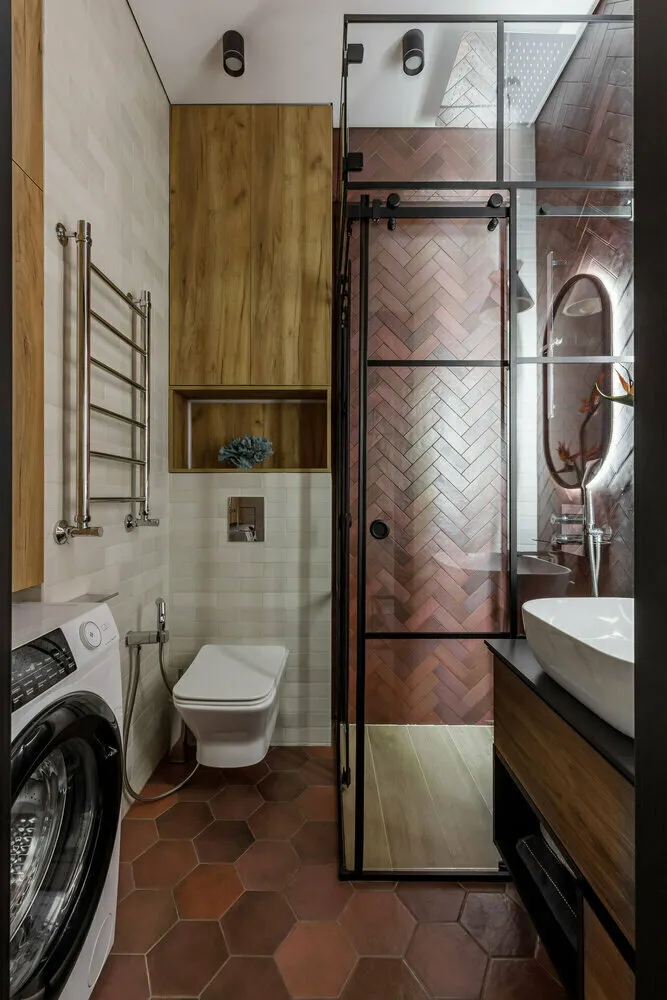
Tip 4: Shower Cabin Instead of a Bathtub
A compact shower cabin or corner shower uses 2-3 times less space than a bathtub. The freed-up area can be used for placing a washing machine or additional storage.
- Glass shower partitions are almost invisible and don't fragment the space, unlike opaque curtains or plastic panels.
- A shower tray at floor level creates a single plane and visually increases the area. This technique is called “invisible shower.”
- If you can't live without a bathtub, choose corner or asymmetrical models — they are more compact than rectangular ones but retain functionality.
 Design: Ekaterina Vasilyeva
Tip 5: Vertical Lines and Stripes
Vertical tile layout, striped wallpaper, or panels visually raise the ceiling and make the bathroom appear taller. This is especially important in Khrushchev-era apartments with low ceilings.
- You can use tiles in two colors: light at the bottom, even lighter or white at the top. A gradient from darker to lighter creates a sense of height.
- Vertical stripes on one accent wall work better than on all surfaces. This creates a visual direction upward without overloading the space.
- Tall narrow cabinets, shelves to the ceiling, long lights — all of these reinforce vertical rhythm and the feeling of height.
Tip 6: Multi-Level Lighting
One ceiling light creates shadows and makes a small bathroom even more cramped. Multi-level lighting evenly fills the space with light.
- Main light — ceiling spots or LED panels. Additional — mirror backlight, under-cabinet lighting, built-in lights in niches.
- Warm light (2700–3000K) creates a cozy atmosphere, but cool (4000K and above) is better for the feeling of spaciousness. You can combine: warm for relaxation, cool for energizing routines.
- Hidden LED backlight around the ceiling creates a "floating" ceiling effect and visually raises it.
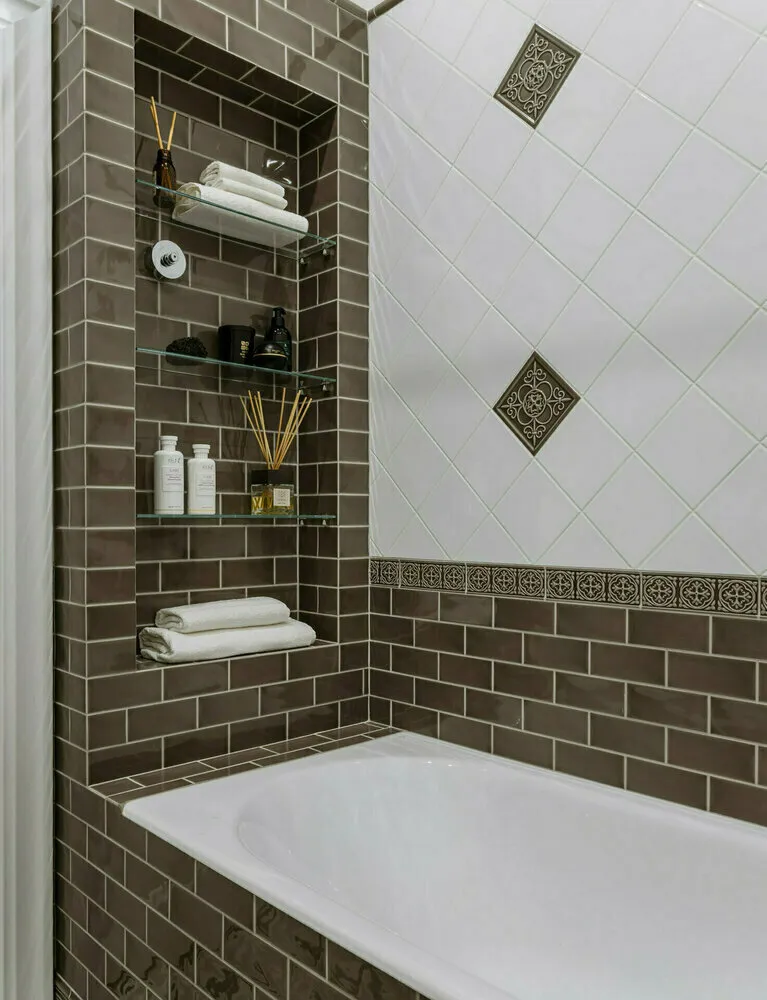
Tip 7: Hidden and Built-In Storage
Open shelves with many bottles and flasks create visual chaos and reduce the sense of space. Everything necessary is better hidden in closed storage systems.
- Wall niches are an ideal solution for a small bathroom. They don't protrude into the space but hold all necessary items. You can create a niche between pillars or in a spot where utilities run.
- A mirror cabinet above the sink solves two problems: increases space and provides storage. Modern models are very spacious and stylish.
- Corner shelves and cabinets utilize "dead" zones and don't clutter the main space.
 Design: Irina Vinnevskaya
Tip 8: Material Uniformity and Minimalism
Variety of materials, colors, and textures fragments a small space and makes it seem even smaller. It's better to use only 2–3 materials at most.
- Larger tiles look better than small mosaic — fewer grout lines mean a more cohesive perception of space. 30×60 cm or 60×60 cm tiles are optimal for a small bathroom.
- Minimal accessories and decor. Each item should be functional. Better one beautiful soap dispenser than three different bottles.
- Built-in appliances instead of standalone ones look less bulky. A washing machine under the countertop or a built-in hair dryer saves space and organizes the area.
 Design: ARTEFACT
Additional Tricks
- Glass surfaces (shelves, countertops) visually appear lighter than solid wooden or stone ones. They create a sense of airiness.
- Plants add life and freshness, but in a small bathroom it's better to limit yourself to 1–2 small specimens. Vertical greening saves space.
- Textiles in wall tones continue the color scheme and don't create visual boundaries. Contrasting towels, on the other hand, fragment the space.
- Sliding doors instead of hinged doors save up to 1 square meter of usable area — critical in a 3 sq m bathroom.
What to Avoid in a Small Bathroom
- Dark colors, especially on large surfaces, visually compress the space.
- Too many small details and accessories create a feeling of disorder.
- Heavy furniture and plumbing look out of place in small spaces.
- Heavy curtains or blinds on windows (if present) block natural light.
Budget-Friendly Solutions
- Painting walls instead of tiling — the most affordable way to refresh a bathroom. Special paint for wet rooms is inexpensive and lasts years.
- Self-adhesive tiles over old ones — a quick way to update the finish without demolition.
- A large frameless mirror is cheaper than designer models but achieves the same effect.
- LED strips — a budget-friendly alternative to built-in lighting that can be installed by yourself.
A small bathroom is a challenge for designers, but with the right approach it can become one of the most stylish rooms in the apartment. The key is not to try to fit everything at once, but to choose 3–4 main techniques and implement them well.
Cover: Dizzo Design Project
Need a renovation specialist?
Find verified professionals for any repair or construction job. Post your request and get offers from local experts.
You may also like
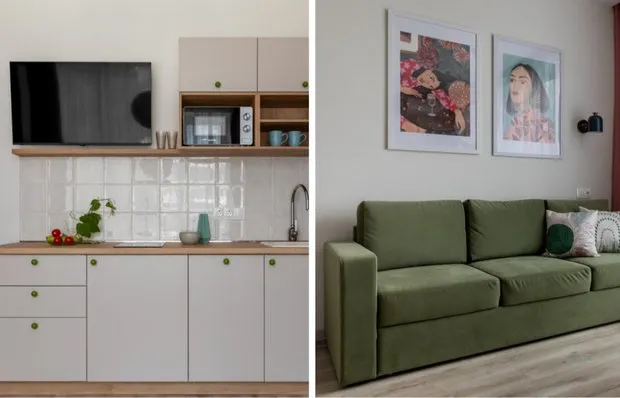
How a Designer Organized a Small Apartment: 7 Simple and Budget-Friendly Ideas
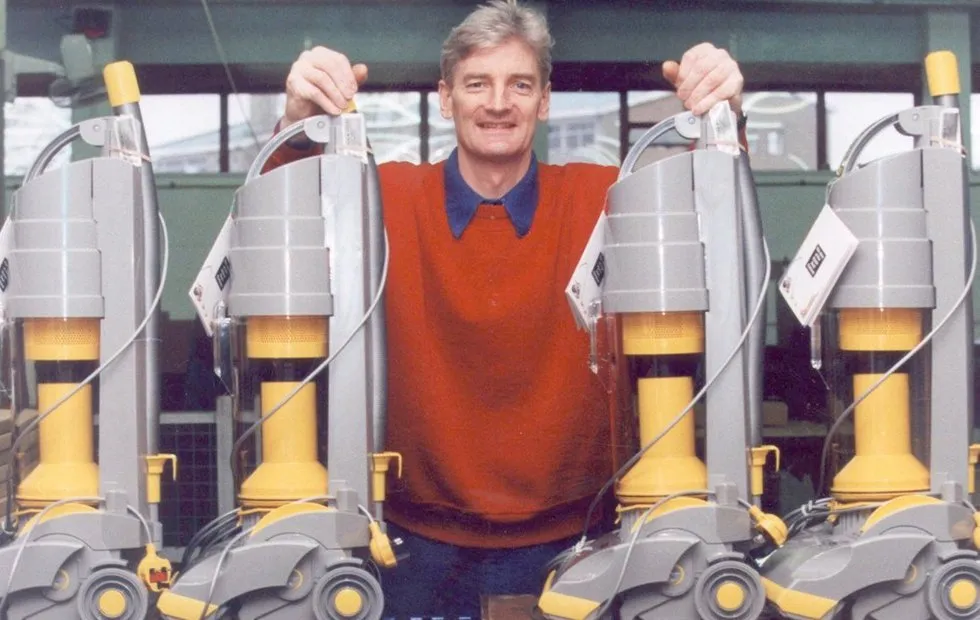
Stubbornness Worth Billions: How James Dyson Changed the Cleaning World by Creating 5,127 Failed Vacuums
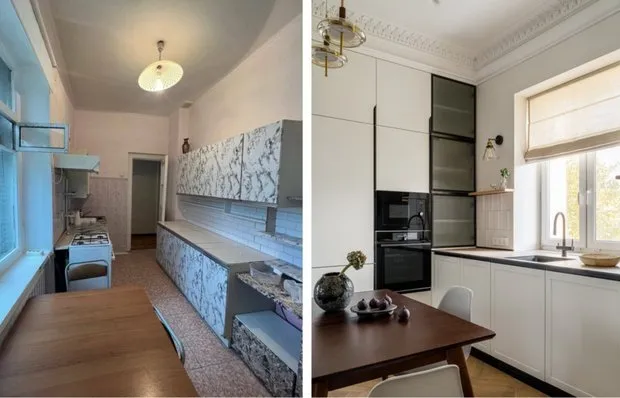
Before and After: A Stylish Light Kitchen, 10 m² in a Stalin-era Apartment

How Ludmila Gurchenko Lived: From Communal Apartment to Three-Room Flat Near Patriarch's Ponds
More articles:
- How a Designer Organized a Small Apartment: 7 Simple and Budget-Friendly Ideas
- Stubbornness Worth Billions: How James Dyson Changed the Cleaning World by Creating 5,127 Failed Vacuums
- Before and After: A Stylish Light Kitchen, 10 m² in a Stalin-era Apartment
- How Ludmila Gurchenko Lived: From Communal Apartment to Three-Room Flat Near Patriarch's Ponds
 First Khrushchyovka of the USSR: History of the House on Grimau Street
 Stalin-era Apartments in Cinema: Which Legendary Buildings Featured in 'Moscow Does Not Believe Tears' and 'Love and Pigeons'
 Small Kitchen Is Not a Problem: 10 Visual Expansion Techniques
 Self-Built Home: How Our Heroine Designed Her Dream House