How to Apply Photo Wallpapers
Choosing photo wallpapers and color combinations
Before applying photo wallpapers, think about what effect you want to achieve and in which room they will be applied. The pattern should suit the overall interior style and colors should be comfortable for you. Therefore, it's important to approach this question seriously, as you're not applying wallpapers for just a year or two; an incorrectly chosen pattern will irritate your eyes for a long time.
Even if you absolutely love the scene of the Predator vs. Alien, consider whether you will soon shudder as you walk past monsters in the bathroom, whether this artwork fits into your countryside-style interior, and whether dark tones will oppressingly affect your growing children.
It is important to remember that in bedrooms, more calming and soothing colors are better suited, while in living rooms and children's rooms, warm and bright colors without aggression are preferred.
With minimal furniture, vibrant photo wallpapers can add coziness to a room, but if there is an abundance of furniture and accessories in the room, a bright pattern will introduce chaos and discomfort.
Additionally, keep in mind that cool tones visually expand the space of a room, while warm tones conversely make the room appear smaller. So if you love spaciousness and airiness, a snowy mountain peak will suit your taste.
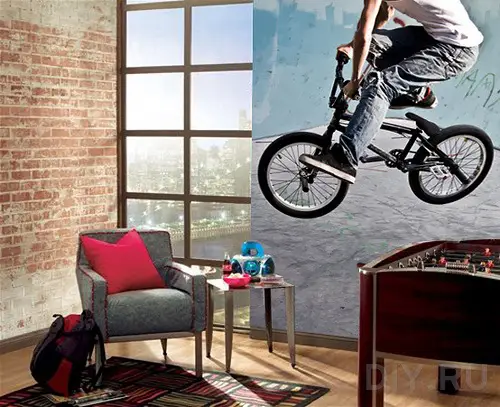
Photo 1 — Photo wallpapers – a light way to decorate a room
Several more color nuances that will come in handy:
- black, gray, blue, light blue, violet – create a sense of distance and reduce the perceived size of an object;
- white, orange, brown, pink, red – on the contrary, create a sense of proximity and increase the perceived size of an object.
Article on the topic: Photo wallpapers in interior design.
Self-adhesive photo wallpapers
Self-adhesive photo wallpapers are an excellent solution for people who do not feel confident in the field of renovation. Their undeniable advantage is that no special skills are required to apply these photo wallpapers, and anyone can handle this task.
They don't cost too much but help transform the chosen room for renovation. These wallpapers are resistant to dirt, easy to clean, and long-lasting. Moreover, there is a wide variety of patterns to suit any taste, even the most refined one. Experts recommend choosing lighter-toned photo wallpapers in smaller rooms than the rest of the walls to visually expand the room space.
Self-adhesive wallpapers are produced on a vinyl base and can have either glossy or matte surfaces.
Installation is done on completely smooth surfaces:
- mirrors;
- glass;
- furniture panels;
- doors;
- laminate MDF.
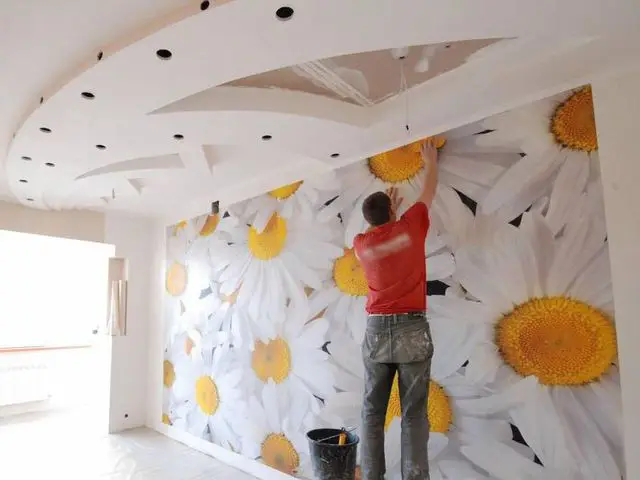
Photo 2 — Applying photo wallpapers
The base for such wallpapers must be water-resistant and smooth.
Ecologically safe inks and materials are used in the production of self-adhesive photo wallpapers. They are mounted directly onto the surface without any paste or adhesive. Instructions for use are usually included, so applying photo wallpapers will be easy. Photo wallpapers can be easily removed without leaving marks on the surface.
To apply photo wallpapers that already have a plastic layer of dry adhesive on the back, roll the wallpaper with the adhesive side out (easily to prevent the adhesive from touching the front surface) and dip it into water to activate the adhesive. Make sure no air bubbles remain on the surface of the strips.
Keep the strips in the liquid for only a few minutes (see the user manual).
Change the water every 3-4 pieces, and wallpaper the wall in a regular manner. For convenience, all pieces are strictly numbered.
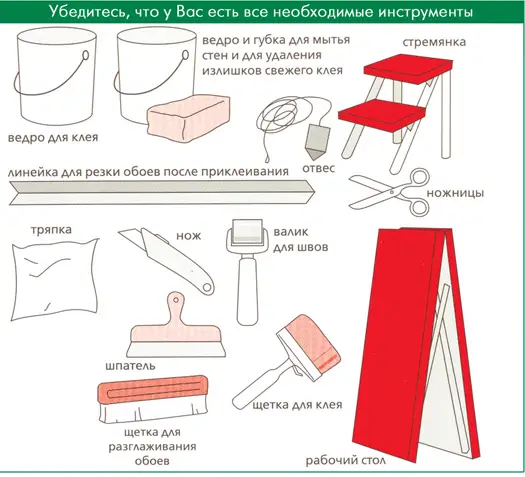
Design 1 — Ensure you have all tools
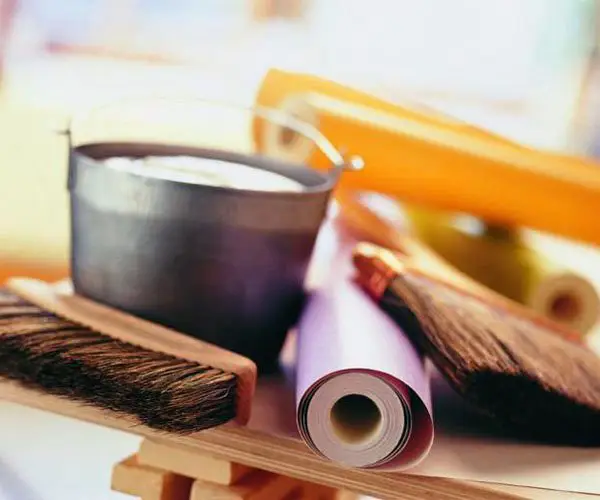
Photo 3 — Tools and items for wallpapering
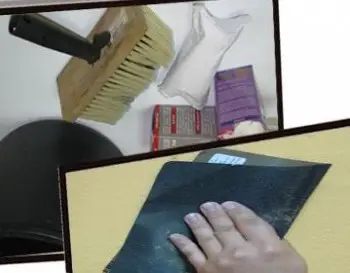
Photo 4 — Tools and items for wallpapering
Regular photo wallpapers and their application methods
As with applying regular wallpapers, ensure the wall surface is clean, dry, and smooth. There should be no old wallpaper remaining, and any unevenness should be removed using a spatula. Also, remember that the room temperature where you'll be applying the wallpapers should not be below 20 degrees Celsius. There should be no drafts at all, otherwise your photo wallpapers will dry unevenly, wrinkle, and in some places become taut.
So what do you need to apply photo wallpapers? To transform your living space, you'll need these tools and items:
- spatula;
- level;
- paste for photo wallpapers (if you didn't know what adhesive to use for photo wallpapers before, it's important to know that synthetic pastes should not be used, but natural-based paste);
- brush for applying adhesive;
- pail for mixing the paste;
- roller (brush) for smoothing the wallpapers;
- measuring tape to measure the wall;
- utility knife for trimming edges.
Now take your photo wallpapers, lay the panels on the floor, and assemble the entire design. Then compare the size of the pattern with the dimensions of your wall. Mark the wall with a pencil and level, one line per panel. This will make it easier to apply the wallpapers according to the design.
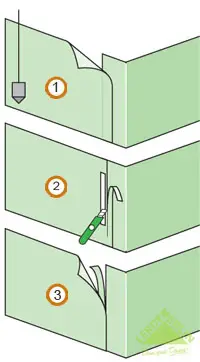
Design 2 — Cutting the edges
Starting with the first panel, apply the mixed paste according to the instructions using a brush. Before applying, align the panel with the marked lines and adhere it with a roller, smoothing from the center to the edges. Continue until the fourth panel. When applying the fifth panel, ensure that it overlaps with the first panel so that the motif aligns (approximately 5 mm).
Similarly, panels 6–8 will overlap the lower panels. Wipe away any remaining paste from the front side with a damp cloth once it's dry. When the photo wallpapers have dried, trim the edges with a utility knife if necessary. You've successfully applied the wallpapers; now you can safely reinstall the baseboards and enjoy your results.
Applying photo wallpapers. Cost
The cost of applying photo wallpapers in Kyiv starts from 40 UAH per square meter. In Moscow, the cost of applying photo wallpapers starts from 400–500 rubles per square meter.
How to Apply Photo Wallpapers. Video
A visual example will best show how to apply photo wallpapers. The video below will help you with your renovation.