Tile Installation: Video Guide
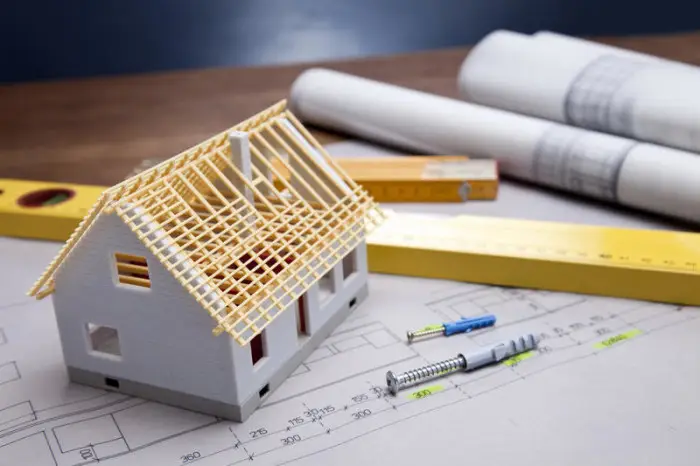
Photo 1 — Tile Installation — Final Stage of House Construction
To fully appreciate the beauty and grandeur of natural tile in its traditional form, it is sufficient to browse through several catalogs of companies specializing in roofing materials and tiles in particular (TONDACH, CREATON, KORAMIK, NELSKAMP, METROTILE, EVERTILE, RATHSCHECK, RUUKKI).
If, however, the installation of asphalt tile is planned, it is quite possible to do without foreign manufacturers and suppliers, as this will be several times cheaper.
Tile Installation: Video Guide from TONDACH
Branded video presentations and guides are useful, as they provide a great deal of detailed information about specific materials and their application.
Tile Installation Technology
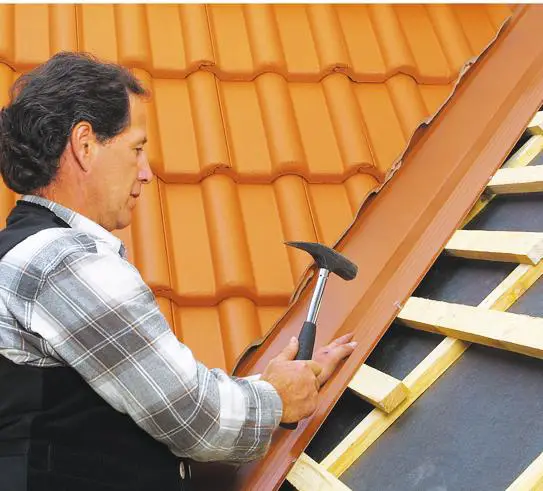
Photo 2 — Process of Tile Installation
Any instruction provided by a tile manufacturer will provide such detailed guidance on tile installation – ceramic, cement-sand, polymer-sand, asphalt, or composite – that any homeowner might feel inspired to attempt doing it themselves. However, one should not be misled by this. No diagram can replace the skills, experience, and materials provided by professionals.
The rules for installing flexible tile or traditional clay tile differ in details, so it is always necessary to consult the manufacturer's documentation.
In general, proper installation, or more precisely, its process looks as follows:
Preparation of rafters and installation of battens: the roof base must be flat, and the batten spacing should match the size of tile sheets or the spacing allowed for flexible roofing. Moreover, the shape of the tile also affects the batten layout; for example, corrugated tile is installed exclusively on solid battens.
When installing warm roofing, the requirements for thermal insulation demand using various insulating materials laid according to the manufacturer’s instructions.
Tile installation is done in three to four rows simultaneously, ensuring symmetrical installation from both roof slopes for even load distribution across the entire roof structure. If in an odd row, a full tile was used, then in an even row, a half tile is used and so on across the entire roof surface.
Areas where the roof contacts chimneys or window openings are mounted separately, typically the roofing elements in these areas are installed before starting tile installation. In most cases, so-called collar elements made of galvanized steel are laid and then filled with cement-sand mortar.
Some tile installation techniques include the use of ventilated tile. These are special elements that provide natural ventilation for the roof and attic.
Metallic Tile Installation: Video Guide for Roof System Installation
All nuances are covered: from transportation and storage to roof installation. In organizing roofing work, such as installing flexible tile or preparing the roof itself, many aspects can be borrowed from this guide.
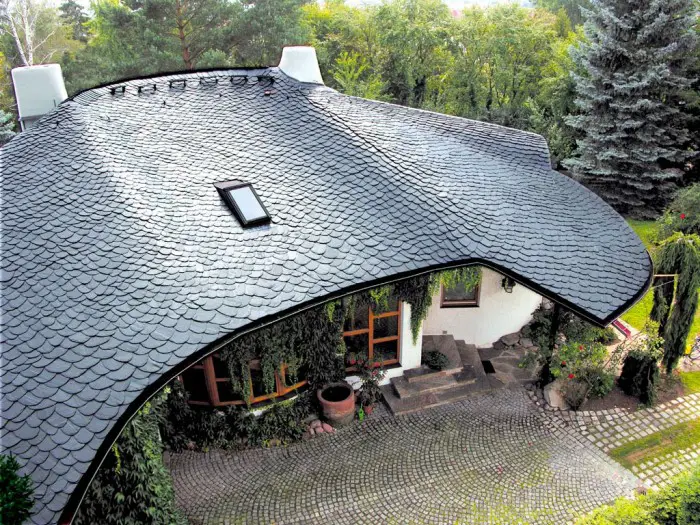
Photo 3 — Roof Covered with Metal Tile
Metallic Tile Installation: Cost in Moscow and Kiev
The cost of installing 1 m² of metal tile (regardless of sheet thickness – from 0.4 to 0.7 mm) in two capitals is approximately as follows:
- Kiev – from 70 hryvnia;
- Moscow – from 300 rubles.
Note: the price includes only metal tile installation and roofing battens.