Before and After: Modernizing a Morally Outdated Renovation in a 76 sqm Apartment
Irina Sagun completely redesigned the existing layout of a secondary apartment to create the most comfortable living space for the new owner
Designer Irina Sagun updated the interior of a 76 sqm panel apartment for an adult client living alone. The layout, inherited from previous owners, was transformed to remove the 2000s-style decor. Now it's a cozy and comfortable space that feels pleasant to be in.
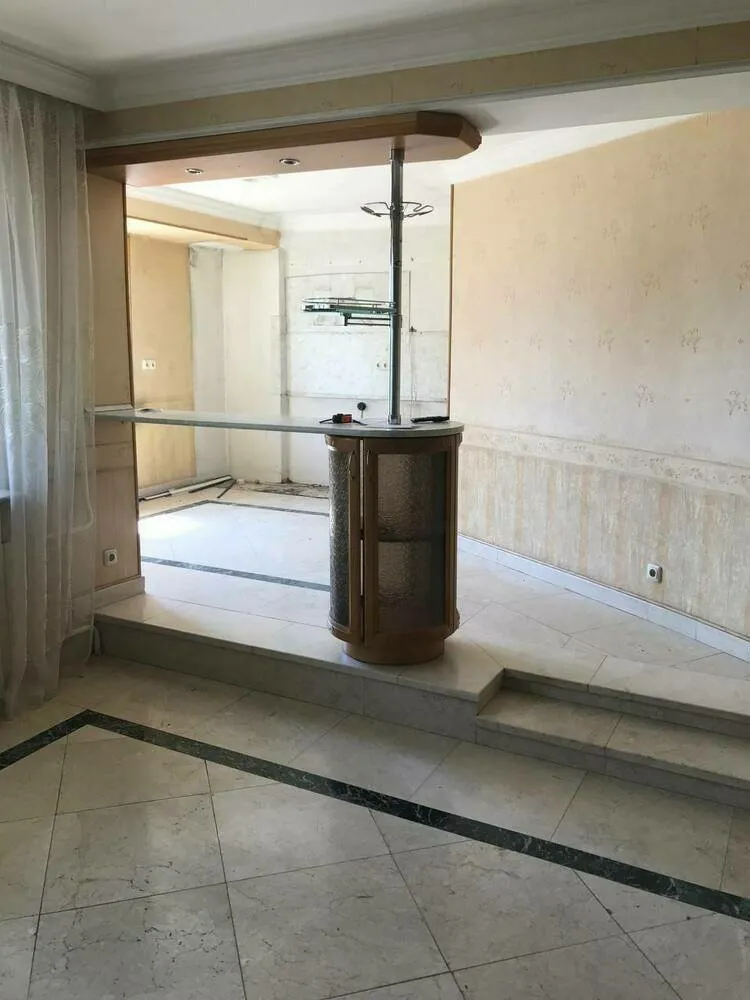
Kitchen-Living Room Before Renovation
Initially, the layout was typical, but the previous owner modified it to suit their needs by combining two living rooms with the kitchen into one large living room.
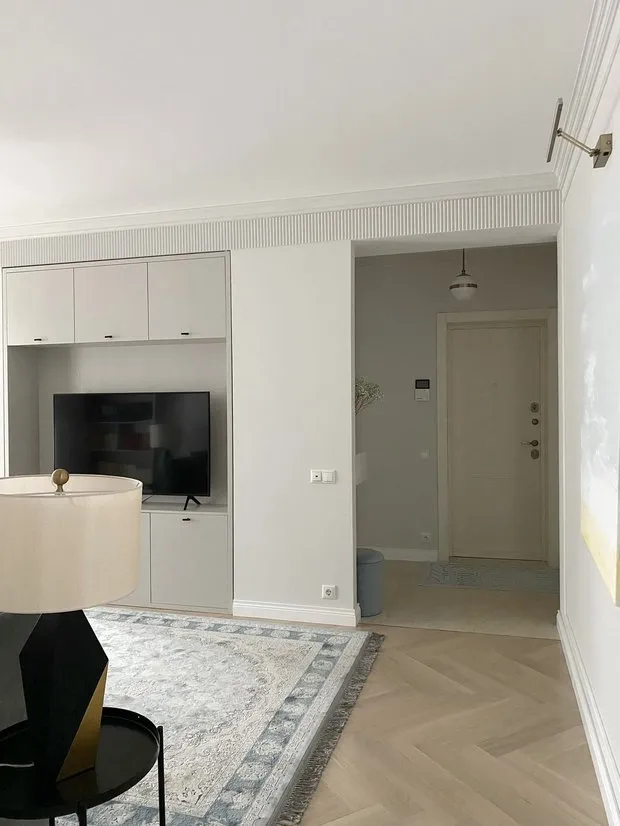
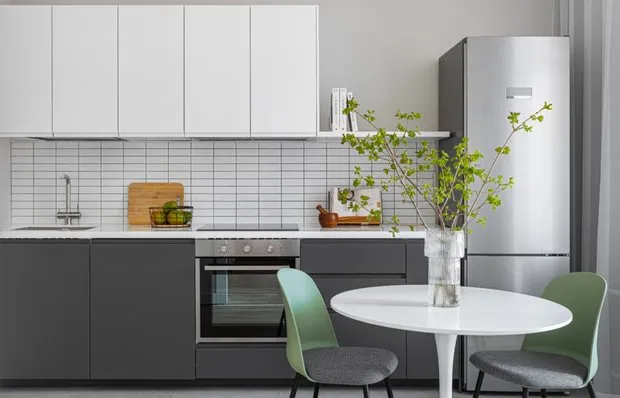
Kitchen-Living Room After Renovation
During the renovation, the original layout was restored as intended by the developer. Several adjustments were made to use space more efficiently. For example, the passage to the kitchen was connected to the bathroom, and the living room was enlarged using the corridor.

All rooms in the apartment have ceiling beams that locally lower the ceiling height. On the kitchen beam runs directly above the window frame. This architectural feature was creatively addressed with decorative cornices and built-in furniture niches, turning a drawback into an advantage.
The parquet from the previous owner was replaced with "pine" parquet under matte lacquer. The flooring was laid as one continuous piece without gaps, which visually expands the space.
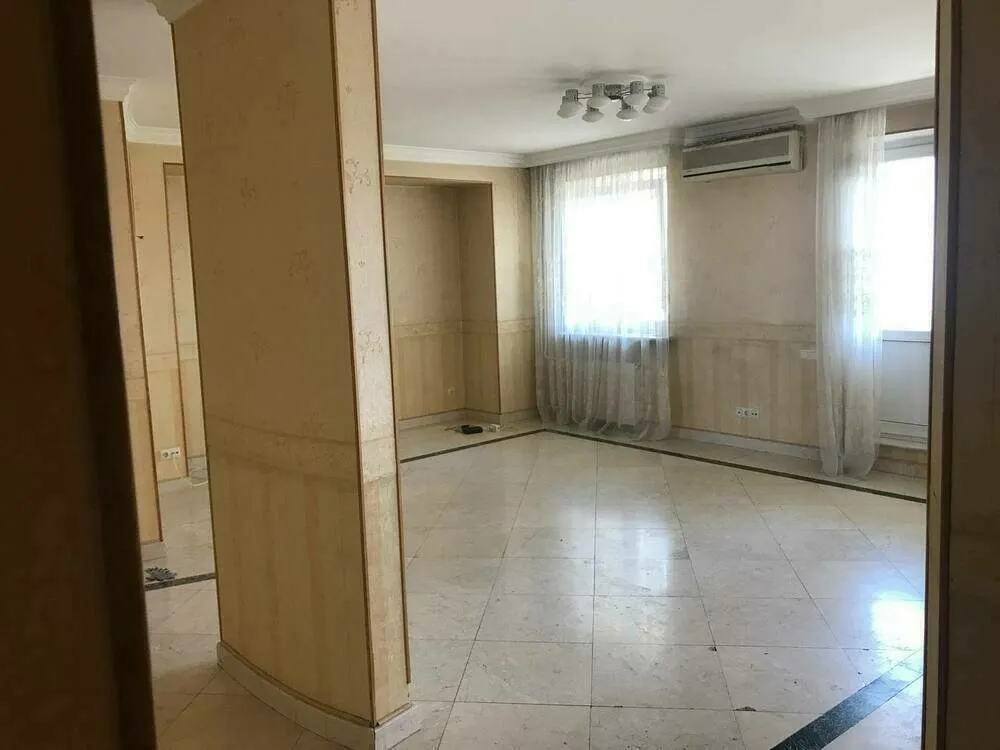
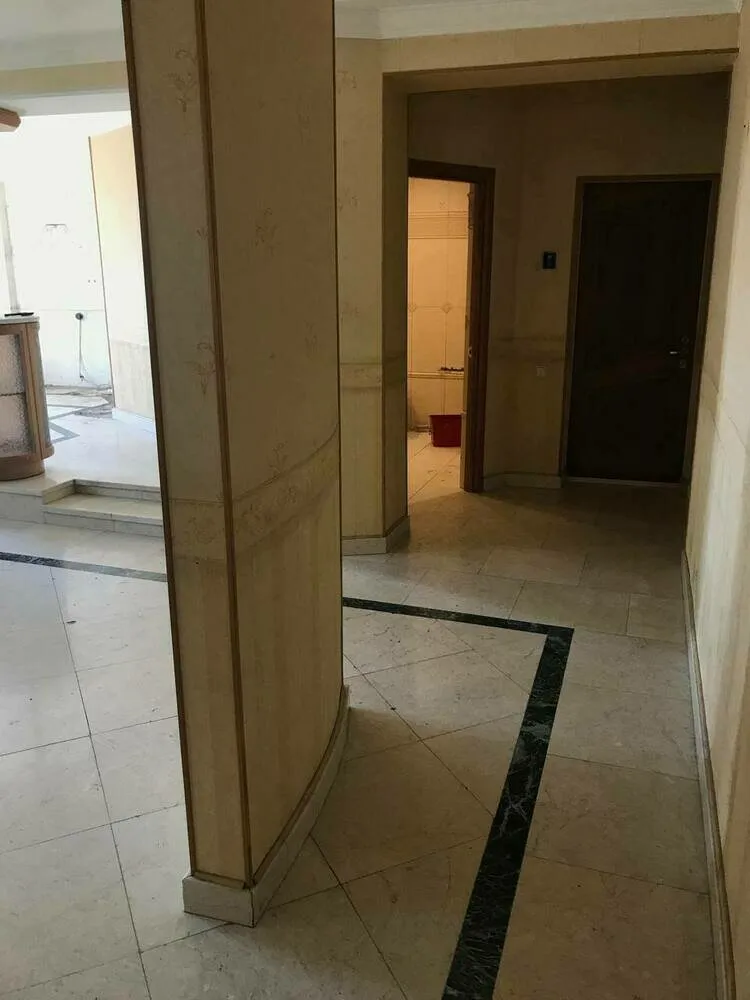
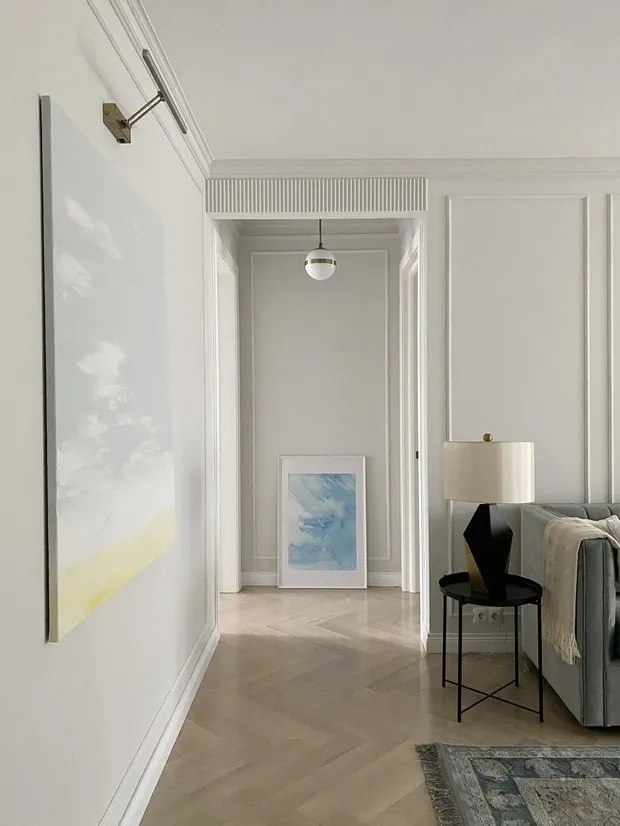
Hall Before Renovation
Hall After Renovation
All walls in the rooms were painted with Little Greene paint, because it's practical — the paint is easy to wipe clean, long-lasting, retains its appearance over time, and can be easily touched up if damaged.
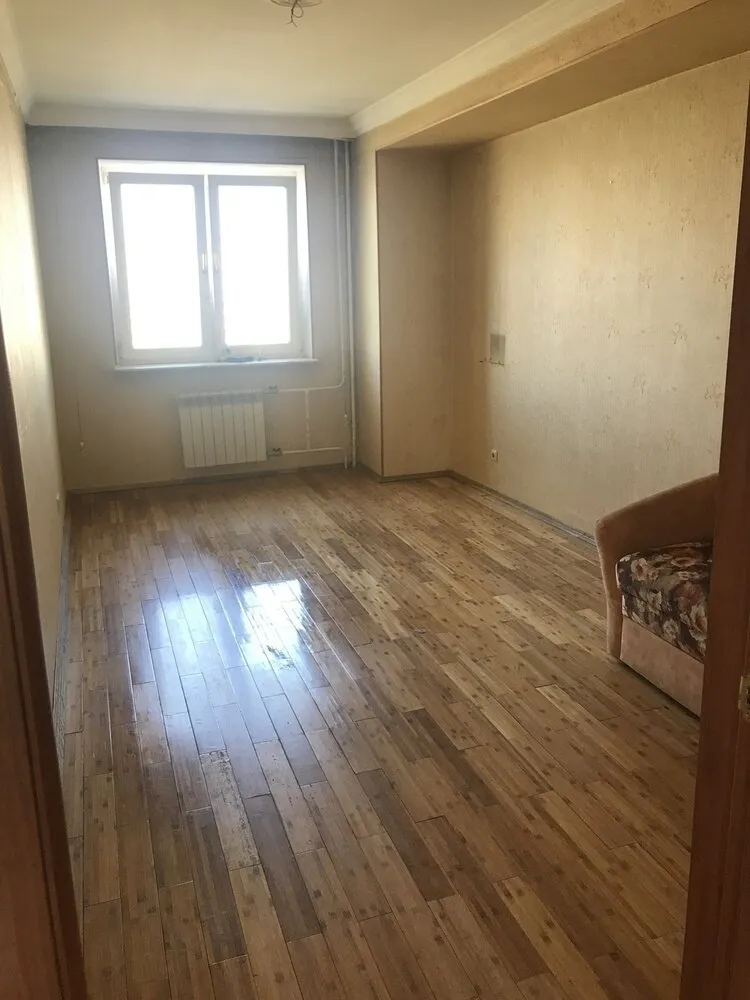
Bedroom Before Renovation
The room had a niche, and it was necessary to figure out how to use it.
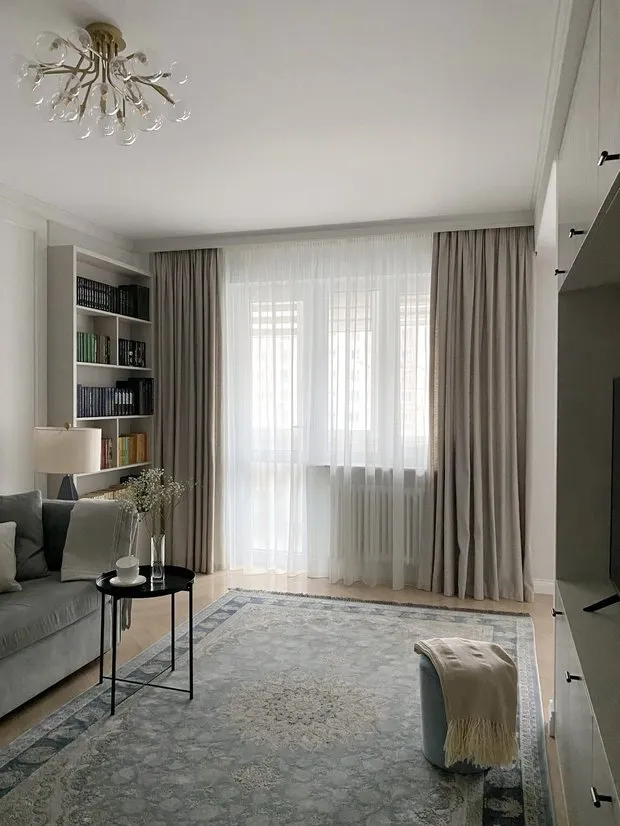
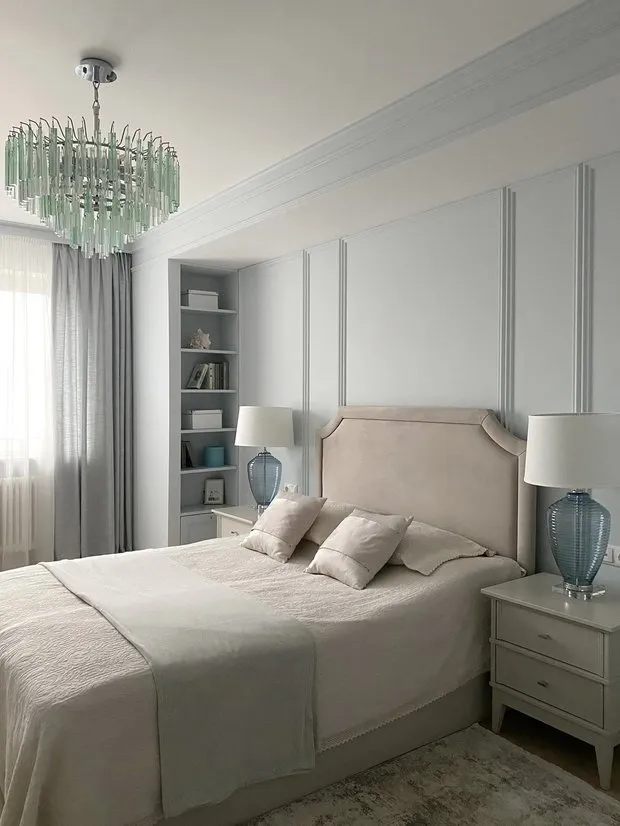
Bedroom After Renovation
The niche was fitted with a bed and storage shelves. The bedroom turned out very soft, in light blue tones. A luxurious accent is a large chandelier with glass pendants.
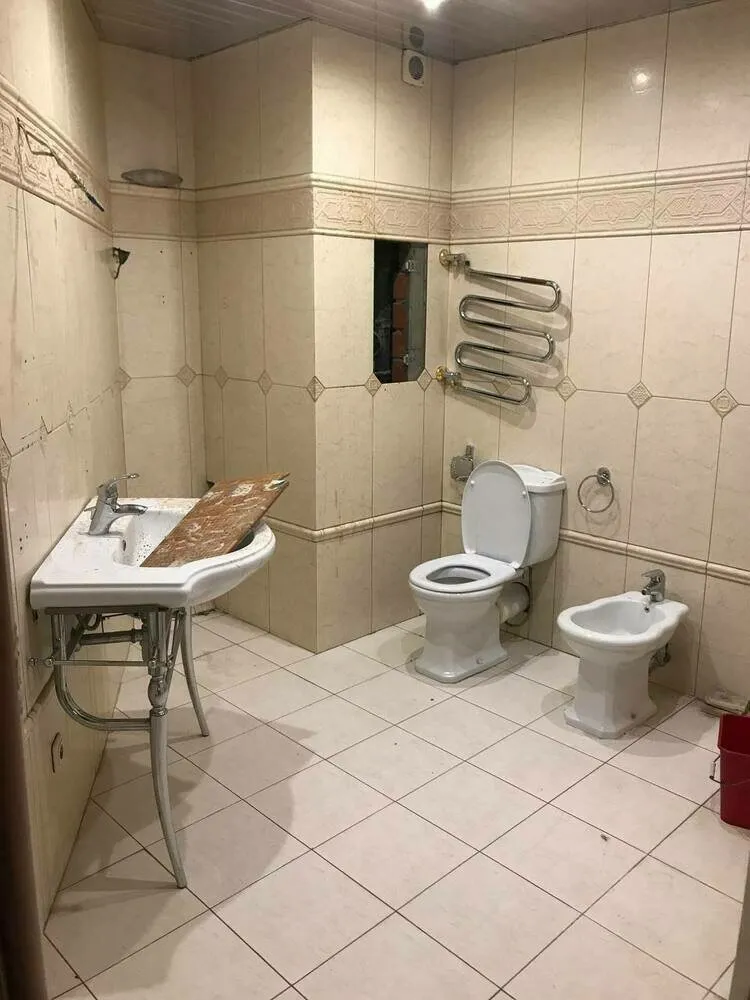
Bathroom Before Renovation
The previous owner left the marble floor: it was in terrible condition, but natural material was desired to be preserved.
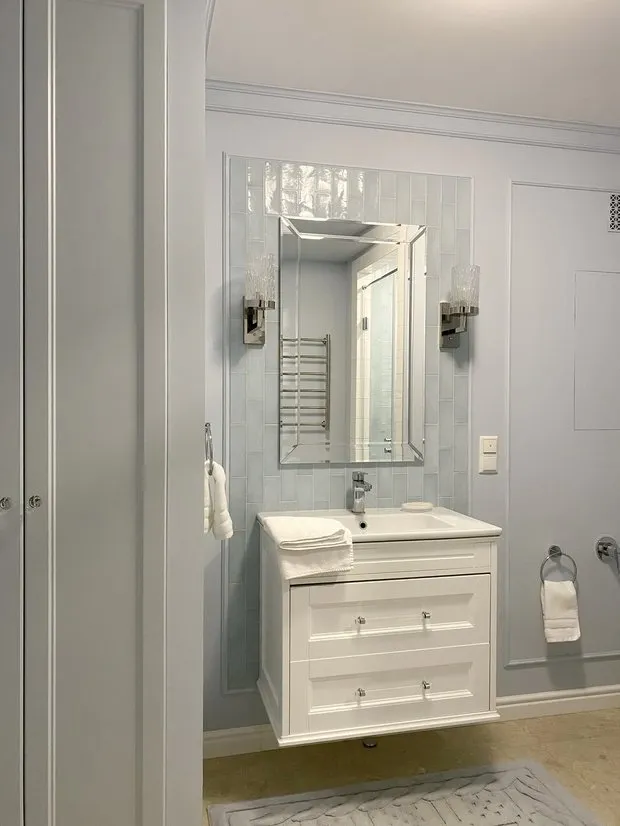
Bathroom After Renovation
After demolition, the best tiles were laid in the hallway and bathroom, and then floor sanders were called in to restore the marble's original radiant appearance.
Want more details? View the full project
Need a renovation specialist?
Find verified professionals for any repair or construction job. Post your request and get offers from local experts.
You may also like
More articles:
 Bright 2-room apartment 65 m² in Scandinavian style
 8 Tips for Creating a Wall Gallery with Photos and Paintings
 Silk, Shine, and Marble: 8 Unusual Easter Egg Dyeing Ideas
 How to Add Style and Sophistication to Interior: 6 Tips from a Designer
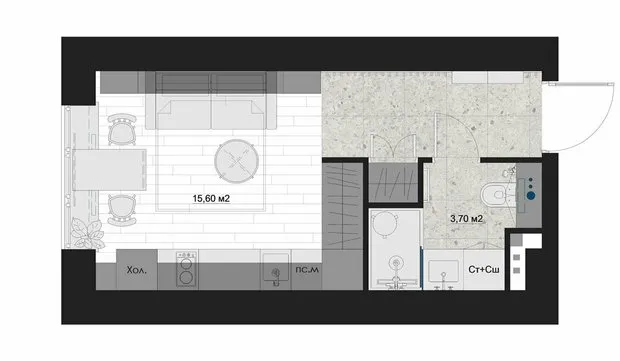 7 Tips from a Designer for Creating Comfortable Housing in Just 19 Square Meters
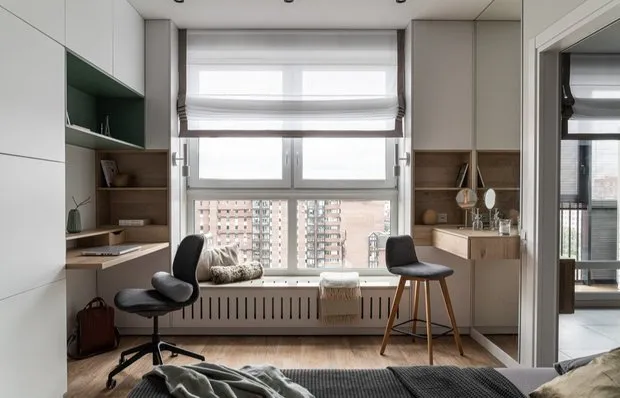 Convenient and Stylish Solutions in a 45 m² Studio Apartment
 Secrets of Creating a Cozy Veranda on the Country Estate: Designer's Experience
 Small Studio 34 m² for Moscow Den Di