Gypsum Board Ceiling: Material Capabilities and Work Techniques
Undeniable advantages of a gypsum board ceiling
- You don't need to carefully prepare the ceiling surface
- You can easily hide ventilation systems, plumbing, and pipes
- Even an uneven ceiling can be transformed into a perfectly flat surface
- You can experiment with lighting design (point lights can be installed in suspended ceilings, unlike concrete ones)
- You have many design options – from a simple single-level ceiling to false structures with niches and multiple levels, complex lighting arrangements.
- Sound and thermal insulation possible (especially useful if your upstairs neighbor is an elderly person who likes to watch TV at full volume at night).
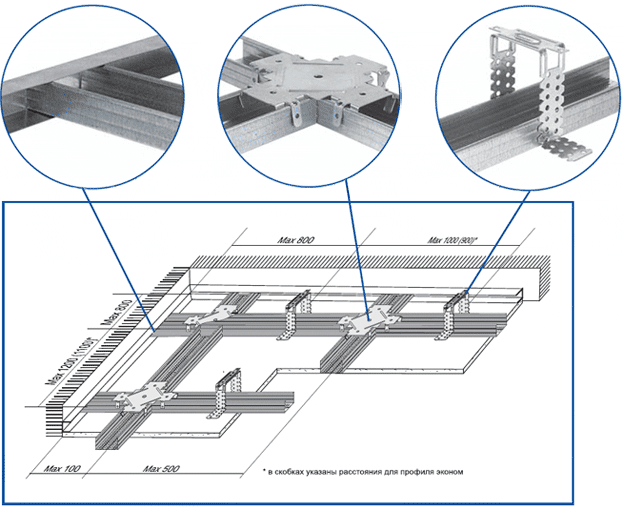
Diagram 1 – Frame scheme for a suspended ceiling
Disadvantages of gypsum board ceilings
Unfortunately, this type of ceiling also has drawbacks:
- First, you'll have to lower the ceiling by at least several centimeters (5 to 15 cm). If your ceiling is already low, this may cause some discomfort.
- You won't manage without a hammer drill and a screw gun, and also without a helper. Installing alone is only possible with advanced skills and a ceiling panel lift (which is also not cheap).
- With improper finishing, cracks may appear at the joints of the panels in the future.
Installing Gypsum Board on the Ceiling
Now let’s get to the point. Here’s how to install gypsum board on the ceiling. With basic repair skills, you can do it yourself, especially if you’re making a simple single-level ceiling.
Before purchasing materials, calculate the required quantities. If you don’t want to dive into complex calculations, you can find dozens of online calculators to help.
Gypsum board sheets vary in thickness (10.0 to 12.5 mm) and length (2500 to 3000 mm), but their width is always the same (1200 mm). A gypsum board ceiling consists of a metal frame and sheets attached with screws.
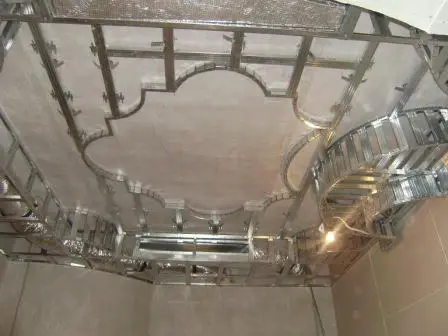
Photo 1 – Multi-level suspended ceiling
Installation can be roughly divided into 4 stages:
- Frame layout marking
- Installing profiles
- Securing gypsum board sheets to the frame
- Final finishing work
Determine how many centimeters you can sacrifice for the new ceiling (minimum 5 cm to fit point lights). Then use a level to mark the layout, for clarity “tapping” it with a chalk line device.
Attach the guide profile around the perimeter, then proceed to install the ceiling profiles.
Ultimately, you should have a frame grid with 60x60 cm cells. The frame is held in place by suspension brackets.
After your frame is complete, you and your helper can begin installing the gypsum board sheets. The material is fragile, so avoid dropping it. Fasten sheets to the profile with metal screws, edge to edge.
For better results, cover joint areas with reinforcing tape.
Once the sheets are installed, proceed with ceiling leveling using joint compound to achieve a perfectly flat surface. This is recommended for a single-level ceiling. If you plan a multi-level design, it’s easier to install additional structures on the already completed first level.
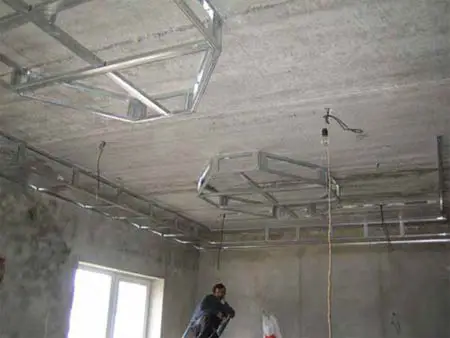
Photo 2 – Frame installation for a suspended ceiling
Now let’s go over how to remove a suspended ceiling. Start with ceiling moldings. Then remove all ceiling light fixtures and be sure to insulate wire ends. Remove all decorative coverings. If present, remove reinforcing mesh from panel joints.
Once you reach the hidden screws, carefully unscrew them. With a helper, remove the detached gypsum board sheets. Then focus on the ceiling profiles. If you plan to install a suspended ceiling again, you may leave the wall-mounted profile in place.
Gypsum Board Ceiling: Cost
How much will it cost to install a gypsum board ceiling? The price varies depending on your location, whether you do the work yourself or hire professionals, and the materials chosen.
Regarding labor costs, in Kyiv it’s 50–80 UAH per square meter, in Moscow – from 420 rubles.
As for materials, the most expensive part. Standard Knauf gypsum board sheets cost from 190 rubles per piece in Moscow, and from 45 UAH per piece in Kyiv.
Profiles cost on average 13–15 UAH per piece in Kyiv, and from 30 rubles per piece in Moscow.
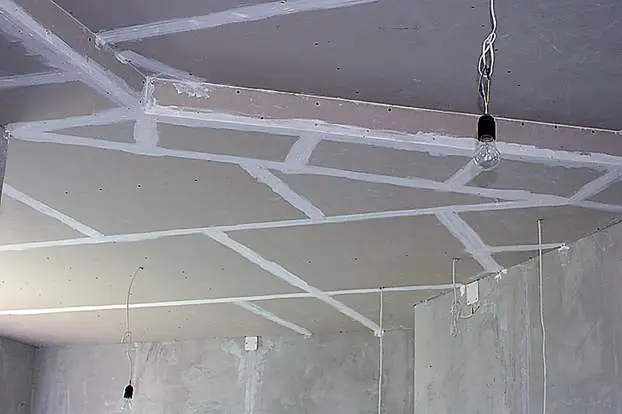
Photo 3 – Frame for a suspended ceiling, covered with gypsum board
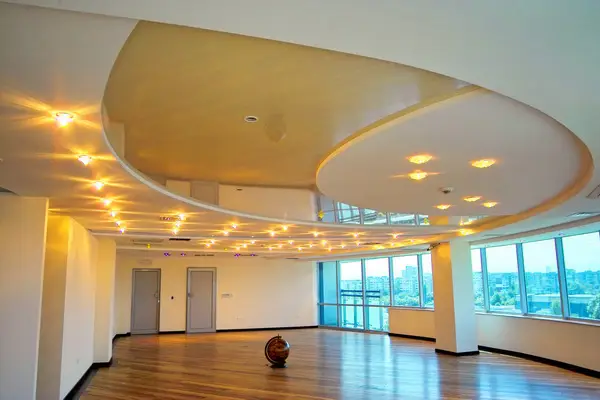
Photo 4 – Combined suspended ceiling