What is a Floating Floor Screed and How to Install It Correctly
A floor screed that does not come into contact with the walls is called "floating." It is used when the base moves and can cause deformation of a regular contact screed. Installing a "floating floor" structure over a slab is also one of the most effective ways to soundproof a floor.
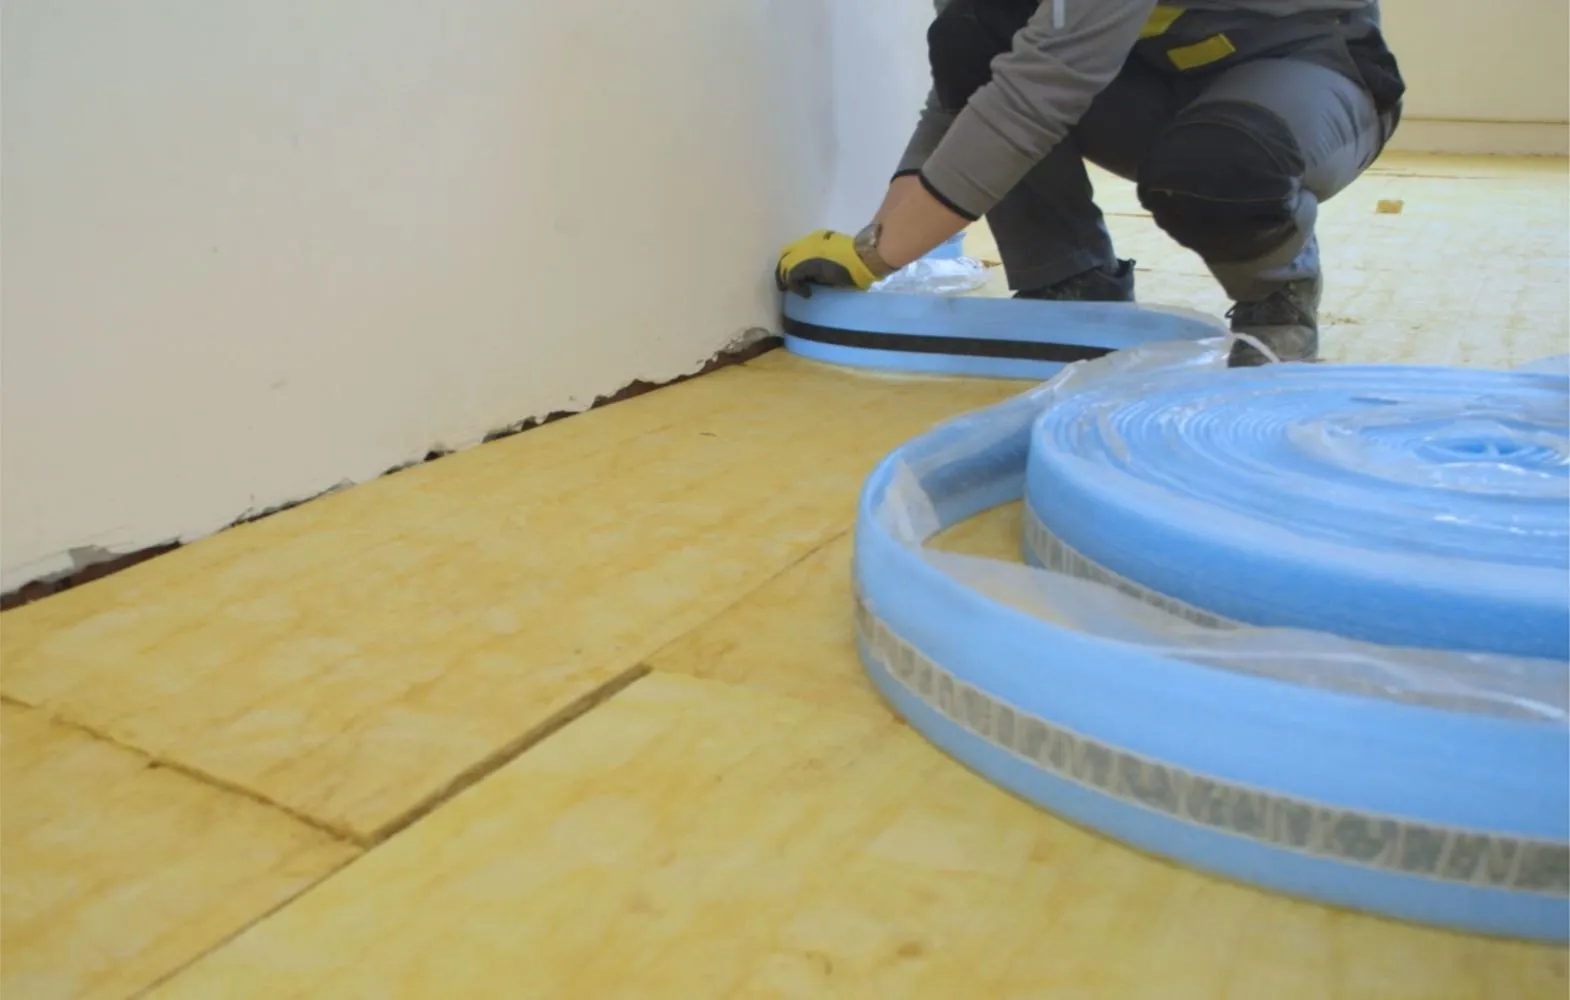
At the perimeter of the room, a damping tape is laid, which prevents the screed from contacting the walls and allows it to "float." Alexander Cherkinsky, Head of Technical Training at "Sen-Goben," explained how to properly pour a floating screed with thermal or sound insulation and without it.
Alexander Cherkinsky
EXPERT AT "SEN-GOBEN"
Head of Technical Training at Weber division. Specializes in dry mixes, specialty materials, and technical expertise. Conducts training on floor, wall, and ceiling leveling.
1. Prepare the Floor Slab
Regardless of whether you plan to insulate the floor thermally or acoustically, the surface must be prepped: remove construction debris and vacuum. If you need to fill technical openings or significant unevenness, you can use a leveling compound weber.vetonit 6000 or 5000.
Four hours before pouring the floating floor, the base should be treated with primer weber.vetonit MD 16 or weber.prim multi. It must be thoroughly worked into the surface with a brush. A floating screed should always be separated by rooms to prevent cracks at doorways. Install a damping tape along the perimeter, which prevents the screed from contacting the walls.
2. Insulate the Floor Thermally and Acoustically
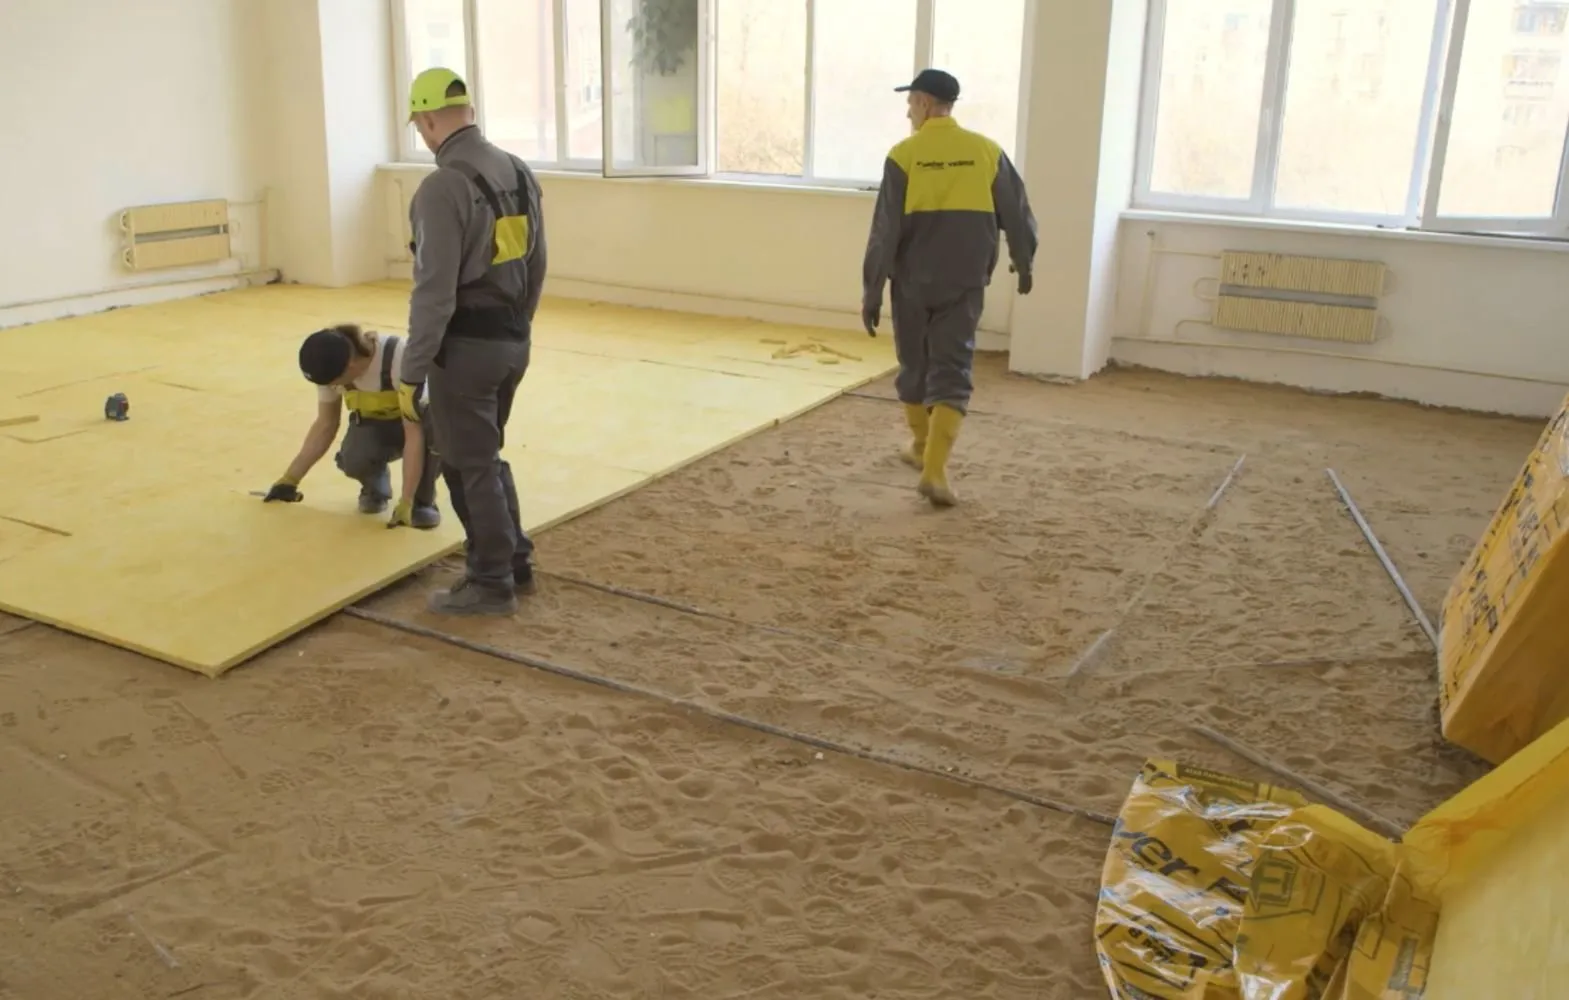
When using soundproofing panels, no primer is required, but a leveling layer of fine sand or expanded clay should be poured on the base to fill all holes and unevenness. Lay soundproofing panels made of mineral wool ISOVER Floating Floor on the floor. They reduce impact noise by up to 37 dB, so neighbors below won't hear even a broken glass bottle. Large panels measuring 1190x1380 mm are easy to install.
3. Cover the Surface with an Insulation Layer
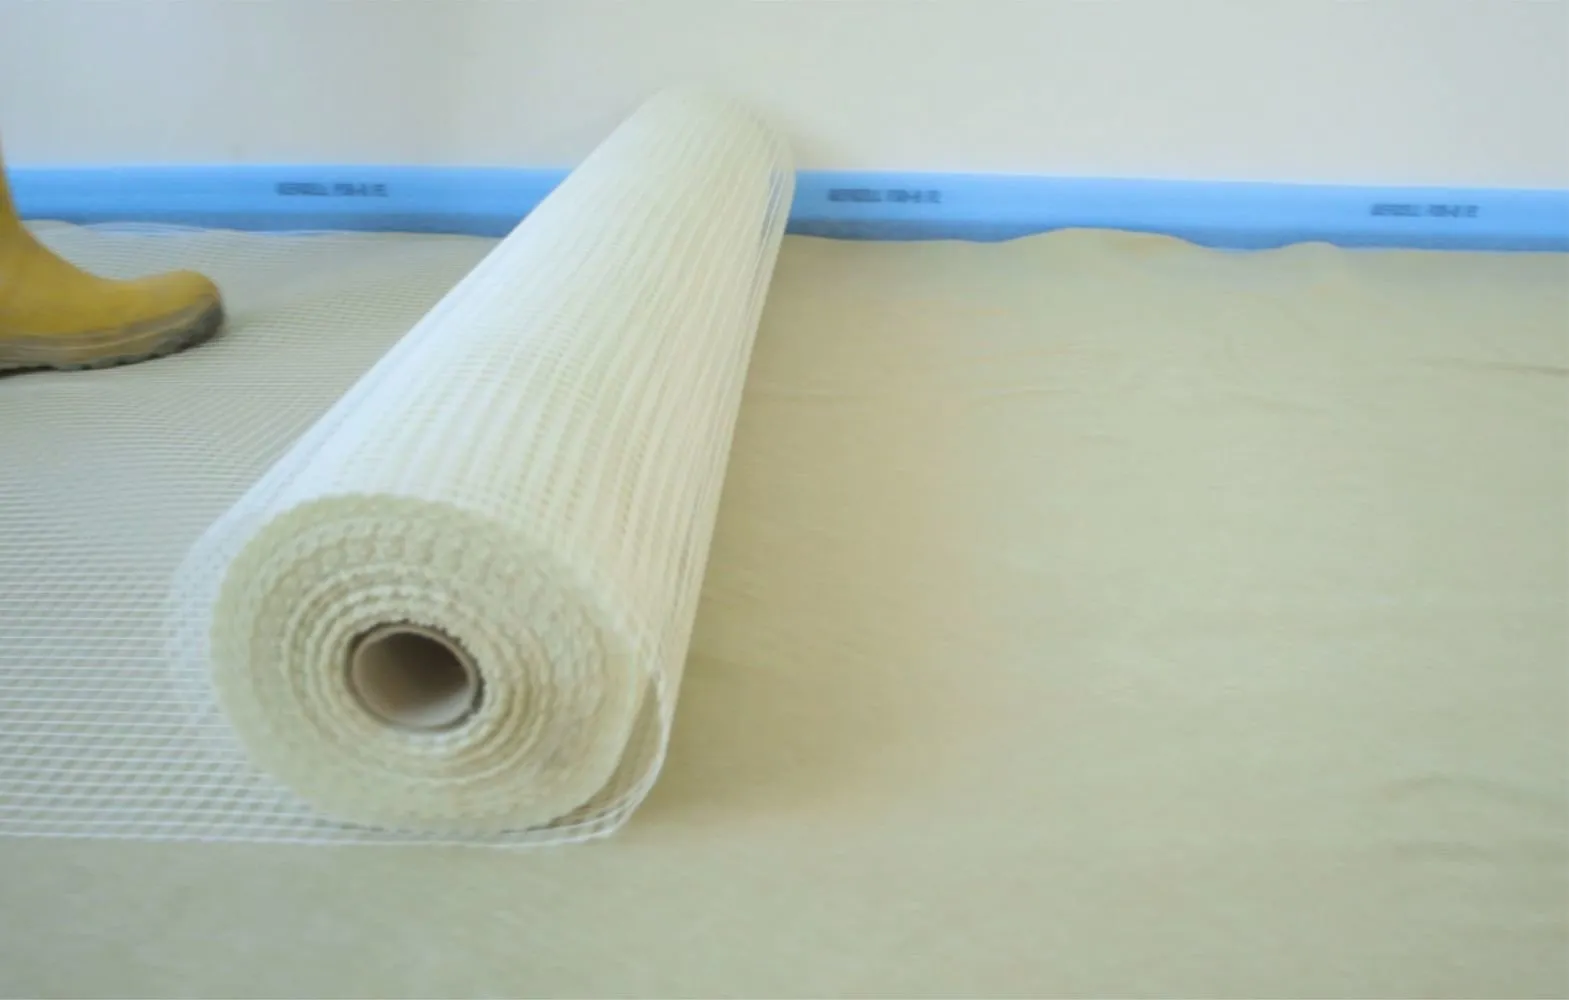
Whether you use soundproofing material or pour a floating floor directly onto the base, the surface must be covered with an insulating material. Polyethylene film creates a separating moisture barrier, while geotextile maintains vapor permeability. It is preferable to use the latter – it provides stronger bonding for the entire structure.
Lift the edges of the insulating material to form a kind of trough so that the mixture doesn't seep onto the soundproofing panels. Lay reinforcing mesh with a small overlap – for example, fiberglass mesh weber.floor 145.
4. Prepare the Material and Water
Calculate in advance the amount of material and water needed for the room. The recommended thickness of the pourable floor weber.vetonit 4350 is no less than 25 mm, which means the consumption is approximately 40–42 kg per square meter. It's better to pour water into a large container and draw from it with a measuring vessel or prepare the required amount of water in five-liter plastic bottles. Mixing and pouring the mixture must be continuous – this can affect the screed's quality.
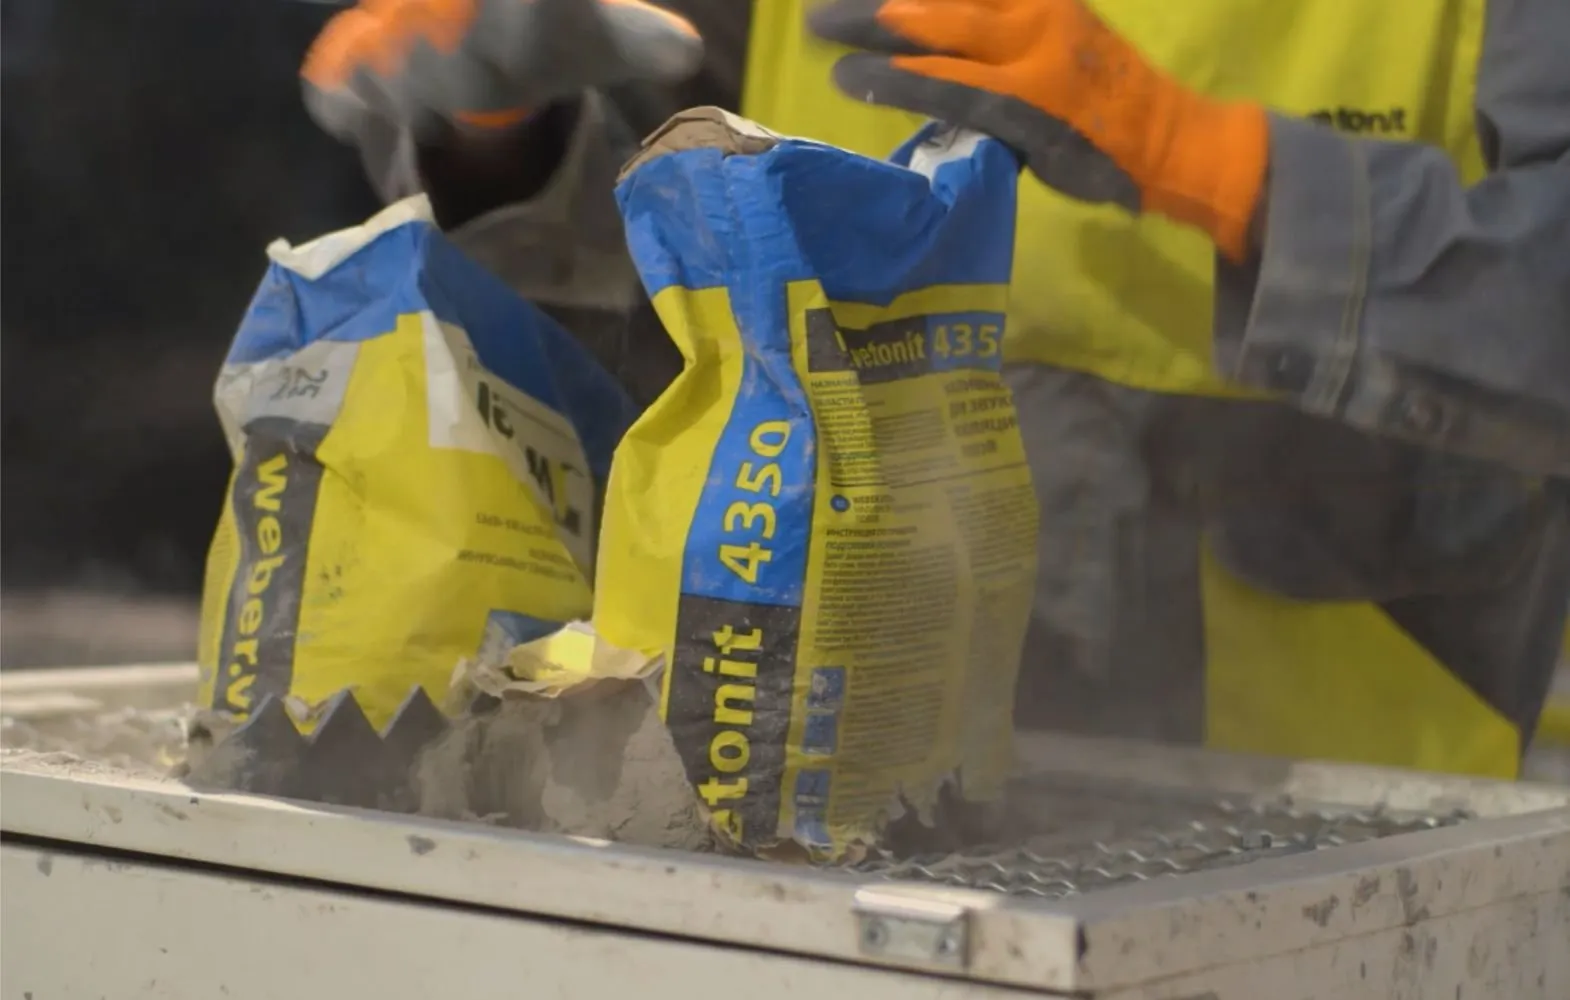
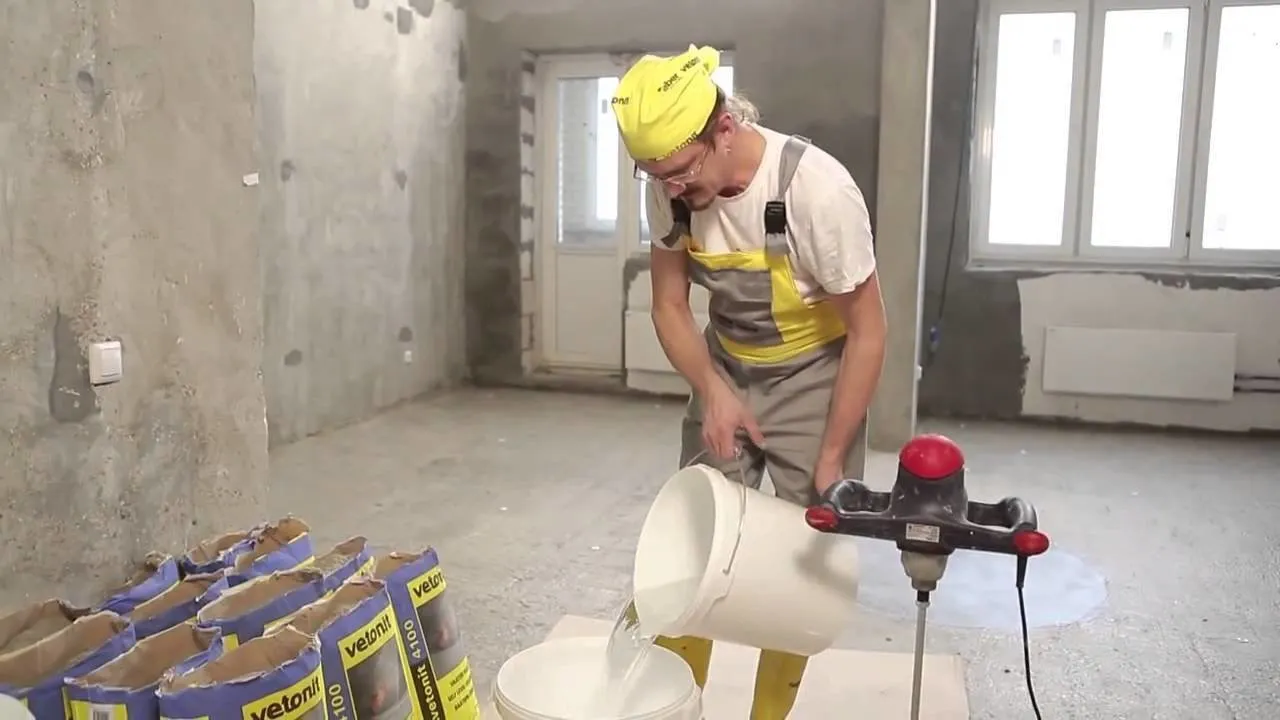
5. Prepare the Mixture
Pour 4.5–5 liters of water into a container and add 25 kg (exactly what's in one bag) of pourable floor weber.vetonit 4350. Remember that you must always add the dry mixture to water, not the other way around. Mix the solution for a couple of minutes with a drill mixer at 400–600 rpm until it becomes homogeneous. The lifespan of the mixture is only 30 minutes, so prepare it just before starting work.
Strictly follow the recipe, as adding too much water can cause the mixture to separate, making the floor less strong and causing cracks.
6. Pour the Screed
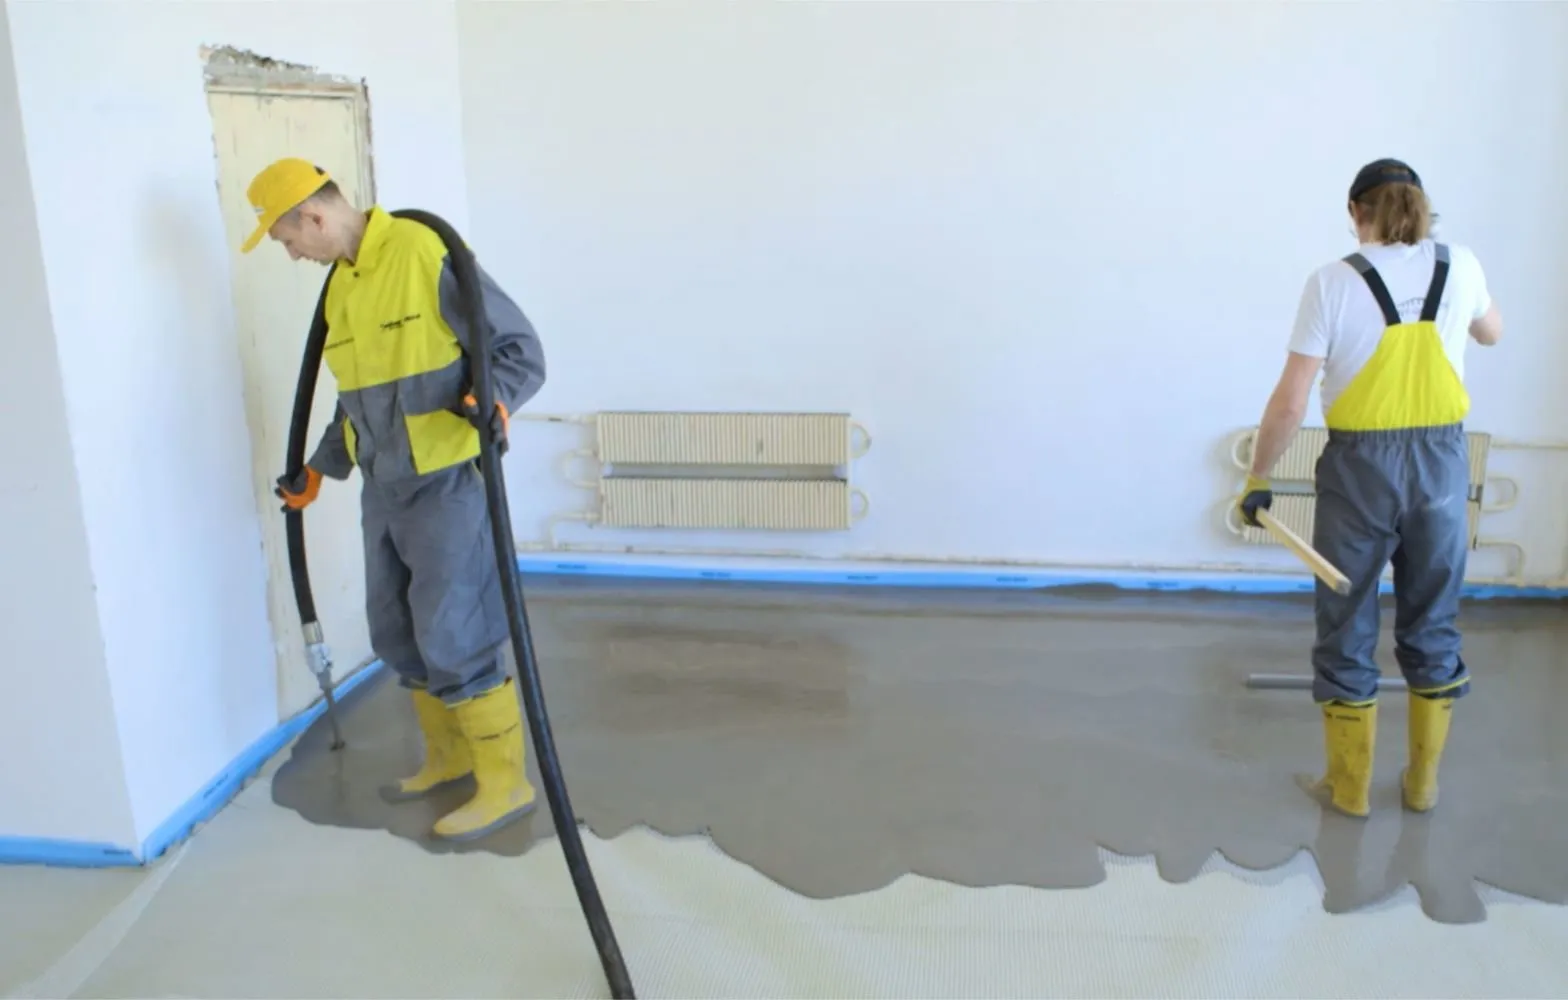
During pouring, there should be no drafts in the room, so close all windows in advance. The prepared mixture can be applied by hand or with a pump.
For a standard floating screed weber.vetonit 4350, the layer thickness should be between 20 and 50 mm, and if sound insulation is used, at least 25 mm.
Constantly monitor the layer thickness and add new portions of the mixture. This prevents it from spreading unevenly or thinning out. Additionally, move the mixture with a long-handled trowel to help it spread evenly. A difference of 2–5 mm will self-level.
7. Install Flooring
You can walk on the floor after 3–4 hours. After 3–5 days, you can lay ceramic or stone tiles, and after 1–3 weeks, practically any flooring. However, for example, parquet tiles require special humidity control and may need more time for installation.
Sometimes some types of expensive flooring require a very smooth, "mirror-like" surface. In such cases, an additional leveling layer of pourable floor weber.vetonit 3000 can be applied.
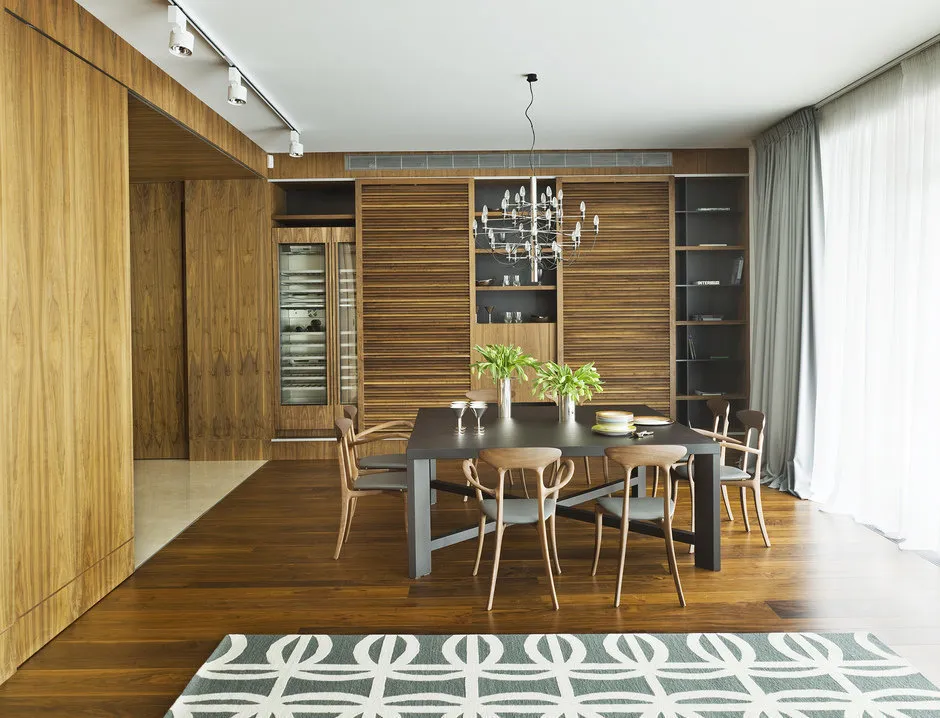 Design: PHD Studio. They teach many other things in the "Sen-Goben Academy"
The "Sen-Goben Academy" is a unique educational center in Russia, created specifically to popularize innovative materials and solutions in construction. Training is available not only for professionals in the construction and renovation industry, but also for craftsmen, supervisors, and foremen. It's also useful for those who are planning a renovation and want to speak the same language as the repair team and monitor work quality.
Sen-Goben specialist Alexander Cherkinsky leads several trainings at the Academy and explains how to select various materials and work with each of them correctly, helping to sharpen practical skills and master new techniques.
Additional 3 Useful Tips from the Expert
The quality of the repair largely depends on the skill and professionalism of those who perform it. We learned from Alexey Nikolaev what conditions must be met for proper installation of a floating screed, how to do it correctly on a balcony, and whether time can be saved in the process.
Alexey Nikolaev
Expert
Head of the Construction Company "Forc Mounting"
1. What materials should you rely on if you want to do the repair faster?
The most optimal materials from Weber-Vetonit are fast-hardening floor leveling compounds weber.vetonit 5000 and weber.vetonit 6000. The latter is suitable if time is critical. You can perform any type of work on it just a day later.
If time is not that critical, a more economical option is weber.vetonit 5000. It can be poured in a thinner layer (the manufacturer states from 10 mm), and you can lay laminate on it after a week, and tiles after three days.
2. How to properly make a floating screed on a balcony? What's the difference from a warm and dry room like a living room?
The screed is made on a cement base, so there is no difference whether it's done in a warm or cold room. A floating screed is any that is isolated from the base. Therefore, it's enough to lay a film on concrete and pour the mixture on top – you'll already have a floating screed. You can add any type of insulation (expanded polystyrene, mineral wool). The main thing is to remember that for an area over two square meters, a damping layer must be installed along the perimeter.
It is essential to follow the recipe. The amount of water should not exceed the norm. If we use pourable floor weber.vetonit 4350, then fiberglass mesh can be used for reinforcement. The layer can be 25 mm thick on a weak base and 10 mm on a strong one.
3. What conditions should be followed for proper installation of a floating screed?
If you're planning to make a floating screed in a basement, the humidity must not exceed four percent, and the temperature should not be below five degrees Celsius. In other cases, it is not necessary to check these parameters specifically.
On the cover: Design project by Sergey Klychkov.
Need a renovation specialist?
Find verified professionals for any repair or construction job. Post your request and get offers from local experts.
You may also like
More articles:
 10 Beautiful Instagram Accounts About Design
 What to Buy at IKEA: 8 New October Items
 Arranging the Living Room in a Panel House: 5 Ideas
 How to Quickly Update Interior Design: 7 Ideas
 8 Tips for Planning a Two-Room Apartment
 How to Maintain Order at Home with a Young Child
 Building a Bathhouse: 9 Useful Tips from Professionals
 Kitchen Interior Design with Sofa