5 mistakes in wardrobe planning: how to avoid them?
Designers have created hundreds of items for wardrobe rooms: rods, pantographs, sliding drawers, shelves, and hangers with various options. But even the newest developments can become completely useless and even inconvenient if errors are made during the planning stage. Where to start when designing a wardrobe, explains designer Anna Russkina.
Anna Russkina
Interior Designer
Creator of Buton Design Interior Studio, who loves to dream and bring dreams into reality. She believes that even a Khrushchyovka can be transformed into a space for happy living. Error 1: Not knowing the contents of the wardrobe
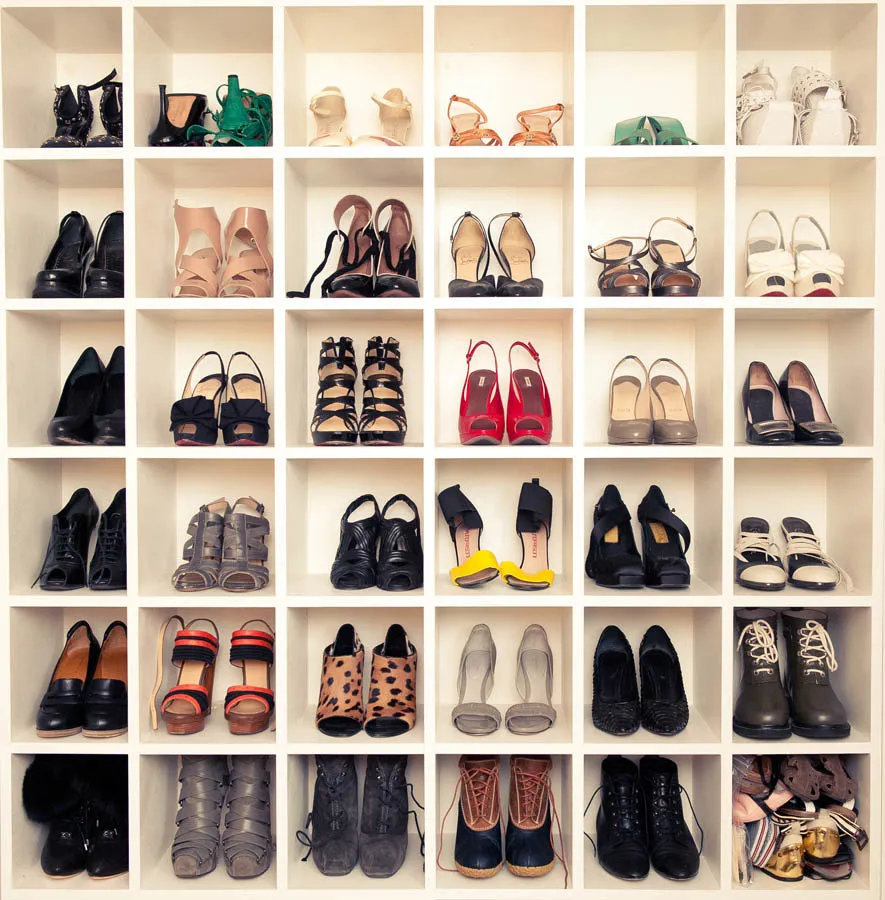
Purchasing standard wardrobe contents without knowing what items will be stored in it is a regrettable mistake. Standard contents are designed for an average person, but each person is unique. Therefore, one collects shoes, for example. Another collects white shirts or hats. And all of this requires space.
How to avoid the error?
First, consider exactly what items will be stored in the wardrobe. Then calculate the required amount of equipment (rods, pantographs, hangers, shelves) based on the known number of items. Don't forget to check the dimensions of equipment (wardrobe depth – from 50 to 60 cm; shoulder width – 34–51 cm; distance between rod and top shelf – no less than 4–5 cm).
Short items are conveniently placed on two rods (one above the other), optimal distance between them – 80–100 cm; standard shelf depth – 40 cm; to fit two stacks of items on a shelf, set the shelf width at 50–60 cm and height at least 32 cm. Shelf width of sliding drawers – 40–70 cm, height – 40 cm (these sizes ensure optimal load on the sliding mechanism).
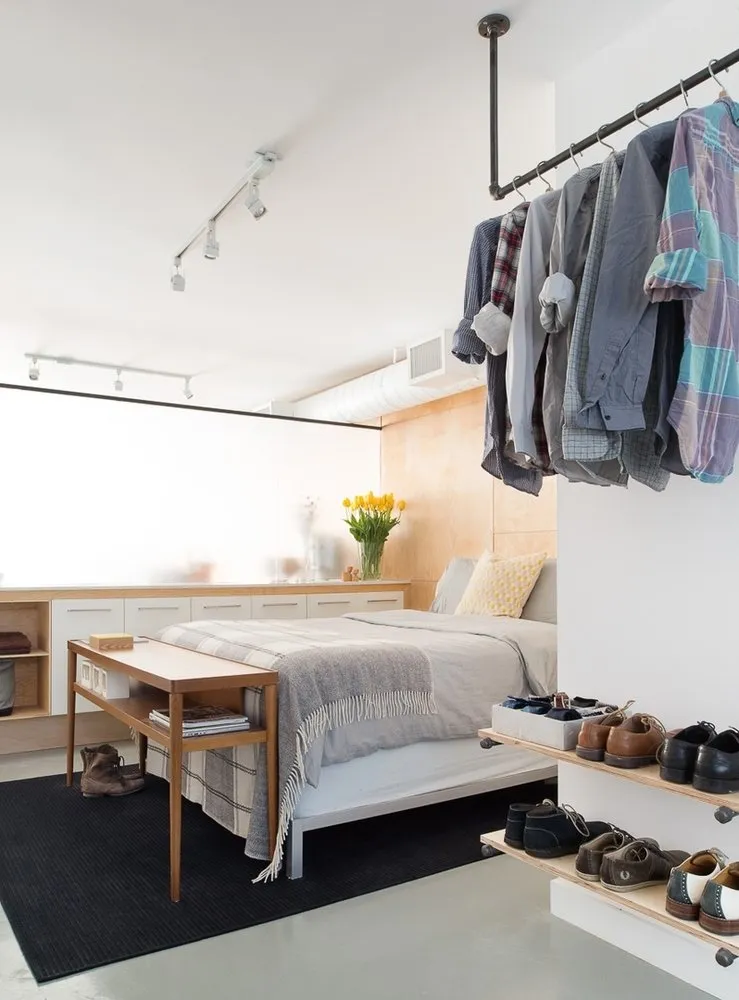
 Error 2: Thinking horizontally
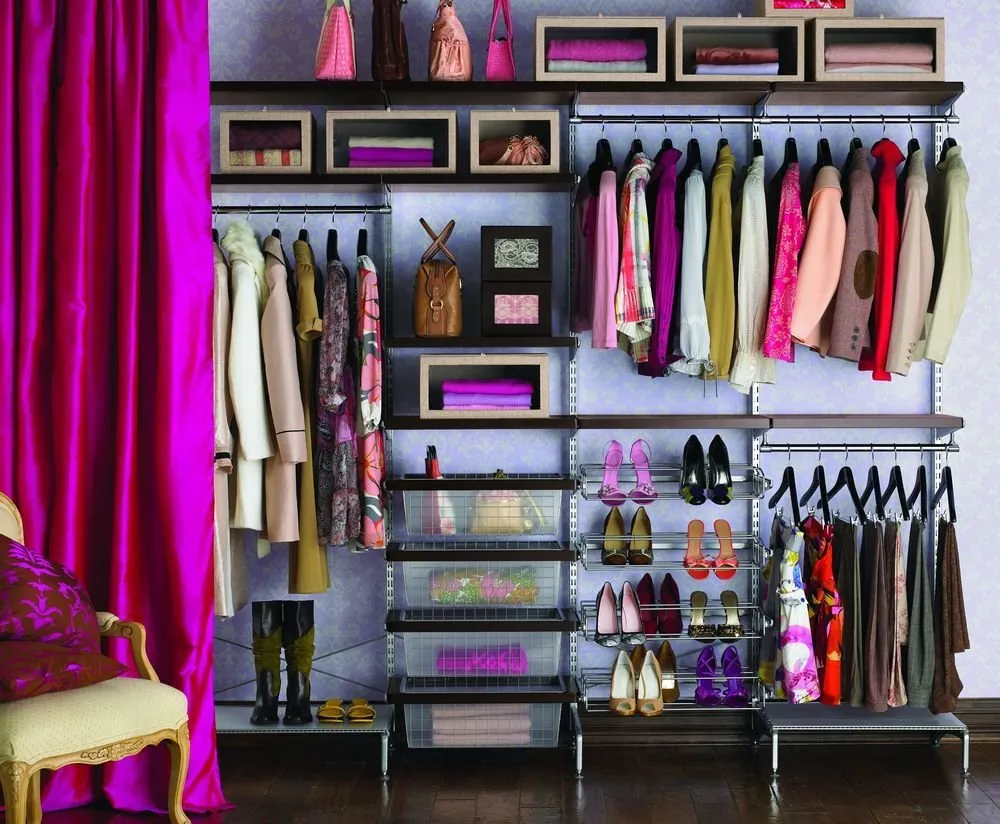
Conventional horizontal zoning for a wardrobe is not suitable. Here, every cubic centimeter of space should be used, even if it is located high above the head.
How to avoid the error? Divide the wardrobe space into three zones: upper, middle, and lower. Place items rarely used above (above 190 cm from floor level) – seasonal items, bags, suitcases. Plan how they will be stored (freely accessible on shelves or in boxes). Shelf height calculation is based on: shelf height = item height + 5 cm.
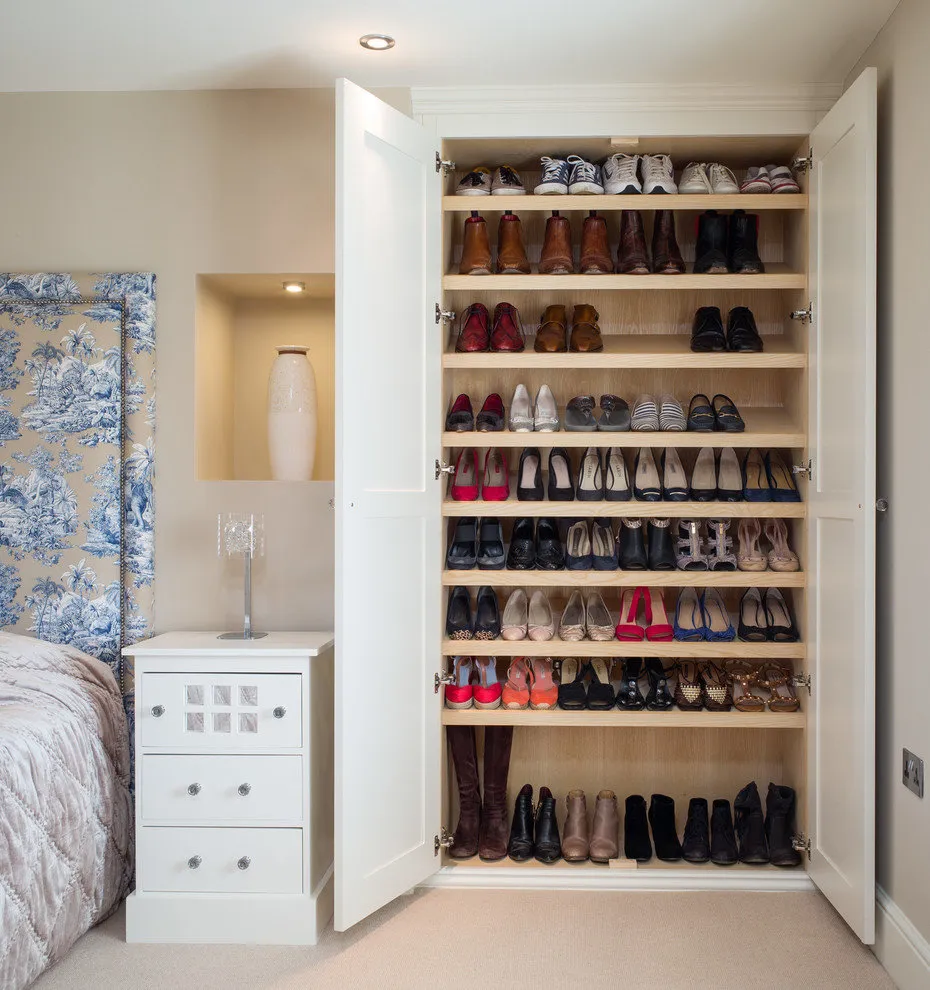
In the middle zone (60–190 cm from floor level), keep items needed daily. Long items (dresses, coats, trousers) can go below 60 cm but should be easily accessible without bending or extra effort. In the lower zone (below 60 cm), it's convenient to store shoes, seasonal items, and bedding. Shelf depth for shoes should be no less than 35 cm.
 Error 3: Thinking standardly
Relying solely on ergonomic norms without considering individual anthropometric data is like tailoring a suit for a client, trying it on a mannequin rather than the person.

How to avoid the error? If the future owner of the wardrobe is clearly taller, shorter, or wider than the average person, it's better to move away from standard solutions and develop storage systems specifically for him. Otherwise, you risk ending up in an uncomfortable situation: the rods for hanging main garments will be too high or too low. The minimum room width comfortable according to ergonomic calculations may still be too narrow and uncomfortable for someone with a higher-than-average weight.
 Error 4: Forgetting about ventilation
Often, during the planning of a wardrobe room, ventilation is overlooked. In a room without windows and lacking a fresh air source, humidity levels increase. As a result, the likelihood of mold and mildew appearing increases several times. Even if the air in the apartment is very dry, it's better to ventilate clothes after wearing them – they will look better and last longer.

How to avoid the error? Ventilation systems in each separate room are installed individually, but the principle is always the same: ensure the room has a fresh air supply and organize the removal of “used” air. Ventilation can be natural or mechanical; if it is planned correctly, the wardrobe room will always have fresh and clean air.
 Error 5: Not finding space for a mirror
A mirror in the wardrobe is necessary, who could argue with that, and it's better to be full-length so you can see your whole look. But what to do if the wardrobe is small and you want to use space for storage as much as possible?
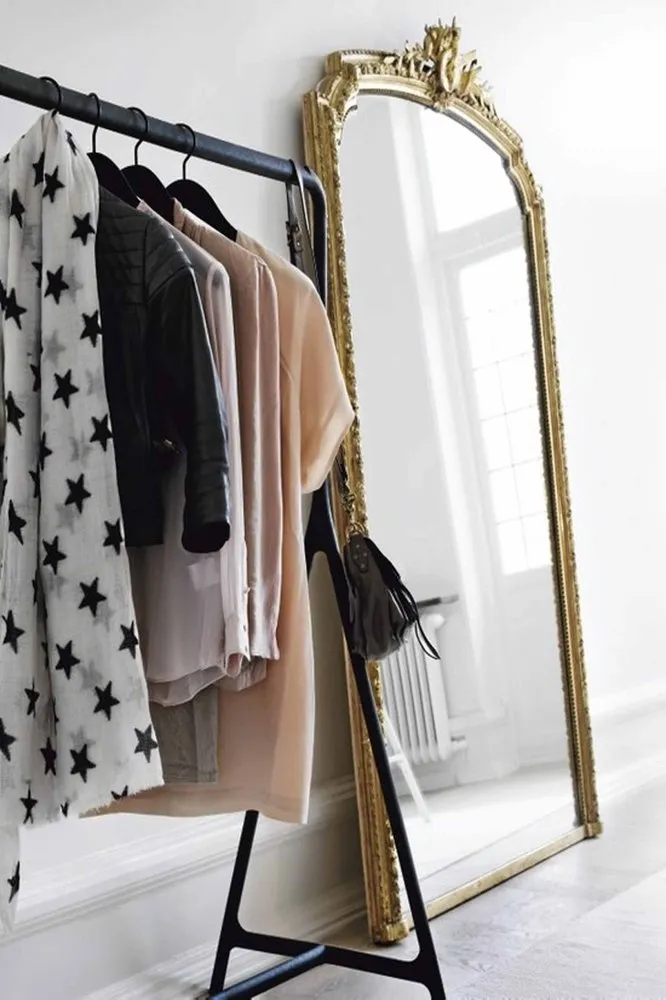
How to avoid the error? If the wardrobe is located in a bedroom or hallway, the mirror can be placed on one of the nearest walls. This solution allows you to view your full look from a comfortable distance in all directions. In addition to free-standing walls, a suitable place for the mirror surface would be wardrobe doors (they can be sliding or swinging).
Space for a mirror can also be found inside a small wardrobe – install a facade with a mirror surface on a profile with guides (similar to sliding doors). If needed, the mirror can be shifted aside to provide free access to items.
Rules for wardrobe planning are quite simple, it's just a matter of organizing knowledge and acting sequentially.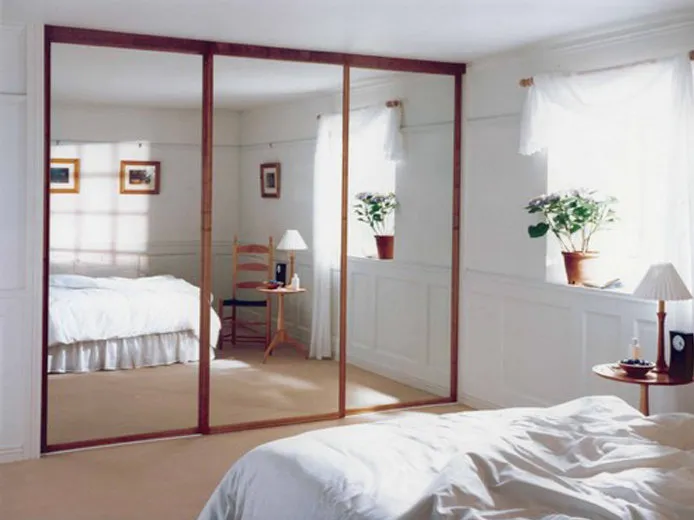
Need a renovation specialist?
Find verified professionals for any repair or construction job. Post your request and get offers from local experts.
You may also like
More articles:
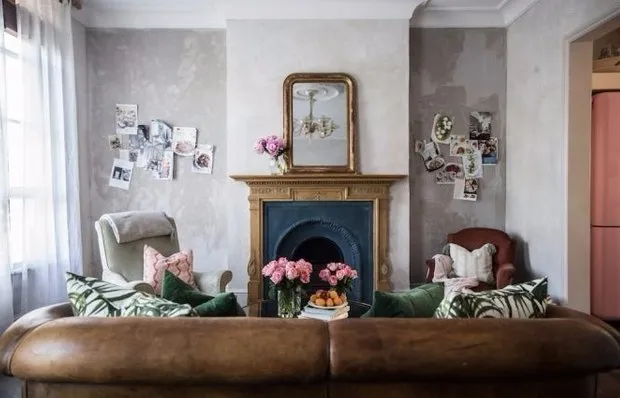 Beauty American Style: Vintage Interior in London
 How to Quickly and Easily Transform Your Interior: 8 Tips from a Professional
 How to Properly Lay Tile in a Bathroom
 New Law on Real Estate Registration: All Details
 6 Things You Need to Do Before New Year
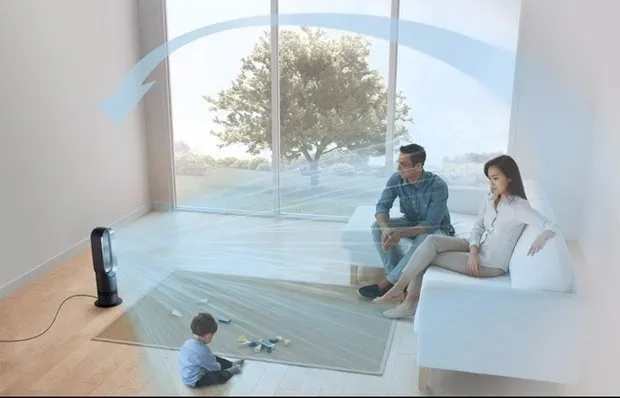 Pros and Cons: Heater Fan
 11 Practical Ideas for Storing Things in a Studio Apartment
 3 Variants of Studio Apartment Layout for Different Types of Residents