How to Properly Lay Tile in a Bathroom
Among all finishing materials for a bathroom, ceramic tile is the most popular. Proper base preparation and high-quality installation are the key to its longevity. We provide a step-by-step guide.
Ceramic tile is a traditional material for bathroom decoration. Any shapes and sizes, a wide variety of colors and patterns make it a versatile surface. Choosing the right materials and doing the work correctly will save you from future hassles.
Today, we share with professionals the correct way to carry out these works, including surface preparation, installation of waterproofing, laying of the tile finish, and grouting using Weber materials.
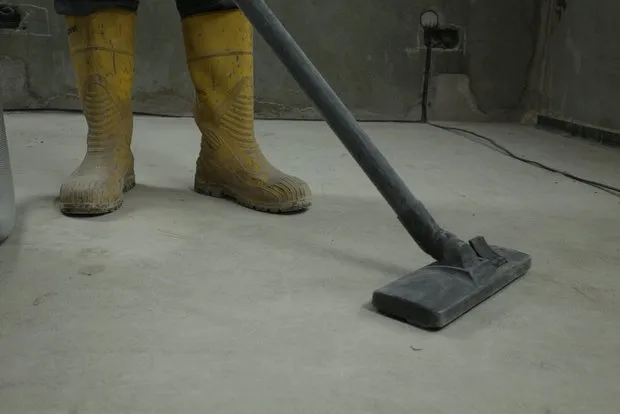
Surfaces must be dry, with moisture content not exceeding 3%, and free from oils, fats, lime plaster residue, bitumen pastes, and peeling coatings. It is essential to dust the base with a vacuum cleaner.
If there are irregularities on the walls, it is recommended to level them with universal moisture-resistant plaster weber.vetonit TT40 or weber.vetonit TT. If there are level differences on the floor, use fast-setting self-leveling floor weber.vetonit fast level or reinforced self-leveling floor weber.vetonit strong depending on the initial data.
 2. Applying Waterproofing
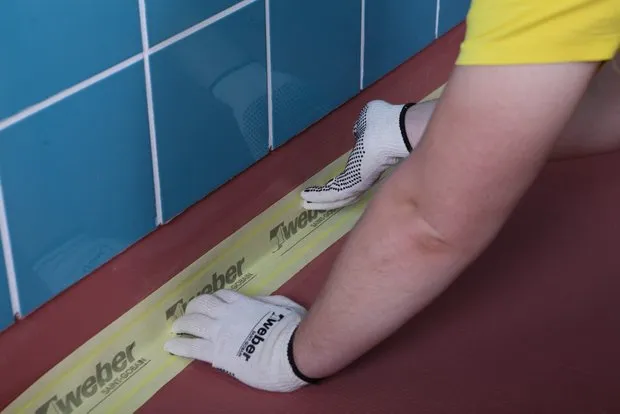
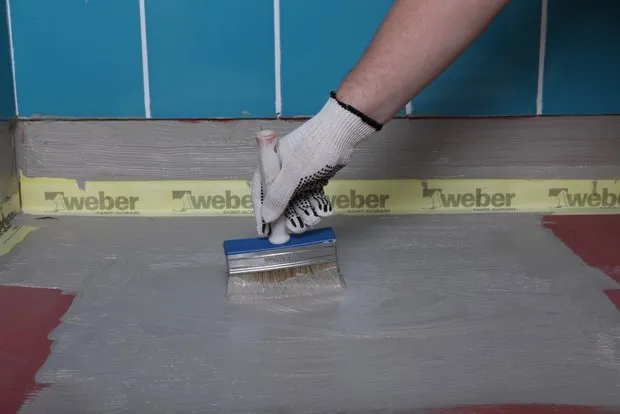
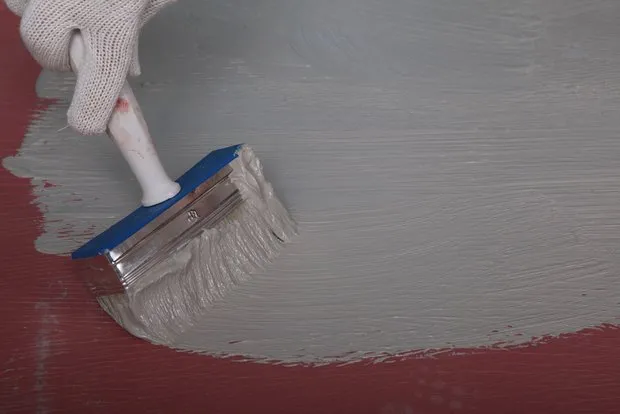
Apply polymer waterproofing in a continuous layer, extending 10 cm onto the wall around the perimeter and in the area of so-called wet zones: bathtub, shower cabin, sink.
Before applying the waterproofing, treat the base with weber.prim multi reinforcing primer for better adhesion of materials.
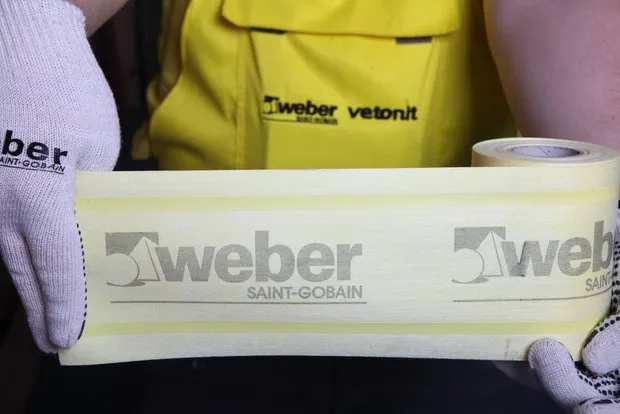
The waterproofing is ready to use and does not require solvent addition. It is applied in two layers: the first layer pink, the second gray. This makes it easier to ensure even application. Vertical and horizontal joints between walls and floors should be isolated with special tape weber.tec 828, which is also adhered using mastics.
The second layer can be applied 2–4 hours after the first. During work and for 24 hours after completion, protect the surface from moisture. You can proceed to the next stage of work 24 hours after applying the second coat of waterproofing.
 3. Performing Tile Installation Works
1. Applying Adhesive
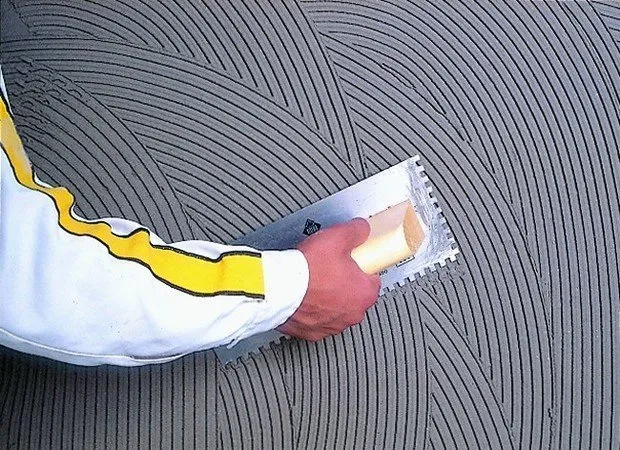
When preparing the tile adhesive weber.vetonit granit fix, follow the instructions on the back of the package. Pour the required amount of water into a clean container and add the dry mixture. Mix the solution until it becomes homogeneous, let it stand for 5 minutes and mix again. The prepared solution is suitable for use within 2 hours.
Apply the adhesive to the wall base with a smooth edge of a trowel, then spread it evenly using a notched trowel. Thanks to its elasticity, the mixture spreads easily over the surface.
2. Installing Tiles
Check the condition of the tile finish: if the back side of the tiles is dusty, they must be cleaned. To ensure secure fixation and even distribution of adhesive on the tile surface, use a rubber mallet.
When installing tiles, leave a gap between them to compensate for linear deformations of at least 1 mm – use spacer clips if necessary. Adhesive should not fill more than half of the joint.
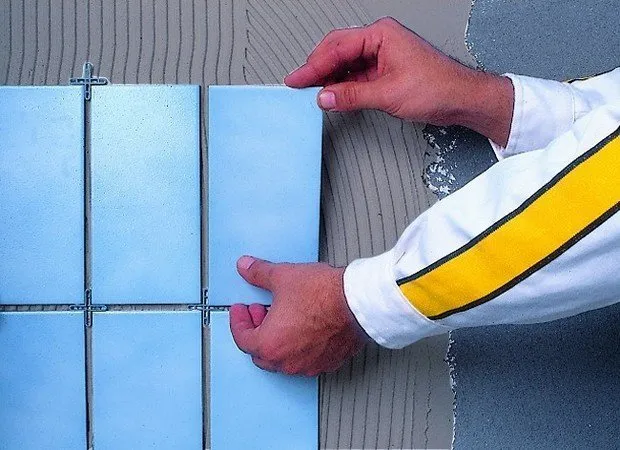
Tile placement on already applied mortar should be done within 15 minutes, and tile adjustment must not be delayed more than 15 minutes after placement. The timing may vary depending on room temperature and humidity.
Proceed to the next stage of work 24 hours after wall installation and 36 hours after floor installation. During this time, the tiled surface must not be subjected to loads or water exposure.
3. Applying Grout
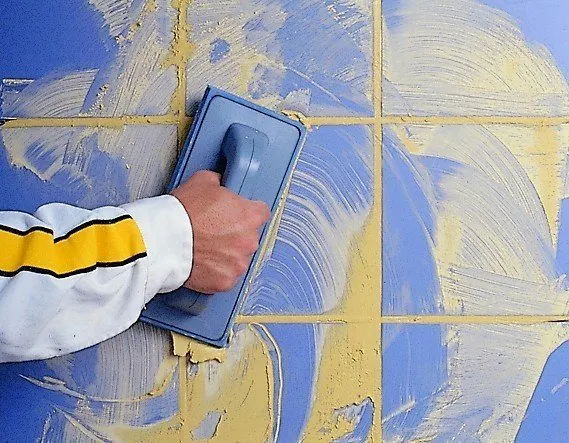
When preparing the tile grout weber.vetonit DECO, follow the instructions on the back of the package. Pour the required amount of water into a clean container and add the dry mixture. Mix the solution until it becomes homogeneous, let it stand for 5 minutes and mix again.
Apply the mixed grout with a rubber spatula, filling the joints to full depth. Allow the joints to dry for 10–30 minutes (the time may vary depending on room temperature and humidity). Then wipe off excess grout from the tiles with a damp sponge. The next day, clean the tiled surface with a dry cloth.
Walking on the grouted floor is allowed after 24 hours. During this time, the tiled surface must not be subjected to loads or water exposure.

Cover image: Designer Anastasia Schperling's project.
Need a renovation specialist?
Find verified professionals for any repair or construction job. Post your request and get offers from local experts.
You may also like
More articles:
 12 Interesting Facts About New Year
 11 Green Antidepressants for City Residents
 How to Choose Material for House Facade Cladding
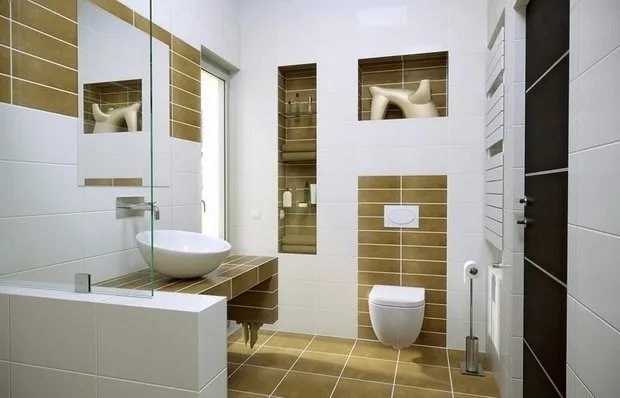 5 Best Layout Options for Bathroom in Standard Panel House
 10 Things to Get Rid of Right Now
 4 Ways to Transfer Apartment Ownership to Another Person
 6 Ways to Make Ironing More Pleasant
 How to Check and Reduce Property Tax