How to Install a "Warm Floor" on the Kitchen
High demands are placed on floor coverings in the kitchen, so not all materials are suitable for this space. Tiles or ceramic granite are the most popular coverings. Their only drawback is that floors become cold, making it uncomfortable to walk barefoot or in socks. However, this issue can be resolved by installing "warm floors" on the kitchen. Installing them is not difficult if you use appropriate materials and correctly carry out the installation process.
General Tips
- use materials from the same manufacturer, as they blend well with each other — this protects you from unexpected results;
- close windows and doors before starting work, avoid drafts;
- strictly follow the instructions on packaging, observe proportions;
- monitor the setting time of adhesives and other compositions to ensure you finish all tasks on time;
- if anything is unclear, call the free hotline before beginning any process — leading manufacturers offer this service.
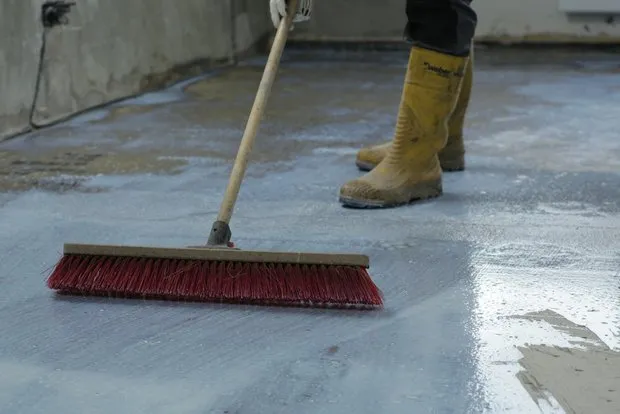
1. Preparing the Base
Clean the base thoroughly with a vacuum cleaner and then treat it with primer. Use a primer-concentrate, such as weber.vetonit MD 16, or universal primer, such as weber.prim multi. The concentrate must be diluted with water in the ratio specified by the manufacturer. Apply the primer with a soft brush over the entire surface, avoiding puddles.
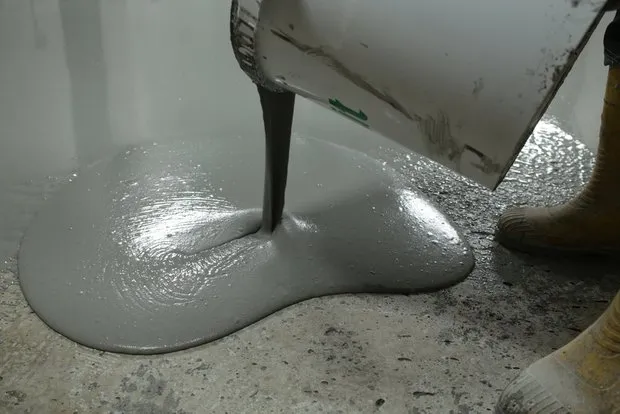
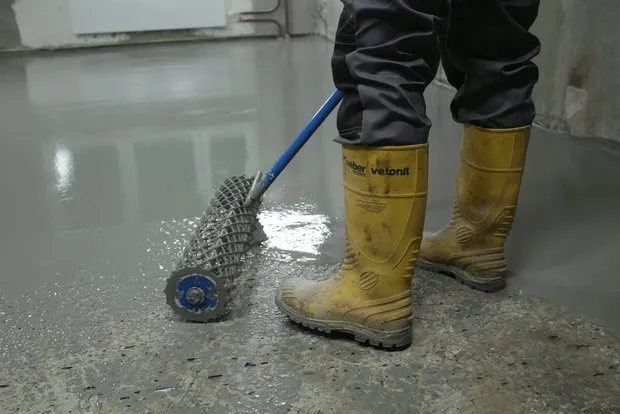
2. Applying the Self-Leveling Floor
Use a fast-setting self-leveling floor, such as weber.vetonit fast level. Add the required amount of mixture to a clean container with water. Note: the mixture is added to water, not the other way around. Mix thoroughly with a drill-mixer until uniform. The resulting mixture should be used within 30 minutes. Begin working from the far corner, finishing near the entrance door.
3. Installing "Warm Floors"
Traditionally, two types of electric floors are used: cables and mats. The installation process varies depending on your choice.
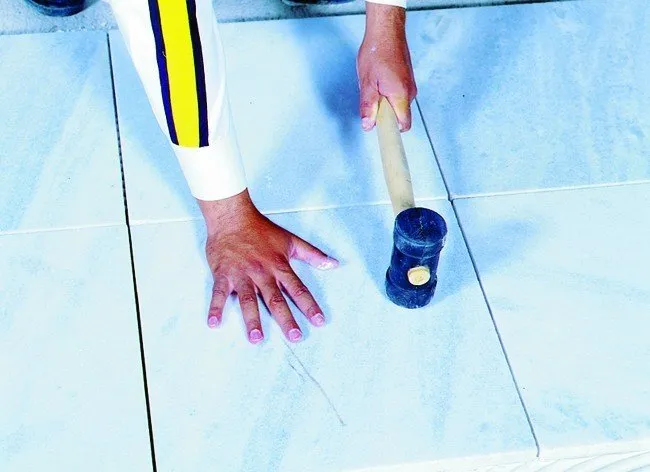
Installing "Warm Floors" in the form of cables. Lay the cable on the prepared floor treated with primer, then apply the self-leveling floor on top. Level the surface using a trowel or needle roller.
Installing "Warm Floors" in the form of mats. Lay a layer of self-leveling floor on the cleaned floor with primer applied, then place the heating mats on top (after it has cured). The fast-setting floor is ready for tile cladding in 2–7 days, depending on the thickness of the leveling layer and drying conditions.
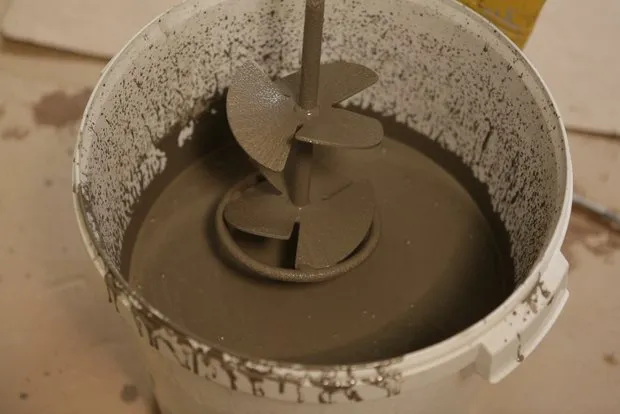
4. Applying Tile Adhesive
When preparing the tile adhesive weber.vetonit granit fix, follow the instructions on the back of the package. Pour the required amount of water into a clean container and add the dry mixture. Mix the solution until uniform, let it stand for 5 minutes, then mix again. The prepared mixture is ready for use within 2 hours.
5. Laying the Tiles
Lay tiles on the already applied setting compound within 15 minutes, and adjust their positions no later than 15 minutes after laying the tiles. The adhesive can be applied either to the tiles or to the cured self-leveling floor. When applying to heating mats, it is recommended to use two layers of adhesive: one on the mat and another on the tiles. Tile grouting can begin after 36 hours.
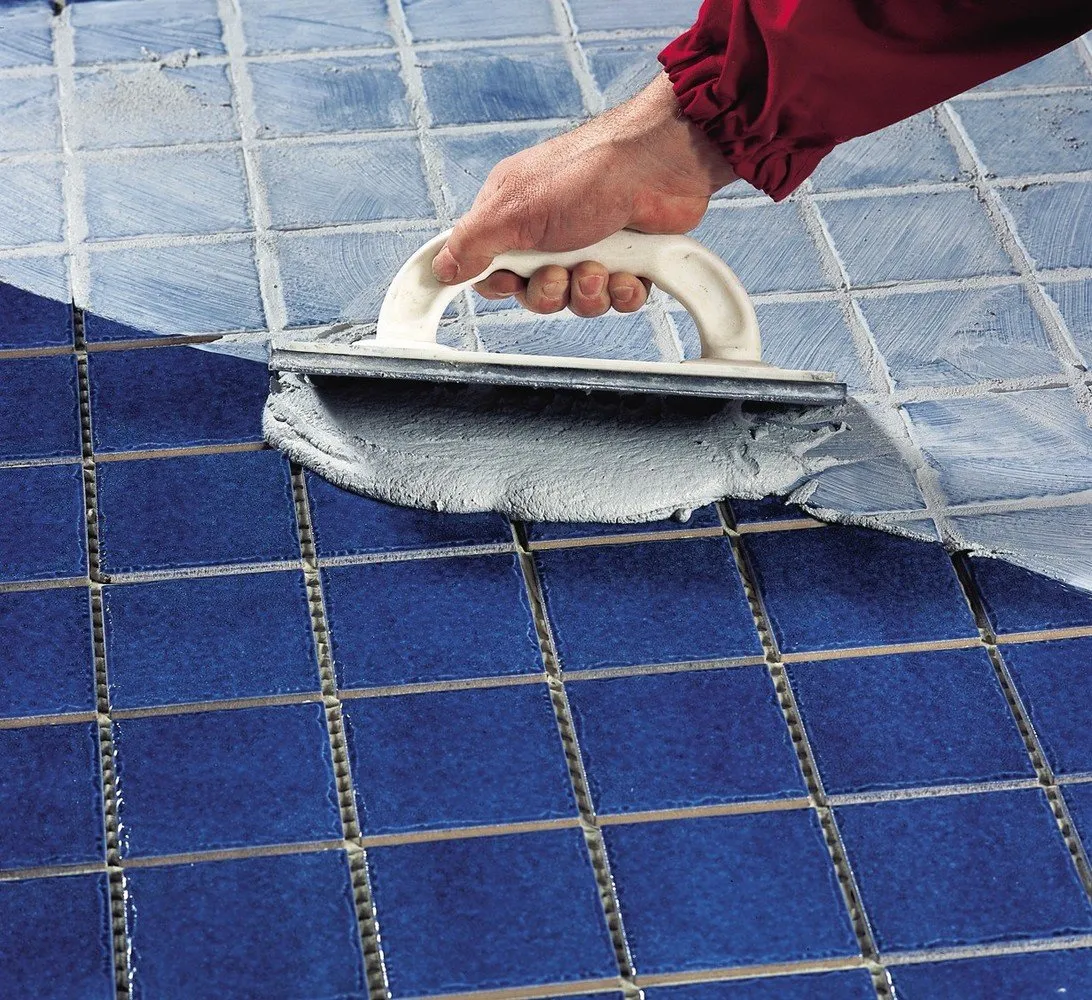
6. Grouting the Joints
When preparing the tile adhesive weber.vetonit DECO, follow the instructions on the back of the package. Pour the required amount of water into a clean container and add the dry mixture. Mix the solution until uniform, let it stand for 5 minutes, then mix again.
Fill the joints with the mixture using a rubber spatula. After 10–30 minutes, wipe the tiles with a damp sponge to remove any remaining residue from the tile surface, and after full drying clean the surface with a dry cloth.
You can walk on the floor after 12 hours, but it is recommended to place heavy furniture only after 28 days.
Need a renovation specialist?
Find verified professionals for any repair or construction job. Post your request and get offers from local experts.
You may also like
More articles:
 6 Ways to Make Ironing More Pleasant
 How to Check and Reduce Property Tax
 How to Make the Layout of a Standard Apartment Comfortable? Recommendations from Professionals
 Making a Small Apartment Feel Larger: 10 Pro Tips
 8 Tips for Those Who Want to Remodel the Foyer by Themselves
 A New Life for an Old Cottage in Poland
 Cozy Country Cottage with Blue Windows and Attic Library
 Secrets of Scandinavian Interior Design: Don't Fear Emptiness