Water Emulsion Paint for Ceiling
There are many types of paint, and choosing the right one for a specific room can be quite challenging. Therefore, it's better to know about the pros and cons of some of them before purchasing paint.
Water emulsion paint for ceiling is perhaps the most popular option. This type of paint also includes acrylic and latex paints.
Advantages
This type of ceiling coating has gained popularity because it has no odor and is non-toxic. Painting a ceiling with water emulsion paint can be done even by an amateur. Before applying to the surface, it is simply diluted with water.
Another important advantage: skin of hands and any items stained with water emulsion paint can be easily washed off.
Disadvantages
- Water emulsion paint is susceptible to microbial action (there are some types of paint that handle this issue);
- Cracks may form on the surface at low temperatures;
- Mold can appear in poorly heated rooms.
Based on customer reviews, the most frequently used and favored paints are from brands Teks, Tikkurila, and Dulux.
When painting a ceiling, the paint consumption depends on its structure and, naturally, on the coverage area. The simplest and most convenient method of calculation is using an online calculator that can be easily found on the Internet.
For approximate calculations, you need to enter the length and width of the room in meters, and then select the paint type from the dropdown list.
Example calculation: to paint a room that is 6 meters long and 4 meters wide with water emulsion (water-dispersible) paint, you will need 3.6 liters.
The ceiling painting process consists of several steps that must be followed precisely to ensure the coating looks beautiful and neat in the end.
Ceiling Painting Steps
Preparation for the process
You should cover the floor, furniture, radiators, and window sills in the room. For this purpose, you can use regular newspapers, securing the sheets with tape. Paper tape is very useful in this case since it can be stuck even on wallpaper, and the paint won't seep under it. It is easy to remove from any surface.
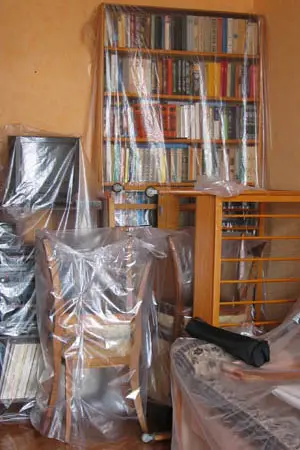
Photo 1 — Preparing the Room for Ceiling Painting
Installing Lighting
To achieve a smooth surface, it should be well lit and every corner should be visible. It is best to use white light bulbs of 15 W, energy-saving. They are safer and do not overheat during prolonged use. Place them in a lampshade on a tripod and move the lamp around the room as you paint the ceiling.
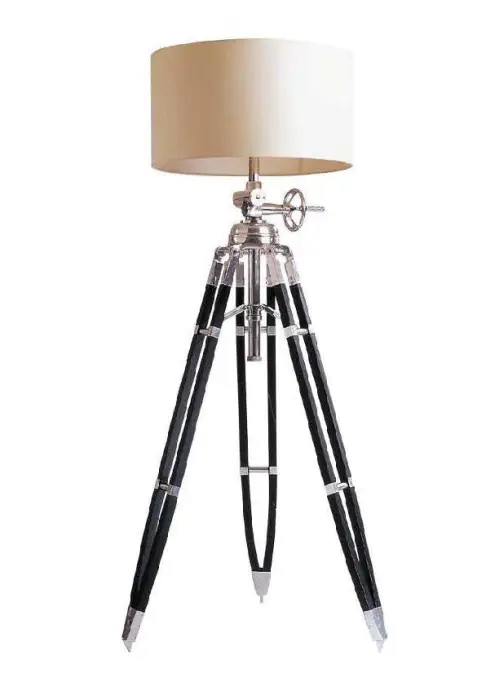
Photo 2 — Incandescent Lamp on a Tripod Is Convenient for Controlling Ceiling Painting
Preparing the Ceiling Surface for Painting
You should identify all existing defects and eliminate them using spackle.
Newly applied spackle takes 12 to 24 hours to dry.
Then use fine-grit sandpaper (commonly known as 'zero grit') and sand the entire ceiling surface, attaching it to a special tool. Work gradually, meter by meter. Then use the brush attachment of a vacuum cleaner or a clean broom to remove dust. This is very important as paint adheres poorly to dusty surfaces.
Photo 3 — Sandpaper for Ceiling
Priming
The recommended type of primer is indicated on the paint can. Sometimes it is possible to prime with the same paint used for ceiling painting. For this, instructions on diluting with water are provided on the can. It is important to strictly follow the proportions to avoid the mixture being too thick or too thin.
Prime the primer into a clean bucket, dilute with water (if recommended by the manufacturer), and then mix with a construction mixer. Paint the perimeter of the ceiling and particularly hard-to-reach spots with a brush. Then prime the entire ceiling with a roller. It is crucial to avoid interruptions in work and paint as quickly as possible so that the primer dries evenly, avoiding additional layers and dark spots. It is advisable to prime the entire ceiling in 15–20 minutes.
Painting is usually done in two to three coats. For quality paint, two coats are sufficient, whereas cheaper paint is applied in three or more layers.
After priming the surface, tools can be washed or discarded. It's better to use them once and dispose of them.
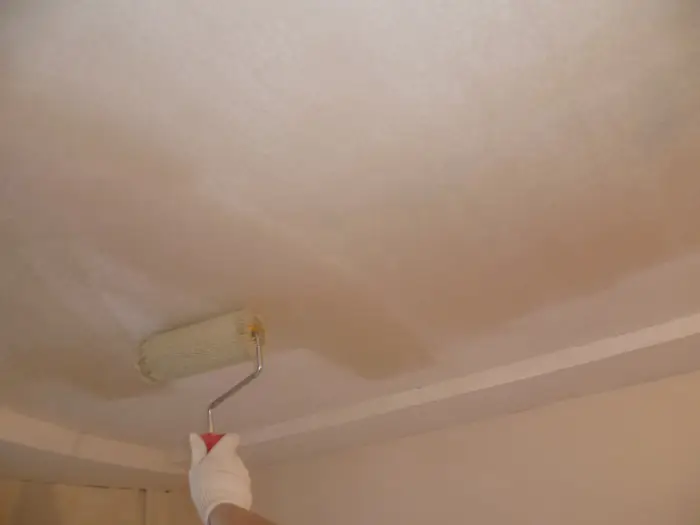
Photo 4 — Ceiling Priming
Painting the Ceiling.
Paint should be applied strictly according to the manufacturer's recommendations on the packaging. It is very important to apply the next coat only after the previous one has fully dried. Also, it is crucial to work steadily and not too quickly (within a maximum of 20 minutes). This ensures even application and avoids spots. Just like during priming, first paint the corners and hard-to-reach areas with a brush, then use a roller for the remaining surface. Roll the roller in paint until it is fully saturated. Slightly wring out excess paint.
It's important to visually inspect the ceiling to avoid defects.
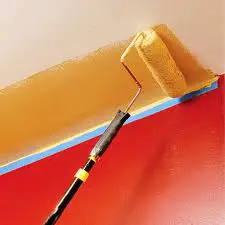
Photo 5 — Ceiling Painting with a Roller
Ceiling Painting with Water Emulsion Paint: Video
Popular Variants of Water Emulsion Paints
It is also worth paying attention to popular variants of water emulsion paints.
Acrylic ceiling paint is very easy to use (just dilute with water), offers a wide color range, is eco-friendly, non-toxic, easy to clean, dries quickly, and 'breathes'. Painting a ceiling with acrylic paint is not a difficult task and only requires strict adherence to instructions.
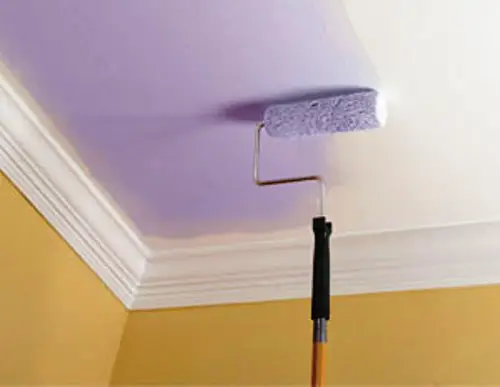
Photo 6 — Dulux Acrylic Paint Color 41RRB 30290 in a Bedroom Interior
Latex ceiling paint is currently the most expensive option, created from synthetic polymers and resins. It has all the advantages and disadvantages of water emulsion paints. The main advantage is that a ceiling painted with latex paint retains its color for a long time.
For those who prefer classic styles, matte ceiling paint can be used to emphasize the elegance and comfort of a room.
If a white ceiling is preferred, then ceiling whitewashing with water emulsion paint can be done just as effectively. Another advantage is that even the most inexperienced painter can accomplish this task, creating a clean and smooth ceiling without streaks. White ceiling paint is universal and does not require dilution with colorants.
Many manufacturers offer a superwhite paint color, such as Oasis Super White from Tikkurila.
Ceiling Painting with Water Emulsion Paint: Cost
The cost of the work depends on the type of paint and the manufacturer, the ceiling area, and whether you will paint it yourself or hire professionals. Painting it yourself, of course, costs less and money will only go toward purchasing materials. The cost of painting depends on the company doing the work and the region. For example, the cost of ceiling painting in the capital is between $6.26 and $1.25 per square meter.