DIY Repairs: 10 Projects for Beginners
10 interesting DIY ideas to create a cozy home
Have you ever watched home renovation shows on TV and thought: "I could do that too!"? Then you picked up a hammer and suddenly realized that the only thing you could make was a hole in the wall (and that was by accident). Don't give up! The world of DIY (Do It Yourself - "do it yourself") is open to everyone, even for those who confuse a drill with a mixer. Let's see where to start your journey in the world of independent repairs.
Main points from the article:
- Start with simple projects such as painting walls or assembling shelves;
- Always read instructions and follow safety measures;
- Invest in quality tools - they will make the job easier;
- Don't be afraid of mistakes - they are part of the learning process;
- Plan projects in advance and calculate the required time;
- Start with small changes and gradually move to more complex tasks;
- Use online resources and video tutorials to learn new skills;
- Don't neglect preparatory work - it's the key to success;
- Experiment with various techniques and materials;
- Remember that DIY is not only about saving money but also creative self-expression.
Let there be color! Or how to repaint walls without going crazy
Painting walls is the classic DIY project. It seems like it can't be simpler? You take a brush, dip it in paint, and go ahead! But that's not how it works. There is a vast gap between "before" and "after" consisting of all the preparation work.
Start with choosing paint. For beginners, water-emulsion paint is best - it applies easily and dries quickly. Don't forget about primer - it helps the paint adhere evenly and last longer.
Wall preparation is 80% of success. Fill all cracks and unevennesses with spackle, sand the surface. Yes, it's tedious and dusty, but the result is worth it.
When it comes to actual painting, start with the ceiling and move from top to bottom. Use painter's tape to protect baseboards and window frames. And remember: it's better to apply several thin coats than one thick coat.
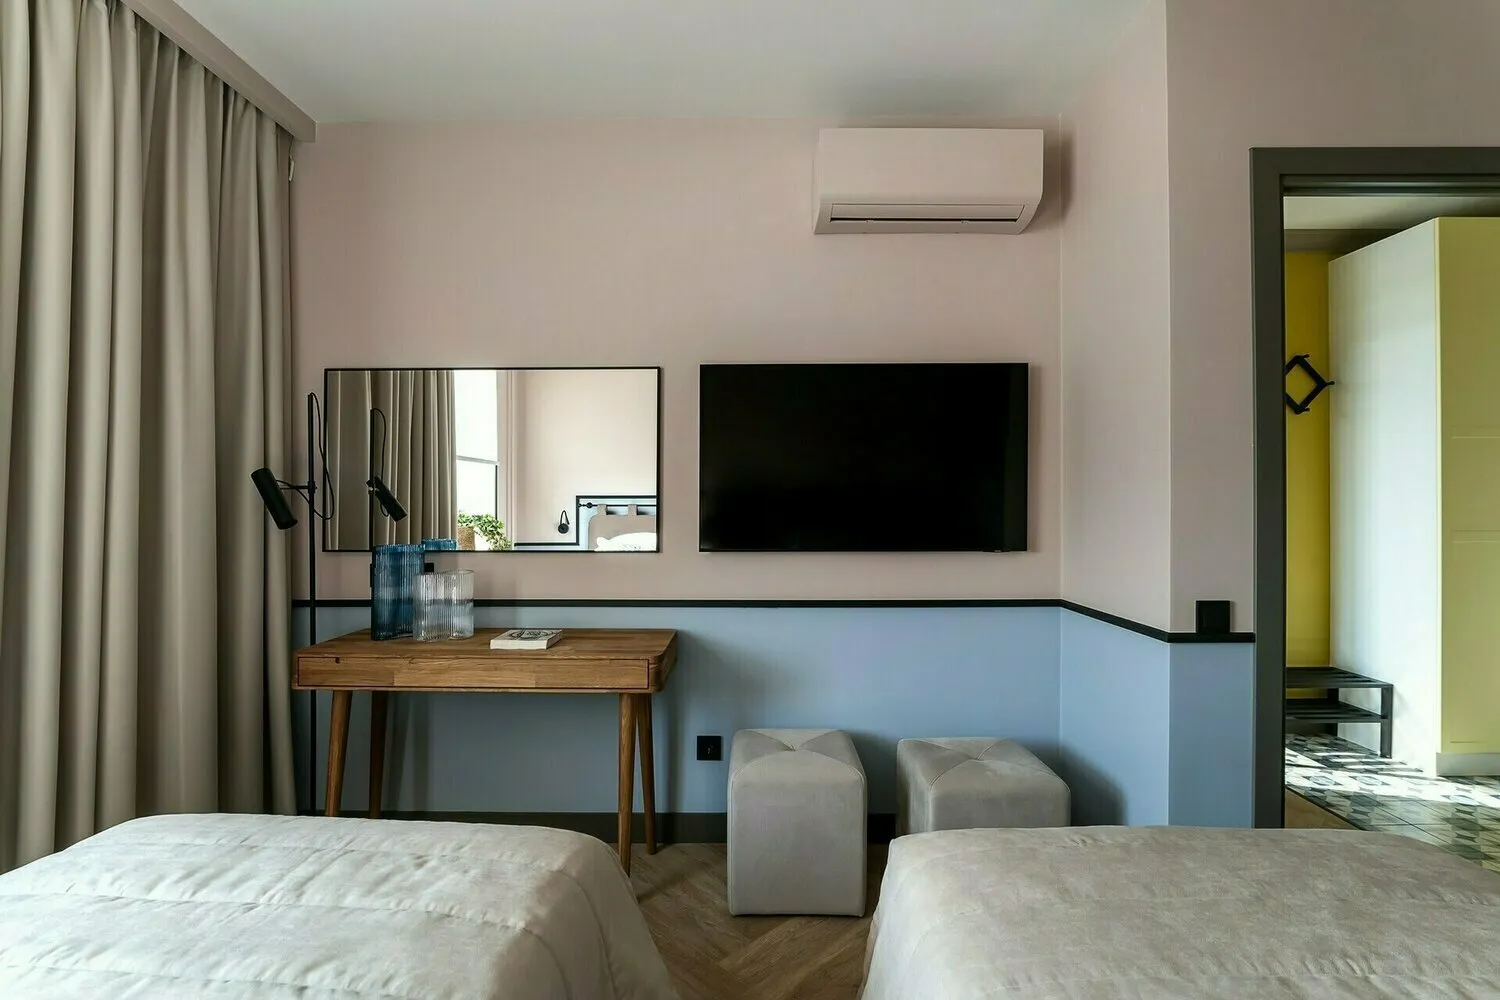 Design: Elena Okonishnikova
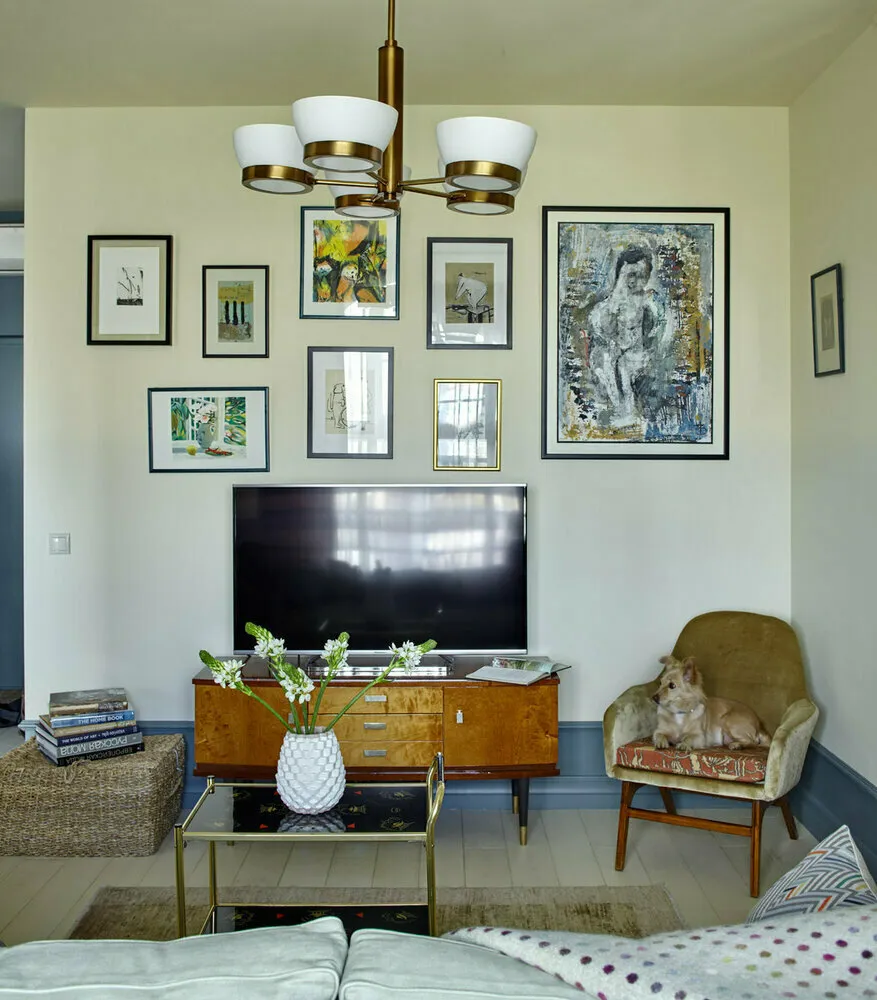
Hidden Shelf, or How to Make Storage Stylish
Shelves are not just a place to store books and trinkets. They're also an excellent way to add character to your interior. And the best part is that they're quite easy to make yourself.
Start simple: buy ready-made boards and brackets. The key is to calculate the load correctly. Remember that books are heavy, so don't skimp on fasteners.
For more advanced DIYers, there's a more interesting option - invisible shelves. These are shelves that seem to float in mid-air. The secret is that the mounting is hidden inside one of the books. Sounds complicated, but it's quite achievable in practice.
And don't forget about safety! Always check for electrical wiring or pipes in the wall before drilling.
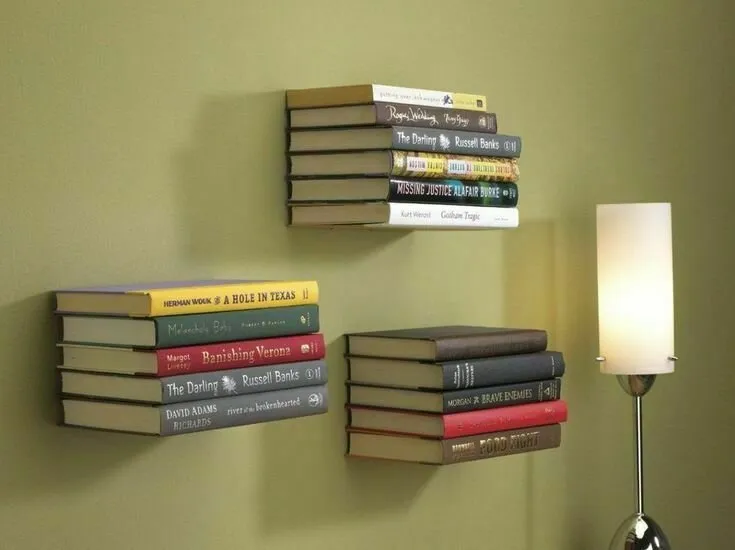 Design: Erik Olson
Oil Painting, or How to Create an Art Object from Trash
Thinking that art isn't for you? Not at all! Creating art objects from household materials is a great way to add a touch of uniqueness to your interior and express your creative nature.
Start with a simple collage. Gather old magazines, postcards, photographs. Add various small items - buttons, ribbons, dried flowers. Glue everything to thick cardboard or canvas - and your first artwork is ready!
For more ambitious creators, there's a more complex option - a panel made from wooden cross-sections. Cut branches of different diameters, sand the ends and glue them to a base, creating an interesting pattern. Coat with varnish - and you have a stylish eco-decoration element.
 Design: Svetlana with her husband
Lamp from a Jar, or How to Make the Light Cozy
Lighting plays a huge role in creating atmosphere. And good news - making a stylish lamp yourself is quite simple.
Let's start with the simplest option - a lamp from a jar. You need a clean glass jar, an electric socket with wire and a bulb. Drill a hole in the lid of the jar, thread the wire with the socket through it, and secure it. Screw in the bulb - and voila!
Want something more impressive? Try making a chandelier from branches. Gather beautiful branches, clean them of bark, paint them in the desired color. Attach electric sockets with bulbs to them. Hang the structure from the ceiling - and enjoy cozy lighting in eco-style.
Remember about safety when working with electricity. If you're unsure of your abilities, it's better to consult a professional.
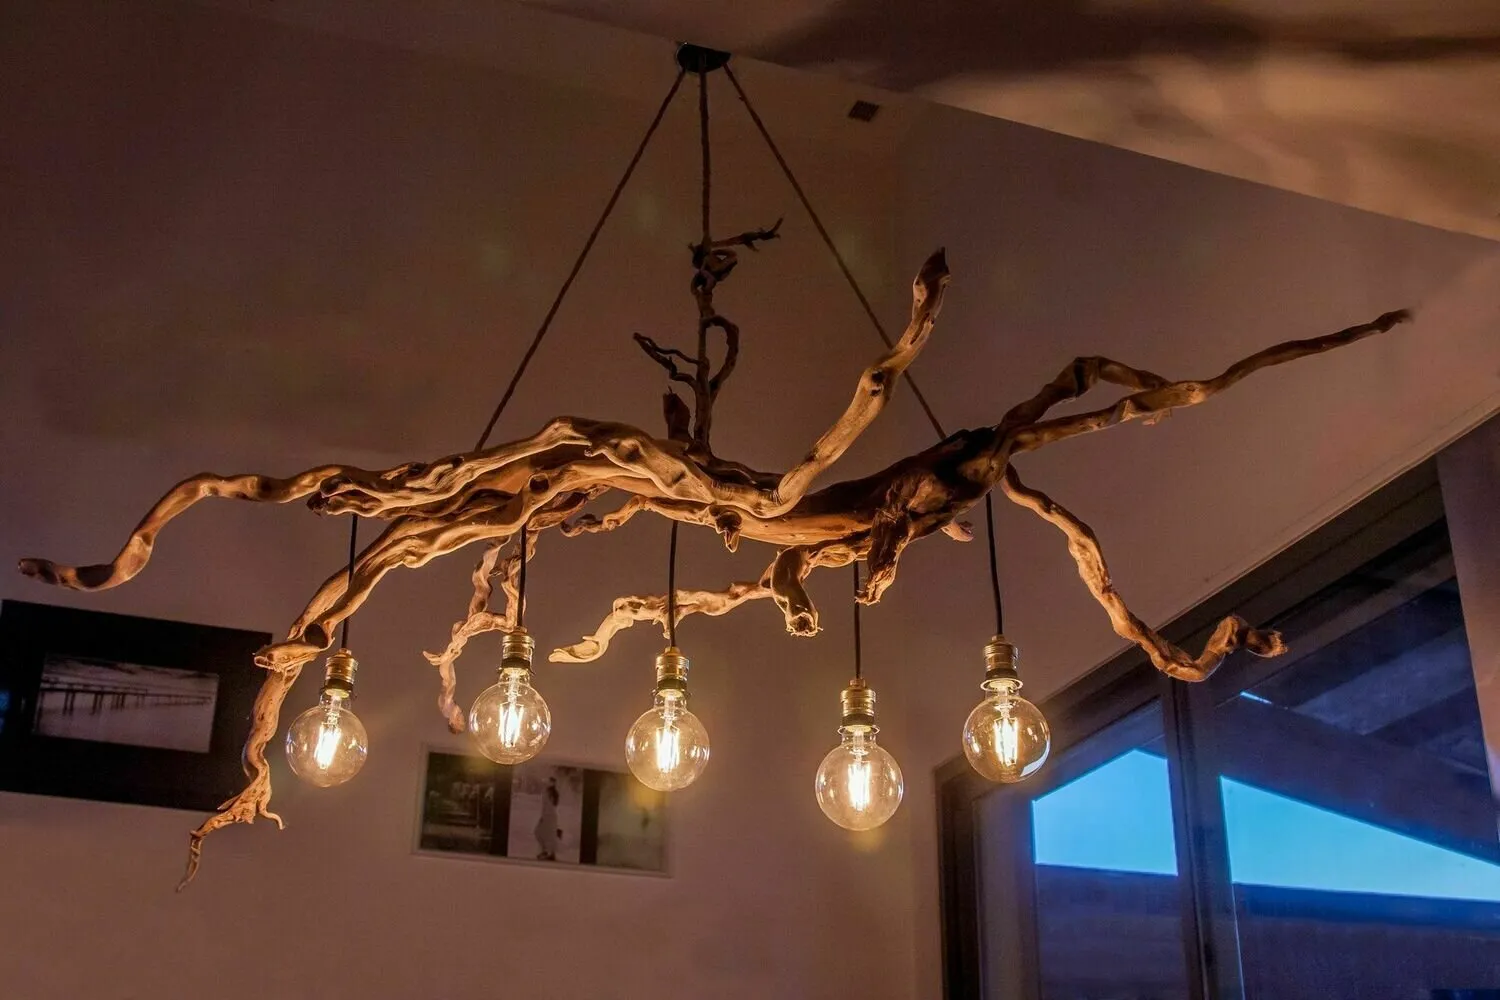 Photo: pinterest.com
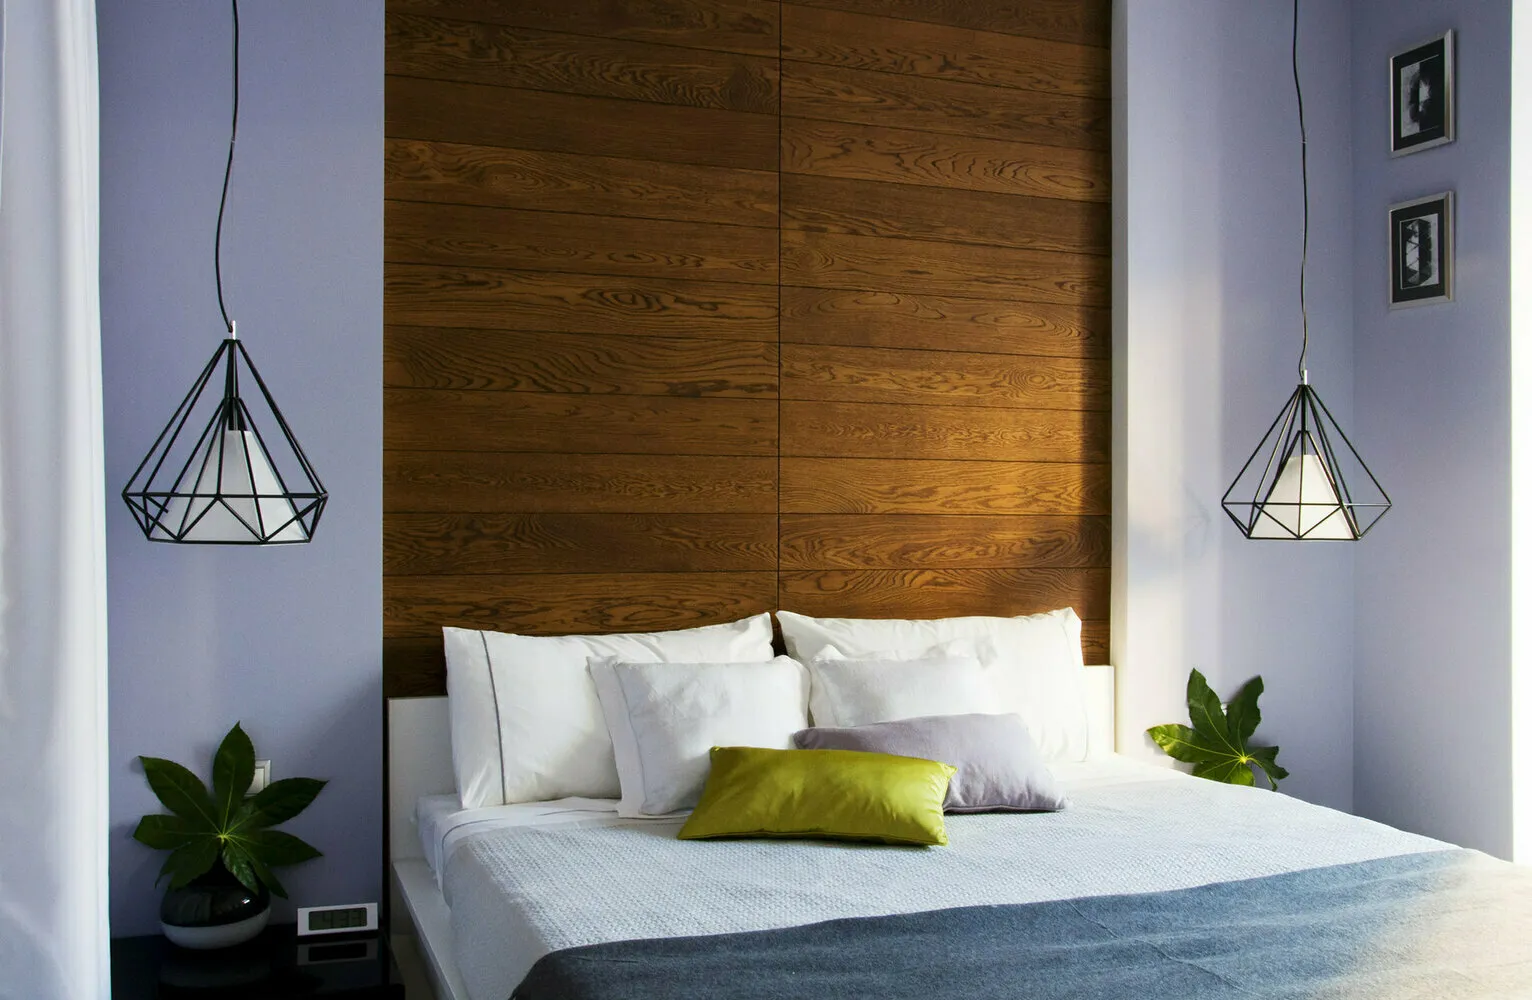
Bed Headboard, or How to Make a Royal Bedroom
A beautiful headboard can completely transform a bedroom. And good news - you can make it yourself!
Let's start with a simple option - a soft headboard. You need a sheet of plywood or MDF, foam, fabric and a stapler. Wrap the plywood in foam, then stretch the fabric over it, securing it from the back with a stapler. Hang the finished headboard on the wall - and your bed already looks like it's in a five-star hotel!
For those ready for more complex projects, there's an option of a headboard made from wooden planks. Cut boards to the desired length, sand them, paint or stain them. Attach them to the wall in an interesting pattern - and you now have a stylish loft-style headboard.
 Design: Natalia Chayka and Grigory Sevastyanov
Furniture Restoration, or How to Turn Grandma's Chest of Drawers into a Designer Object
Every home has an old piece of furniture that's too precious to throw away but can no longer be used in its current form. It's time to give it a second life!
Start with thorough cleaning and sanding of the surface. Then decide on a style. Want something modern? Paint the furniture in a bright color. Do you love vintage? Try the decoupage or aging technique.
Don't forget about hardware - new handles can completely change the look of a chest or wardrobe. If you're ready for experiments, try replacing the legs of a chair or adding wheels to a coffee table.
 Design: Natalia Mitrakova
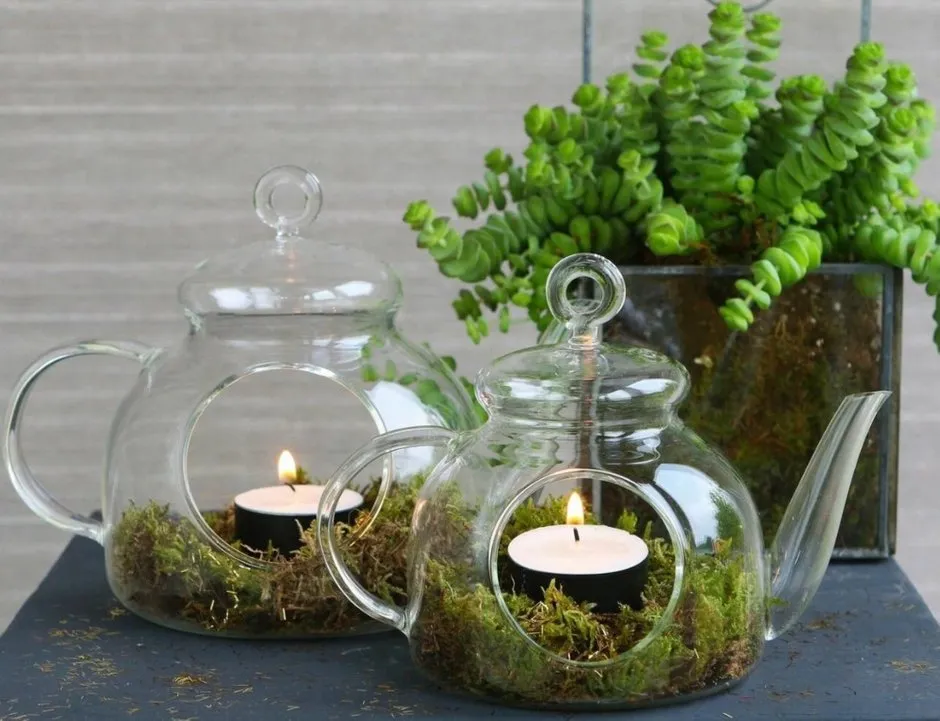
Mini Garden in a Bottle, or How to Tame Nature
Terrariums are not only beautiful but also an excellent way to add live greenery to your interior, even if you have no experience in plant care.
Start by choosing the right container - it can be a large glass jar or even an aquarium. Layer drainage (small pebbles or keramzit), then a layer of activated charcoal and soil for succulents.
Now comes the most interesting part - planting the plants. Choose low-maintenance species that thrive in closed environments. Succulents, mosses, small ferns - great choices for beginners.
Add decorative elements - pebbles, branches, tiny figurines. And there you have it - a miniature garden of your own!
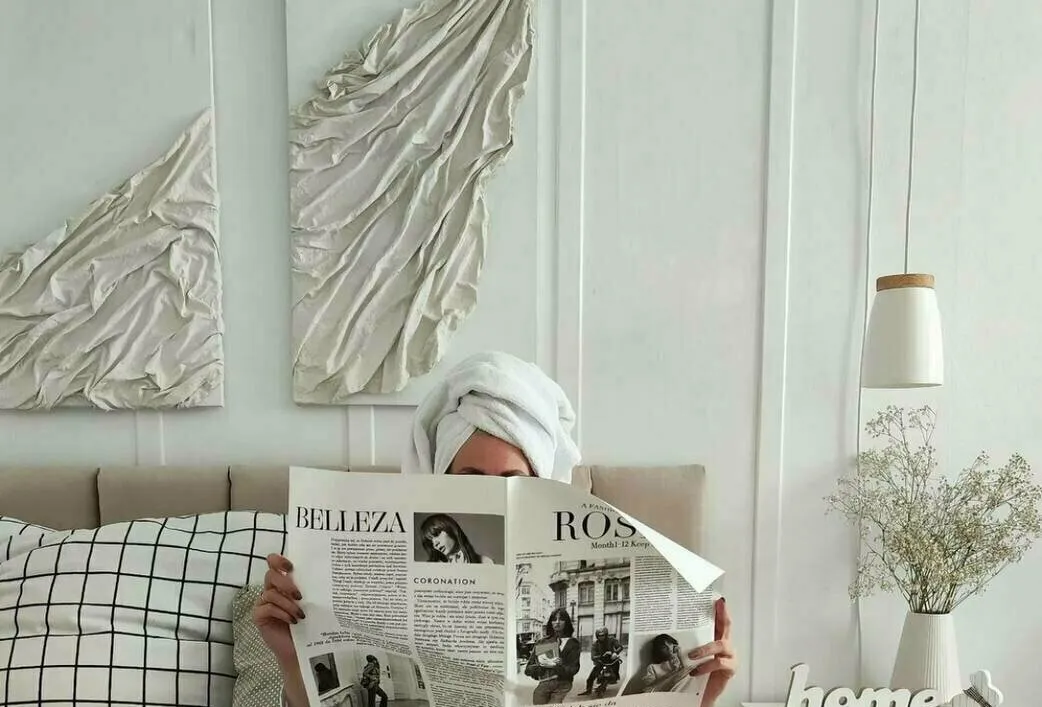
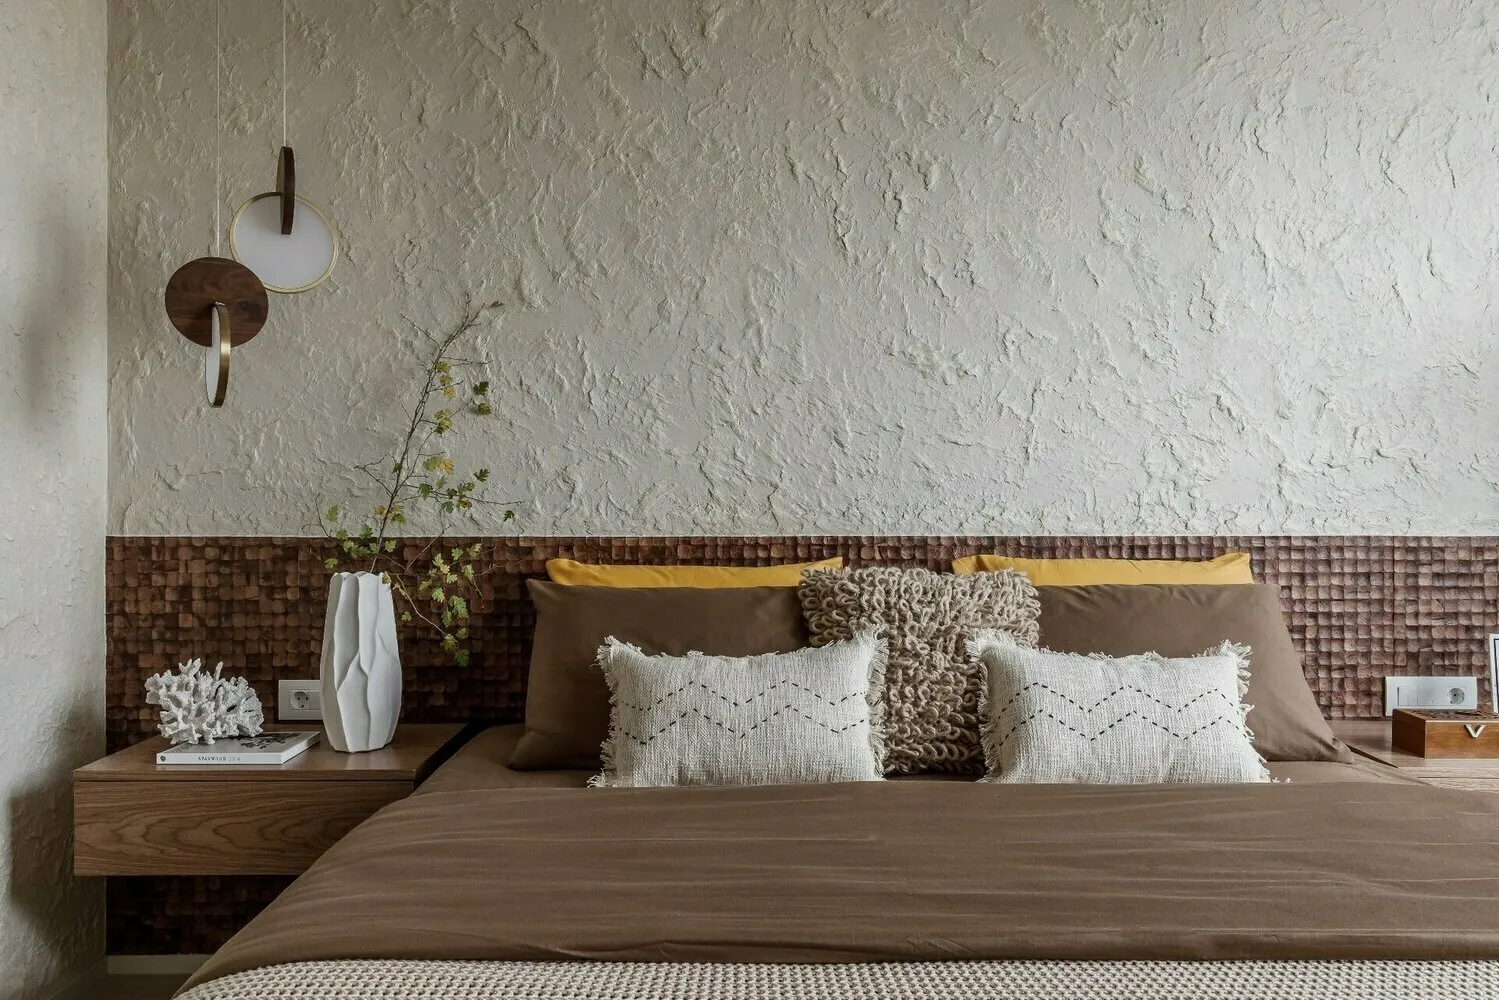
Decorative Plaster, or How to Make Walls Interesting
Decorative plaster is an excellent way to add texture and character to your walls. And although it might seem complex, in reality it's quite manageable for a beginner DIY enthusiast.
Start by choosing the type of plaster. For beginners, acrylic is best - it's easy to apply and doesn't require complex surface preparation.
Prepare the wall - clean, prime. Then apply the plaster using a wide trowel. The key here is not to be afraid to experiment with textures. You can create waves, circles, zigzags - everything depends on your imagination.
Remember that decorative plaster dries quickly, so work in small sections. And don't forget the protective mask - it's dusty work!
 Design: Artefact
Floor Renovation, or How to Update Parquet Without Extra Costs
Old, worn-out parquet can ruin the impression of even the most stylish interior. But don't rush to replace it - perhaps it just needs a little renovation.
Start with thorough cleaning and sanding of the surface. This is the most labor-intensive part of the job, but it determines the final result. Rent a professional sander - this will save you a lot of time and effort.
After sanding, remove all dust and apply stain if you want to change the wood color. Then coat the floor with several layers of varnish. Remember that between layers, let the varnish dry completely and lightly sand the surface.
INMYROOM suggests: Don't be afraid to experiment with parquet colors. Dark tones will make the room more sophisticated, while light tones will visually expand the space. If you want something truly unusual, try painting parquet white - this creates a Scandinavian interior effect.
Remember that DIY projects are not only a way to save money but also an opportunity to create something unique reflecting your individuality. Don't be afraid of mistakes - they are an inevitable part of the learning process. Who knows, maybe in a couple of years you'll be running your own renovation blog!
Cover: Design project by Malika Boranbaeva
Need a renovation specialist?
Find verified professionals for any repair or construction job. Post your request and get offers from local experts.
You may also like
More articles:
 6 Genius Storage Ideas We Spotted in Our Heroine's Space
 5 Mistakes in Repair That Our Heroine Made
 8 Key Steps of Bathroom Renovation: Essential Checklist
 Bathroom 5.8 sqm: Winning Tips for Unusual Layouts and Beautiful Design
 How to Style a 5.8 sqm Bathroom Without a Designer
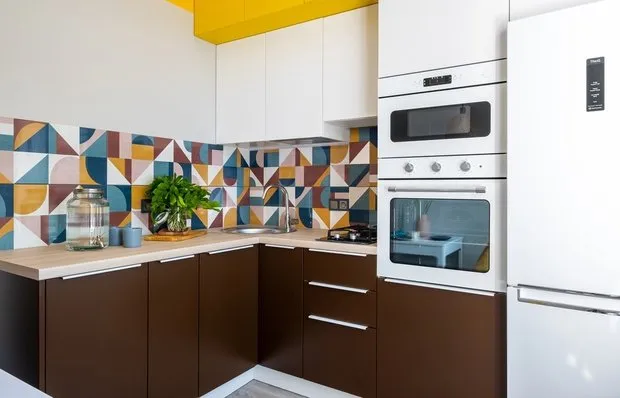 Small but Thoughtful 7 sqm Kitchen in a Standard Khrushchyovka
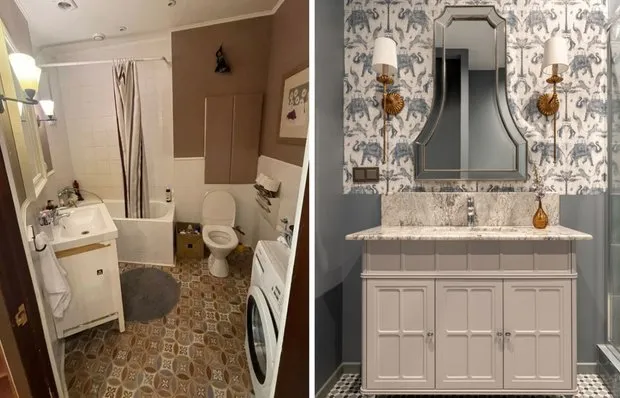 Before and After: Classy Renovation of a Stalin-era Apartment
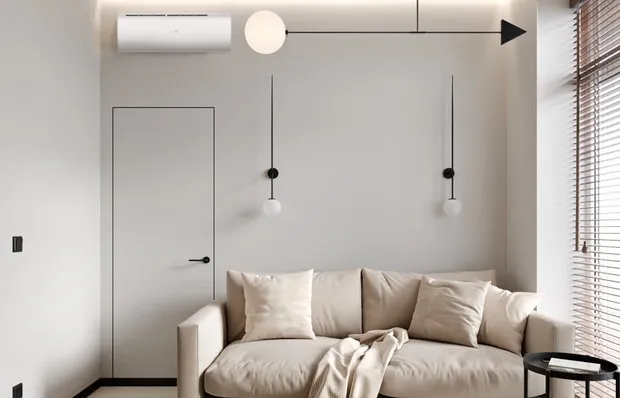 Both in Heat and Cold: 6 Reasons to Buy an Air Conditioner