Personal Experience: Renovating a 40 m² Studio from Scratch for 1.5 Million Rubles
Journalist and producer Anastasia Rusakova designed her own studio apartment from scratch in a new construction project. On 40 m², she created a comfortable space for work and relaxation. Let's take a walk through Anastasia's apartment and discover some interesting tips and solutions worth noting.
Rumtur (24 minutes)
About renovation and layoutAnastasia bought the property during construction, so she didn't know what to expect until the end. At the beginning of the renovation, the apartment was unfinished and made of concrete. For inspiration, Anastasia drew ideas from design accounts in social media and consulted with her artist sister.
For walls in all living areas, they chose a light gray shade, and installed light laminate flooring.
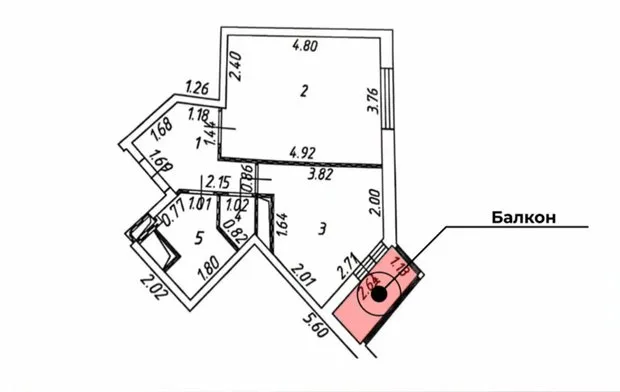
The apartment has a hallway, a combined bathroom and toilet, a kitchen-dining room, a bedroom, and a balcony. The layout is "irregular" — there are many angles in the apartment, making it difficult to plan furniture placement correctly.
 About the Kitchen
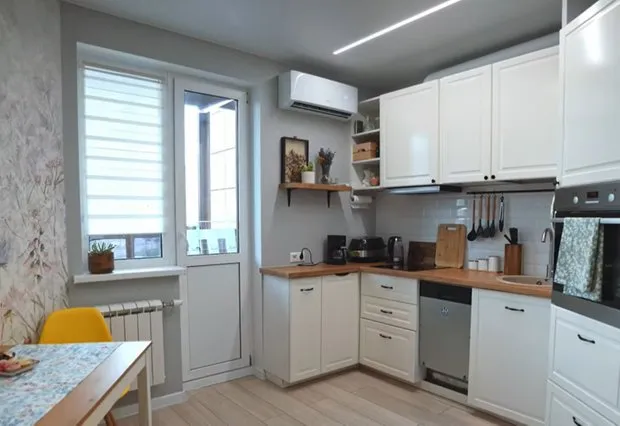
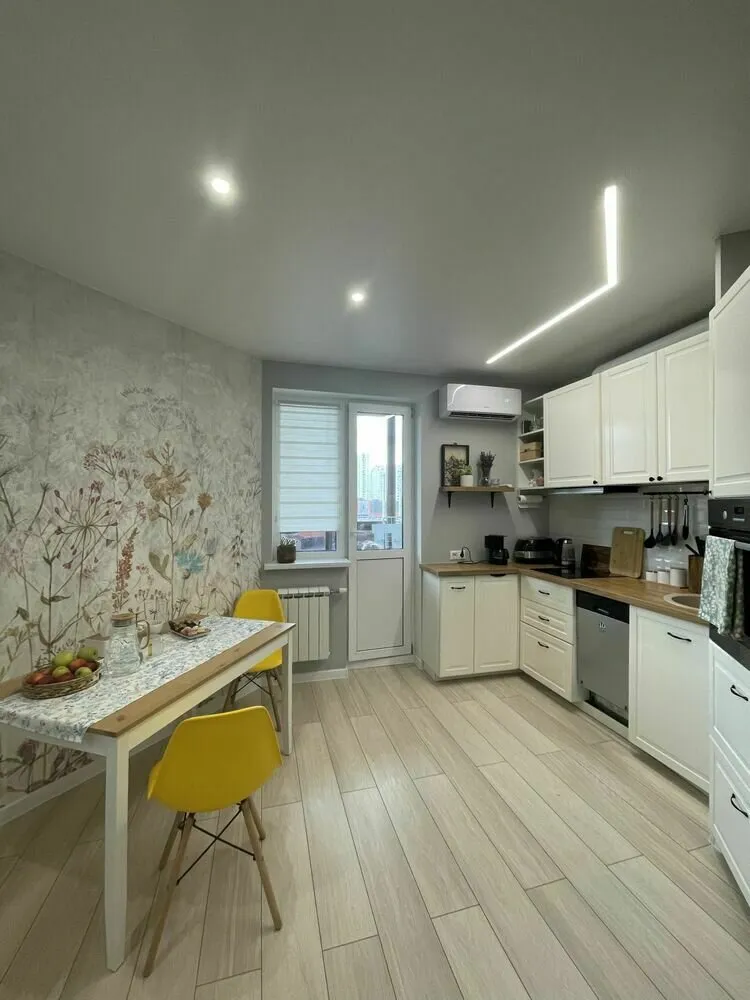
This space had the most angles and an awkward corridor that needed to be creatively addressed. The solution was to build a partition using tongue-and-groove panels. As a result, the corridor became longer, and a niche formed in the kitchen where the refrigerator and appliance cabinet were placed.
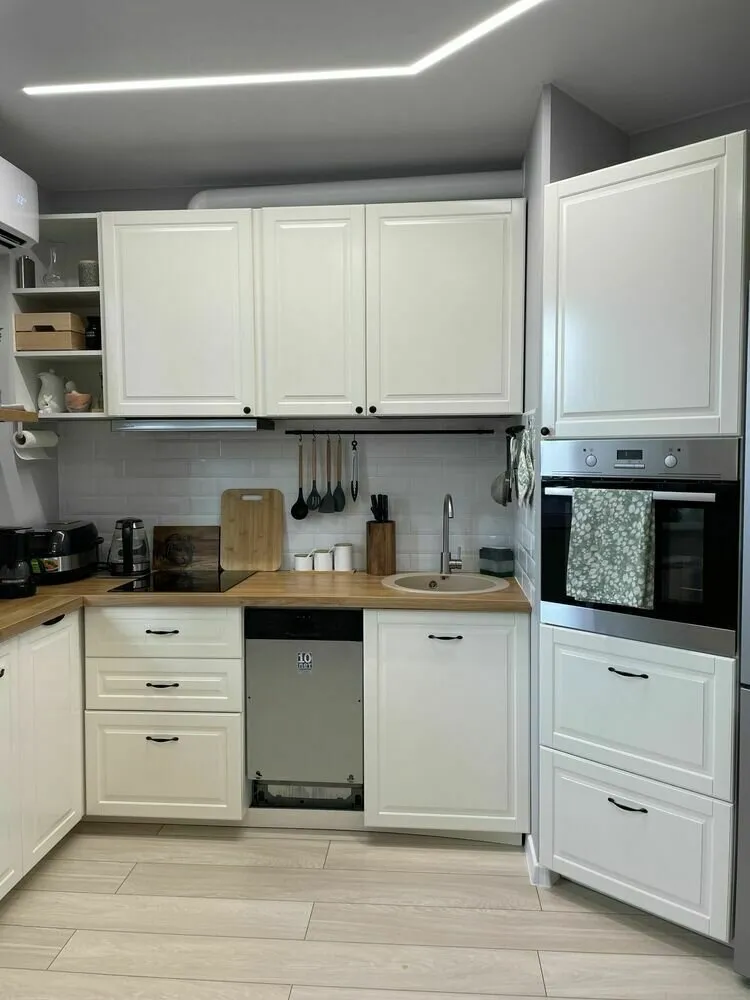
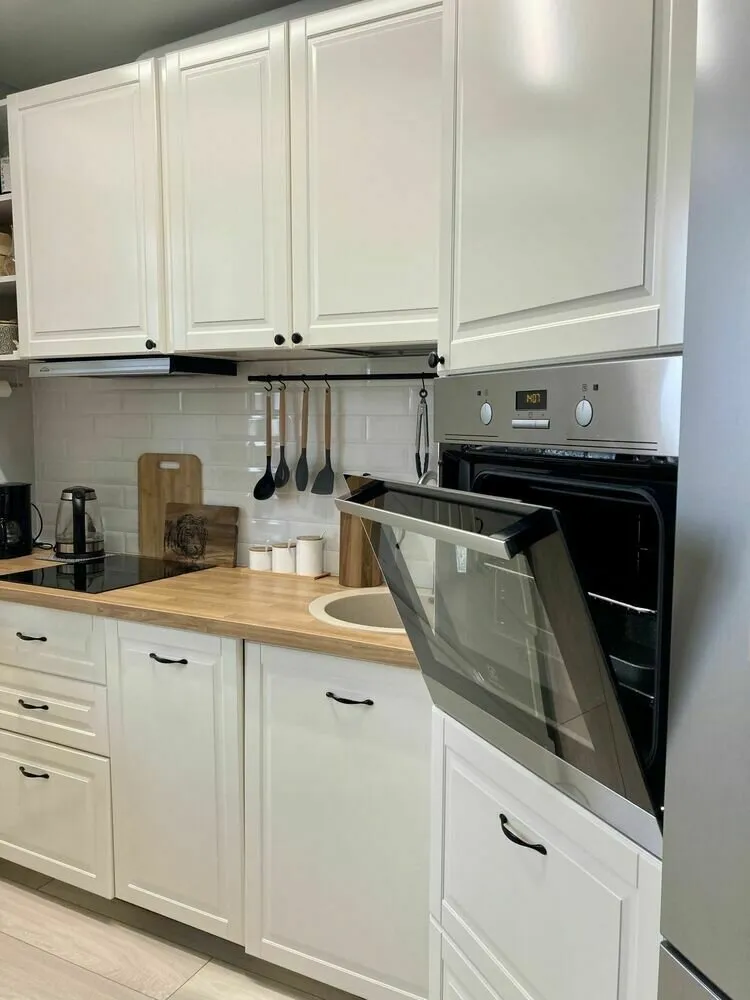
Anastasia based the style on Scandinavian design, so she chose a white kitchen cabinet with a light wood countertop. The countertop is made of laminate — an affordable and durable material that's easy to maintain. The backsplash is made of white "calf" tiles.
The cabinet is white with closed doors. Due to the range hood, one cabinet had to be made with open shelves by removing the door. Leftover laminate was used to build a decorative shelf.
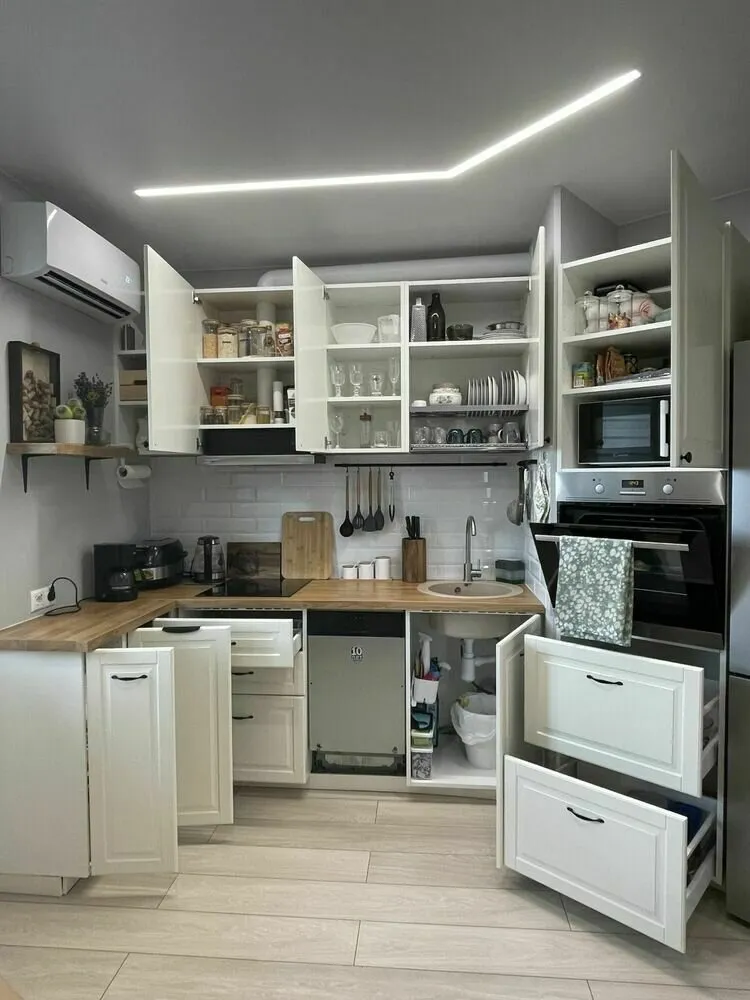
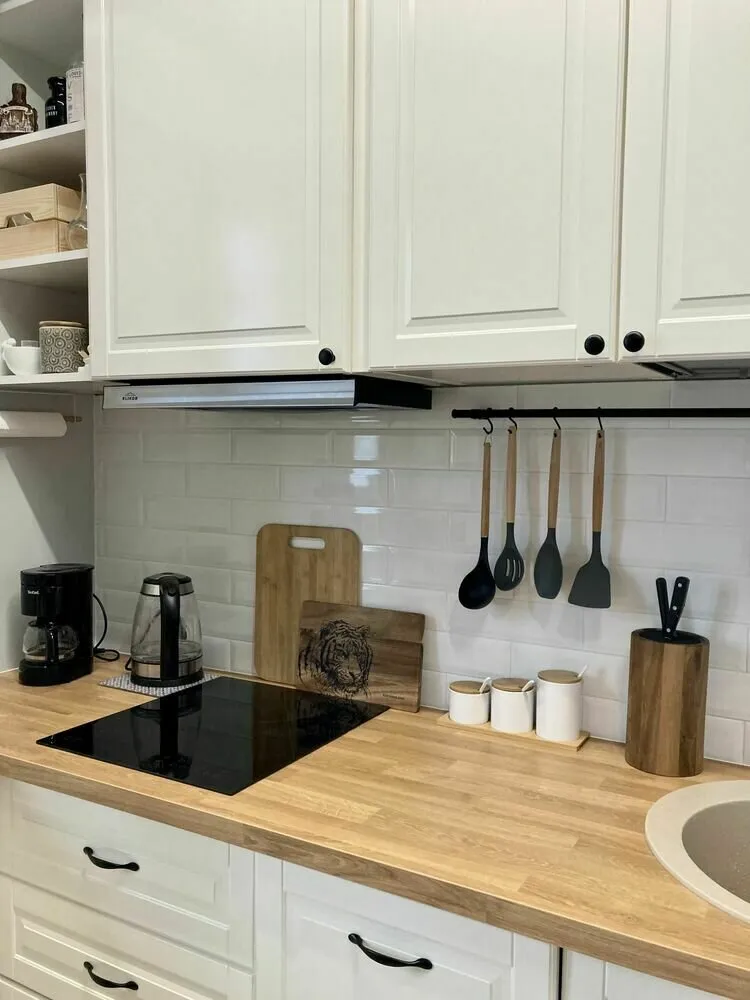
The ceiling light strip adequately illuminates the entire workspace, so additional lighting under the cabinets was not added.
 About the Living Room
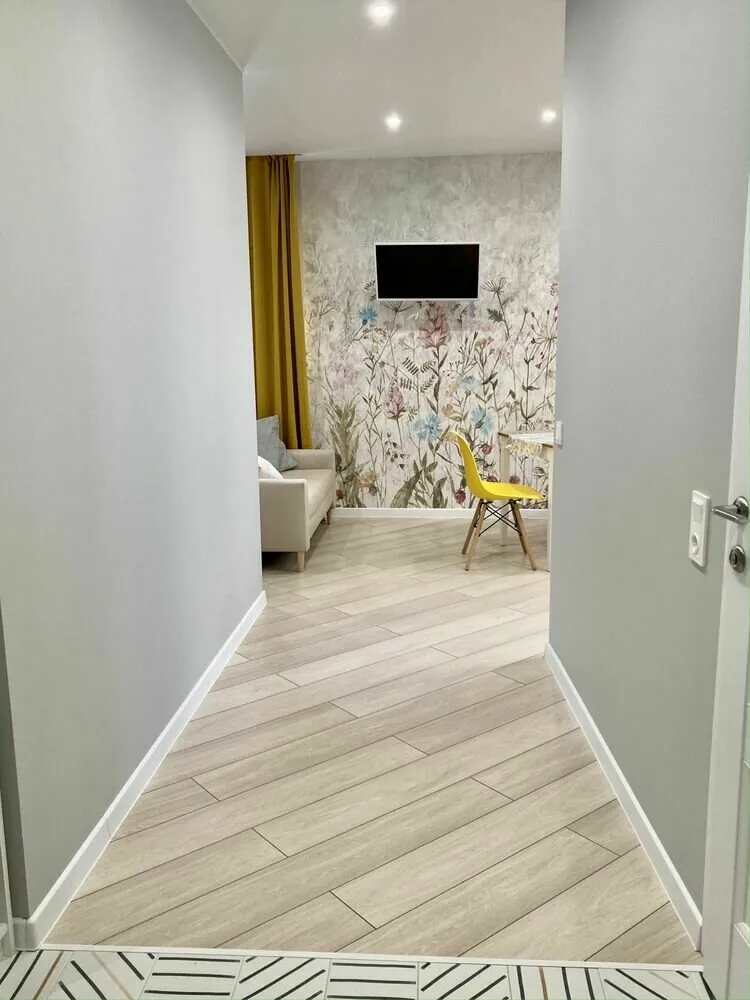
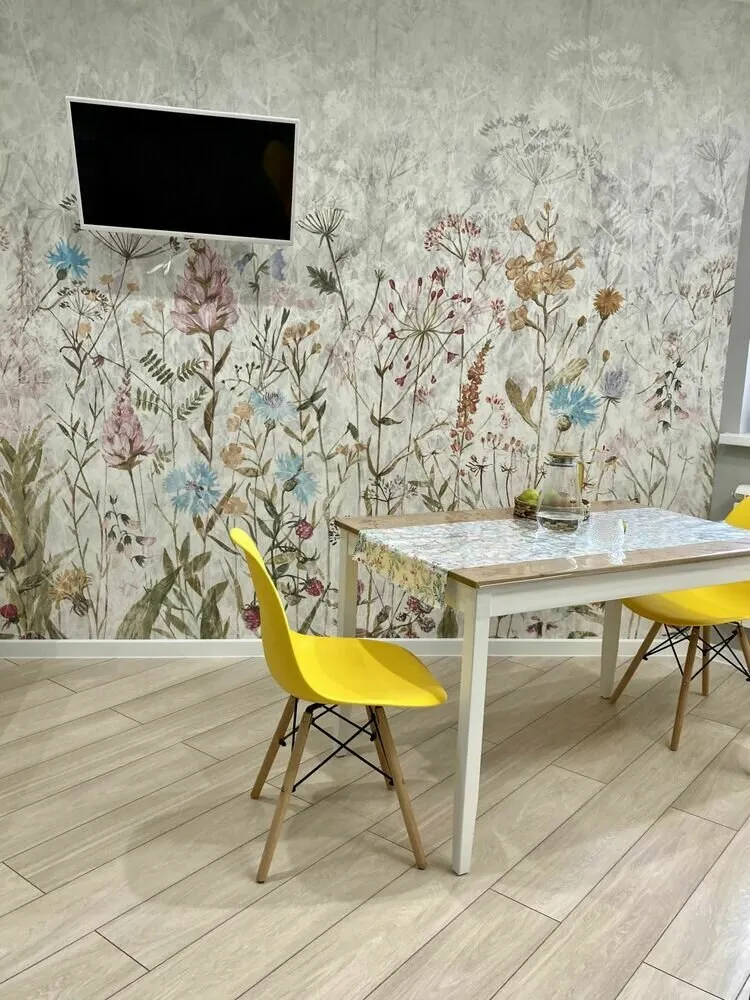
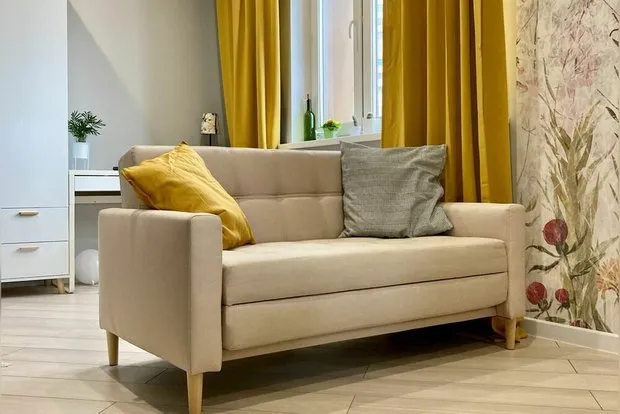
The kitchen smoothly transitions into the living room with dining area. This zone was highlighted with accent bright wallpapers. A compact pull-out sofa, dining table, and vibrant chairs were placed here, which complement the curtains in the bedroom in color. A TV is mounted on a pivot bracket above the sofa, which is easy to watch from both the bedroom and the kitchen.
 About the Bedroom
There is an open space between the living room and bedroom. However, for safety, a hidden door frame was planned during finishing work to make the bedroom more private if needed.
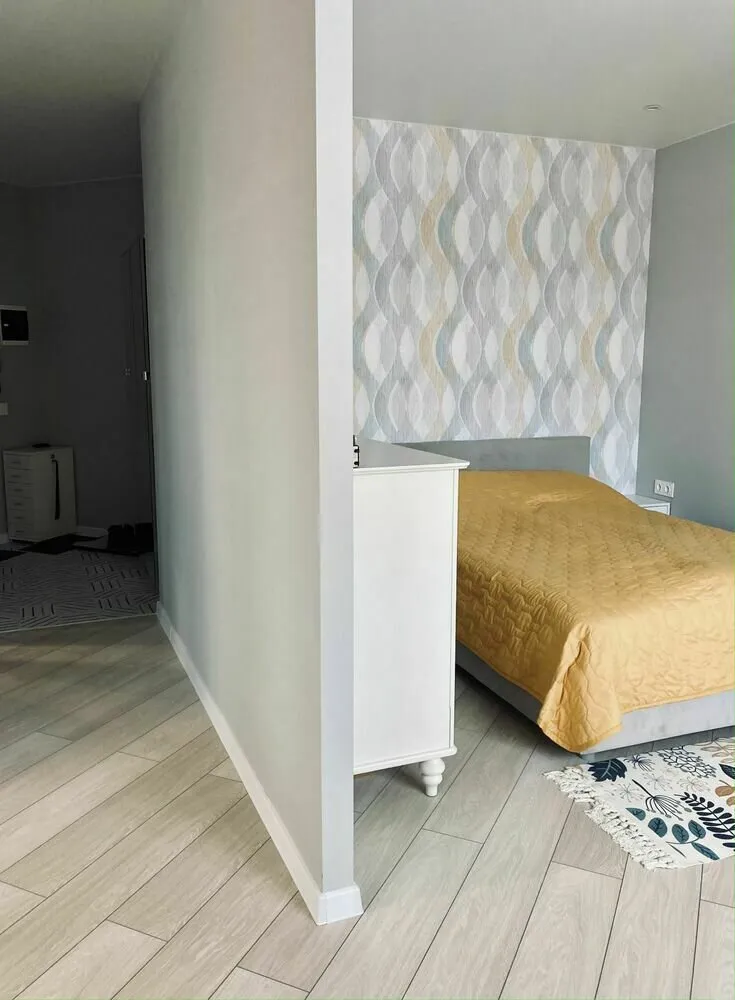
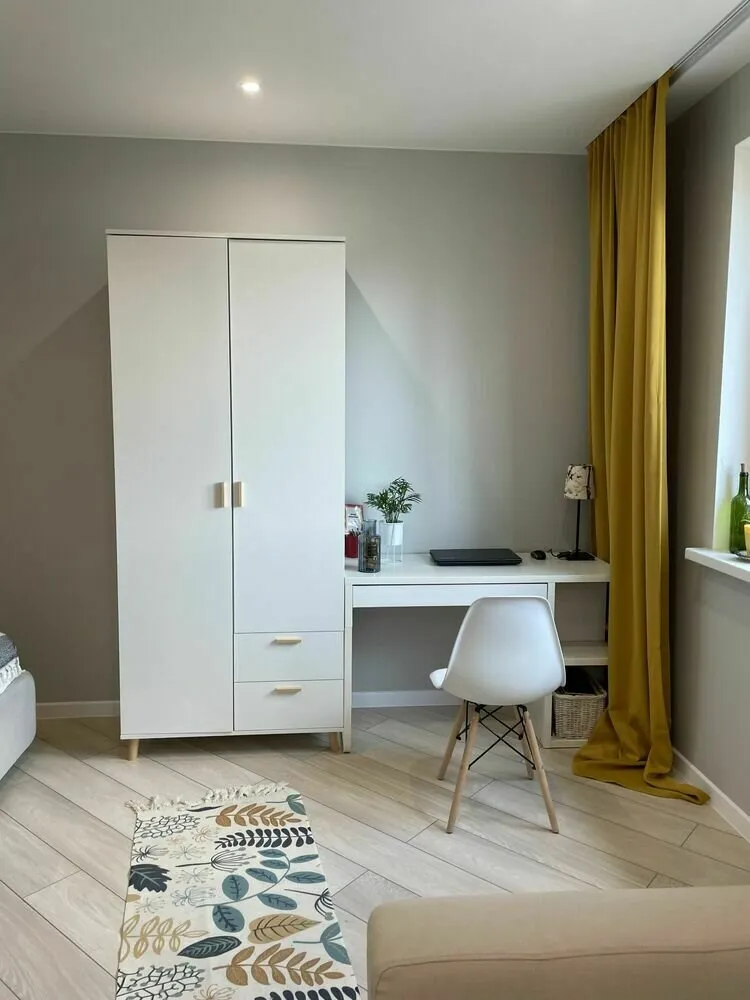
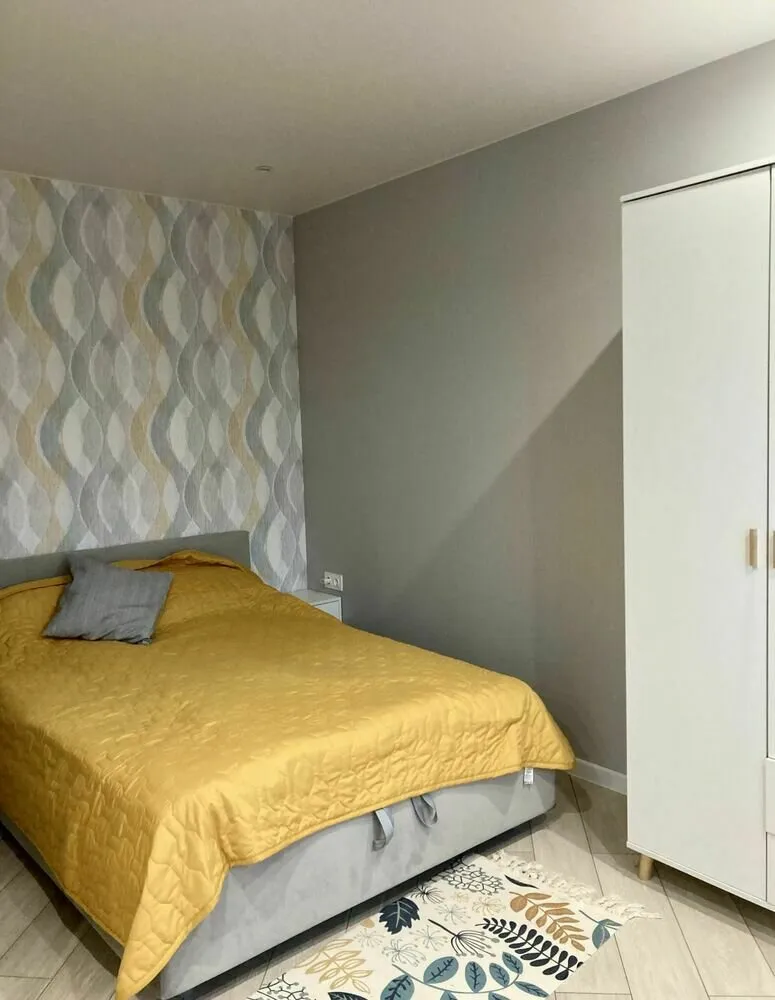
The walls here are the same gray color as in the rest of the apartment. The headboard wall is covered with wallpaper, which helps to incorporate speakers and makes the space more expressive. The bed has a spacious box and is equipped with a lifting mechanism.
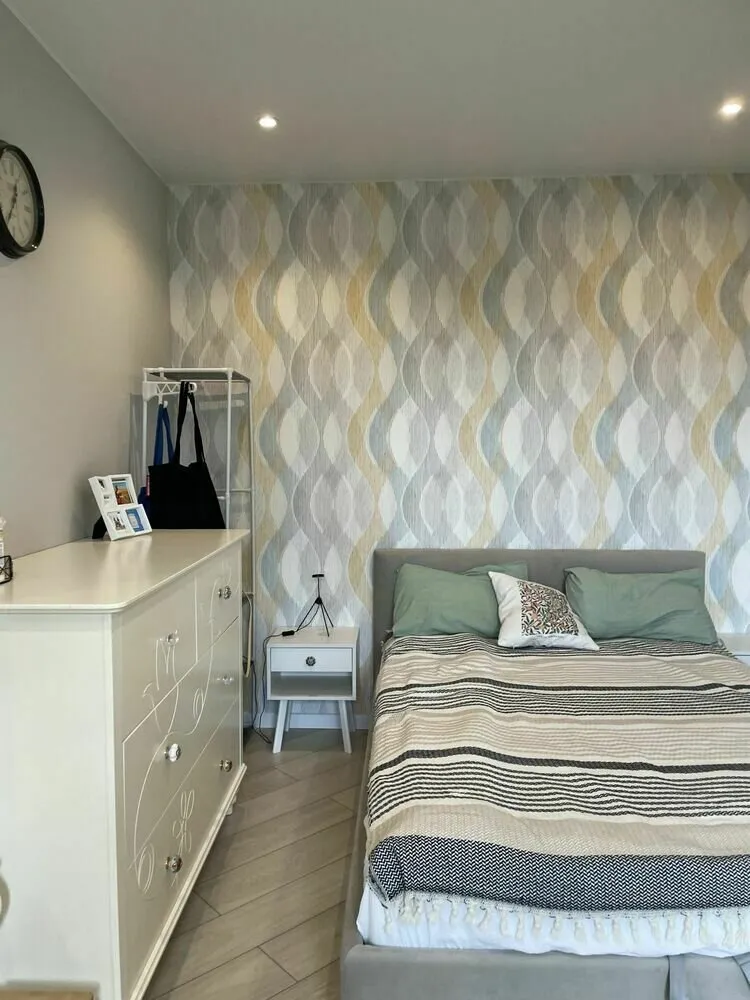
Two bedside tables, a dresser, a wardrobe, and a desk were placed on both sides of the bed. To make the dresser more interesting and add originality, Anastasia replaced ordinary handles with multi-colored ones.
 About the Hallway
No additional walls or partitions were built in the hallway. The space is narrow, so a light shade was chosen for wall finishing and good even spot lighting was provided.
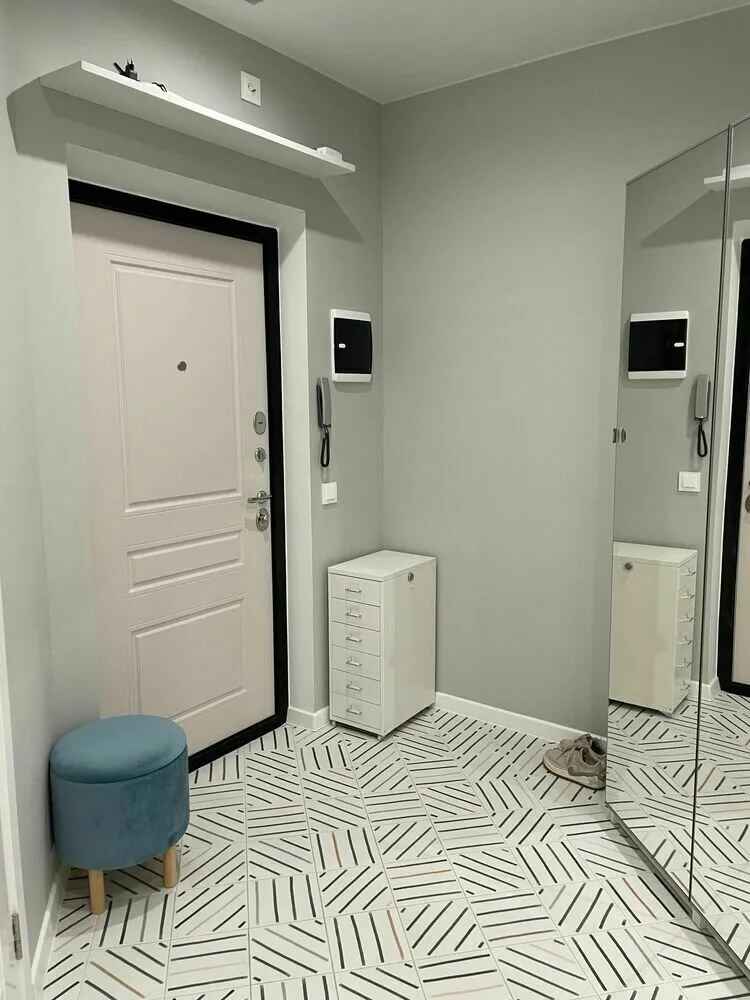
The dirty zone is marked with white tiles with colored stripes. Its main feature is that dirt is almost invisible and, according to the owner, easy to maintain.
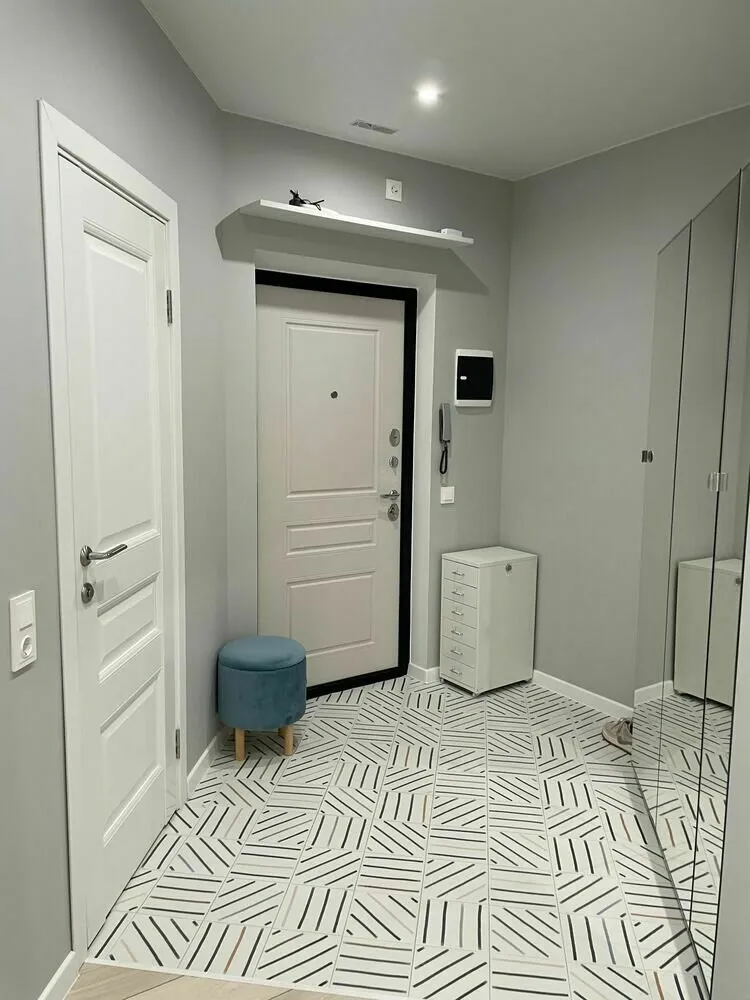
A shelf for the router is located above the entrance door. A socket was planned in advance on this shelf during rough finishing work. Next to the entrance, a compact dresser for storing small items and accessories was placed, and on the opposite side — a convenient soft pouf. The wardrobe in the hallway has mirror doors. This solution eliminated the need to plan additional mirrors.
 About the Bathroom
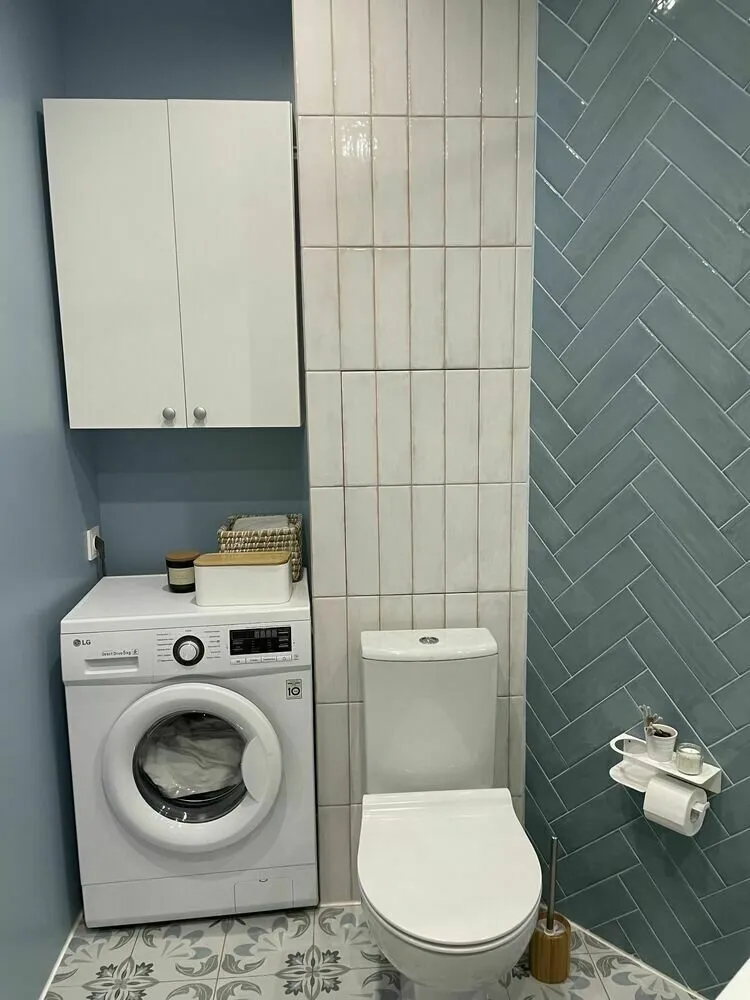
This is Anastasia's favorite room. Two types of tiles are used on the walls. White tiles were laid vertically, blue ones — in a tree pattern, thus highlighting the area where the bathtub is located. The opposite wall was painted with moisture-resistant paint. The floor has geometric patterned tiles. The ceiling is a suspended one, with spot lighting and an exhaust fan above the bathtub.
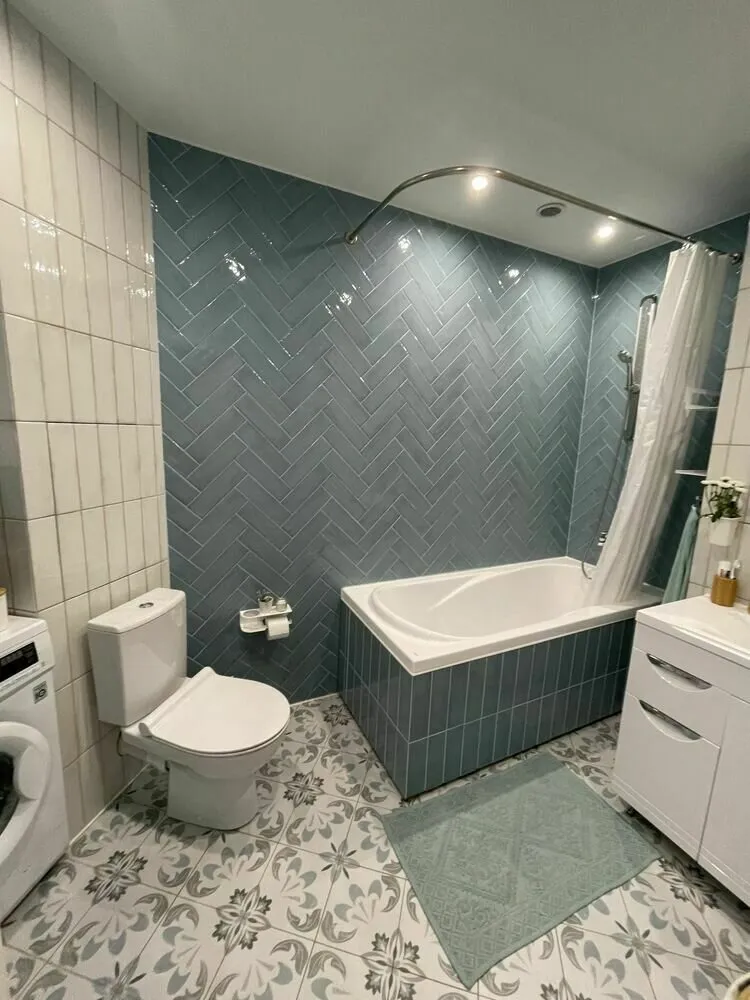
The bathtub was tiled to match the wall color, changing the pattern. One of the main features is a magnetic shower holder that takes up little space and is easily adjustable in height. A curved curtain rail is located at the same level as the tub above.
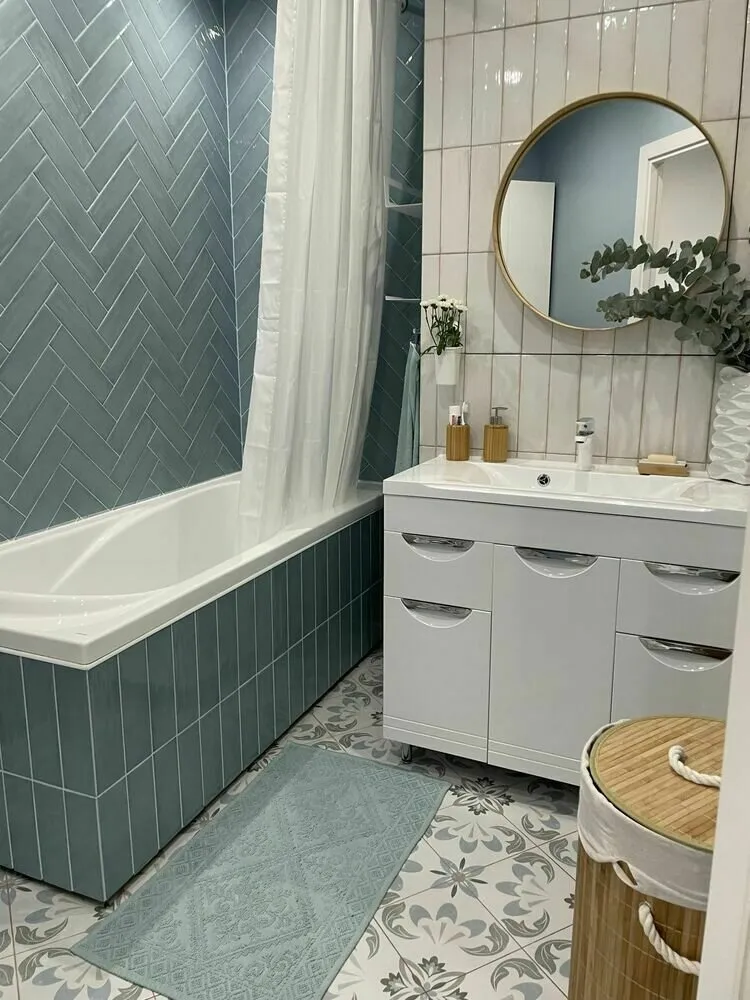
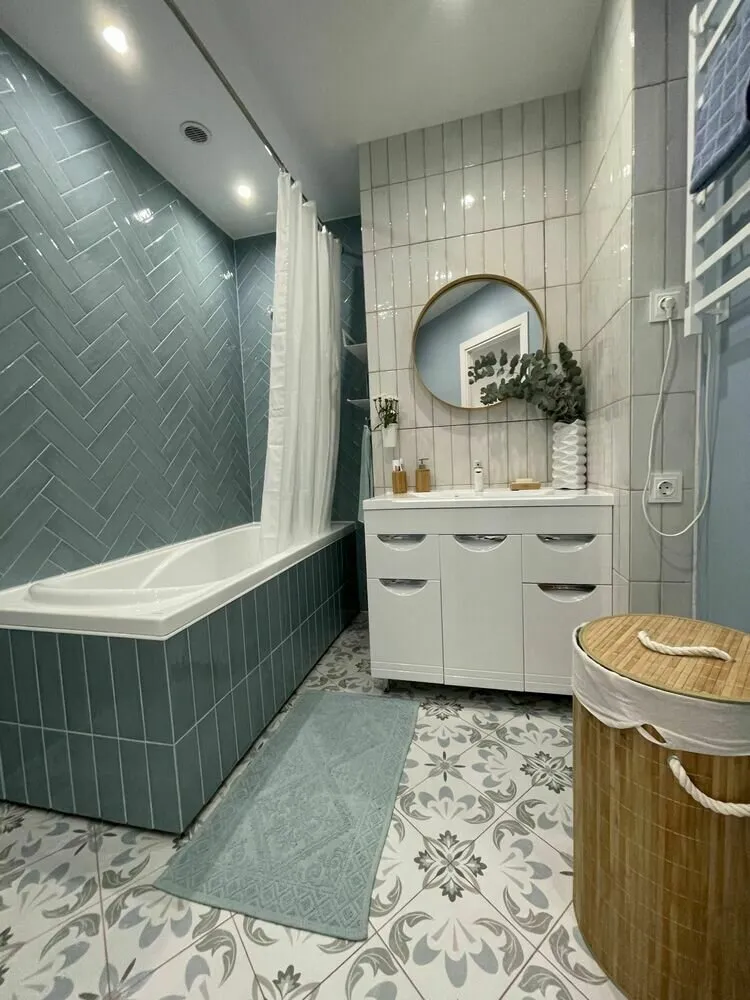
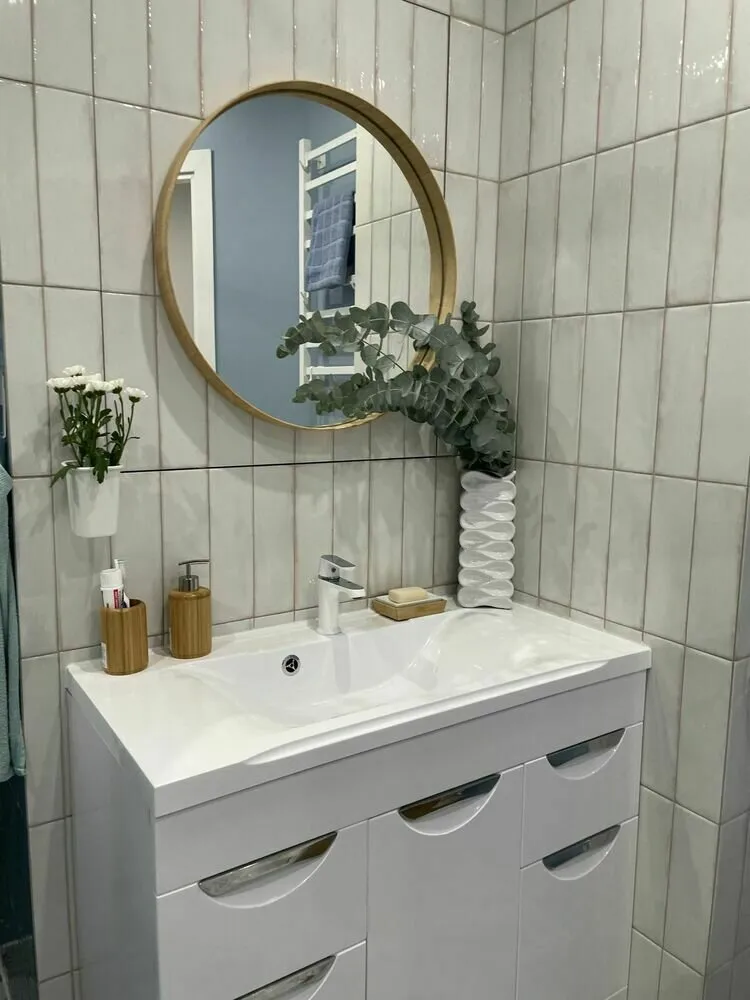
All utilities are located in a special box inside the wall behind the sink. It was necessary to slightly increase this space and cover it with tiles. At one end, metal shelves for bathroom items and towels were hung — they are easy to reach while in the bathtub. Along the length of the box, a sink with a cabinet was chosen, where the main storage for cleaning supplies is provided.
The pipes and taps behind the toilet were hidden in a special access panel, covered with tiles. It opens easily by pressing with your hand. A niche formed next to it, where a standard-sized washing machine fit perfectly, and above it — a suspended cabinet for storage.
Need a renovation specialist?
Find verified professionals for any repair or construction job. Post your request and get offers from local experts.
You may also like
More articles:
 8 Cool Ideas for Decorating a Small Kitchen
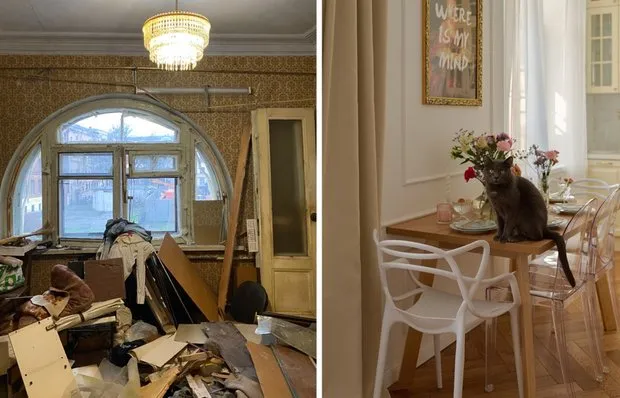 Repair in Old Foundation: 8 Important Tips from Our Heroine
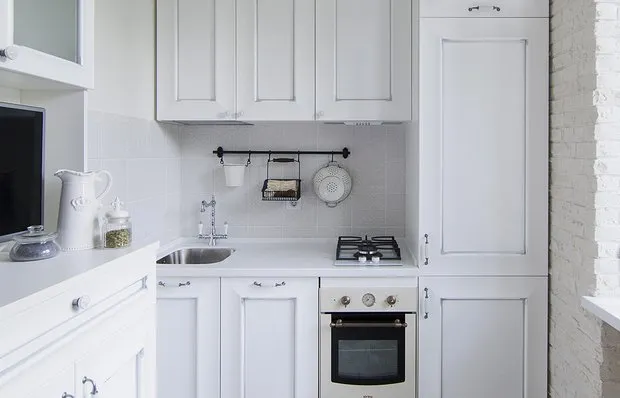 Snow-white Kitchen 6.9 sqm in a Khrushchyovka
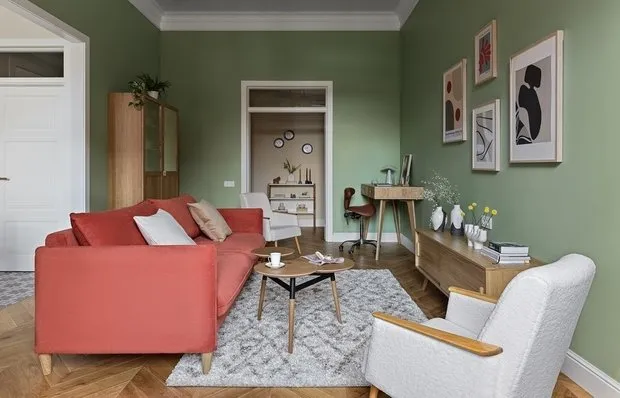 Before and After: 5 Classy Transformations of 'Killed' Apartments
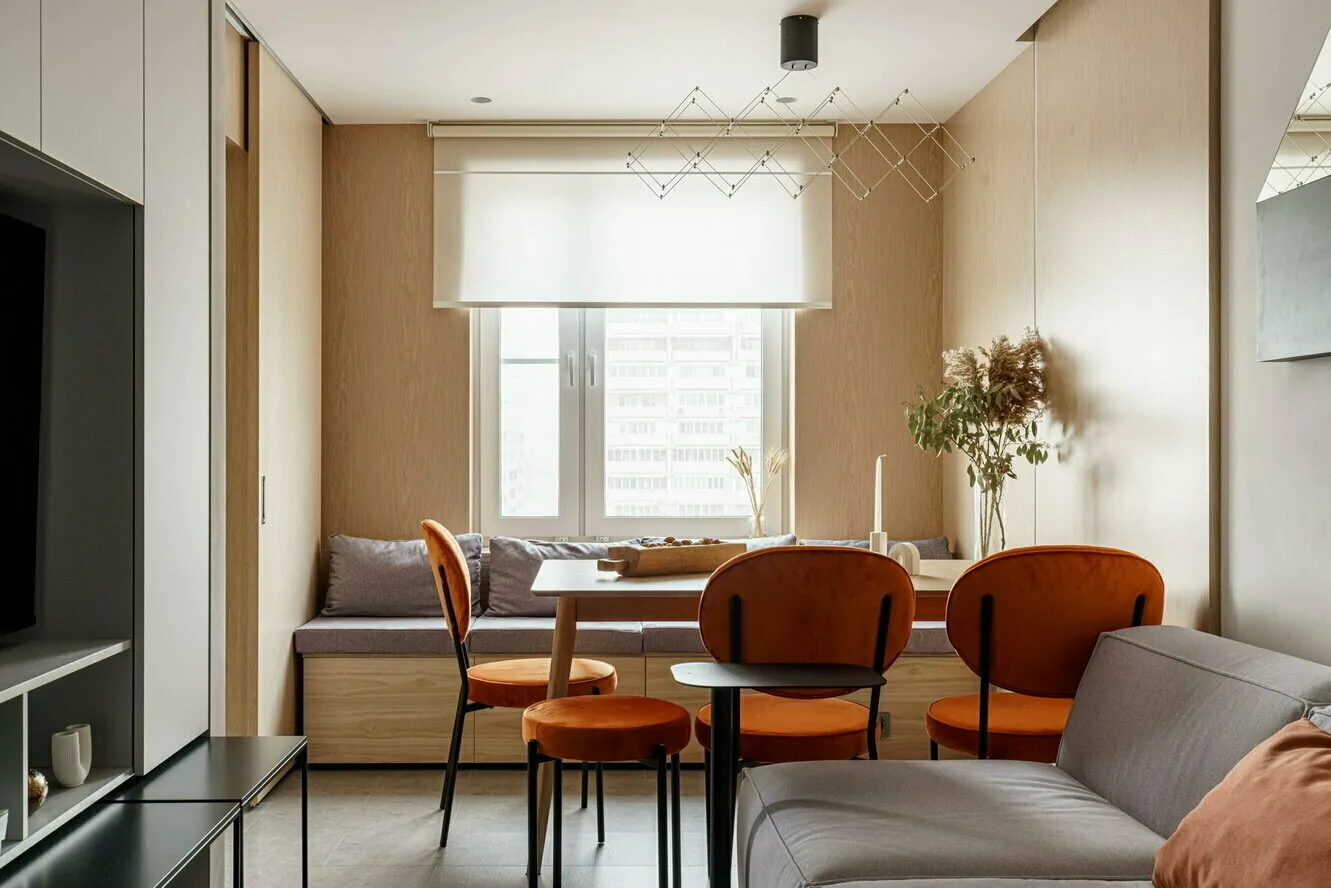 7 Cool Solutions We Spotted in the Profi Project
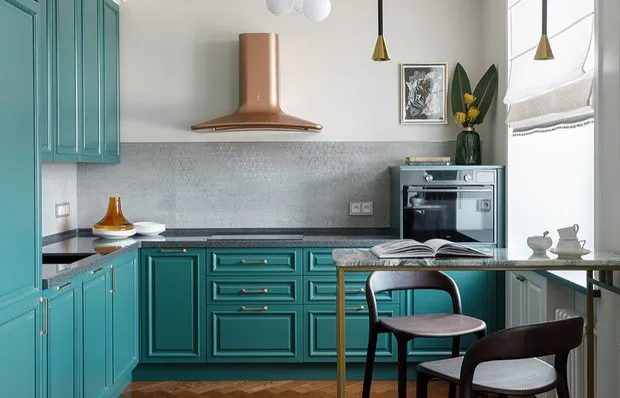 Before and After: 5 Most Impressive Renovations of Old Kitchens
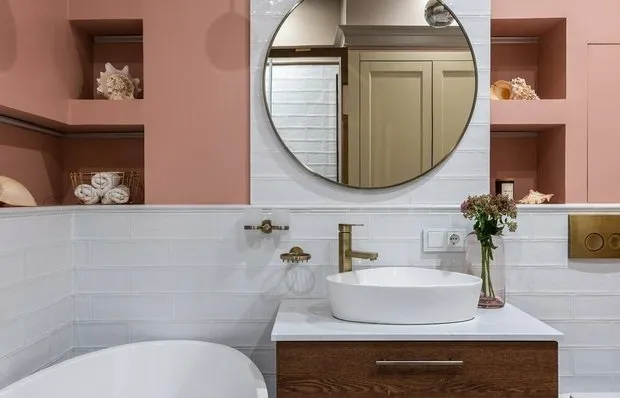 Top 5 Most Trendy Bathrooms of 2023 from Our Projects
 5 Practical Ideas for Kitchen Storage Inspired by Pro Projects