Thermon. Plaster that warms the house and saves money
By the way, one of the few drawbacks of "Thermon" is that the mixture is not moisture-resistant. Therefore, this plaster can only be used for interior finishing.
However, the advantages of "Thermon" from UNIS are significantly more:
- "Thermon" maintains a comfortable microclimate in the room due to high vapor and air permeability, keeping humidity at acceptable levels.
- It can be applied from 5 to 70 mm without plaster mesh (up to 30 mm for ceilings).
- Reduces labor costs for repairs due to economical material consumption.
- Does not require additional finishing materials for surface leveling.
- Provides the smoothest surface, allowing you to do without skim coating.
- Non-shrinkage and crack-resistant coating.
- Reduces labor costs for repairs due to economical material consumption;
- Due to its low density, it has minimal weight and reduces structural load on the house foundation.
- "Thermon" can even be used in children's rooms, as it is an eco-friendly and safe material.
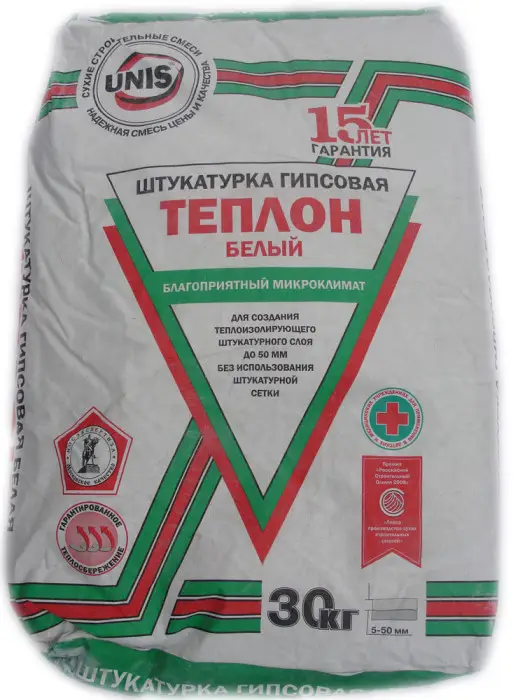
Photo 1 — Plaster Mix "Thermon"
Technical Specifications of Plaster Mix "Thermon" by UNIS
Color
White, Grey
Temperature for Work and Operation
from +5°C to +30°C
Water Quantity per 25 kg Dry Mix
4.5-5.5 liters
Layer Thickness Without Using Plaster Mesh
5-50 mm
Material Consumption
from 6.0 kg/m²
Working Time of the Mixture
50 minutes
Initial Setting Time
not earlier than 50 minutes
Drying Time for a 10 mm Thick Layer (at +22°C and 65% humidity)
5-7 days
Compressive Strength
≥25 kgf/cm²
Bond Strength
≥1.0 kgf/cm²
Packaging
15, 30 kg
Thermal Conductivity 0.23 W/m·K
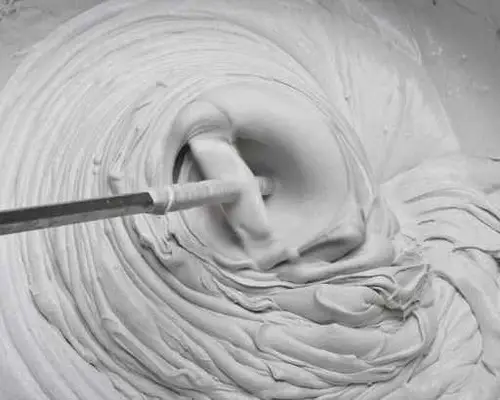
Photo 2 — Mixing the Mixture
Instructions for Using Plaster Mix "Thermon"
- First Stage – Preparing the Mixture. Don't forget to read the instructions on the packaging first. Pour water (0.45-0.55 liters per 1 kg of dry mix) into a container and add the plaster mixture. Mix for 2-3 minutes until uniform consistency is achieved. If you're working with a large volume, use a professional mixer or drill with a special attachment at low speed. Let it rest for 5 minutes and stir again. Bingo! The mixture is ready. You now have 50 minutes (from mixing time) to apply it.
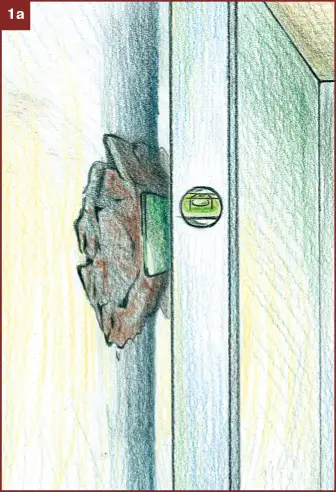
- Now proceed to setting the guides. These will serve as a reference for the thickness of the plaster (to create a smooth surface) and must be placed before applying the main layer. Position them using a level. The rule's length should be 20-30 cm shorter than the distance between the guides. Further work can begin after 3-4 hours.
- Move on to the most important step – applying the mixture. Attention! Try to apply the prepared mixture within 20-30 minutes using a trowel or hawk. Then level the surface with a building rule. If the intended layer thickness of plaster on the wall does not exceed 5-50 mm, or ceiling plaster is 5-30 mm, and up to 70 mm for filling recesses, no plaster mesh is required.
- The plaster mixture will begin to set in 50-60 minutes after mixing. At that point, the applied layer is leveled with a rule.
- If the surface has irregularities exceeding 5 cm, preliminary leveling with "Thermon" is required. In such cases, each layer should not exceed 3 cm in thickness. Before applying a new layer, wait for the previous one to dry completely.
- After 90-120 minutes, proceed to the final stage – surface finishing. Wet the set but not yet hardened surface with water and rub it down with a sponge. Level any excess "gypsum milk" with a spatula or hawk.
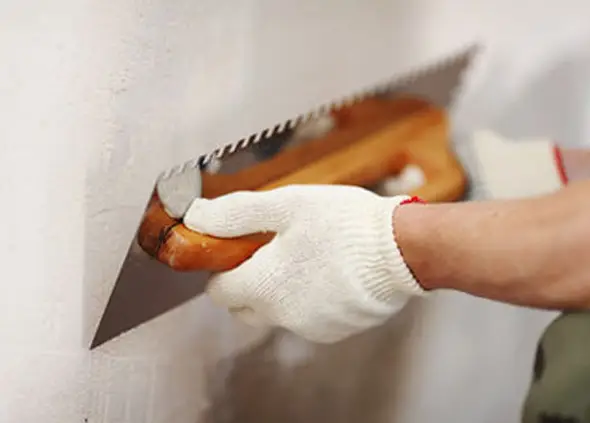
Photo 3 — Surface Leveling
Plaster "Thermon". Price
- UNIS plaster "Thermon" can be purchased in 15 and 30 kg bags.
- Moscow, UNIS "Thermon" (white), 30 kg – from 290 rubles.