How to Finish the Joint Between Backsplash and Countertop on the Kitchen
Together with a designer, we look at two popular methods and choose the best one
Are you doing a kitchen renovation and haven't decided how to finish the joint between the countertop and backsplash? Don't rush—first, read our article to make the right choice.
Ksenia Muzenets, designer, member of ADDI
Designers have long stopped using flexible plastic skirting boards on kitchens—they are now replaced with edging and borders. Let's first understand what methods of backsplash installation exist.
Method 1
This method is loved by builders because it simplifies their work. The backsplash is laid during the finishing stage, before the kitchen furniture is installed. Then kitchen specialists come for measurements and try to adjust the furniture and countertop to fit the required dimensions.
Advantages for builders: after laying the tiles, nothing needs to be cut or adjusted.
Disadvantages for you: a gap forms between the countertop and the wall, which must be covered with something. If the floor is uneven, the gap will be noticeable, and it can only be covered with edging.
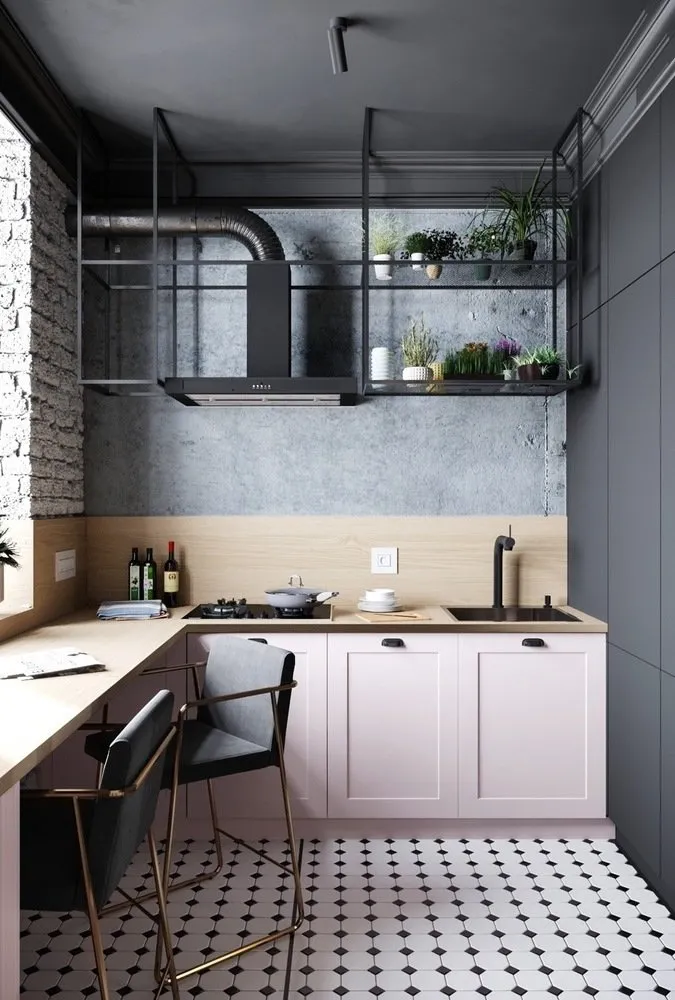
Design: In My Box
What types of edging are there?
- Ceramic border. Sold in the same places as tiles—you can choose one that matches the color. However, if you have textured tiles, this option won’t work.
- Low edging. Made from the same material as the countertop, so they must be ordered and installed together. This option is suitable for interiors where the backsplash color differs from the countertop color, and a logical transition or connection is needed.
- Tall edging. Edgings 15–20 cm in height are made from practical materials in the same color as the countertop. These edgings protect the wall from splashes and stains. If you choose this option, make the backsplash monochromatic and as close in color to the countertop as possible.
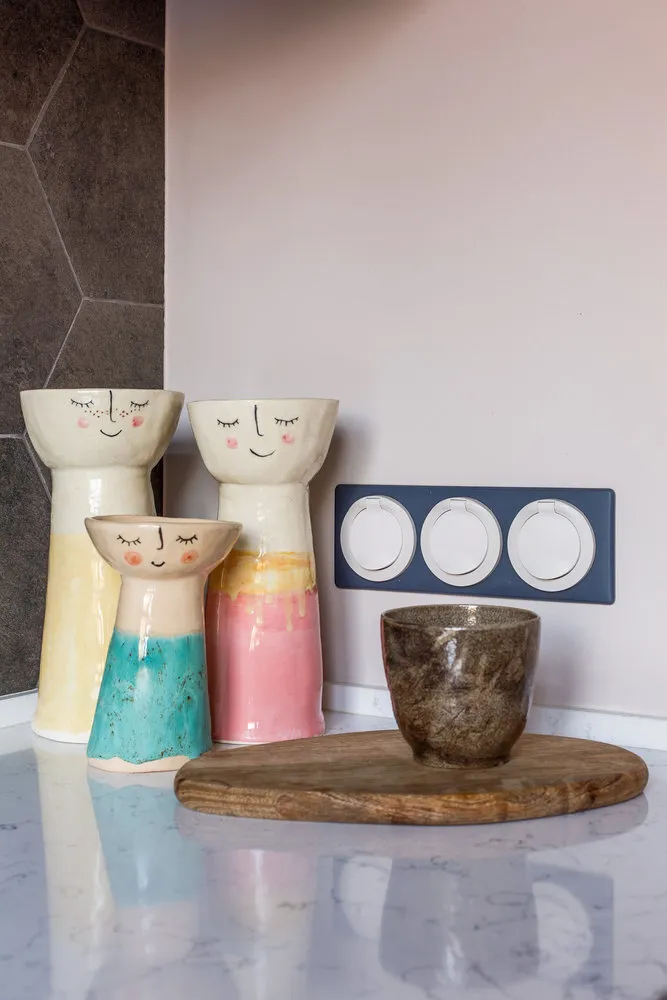
Design: AMD Design
Method 2
I always recommend this method to my clients. After finishing work, your kitchen furniture and countertop (as close to the wall as possible) are installed. Then you lay the tiles or any other backsplash surface (stone, glass, metal).
Disadvantages for builders: tiles must be “adjusted” and cut to the exact height of the backsplash. The work is more meticulous.
Advantages for you: the average thickness of tiles is 1 cm, and with precise fitting, the tile edge will cover the uneven gap between the countertop and the wall. Then, you only need to carefully seal the seam with clear (or matching) caulk. In this case, no edging is required.
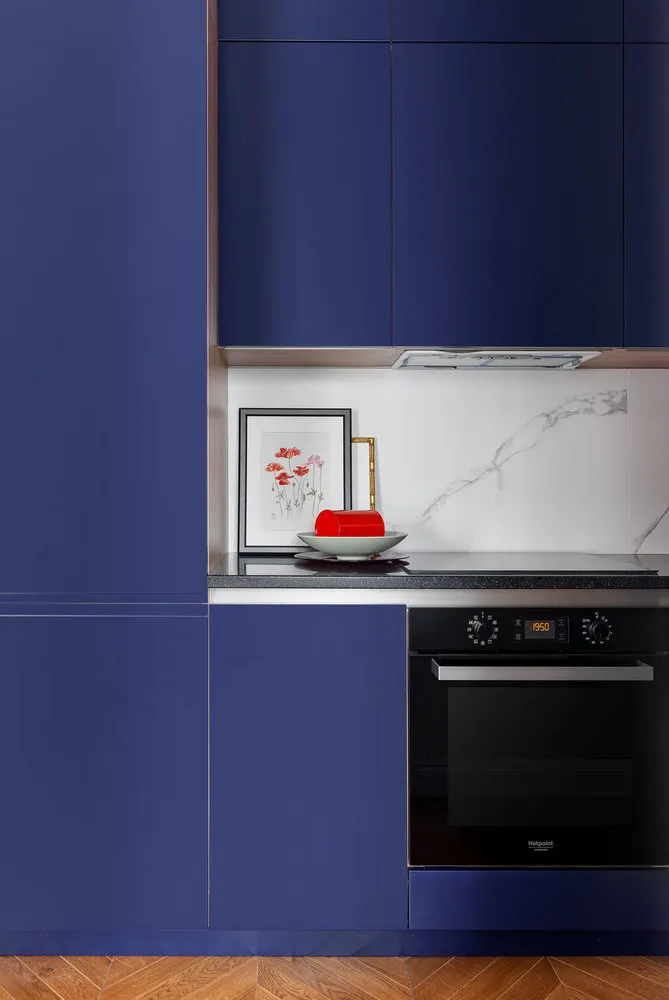
Design: Ksenia Muzenets
7 Beautiful Kitchens from February Projects
Looking for new ideas for kitchen renovations in designer projects.
Need a renovation specialist?
Find verified professionals for any repair or construction job. Post your request and get offers from local experts.
You may also like
More articles:
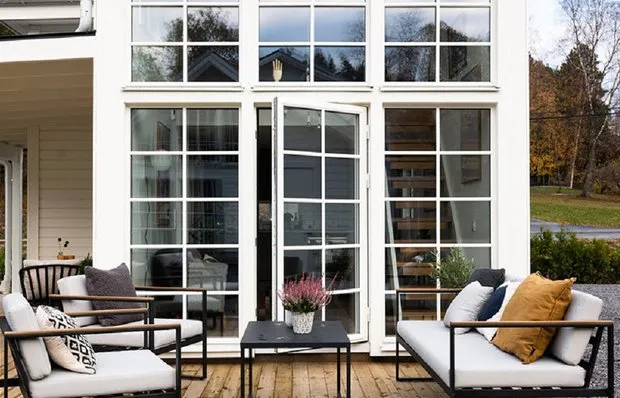 I Want to Live There: This Cottage Has Just 33 m²
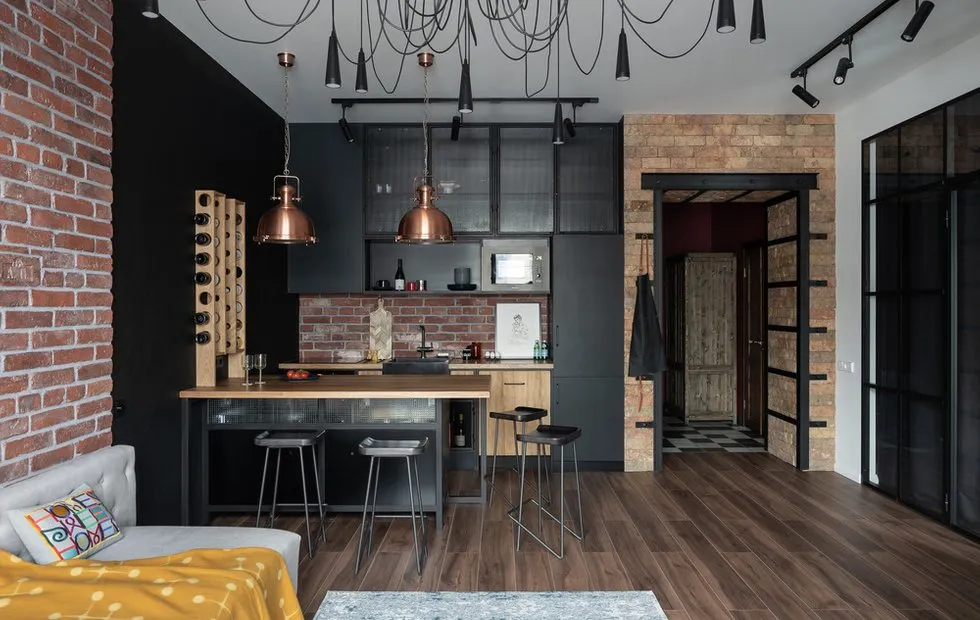 Studio Redesign in Loft Style: How It Was Done
 10 Gifts from AliExpress That Girls Will Appreciate
 Eco-Friendly Interior Design
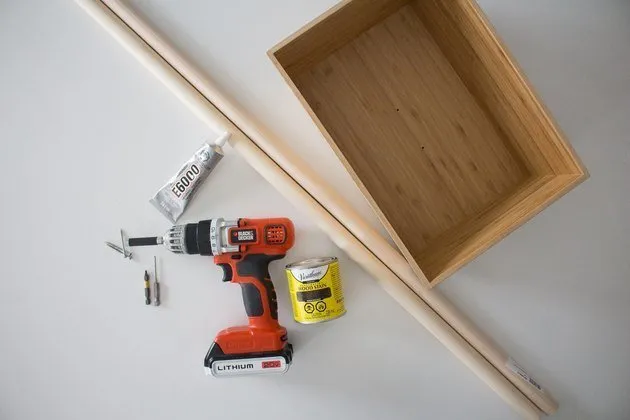 How to Turn an IKEA Box into a Planter in Half an Hour?
 Decorating a Small Bedroom: 5 Tips from Projects
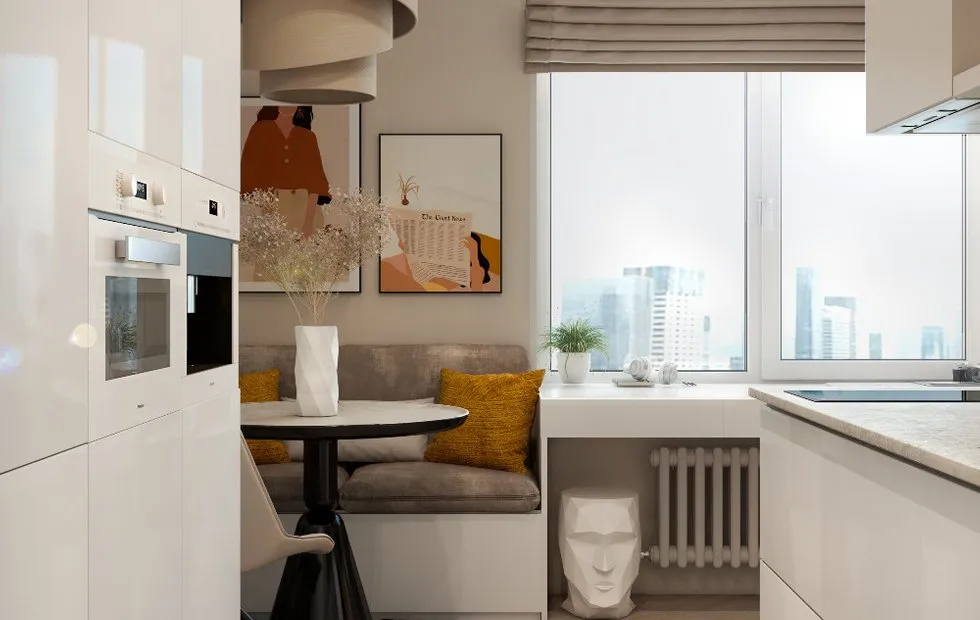 How Did They Improve the Layout of a Small Studio?
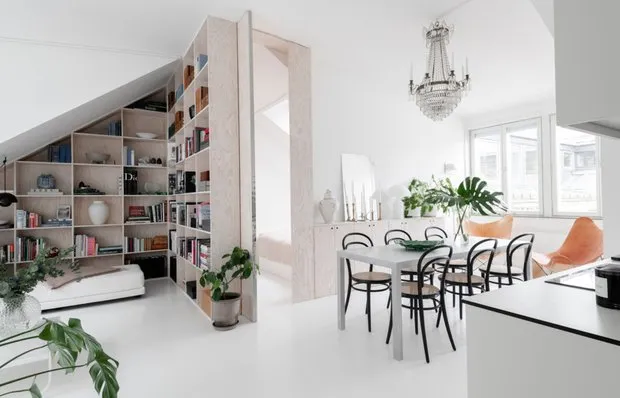 House Under a Sloped Roof: Idea for a Cottage