How to Paint a Pumpkin for Halloween: Simple Instructions
Metis Epifanov, editor of The Spruce website, explained how to paint a pumpkin yourself. It turns out that it's easy and much harder to choose a design — for that, we have a separate photo collection. Set aside some free time and enjoy the process!
Pumpkins with Simple Designs
What you'll need?
- Pumpkins of various sizes (including mini ones).
- Chalk (or graphite) paint (in several shades).
- Waxed paper.
- Cloth, craft paper, or newspaper.
- A small piece of cloth or a damp towel.
- Brushes of different thicknesses.
- A baking rack.
Cover your workspace with cloth or paper and lay out everything you need. Select pumpkins of the right type and size in advance (working with small ones can be difficult), and wipe them clean with a damp cloth. For example, on the photo below — sugar pumpkins.
 Photo source: thespruce.com
1. Apply the First Layers of Paint
Choose a "base" color for your pumpkin — you can draw a print on top of it. Then apply paint to the entire surface and let it dry (you'll have to wait for at least an hour). When the surface becomes matte, apply another layer and let the pumpkin dry again.
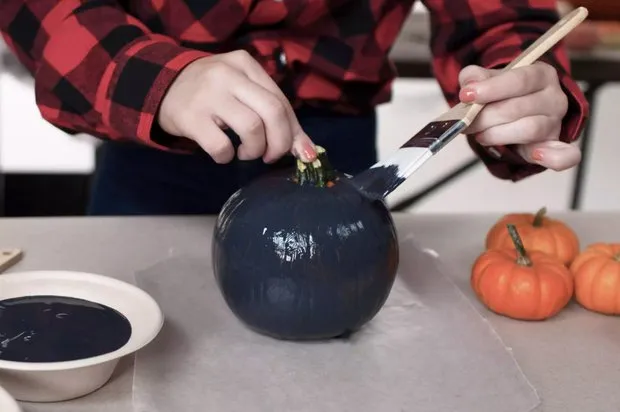 Photo source: thespruce.com
2. Add the Design
Take a thinner brush and dip it into paint. Place the tip of the brush on the surface and pull down to create a small neat stroke (as in the photo). You can also draw dots, stars, or any other patterns.
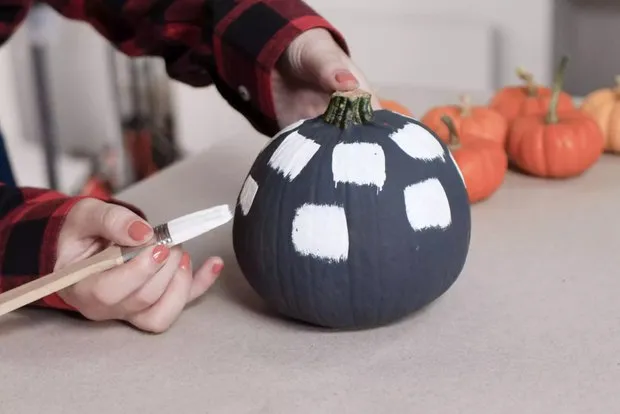 Photo source: thespruce.com
3. Dry the Pumpkins
After finishing, let the pumpkins dry thoroughly.
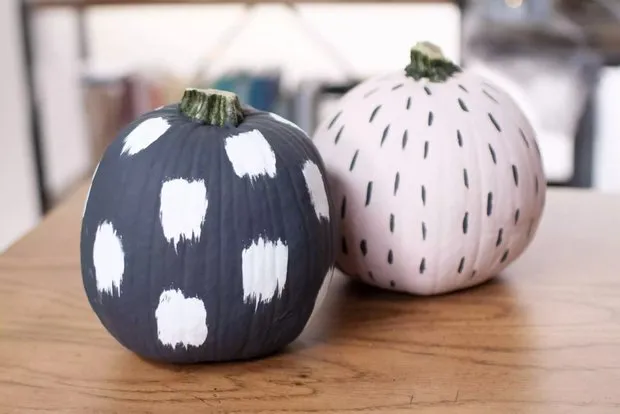 Photo source: thespruce.com
Colorful Mini Pumpkins
If you never liked drawing lessons and adding patterns seems too complicated, try this method :)
1. Prepare the Paint
It's better to pour them into containers with wide openings (e.g., bowls). Hold the pumpkin by its stem and submerge it halfway into the paint. Then let excess paint drip back into the bowl.
It's not necessary to dip the pumpkin halfway into paint — you can cover it with one color almost completely or paint only one side. Try different variations — it's fun!
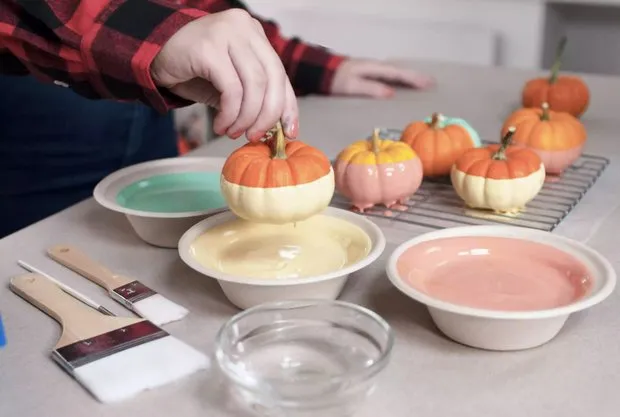 Photo source: thespruce.com
2. Dry the Pumpkins
Place a piece of cloth or craft paper under the drying rack so that paint drips onto it. Wait at least an hour for the pumpkin surface to become matte. Only then proceed to the next layer.
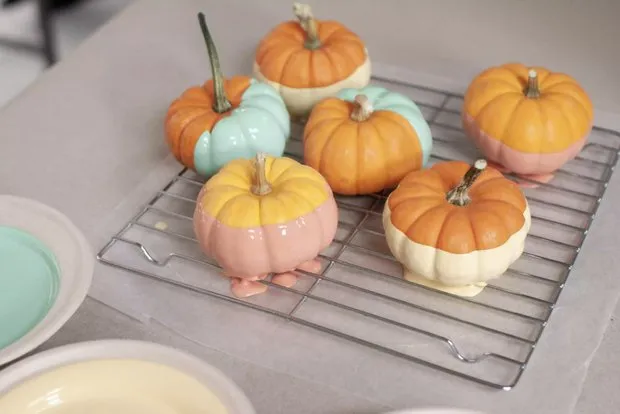 Photo source: thespruce.com
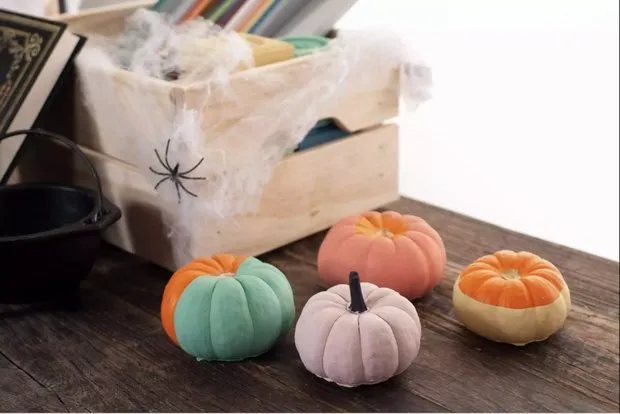 Photo source: thespruce.com
Pumpkins in Jackson Pollock Style
They look like paint was accidentally splattered on them. But of course, it's not by accident :)
1. Apply the First Layer of Paint
Choose a neutral shade that will make splatters stand out well.
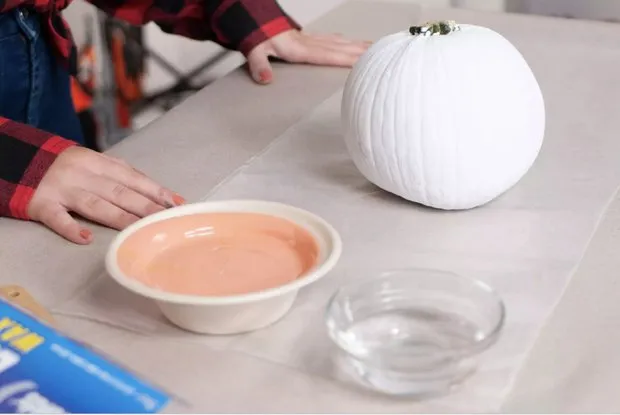 Photo source: thespruce.com
2. Create Splatters
Mix paint with water so it's not too thick. Start by adding a couple of tablespoons to avoid overdoing it.
Place the pumpkin on waxed paper or newspaper (or in a bag or box to avoid spilling everything around). Dip the brush into paint and start splattering. Rotate the pumpkin to paint it from all sides. Then leave it to dry (at least an hour).
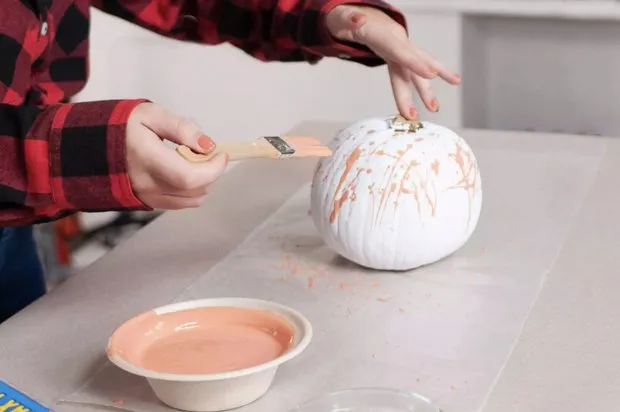 Photo source: thespruce.com
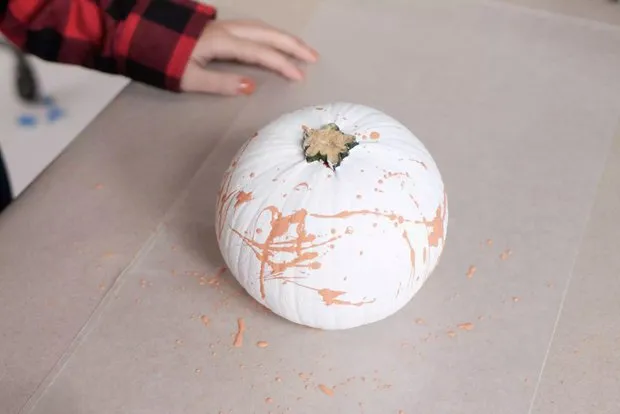 Photo source: thespruce.com
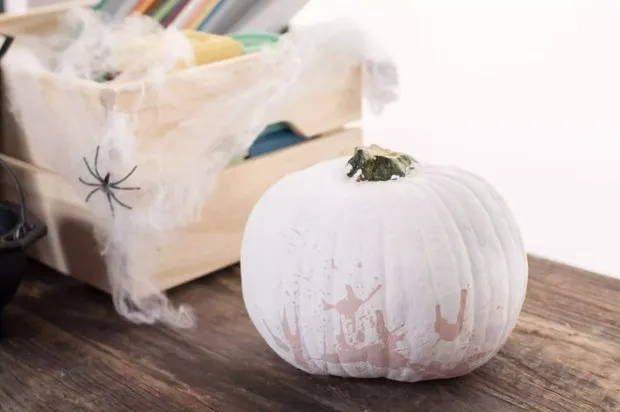 Photo source: thespruce.com
60 More Ideas for Halloween Decoration in Pastel Tones
With these items, you can beautifully decorate your space for the holiday.
Need a renovation specialist?
Find verified professionals for any repair or construction job. Post your request and get offers from local experts.
You may also like
More articles:
 Living Without Water and Electricity: Renovating an Old Cabin in the Forest
 White House in Scandinavian Style by the Beach
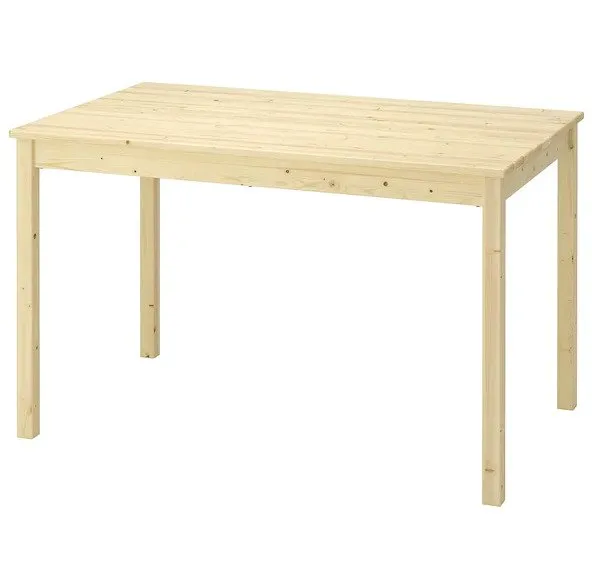 A Cheap IKEA Table Became a Farmhouse Living Room Accent. How?
 14 Quick Questions with Francesc Rife
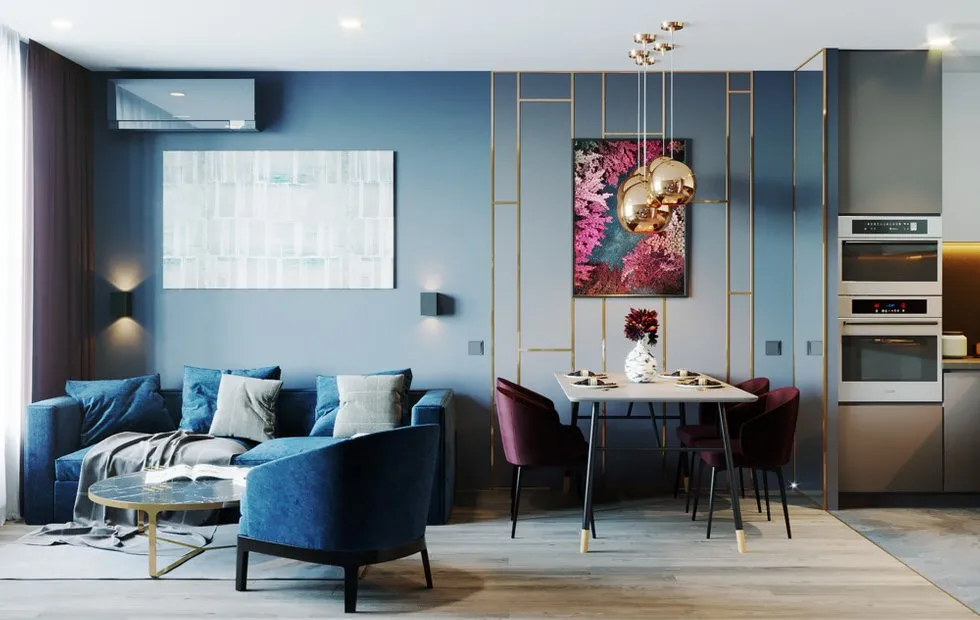 How to Communicate with Contractors in the Same Language and Not Overpay for Renovation
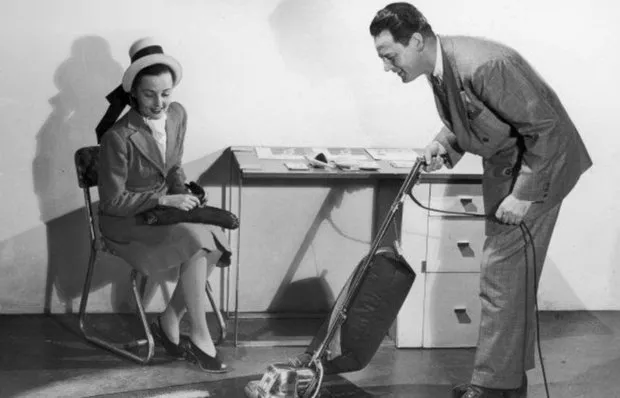 Interesting Facts About Vacuum Cleaners You Didn't Know
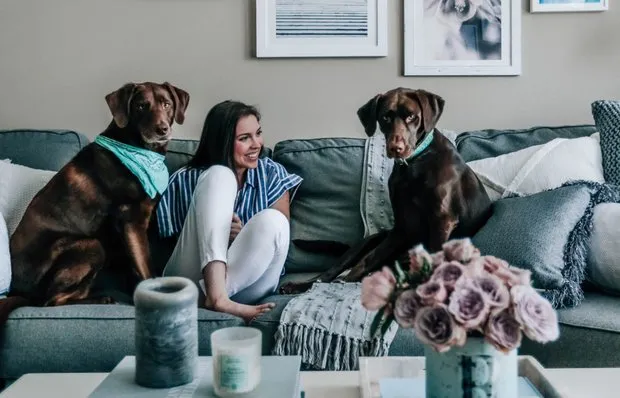 Brushes, sponges and cloths: why they are not suitable for cleaning?
 How to Make Design Project Work Convenient and Avoid Extra Costs