A Cheap IKEA Table Became a Farmhouse Living Room Accent. How?
Monika and her husband are just over thirty, happily married, and live in a separate house in the American countryside. The young couple loves modern European design with references to Provence and farmhouse style. Many things are made by hand: the guiding idea and inspirational source is Monika, while her husband does the actual work. "I'm not a lumberjack or a carpenter," he laughs. "My only talent is that I'm not afraid to do something I've never done before."
Let's get started. Step 1 — something you've never done before
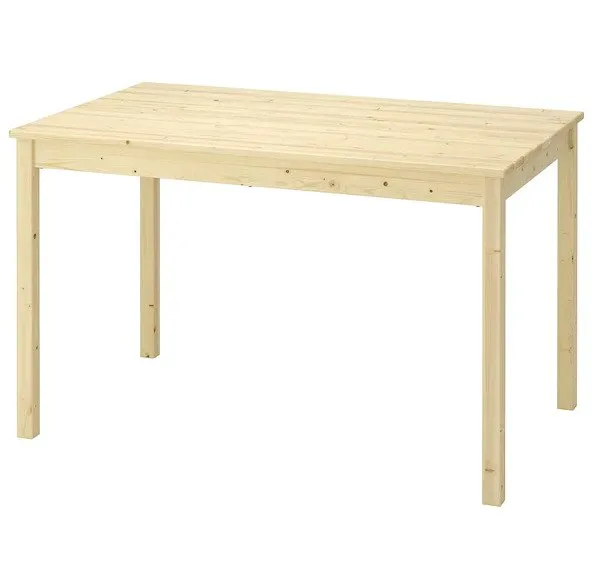
It's unlikely you have ever bought two identical IKEA dining tables. But now is the time to do it! They cost very little, but you'll learn how to join and finish tables so they look like those luxurious dining areas in Scandinavian and French interiors. And yes, these are the familiar IKEA INGUM tables.
 Step 2 — expanding the space: enough room for everyone at this table
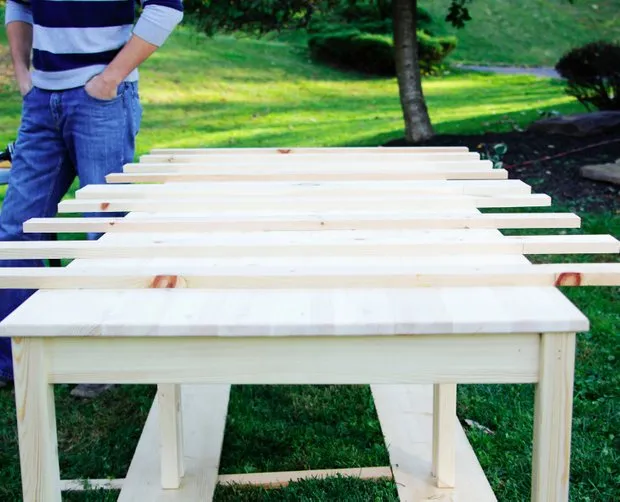
Join two IKEA INGUM tables together. Create an intermediate layer between the table and the tabletop using pine boards. It doesn't matter what kind they are: the top boards will be covered by the tabletop.
 Step 3 — cutting the dream tabletop
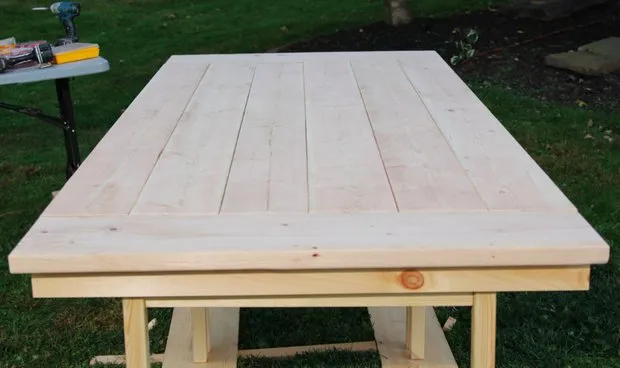
Cut boards for your future tabletop. It will have two horizontal boards on the short sides and the rest vertical. Do all calculations and cut the boards to size.
 Step 4 — sanding the surface
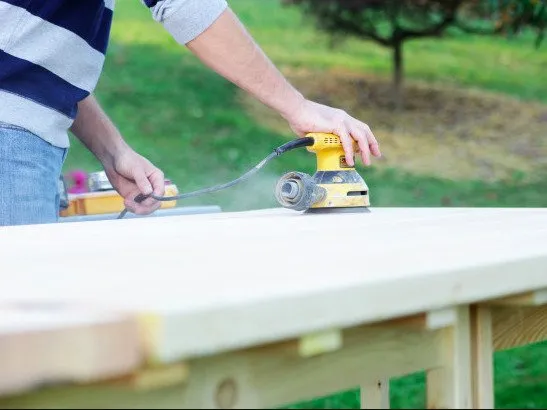
Smooth the boards, slightly rounding the edges to give the tabletop a finished look.
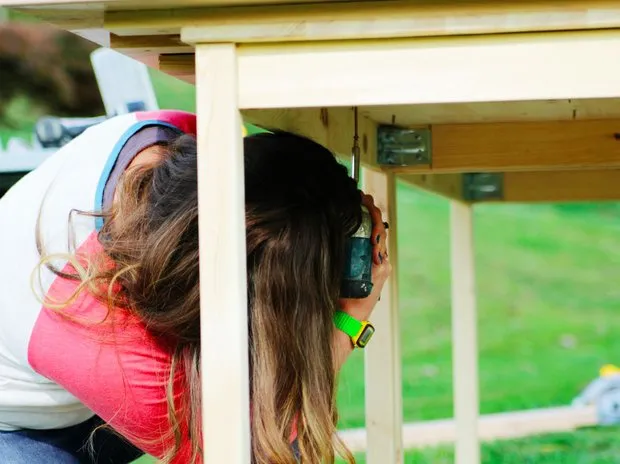
 Step 5 — inspection and fastening
Lay out the boards in their places. Look at your future table: does everything look good to you? If so, attach each board from the bottom side to the table base using screws. The screws should be long enough to hold the table together, but not so long that they go through it.
 Step 6 — hiding the evidence
To make sure no one guesses that this table was once an IKEA table, you need to hide the evidence: namely, the middle layer of horizontal boards. Measure and cut four pine strips the size of the table sides. Attach the strips on each side under the wide top boards, hiding the frame.
 Step 7 — optional
If you wish, you can age your table to make it look even more "farmhouse." The creators of the redesign were always placing things on the wood during work: screws, washers, bolts, various tools. They constantly pressed these items slightly into the boards. Later, once they were coated with varnish, it became clear why they did this.
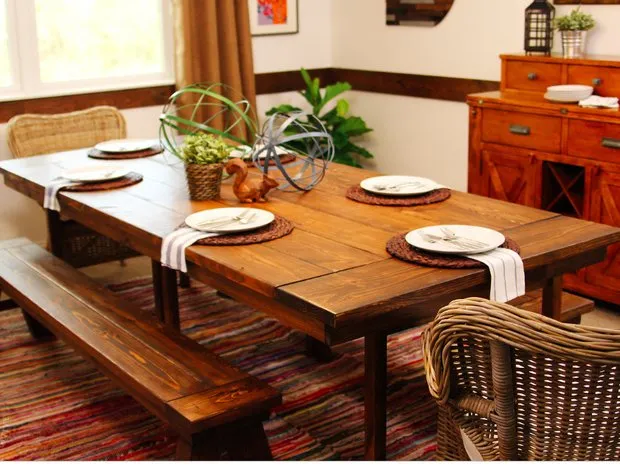
Step 8 — invite guests and enjoy the effect
Will anyone ever figure out that this table was originally from IKEA?
Need a renovation specialist?
Find verified professionals for any repair or construction job. Post your request and get offers from local experts.
You may also like
More articles:
 How to Extend the Lifespan of a Mattress
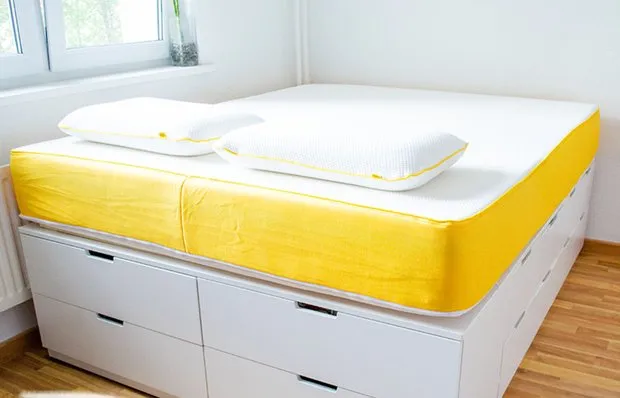 How to Make a Platform Bed from IKEA Boxes by Yourself
 How to Reduce Electricity Bills: 6 Important Rules
 If Your Home Feels Tight: Ideas for Designing Narrow Spaces
 Refurbishing Old Furniture: Step-by-Step Guide + Photos
 What Did Zaha Hadid Create for the Bathroom? And 6 More Renowned Designers
 How to Fit Everything in a Small Entrance Hall: 5 Ideas
 How to Choose the Perfect Kitchen Sink: 8 Tips